Pressing matters

Last week we discussed one of my Christmas gifts, and this week’s post was precipitated by another: a new ironing board cover. My old one was scorched and stained, prone to iron dents, and had never fit particularly tightly to the board. But what to do with it when I removed it? It is difficult for me to take something so large and just throw it out.

So I didn’t. I cut off the strip of little chickens that had drawn me to it in the first place, down at the wide end of the board, and then the largest piece I could get between that and where the board narrows.

board cover pieces

I covered the large piece with linen, and attached linen to the back of the small piece. Then I folded the large piece in half and stitched all the way around twice, with the same variegated thread and two different decorative zigzags. The small piece got wide single fold bias tape stitched to the front, folded around at each end to the back, then the long edge folded to the back and stitched down.

newboards

The larger board is the size of a generous placemat, perfect for pressing small crochet pieces, such as these coasters made out of the medium size of Planet June’s Love Hearts.

small board in use heart coasters

More gifties

My sister requested a crochet Pi for her office, and since the very few versions I found online (for pay or free) did not excite me, I decided to make my own.

two pis

This is big little pi and little big Pi. I haven’t totally worked out the pattern for big little pi, but here’s the other.

Little Big Pi

Top bar:
1. Sc 6 in magic ring.
2. 2sc around (12).
3-5. Sc around (3 rnds).
6. Ch 3, sk 3 sts, sc 9.
7-8. Ch 3, sk prev chs, sc 9.
9. Sc into each ch and sc of prev rnd, leaving a lp of each ch exposed to sc into later (12).
10-14. Sc around (5 rnds).
15. Sc 2, ch 3, sk 3 sts, sc 7.
16-17. Sc 2, ch 3, sk prev chs, sc 7.
18-20. Rep rnds 9-11.
21. Dec around (6).
Cut, leaving a tail for finishing, and pull end through last stitch, but leave open for now.

Legs:
These are crocheted directly onto the top bar, beginning in rounds 6 and 15 of the top bar. Be warned that it is very easy to add a stitch in rounds 1 and 2 – when you are done with round 1, count to 12 back the way you came to make sure you’re stitching into the correct loops.
1. Place sl kn on hk and sl st to join to middle skipped sc in rnd 6 or 15. Sc in same st and next sc (2), in ends of rows once before, between, and after the chs (3, 5 so far), in each rem lp of the chs of rnd 8 or 17 (3, 8 so far), in ends of rows as before (3, 11 so far), and in rem skipped sc of rnd 6/15 (12).
2-14. Sc around (13 rnds; sk sl st of rnd 1!).
15. Dec around (6).
Stuff and FO. After both legs are done, stuff and FO top bar.

Gifties!

I can only do this because I have some confidence the recipients of these gifts won’t be looking at my blog on Christmas Eve. As usual, I made a few Christmas gifts in crochet.

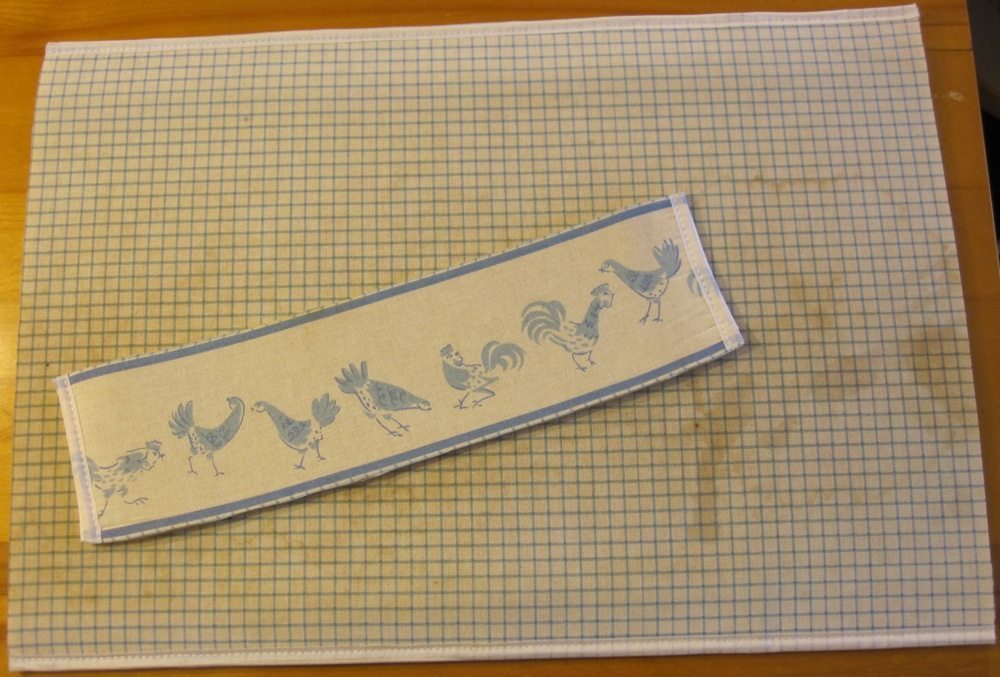
For Mama (said with the accent on the second syllable, of course), a couple more potholders.

potholders, front potholders, back

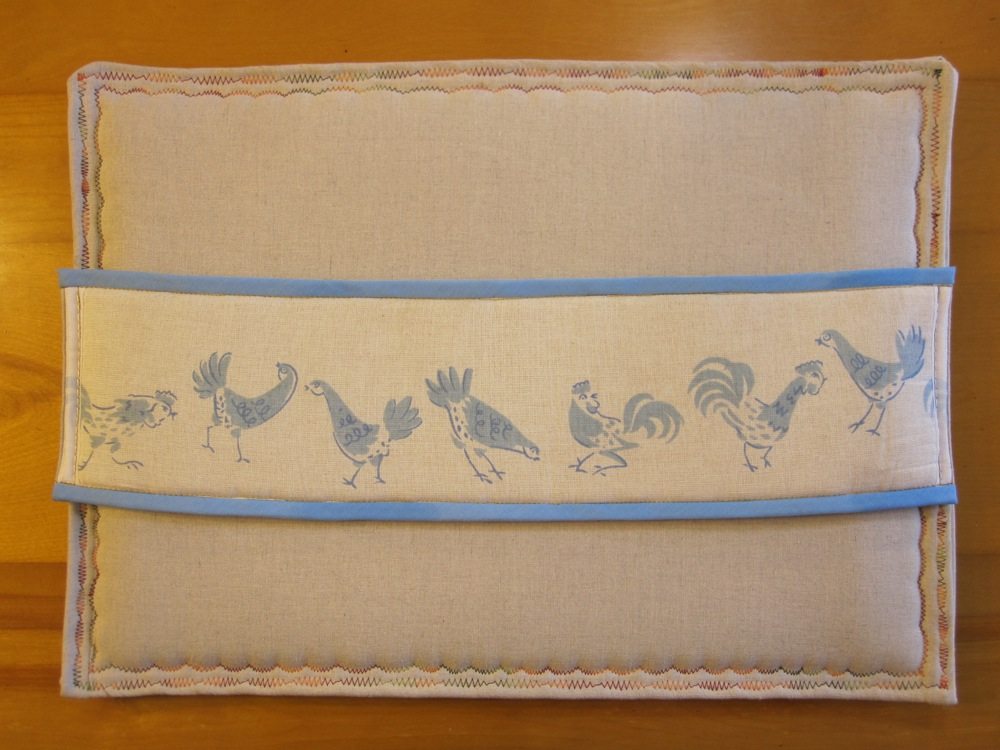
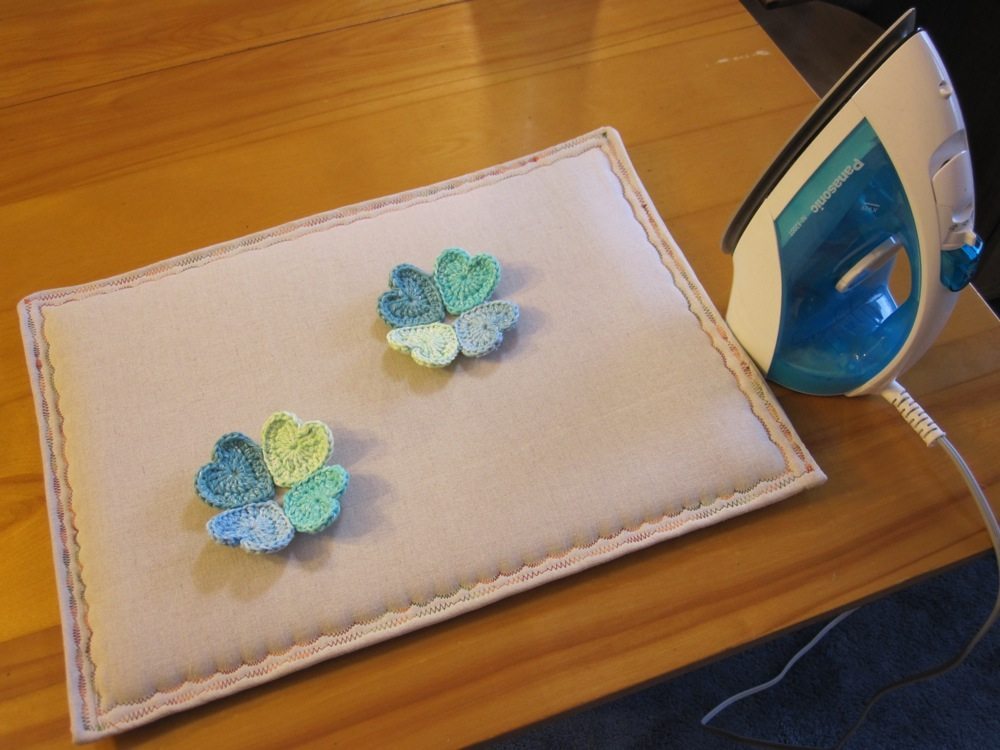
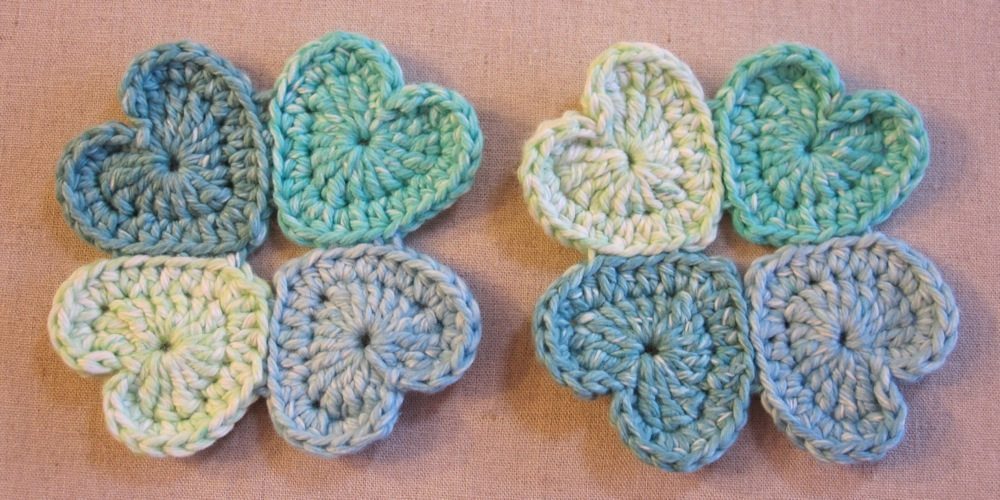
The triple-lobed one I freehanded, making the initial shape via stitch height and then continuing it by increasing around the lobes and decreasing (often via skipping a stitch) in the corners. The other is stitch pattern 421 from Linda Schapper’s Complete Book of Crochet Stitch Designs. It alternates double crochet with front post double crochet around a previous row’s double crochet, offset so you get a sort of checkerboard. Here’s a close-up:

stitch texture detail

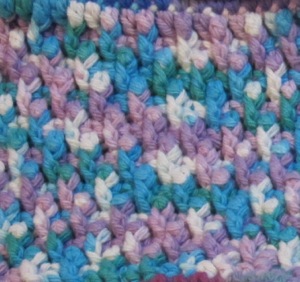
If I were doing it again I would change the outermost double crochets into half double crochet or even maybe single crochet, because the edges are taller than the middle with the pattern as written. I still like how it came out, though. I should have written down what I did around the edge, because I can’t remember. I think it was single crochet around and then double crochet with a chain in between each, but I wouldn’t swear to it.

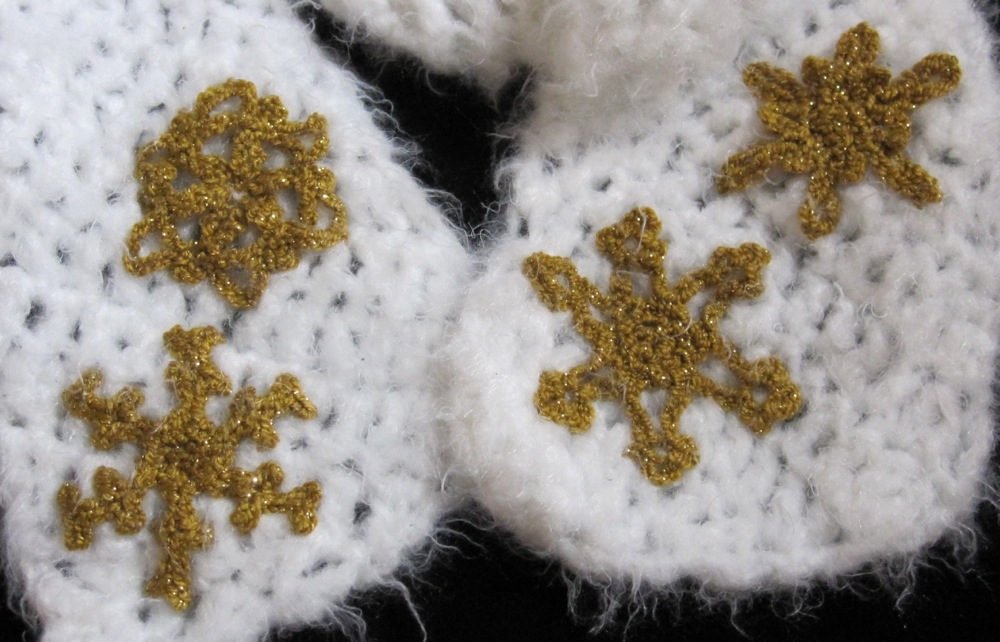
For Grandmother, a fluffy white scarf with gold snowflakes, to wear with her stylish white dress coat. Here are a picture before washing and a snowflake close-up after washing:

before washing after washing

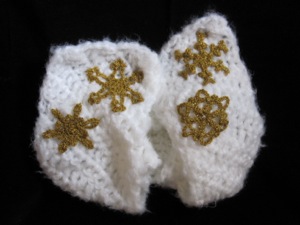
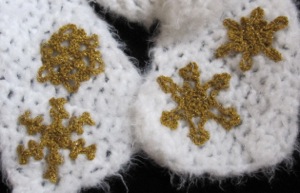
The diagonal stitch is just double crochet, increased at one end and decreased at the other. I ended up designing three more snowflakes at the last minute, which I haven’t had the chance to write up formally yet. I think my favorite is the one that looks a bit like antlers. After washing the fluffy white yarn was less fluffy, so I used my pet slicker brush to comb out the mats.

I also made my own chocolates, the easy way: three high quality chocolate chips in a candy cup, microwave in short intervals until soft, press a nut or two on top, add five or six more chocolate chips and repeat. Use the tip of a butter knife to get rid of the chip-shaped bumps once the chocolate is fully soft. You can make peanut butter cups as well, with one or two more chocolate chips on the bottom to give a sturdy layer. The disadvantage to this method is that cocoa butter soaks the candy cup and when it cools it is stuck to whatever it’s sitting on. I also made “mini turtles” with chocolate chips, half a caramel, and a broken-up pecan half, but if I were doing that again I’d cut the caramels (standard Kraft ones) into thirds and be more careful about getting chocolate between them and the cup on all sides – they stick! Those I did in the oven at about 200F, because I was worried enough time in the microwave to melt the caramel would scorch the chocolate.

More gifts will be revealed in later posts…