Trinket boxes

trinket boxes
Trinket Box Pattern

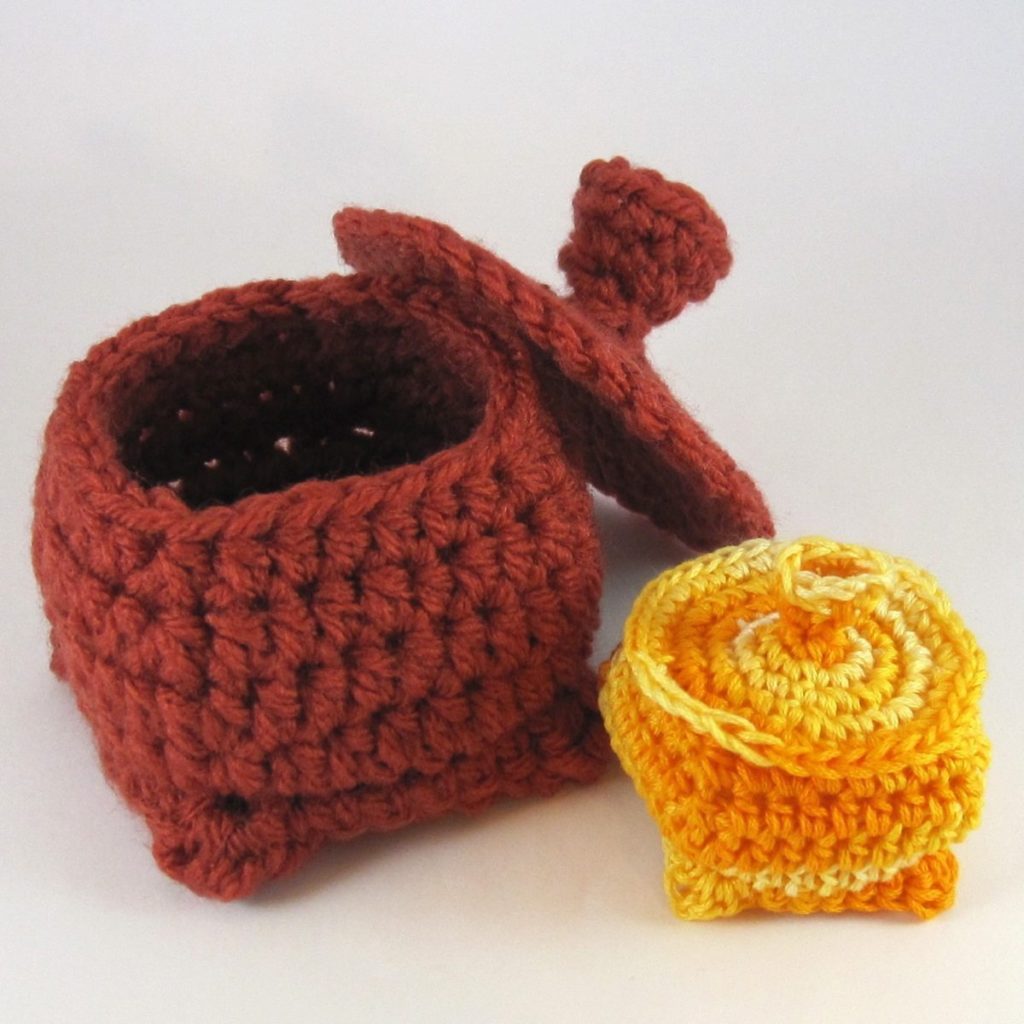
Oh man, I thought this would never be done. Long ago this was to be a teaching pattern, for half double crochet increase and decrease. It was pretty subpar using only the techniques learned to the desired point in the course, but the idea was sound, so I re-created it using the magic ring and with the sides created in the round beginning with stitching directly onto unused loops of the base. Many, many revisions later, I bring it to you.

This pattern was a challenge. I shifted the increases and decreases in the corners of the box half a dozen times, and even developed a new hybrid joining/spiral technique for the base: slip stitch at the end of the round, but don’t chain up. I call it the stepped spiral. It has some benefits of both typical rounds techniques: less seam than joined rounds, less asymmetry than a spiral – though not zero seam or zero asymmetry. I applied it to two of the lids as well.

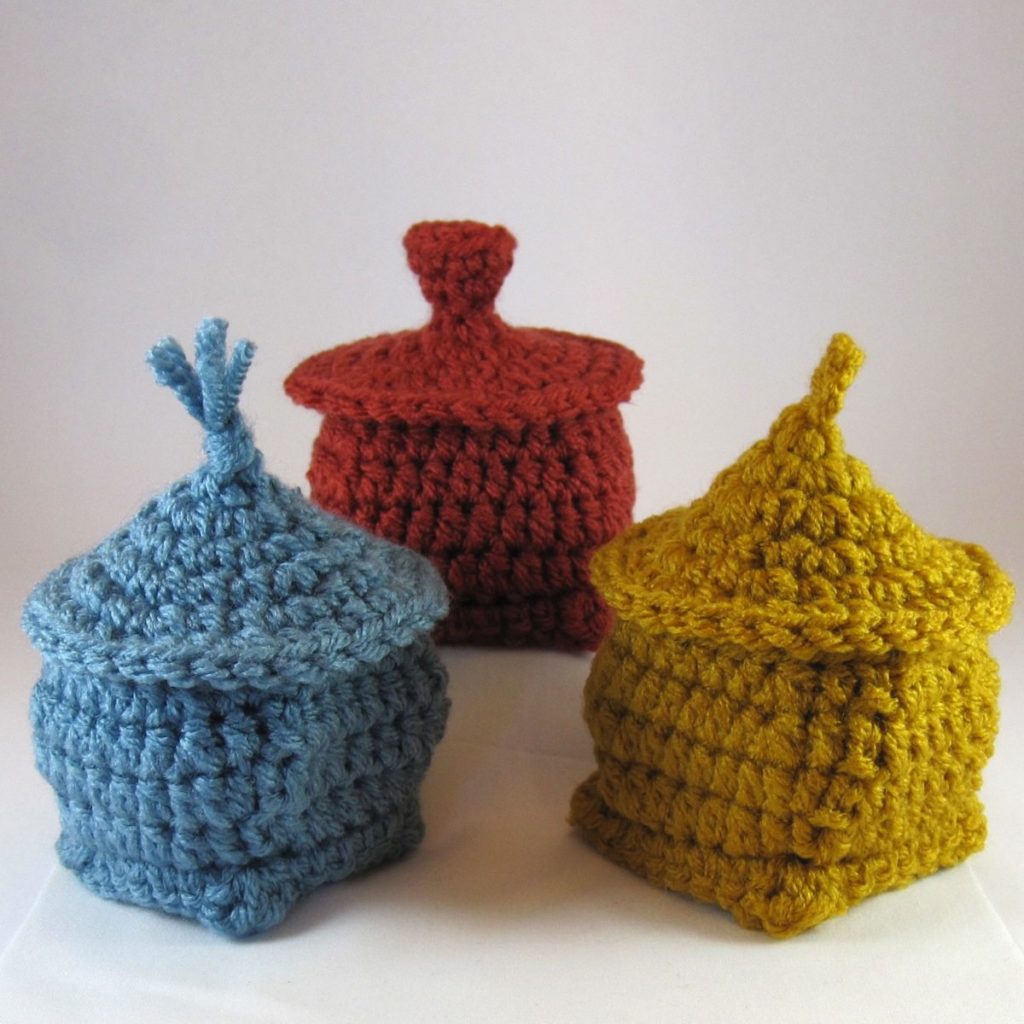
The chimney lid (funnel shaped) had a dramatic reimagining – I first made it starting at the top, stitching around in the back bumps of a starting chain, and then went back at the end to sew in two artificial chains to fill in the spot where the chain twisted down and made a sort of chip in the lid (since a loop made by stitching in the back bumps wants to be a mobius strip). I could not figure out how to pin down and explain my filling-in method, though, so I had to re-design. Instructions for top-down stitching are included, though you don’t get a ring of teardrops and you do have your starting slip knot up in the top edge, but the main instructions are for starting at the neck with foundation single crochet, a la this recent blog post. The main lid is in red below and the alternate in light green.

chimney lids chimney lids in yarn and floss

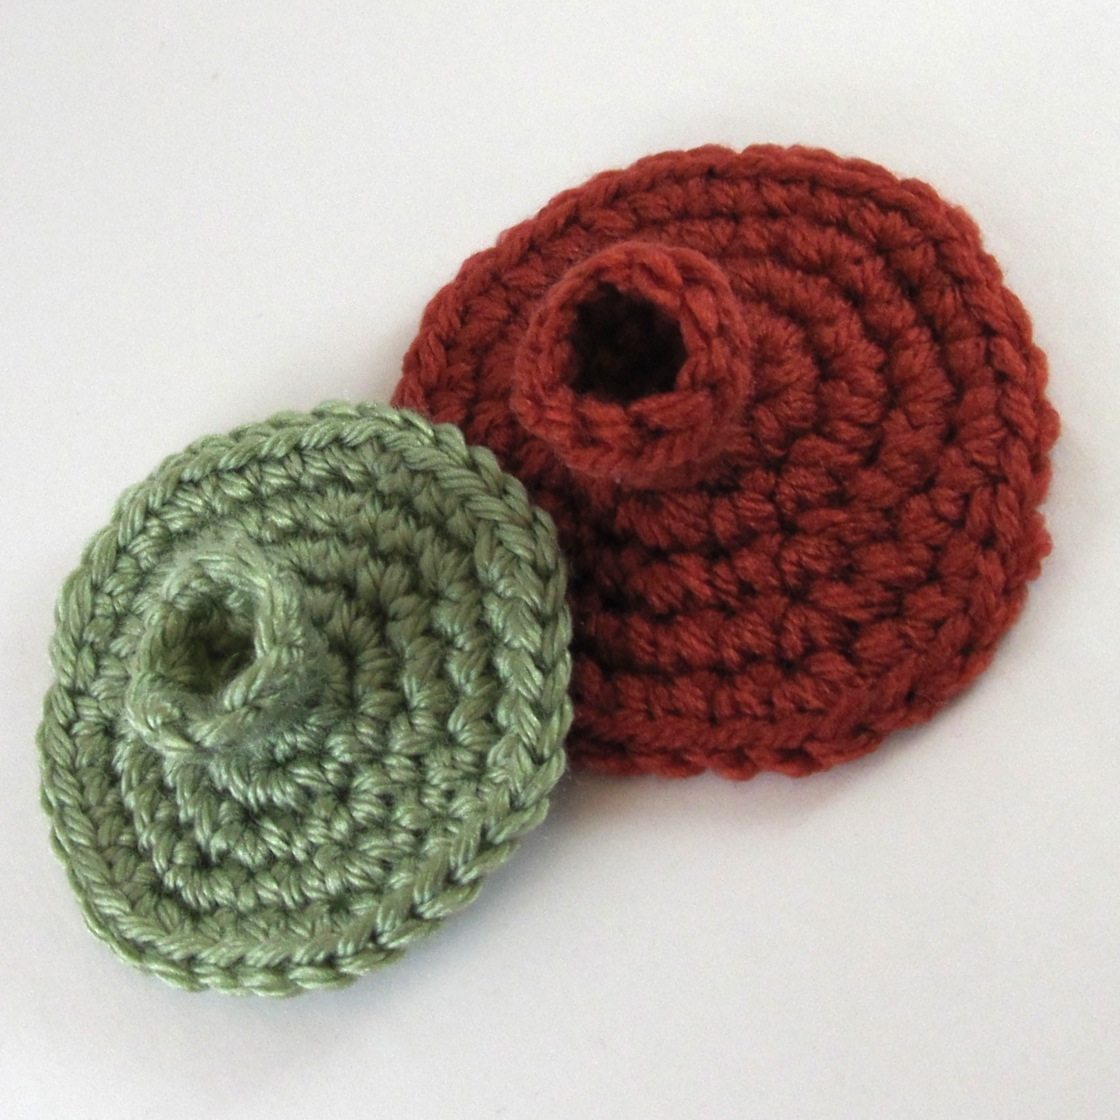
I plan to work out how to make these in non-yarn materials. I’ve tried embroidery floss with a size 4 steel hook (2mm; above), and I think four strands of thread (for a mini box) and narrow wire-edged ribbon (for a very solid, possibly slightly larger box) would both be appealing. When I do figure those out, in addition to blogging them I’ll put photos and materials lists on the trinket box pattern page.

One-eyed Sluggos

one-eyed sluggos in the leaves

In line to make a purchase the other day, I noticed a set of four monster stampers in the Halloween-themed impulse buy display. One of those monsters looked an awful lot like a Sluggo, only with a single eye, centered and enlarged. I thought I could probably produce a modification of the Sluggo pattern to produce a similar result.

two black sluggos green and purple sluggos

The modification boils down to this: replace the bobbles for the eyes with sc, and the sc between them with an sc in BL only. In the next round, the bobble decreases (decreasing to eliminate the extra loop created by a bobble) will each be a single sc, and you’ll make a 4-tr bobble in the unused loop of the stitch two rows below. Then in the row after you’ll have to bobble decrease.

To wit:
4. Sc 13, sc in BL only, sc (15).
5. Sc 13, 4-tr bobble in unused FL of rnd 4, sc (14 sc, 1 bobble).
6. Sc 13, bobble dec, sc (15).

Instructions for a 4-tr bobble: This is four partial triple crochets looped together.
**YO twice and pull up lp in prev st. *YO, pull through 2 lps on hk* twice.**
Repeat **…** three more times for a total of 4 partial tr and 5 lps on hk.
YO, pull through all 5 lps on hk; ch 1.

Make sure to insert your hook the correct direction for the bobble! Front to back will be more like bottom to top, and will be pretty awkward. Let the bobble fold down toward you during the making and all will be well.

black sluggo in tree green sluggo in leaves

Get the Sluggo pattern in the shop.

Green-eyed macrame owl

In honor of I Love Yarn Day I decided to try a yarn craft I’d never done before. So I chose macrame, which is not actually a yarn craft; it is more commonly done with cord or something else that doesn’t stretch. After looking around I found a pattern for a macrame owl by a crafter named Alice.

macrame owl finished

The pattern was wonderful and I highly recommend it. It uses only lark’s head knots, half hitches, and square knots, and the diagrams are clear enough I didn’t need any supplemental material, even though this was my first macrame project (odd, since my mother did a fair bit of macrame when I was young). I did use a different macrame resource to confirm I was interpreting the diagrams correctly, but I was.

The pattern calls for crochet thread, and I used sport weight yarn. I wasn’t sure what the length conversion would be, so I cut pieces at least two yards long. I didn’t need to; I had well over half the original length left over. However, it was convenient to have the extra weight – with the end of the yarn wound on bobbins to keep the strands from tangling together.

yarn bobbins for macrame

I used bamboo skewers for the top and bottom rods, and beads from my stash for the eyes. Instead of putting glue on the ends of the yarn to turn them into needles, I folded a length of thin wire in half to use as a threader. I stuck it through the bead, put the yarn through the folded end of the wire, and pulled it through.

Here’s a picture of when it first started looking like something. I added pins to keep the fold in step 6 in place until it was knotted up.

macrame owl partway done

I found the pattern via the Macrame Lovers blog. It updates sporadically (and hasn’t for over a year) but has a decent number of patterns both locally and linked around the web.

[I accidentally categorized this as crochet and then linked to it from elsewhere, so it will stay in crochet to keep those links valid.]