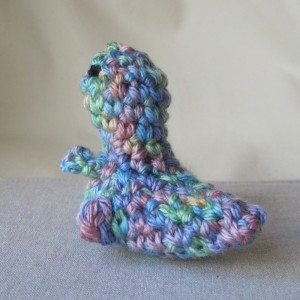
Baby Grump

I realized earlier this week that the last free ami pattern I posted was in January, so it’s high time for another one. Baby Grump!

baby grump baby grump

This is, of course, the smaller version of Grumpasaurus Trogdoriensis. It starts by crocheting on both sides of a chain; the head, body, and hind legs are one piece and then the front legs are added by slip stitching new yarn on.

I’ve used my own abbreviations for increases: 2sc for a standard sc increase, 3sc for stitching 3 sc in the same stitch. Sc 4, on the other hand, means sc once in each of the next four stitches. Dec means sc dec. Other abbreviations and conventions are here and the pattern is past the cut below.

Continue reading Baby Grump

Simplify, simplify

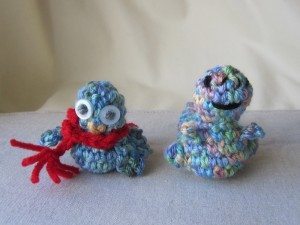
Tonight I teach an amigurumi class at the Sew-op, and unlike last time (when three students signed up and none appeared) I am optimistic it will actually happen. Since I can’t leave well enough alone, I redesigned the class. I had decided the dachshund was probably too ambitious for one class, and also had been considering providing a handout with pieces that could be recombined into other animals. I’m not quite there yet; the intermediate plan involves these little guys:

owl and grump

If we can get through Aviator Owl and the first few rounds of Baby Grump I’ll be ecstatic. The handout will help them through the rest of Baby Grump (you’ll note that unlike the big one, he hasn’t learned how to be grumpy yet).

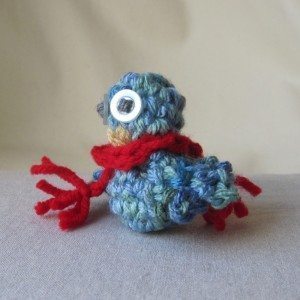
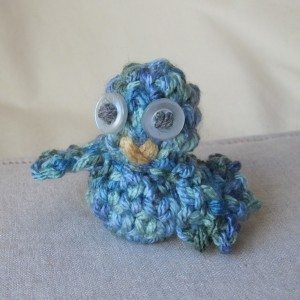
owl 1 owl 2

The bottom of the owl is an open-topped sphere. In that piece we’ll learn how to make the magic ring, how to use stitch markers in the round, which side is the outside, the invisible decrease, consequences of working in a spiral, and how to stuff neatly.

The top of the owl, a closed sphere, will add working around stuffing, sewing round openings closed, and securing and hiding yarn ends.

To complete the owl we’ll have to learn how to pin and sew stuffed items, sewing on the buttons, and a bit of embroidery. The handout will show some embroidery stitches that might come in handy, like the French knot.

baby grump 1 baby grump 2

Baby Grump begins by stitching around both sides of a chain. The back legs are my beloved bobble stitch, and the front legs are made with separate yarn slip stitched onto the body. We certainly won’t get to the front legs, but I think they are a bit easier to figure out from the handout than, say, the magic ring. Baby Grump also gives the students more practice counting their stitches, because his increases and decreases are not all uniform like the owl. I’ve begun upgrading the Ami Elements page of the Learn Crochet series with additional helpful links and information, and though I may not get to it again before tonight, more is in store.

First overlay project

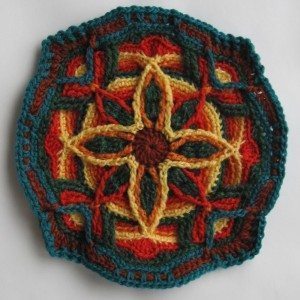
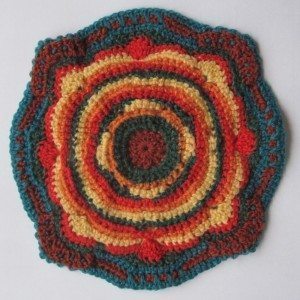
I made the CAROcreations overlay crochet project I mentioned in a recent First Friday post.
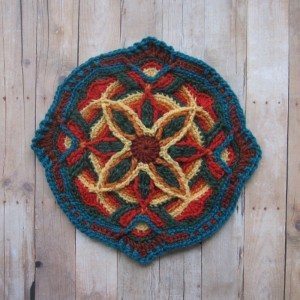
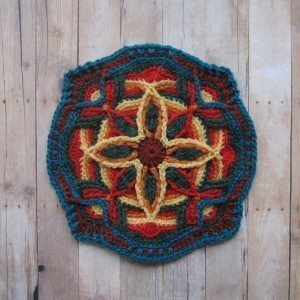
blocked overlay A blocked overlay B

It’s on weathered wood because it reminds me of a hex sign on a barn.

I used Herrschner’s 2-ply afghan yarn, a sport weight acrylic, and just picked colors I liked. Looking at the two color variations shown on the pattern, I assigned the new colors to old ones and wrote them in throughout the pattern.

I don’t think I can say enough good things about the pattern. I did have to rip and start again a few times, especially early on, but that was all me. If any of the directions seem ambiguous, there is a picture you can compare with, clear enough to count the stitches and verify your interpretation. At first I was worried things were askew, but I couldn’t fix them. As it turned out, they were fixed by subsequent rounds.

There was one thing I had to translate. Carola uses “behind” to mean “stitched after” (for the right-hander, “to the left of”). It’s a valid use of the word but opposite of my natural interpretation. There are also a couple of uncommon stitches that aren’t given in the pattern, but they are easily figured out from the ones that are.

There’s something almost luscious about overlay crochet. Tall stitches made into the unused front loop of earlier round stitches are extended by tall post stitches in a later round of the same color, the whole melding into one long braid of yarn. Begin with an increase of tall stitches, continue with tall post stitches on each, and conclude with a post stitch decrease and the whole is like some kind of esoteric weaving.

Here are pictures of the unblocked piece.
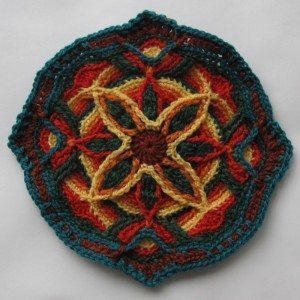
unblocked overlay A unblocked overlay B

A few words of advice: Use strong light. Weave as you go – I stitched around the beginning tail at the start of every round, and since you needle join the end it’s already threaded and you may as well finish the job. If you don’t, there will be a depressingly huge number of ends to finish after the crocheting is done. However, once you’re done, even the back is lovely!
overlay back