One-eyed Sluggos

one-eyed sluggos in the leaves

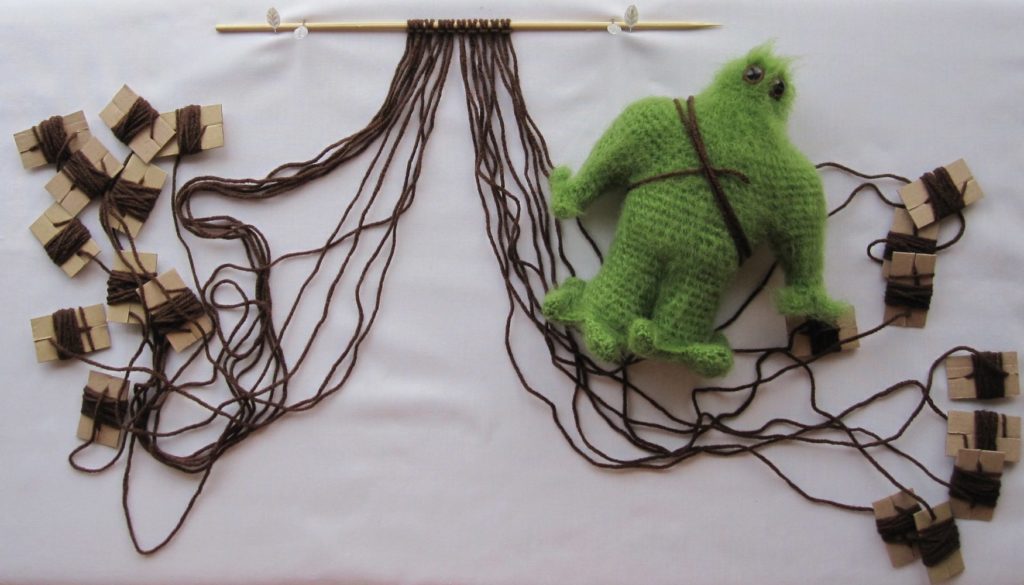
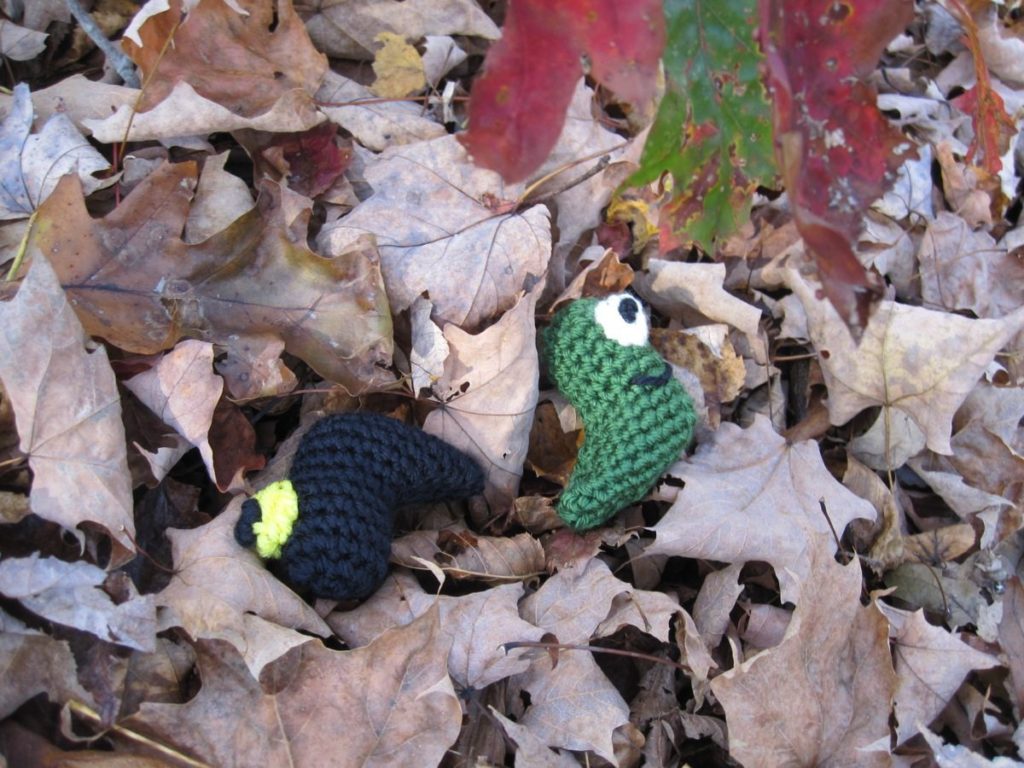
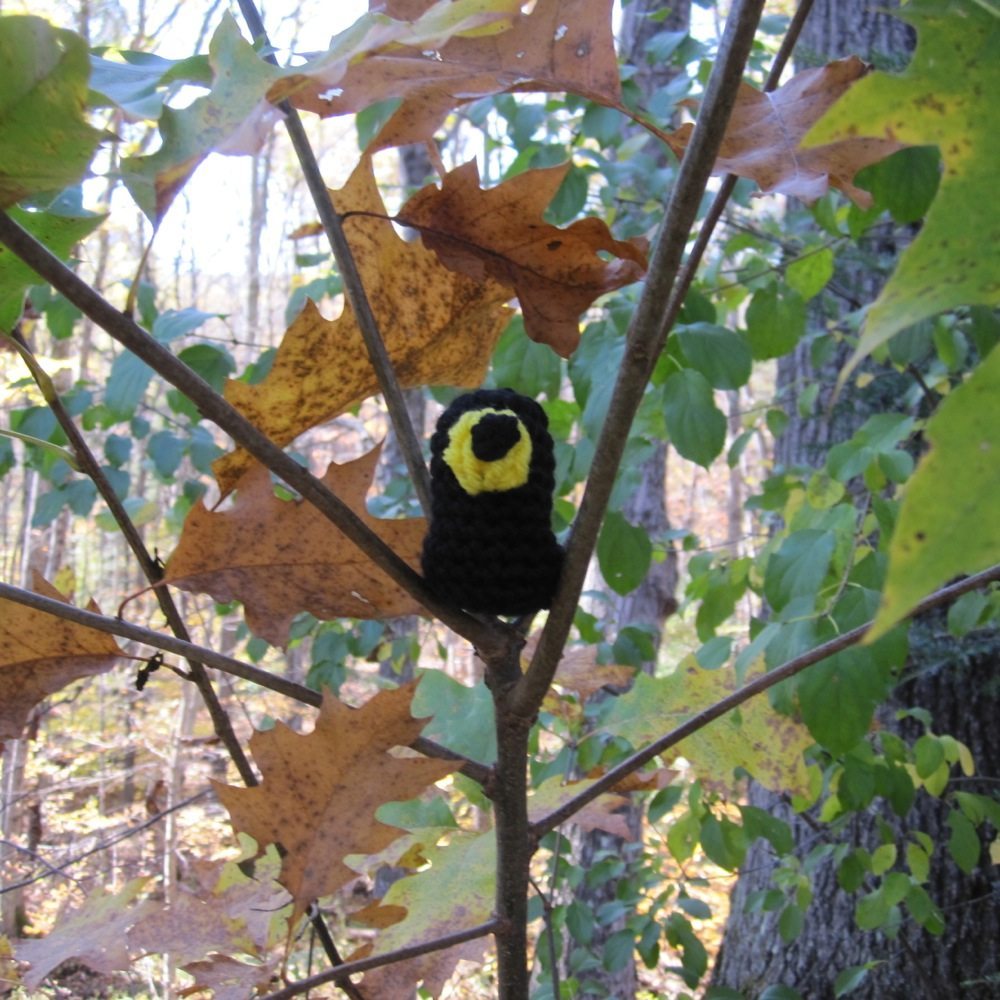
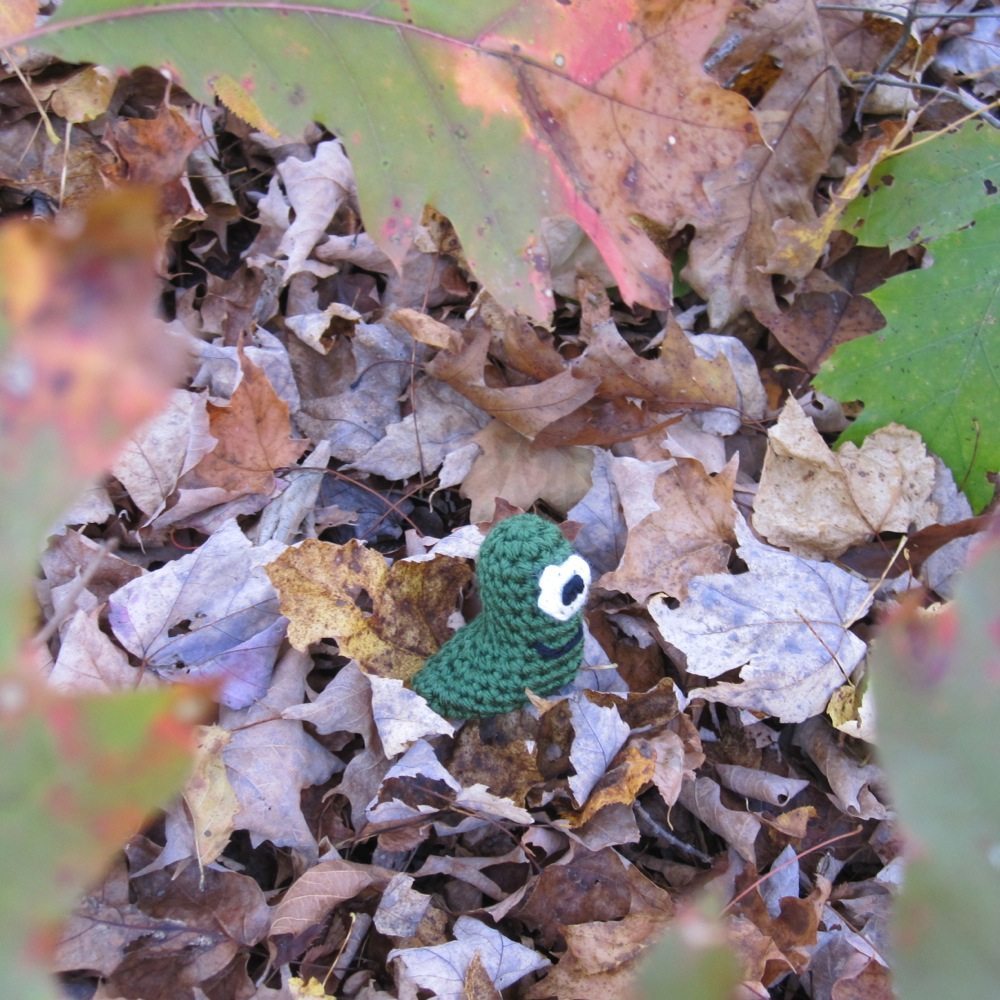
In line to make a purchase the other day, I noticed a set of four monster stampers in the Halloween-themed impulse buy display. One of those monsters looked an awful lot like a Sluggo, only with a single eye, centered and enlarged. I thought I could probably produce a modification of the Sluggo pattern to produce a similar result.

two black sluggos green and purple sluggos

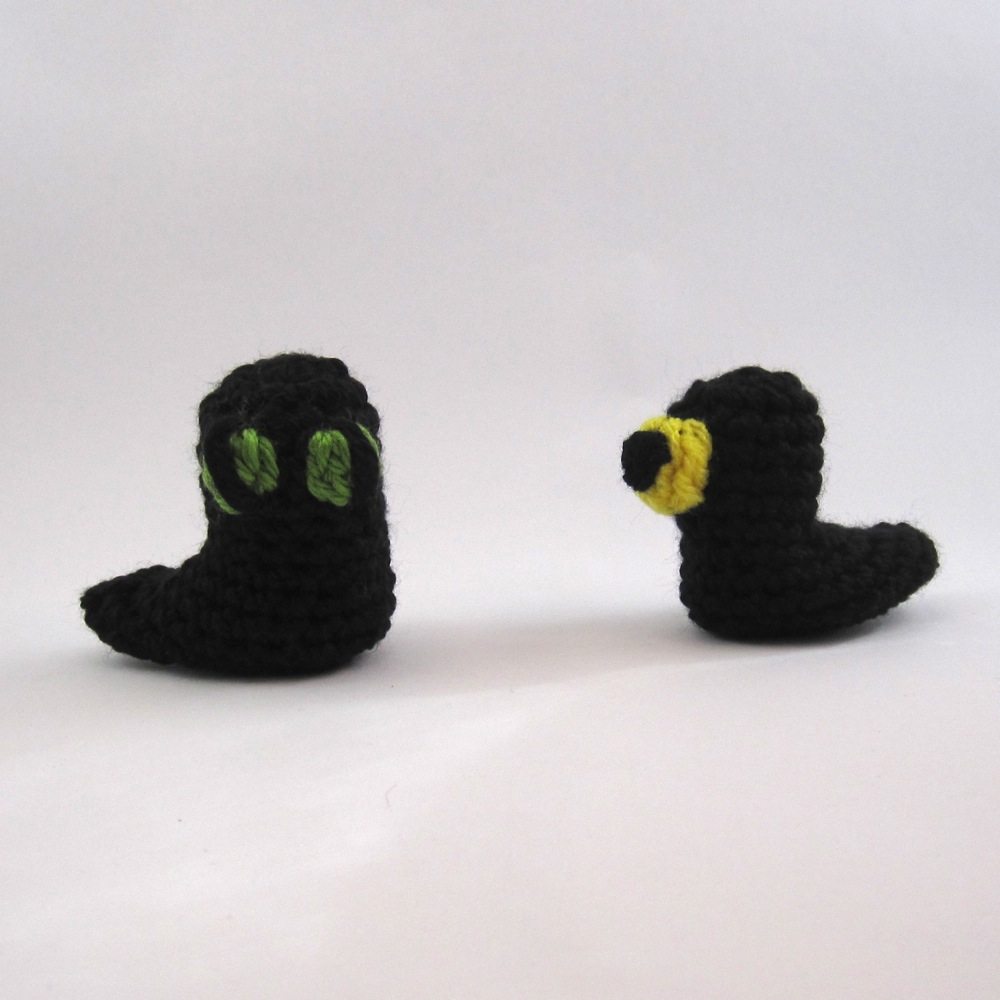
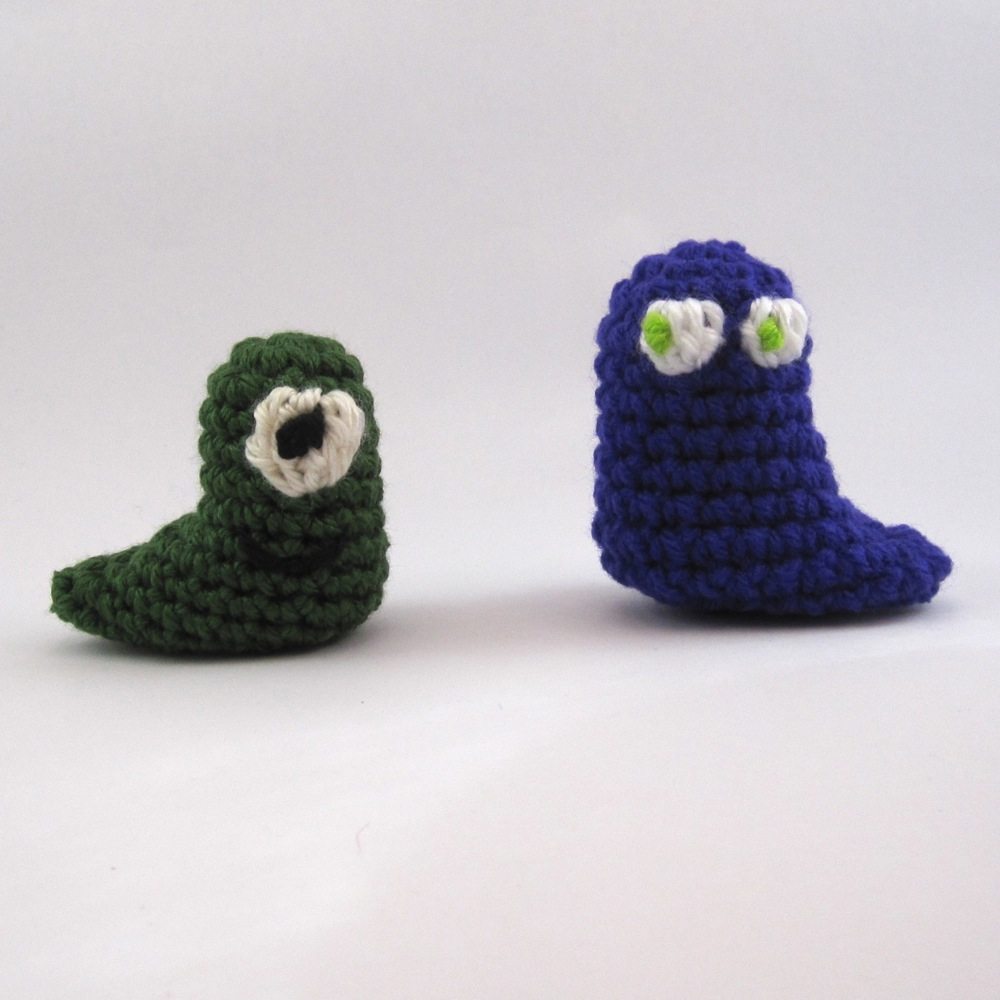
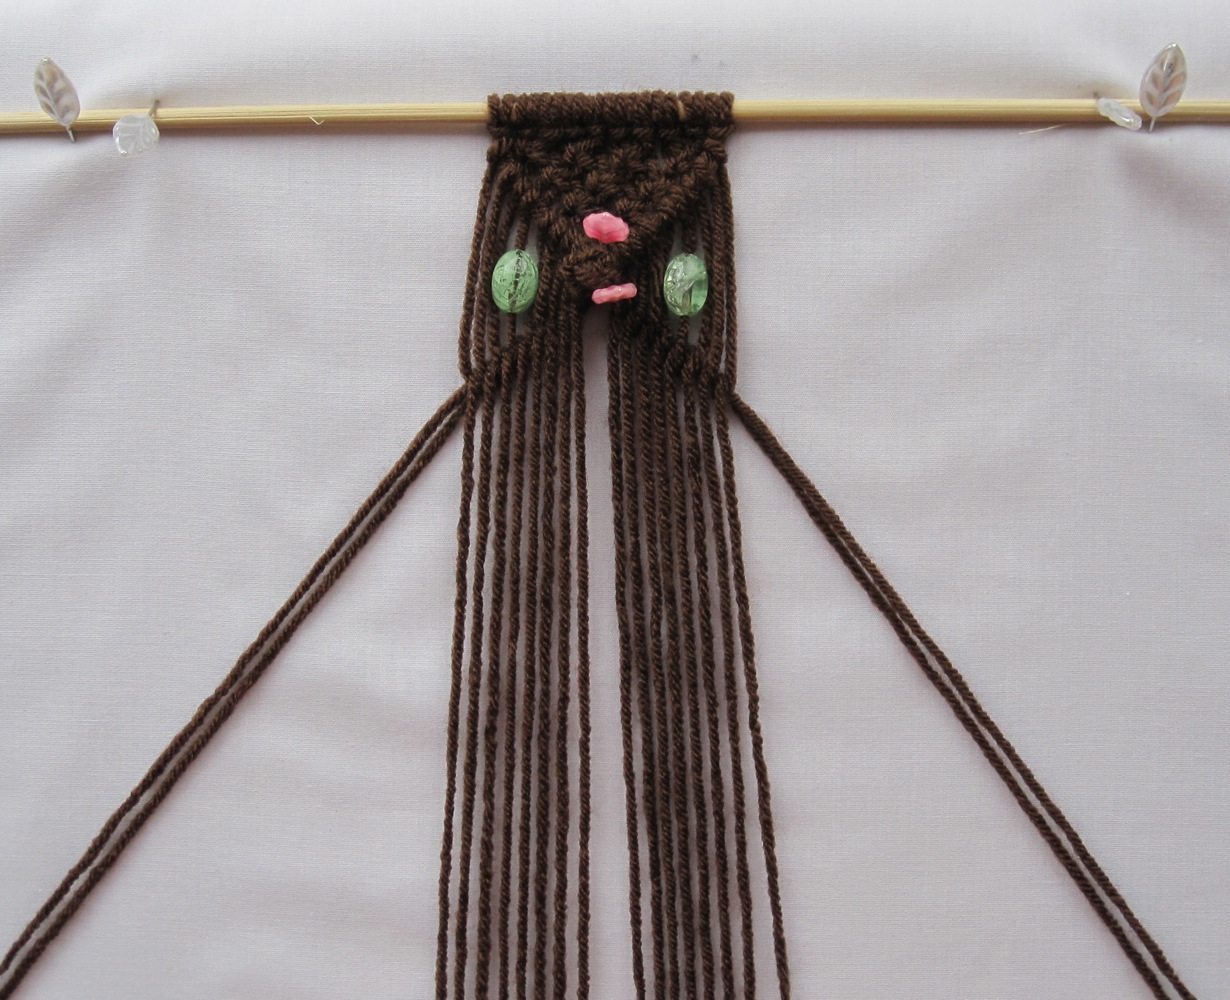
The modification boils down to this: replace the bobbles for the eyes with sc, and the sc between them with an sc in BL only. In the next round, the bobble decreases (decreasing to eliminate the extra loop created by a bobble) will each be a single sc, and you’ll make a 4-tr bobble in the unused loop of the stitch two rows below. Then in the row after you’ll have to bobble decrease.

To wit:
4. Sc 13, sc in BL only, sc (15).
5. Sc 13, 4-tr bobble in unused FL of rnd 4, sc (14 sc, 1 bobble).
6. Sc 13, bobble dec, sc (15).

Instructions for a 4-tr bobble: This is four partial triple crochets looped together.
**YO twice and pull up lp in prev st. *YO, pull through 2 lps on hk* twice.**
Repeat **…** three more times for a total of 4 partial tr and 5 lps on hk.
YO, pull through all 5 lps on hk; ch 1.

Make sure to insert your hook the correct direction for the bobble! Front to back will be more like bottom to top, and will be pretty awkward. Let the bobble fold down toward you during the making and all will be well.

black sluggo in tree green sluggo in leaves

Get the Sluggo pattern in the shop.

Green-eyed macrame owl

In honor of I Love Yarn Day I decided to try a yarn craft I’d never done before. So I chose macrame, which is not actually a yarn craft; it is more commonly done with cord or something else that doesn’t stretch. After looking around I found a pattern for a macrame owl by a crafter named Alice.

macrame owl finished

The pattern was wonderful and I highly recommend it. It uses only lark’s head knots, half hitches, and square knots, and the diagrams are clear enough I didn’t need any supplemental material, even though this was my first macrame project (odd, since my mother did a fair bit of macrame when I was young). I did use a different macrame resource to confirm I was interpreting the diagrams correctly, but I was.

The pattern calls for crochet thread, and I used sport weight yarn. I wasn’t sure what the length conversion would be, so I cut pieces at least two yards long. I didn’t need to; I had well over half the original length left over. However, it was convenient to have the extra weight – with the end of the yarn wound on bobbins to keep the strands from tangling together.

yarn bobbins for macrame

I used bamboo skewers for the top and bottom rods, and beads from my stash for the eyes. Instead of putting glue on the ends of the yarn to turn them into needles, I folded a length of thin wire in half to use as a threader. I stuck it through the bead, put the yarn through the folded end of the wire, and pulled it through.

Here’s a picture of when it first started looking like something. I added pins to keep the fold in step 6 in place until it was knotted up.

macrame owl partway done

I found the pattern via the Macrame Lovers blog. It updates sporadically (and hasn’t for over a year) but has a decent number of patterns both locally and linked around the web.

[I accidentally categorized this as crochet and then linked to it from elsewhere, so it will stay in crochet to keep those links valid.]

Royalty

My husband and I had our first anniversary on Saturday (which we celebrated by going to a wedding). My gift to him was a prince and princess stitched in embroidery floss.

royalty - front royalty - back
What happens when you block and then wrap and then don’t re-block.

The patterns were from Kati Galusz, her free Medieval Fantasy: King and a paid Medieval Fantasy: Lady. I changed their clothing color as well as their ranks, and made an extra crown from the King pattern for the Lady’s promotion. The patterns were easy to follow and almost didn’t require any modification to use for embroidery floss, although the lady’s clothing was shorter than it was supposed to be. There’s still something I haven’t figured out about stitch proportions in floss versus yarn, and flat versus round. I added more hair than called for to avoid bald spots, and I had to extend the top of the lady’s arms because they were also too short.

In case you also want to make these out of embroidery floss, here’s the specs:
I used 6mm safety eyes from Suncatcher Eyes, in brown and country blue.
The dolls were a bit over 2.5 inches tall.
He required 1 skein each of DMC 310 (boots), 945 (skin), 435 (hair), and 680 (also hair – I split the floss in half and recombined to get variegation). He required 2 skeins each of DMC 783 (sleeves, pants, embroidery, belt) and 815 (doublet). One skein of E3821/5282 made both crowns easily. She required 1 skein of 898 (hair) and 2 skeins each of 910 (inner part of dress) and 945 (skin). She needed 3 skeins of 3818 (outer part of dress). I did the “skin” option for her legs. If I’d done the “stockings” option I might have been able to get away with one skein of 945, but it would probably have bumped me up to 3 skeins of 910. For the least invasive strand-changing on the lady, stitch her skirt and coat first.

To lengthen the lady’s arms as I did after they were crocheted but not sewn up, take a new length of floss, pull up a loop in the second-from-end of the 6 stitches across the top of the arm (which end doesn’t matter), chain 1, sc in same stitch, dc in each of next 2 stitches, sc in next stitch, and sl st in same st as sc. You’ll have added to the center 4 stitches of the 6.

I took only one progress photo, so here you go.

bald 'n' armless
I title this “bald ‘n’ armless.”