The Vault

Today is my third crochetiversary! To celebrate, I’m going to dig into the archive and present some projects I did before this blog began (the following March). This will be a Sunday feature (why not?) through the end of the year.

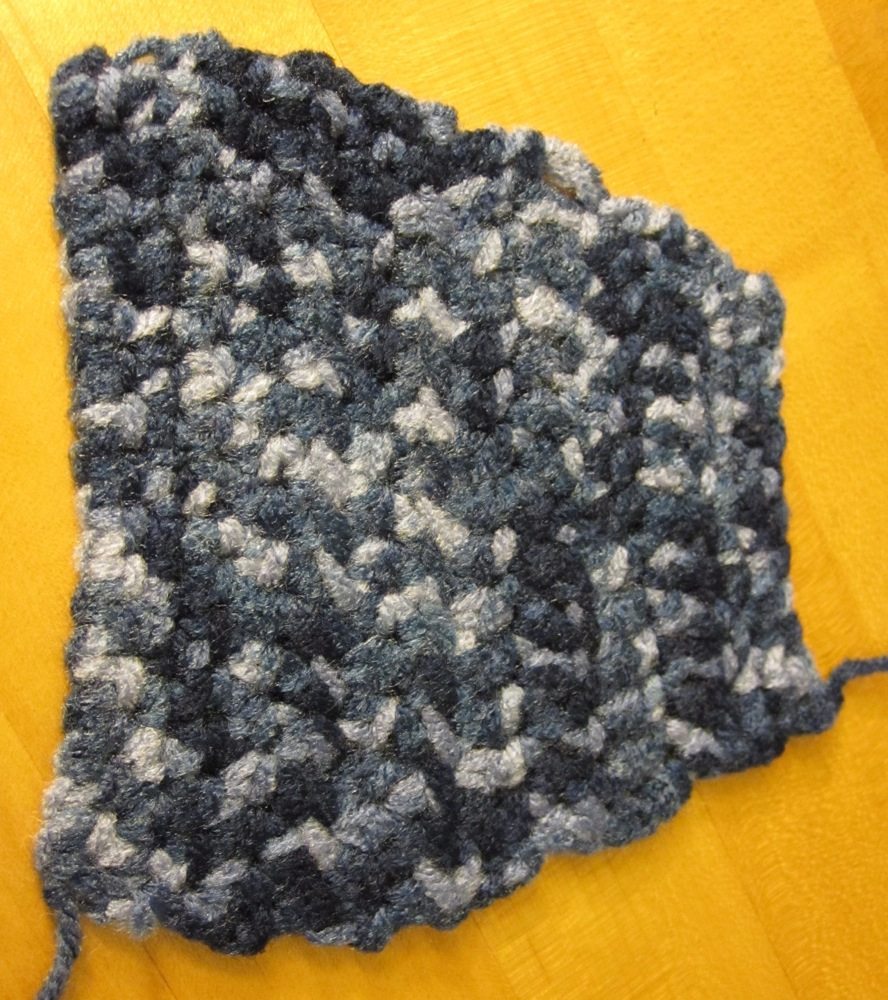
I began crocheting during a bout of insomnia, from the Reader’s Digest Complete Guide to Needlework. My first attempt was a muddled mess. Finally I succeeded in a couple of rows of recognizable fabric.

earliest crochet

One mistake: the yarn was not only fuzzy-textured, it was variegated and rather dark. Smooth, light colored, solid yarn is better to start with, for easier hook-work and for seeing what you’re dealing with.

I tried some taller stitches and had the typical trapezoid experience.

earliest crochet

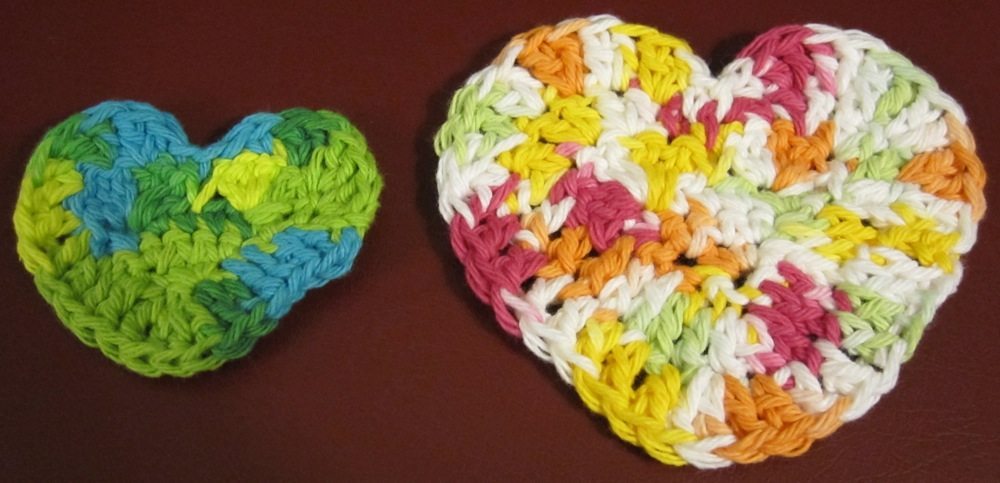
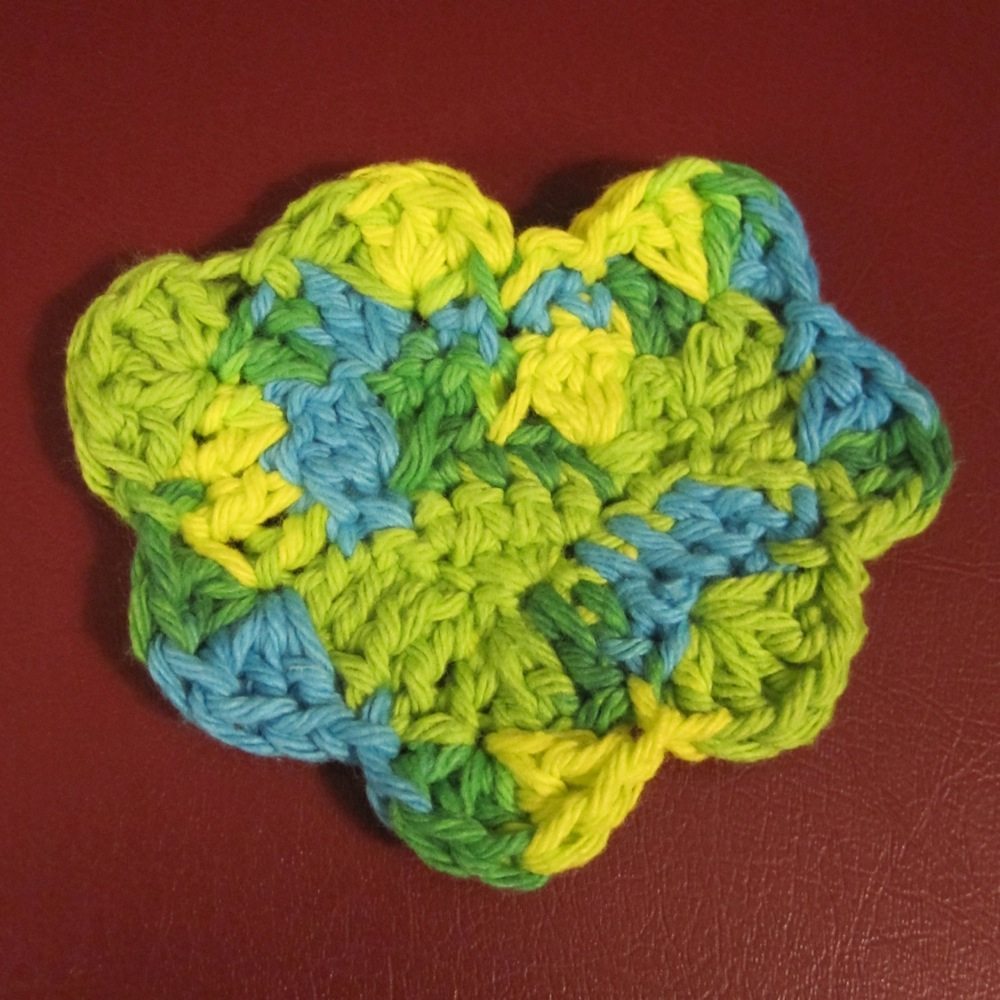
Finally, though, I succeeded in making Caron’s free heart. I am pretty sure it did not match the pattern, but it was a recognizable heart.

first heart

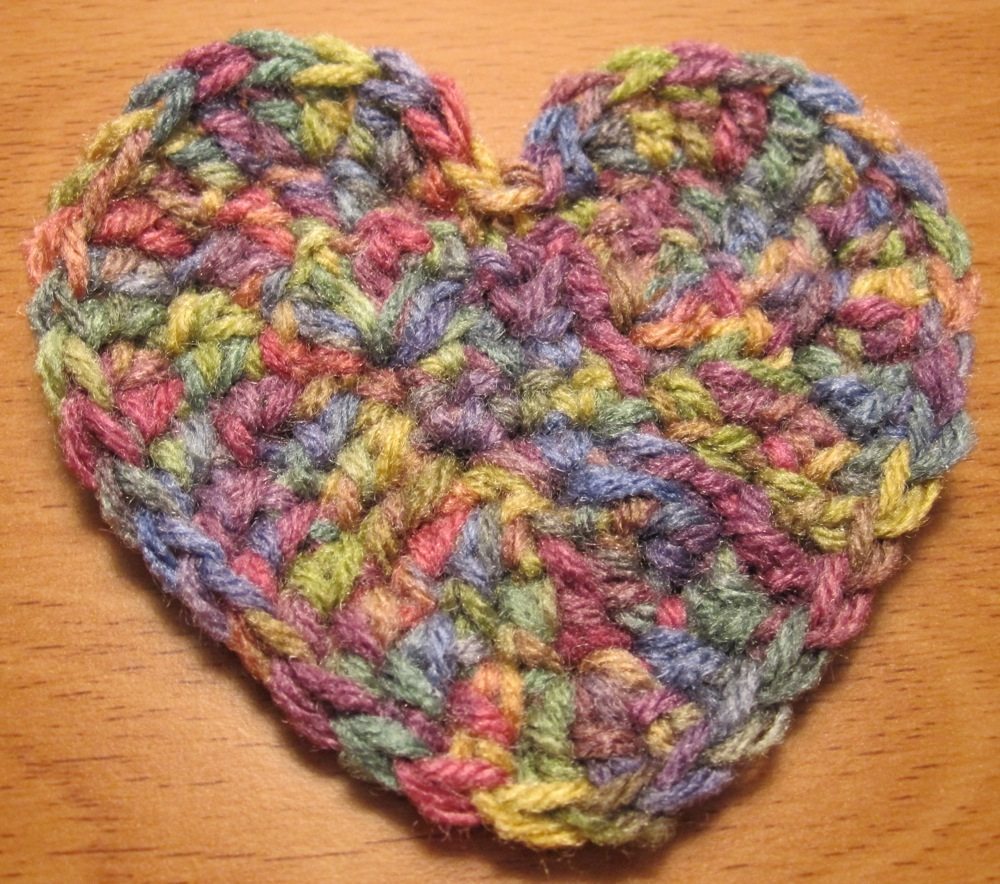
This went on Facebook with the caption “I did a thing!”

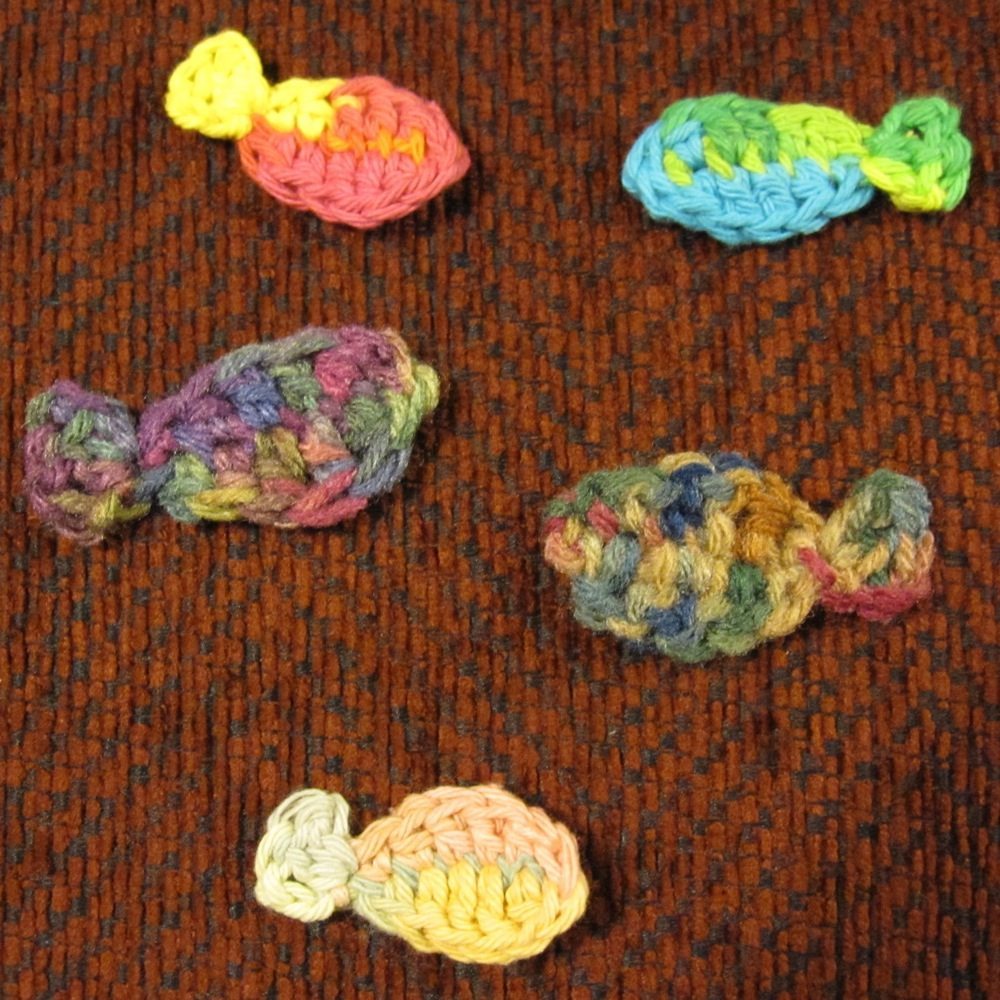
My next project was a pattern I’d actually tried the first night I crocheted, sitting on my bed in the wee hours of the morning, and mangled terribly. Not so this time! I made piles of goldfish.

fishies fishies

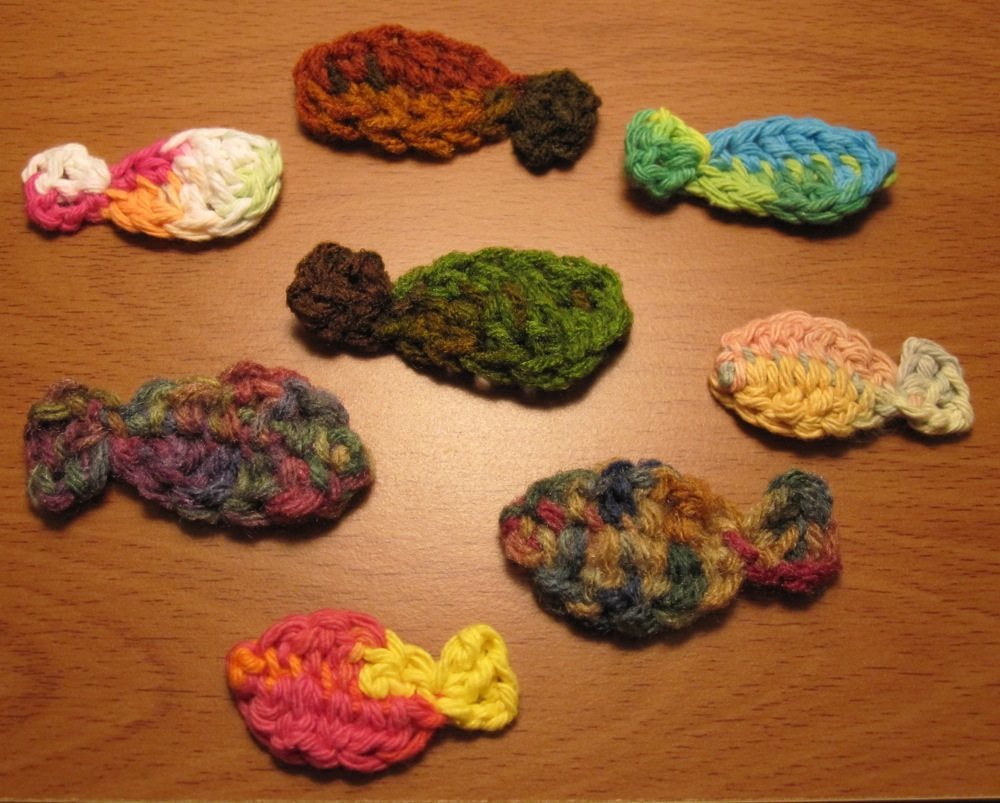
After that I felt bold enough to experiment with different hooks and with stitch improvisation.

different hooks shell experiment

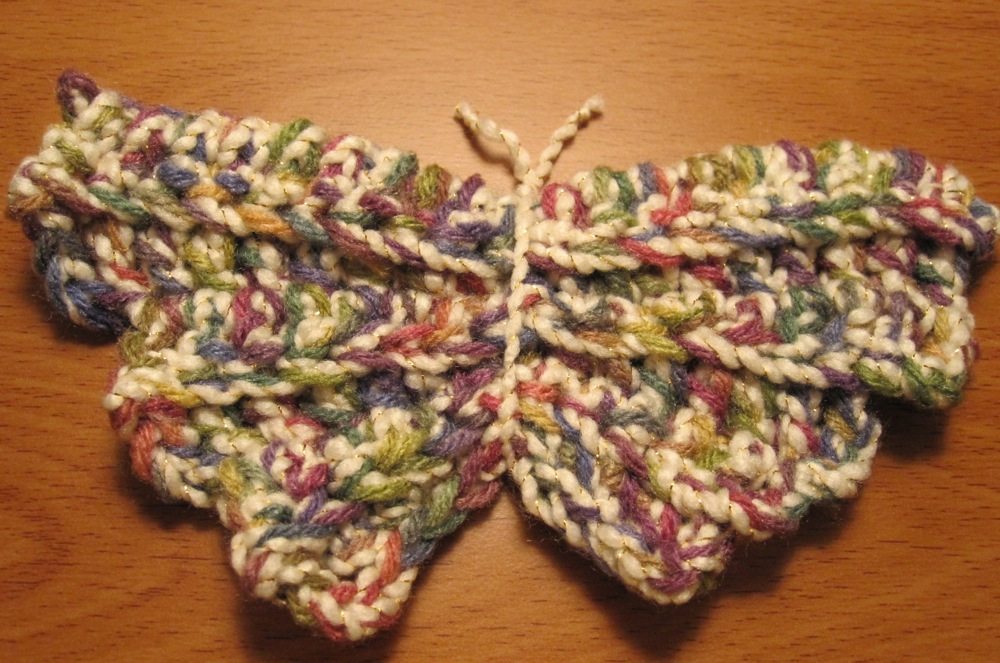
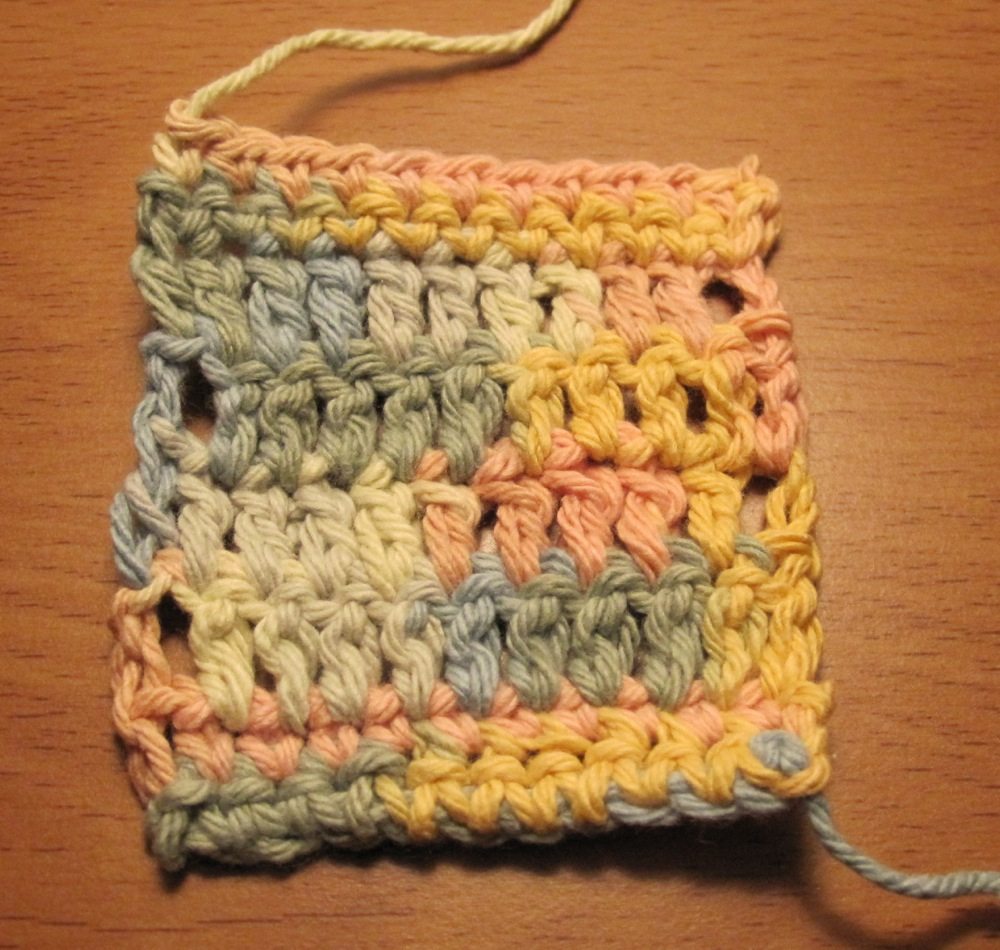
In late November I tried a pattern that used one-loop-only stitches, a butterfly, and by the beginning of December I had a perfect swatch of double crochet (plus some single crochet).

butterfly successful dc swatch

To be continued….

Crochet Gladiator: Working in Rounds

There are a few ways to crochet in the round, and variations on those ways. I have a baker’s dozen of contenders for you, fighting it out to see who is the champion. I hope you like orange, because they’re all in the same orange yarn – though I have some kicky backgrounds for you, to break up the monotony.

round samples together

We have essentially five techniques: spiral, stepped spiral, standard joined rounds (plus 6 variations), progressive joined rounds (plus 1 variation), and unjoined rounds (plus 1 variation). These are all cases without turning between rounds. I want to acknowledge Crochet Spot, Cre8tion Crochet, and Crochet Ever After for giving or inspiring many of these variations.

The samples are numbered by the order in which I stitched them, which is not quite the order in which they appear in the categories. I didn’t want to change the labels when I reorganized because it seemed likely I might mix some up.

Here’s the punch line: use spiral crochet for patterns that call for it. For patterns calling for you to join with a slip stitch in the first stitch of the round, chain 1, and then begin the next round in the same stitch you slip stitched into, make a slight variation: after slip stitching, hold the yarn against the hook with your thumb and pull upward to tighten the slip stitch (method 9 below). Make everything else at standard tension.

To compare, I looked at ease of stitching, seam line, biasing of stitches, the back side, and whether the end of a round aligned vertically with the beginning. The punch line is that when you can use a spiral, do. If there are features that have to be lined up, you may have to use a spiral, because it biases slightly backward (each round starts slightly earlier than the previous one), and there is no other technique that does so. There are techniques that bias forward, by starting each round in the second stitch of the previous; I call most of those “progressive.” They are interchangeable with each other but not with the spiral or techniques with no bias. Most of the techniques below do not bias either direction; they are all based on standard joined rounds. The gory details are after the jump.

Continue reading Crochet Gladiator: Working in Rounds

Trinket boxes

trinket boxes
Trinket Box Pattern

Oh man, I thought this would never be done. Long ago this was to be a teaching pattern, for half double crochet increase and decrease. It was pretty subpar using only the techniques learned to the desired point in the course, but the idea was sound, so I re-created it using the magic ring and with the sides created in the round beginning with stitching directly onto unused loops of the base. Many, many revisions later, I bring it to you.

This pattern was a challenge. I shifted the increases and decreases in the corners of the box half a dozen times, and even developed a new hybrid joining/spiral technique for the base: slip stitch at the end of the round, but don’t chain up. I call it the stepped spiral. It has some benefits of both typical rounds techniques: less seam than joined rounds, less asymmetry than a spiral – though not zero seam or zero asymmetry. I applied it to two of the lids as well.

The chimney lid (funnel shaped) had a dramatic reimagining – I first made it starting at the top, stitching around in the back bumps of a starting chain, and then went back at the end to sew in two artificial chains to fill in the spot where the chain twisted down and made a sort of chip in the lid (since a loop made by stitching in the back bumps wants to be a mobius strip). I could not figure out how to pin down and explain my filling-in method, though, so I had to re-design. Instructions for top-down stitching are included, though you don’t get a ring of teardrops and you do have your starting slip knot up in the top edge, but the main instructions are for starting at the neck with foundation single crochet, a la this recent blog post. The main lid is in red below and the alternate in light green.

chimney lids chimney lids in yarn and floss

I plan to work out how to make these in non-yarn materials. I’ve tried embroidery floss with a size 4 steel hook (2mm; above), and I think four strands of thread (for a mini box) and narrow wire-edged ribbon (for a very solid, possibly slightly larger box) would both be appealing. When I do figure those out, in addition to blogging them I’ll put photos and materials lists on the trinket box pattern page.