Little crochet animals

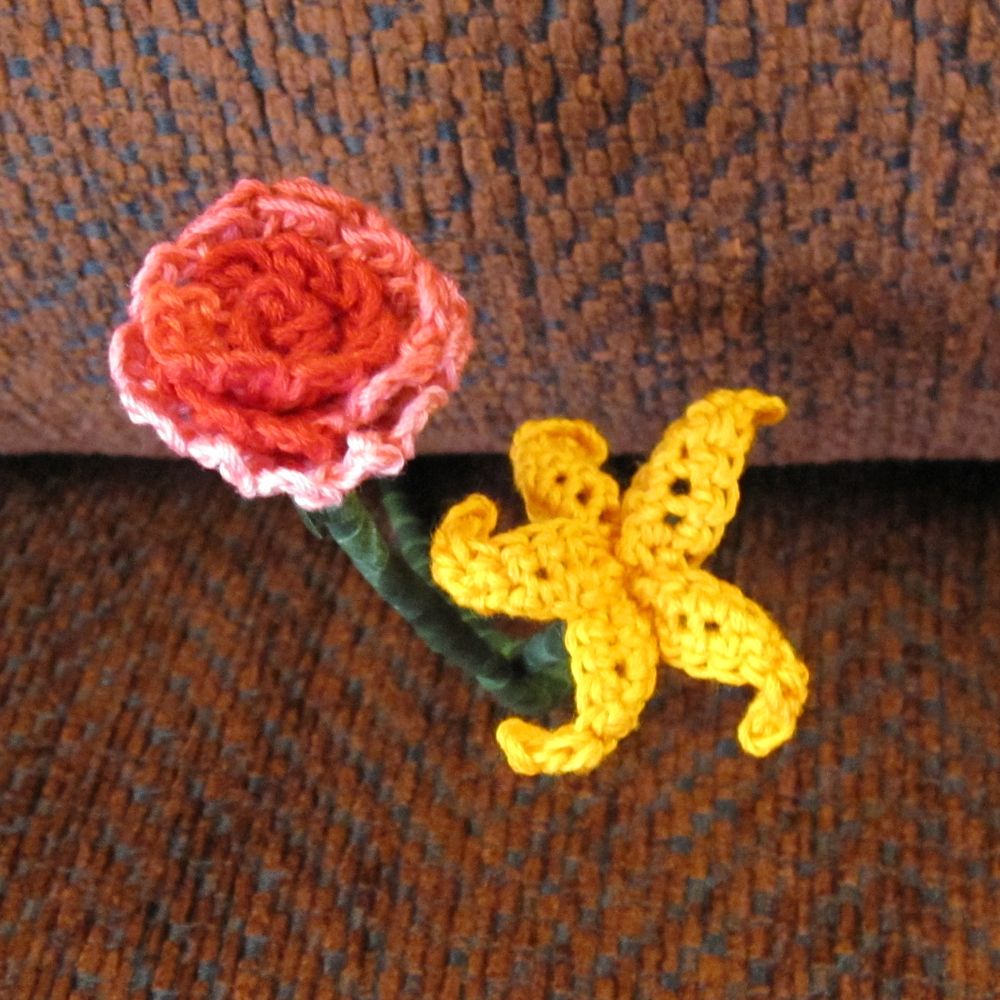
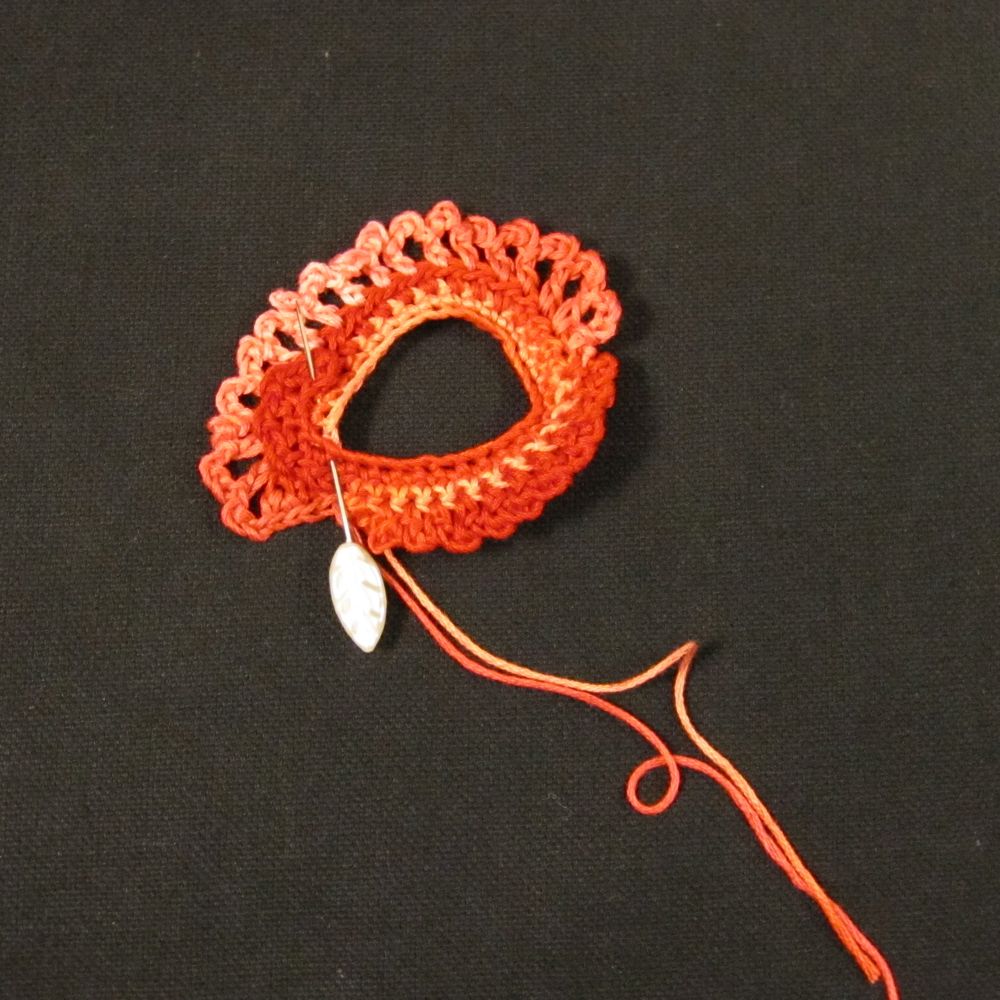
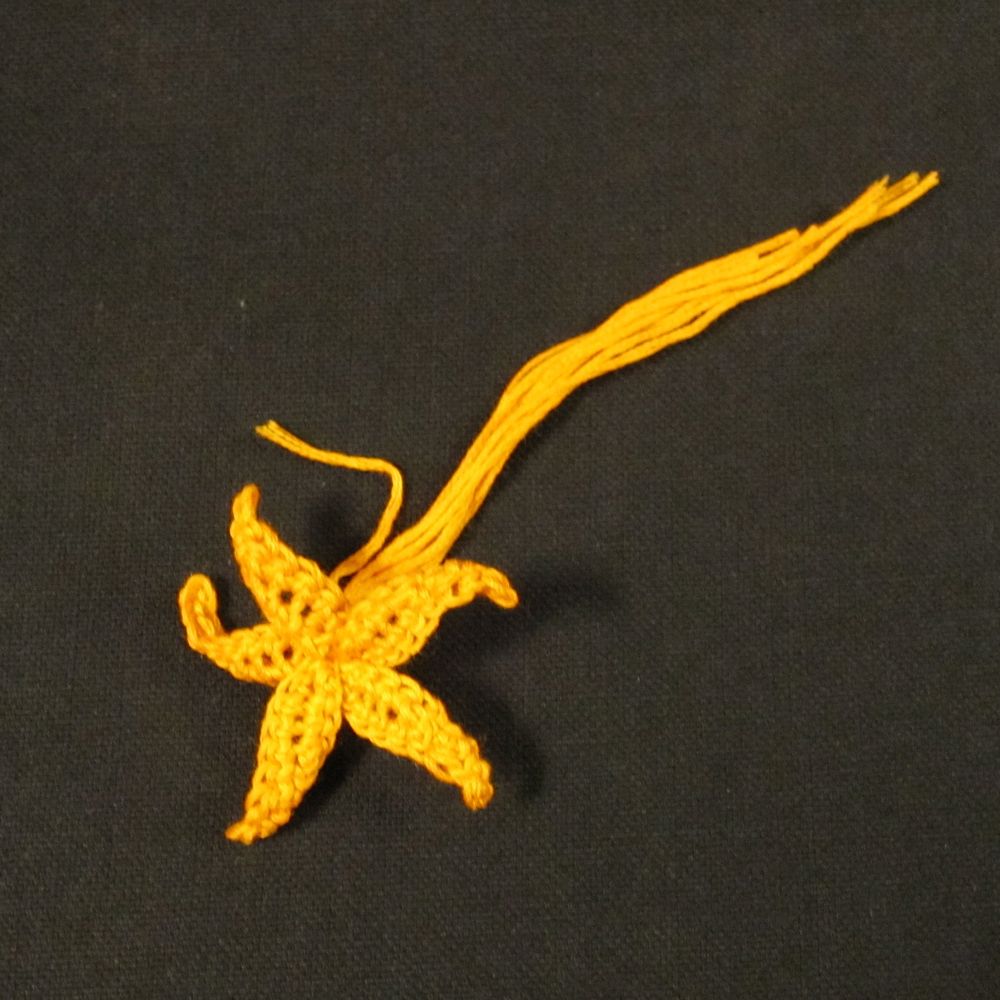
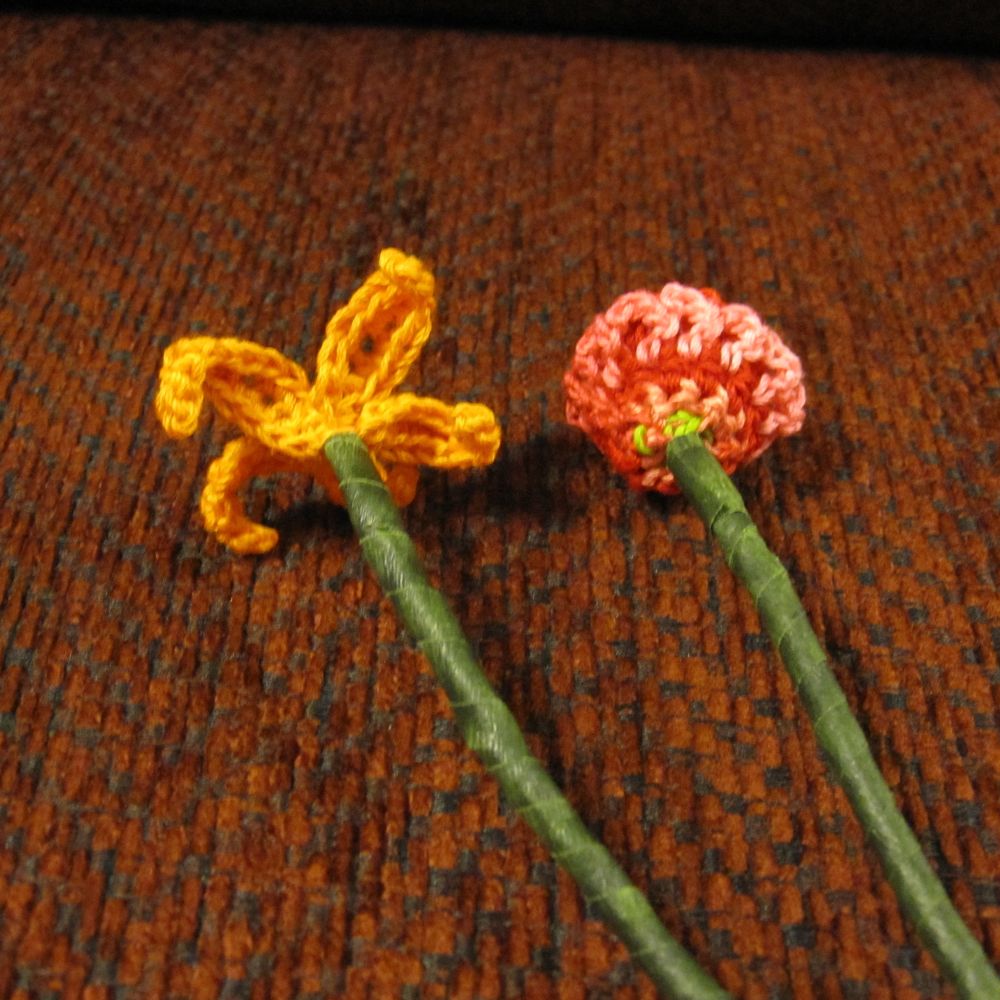
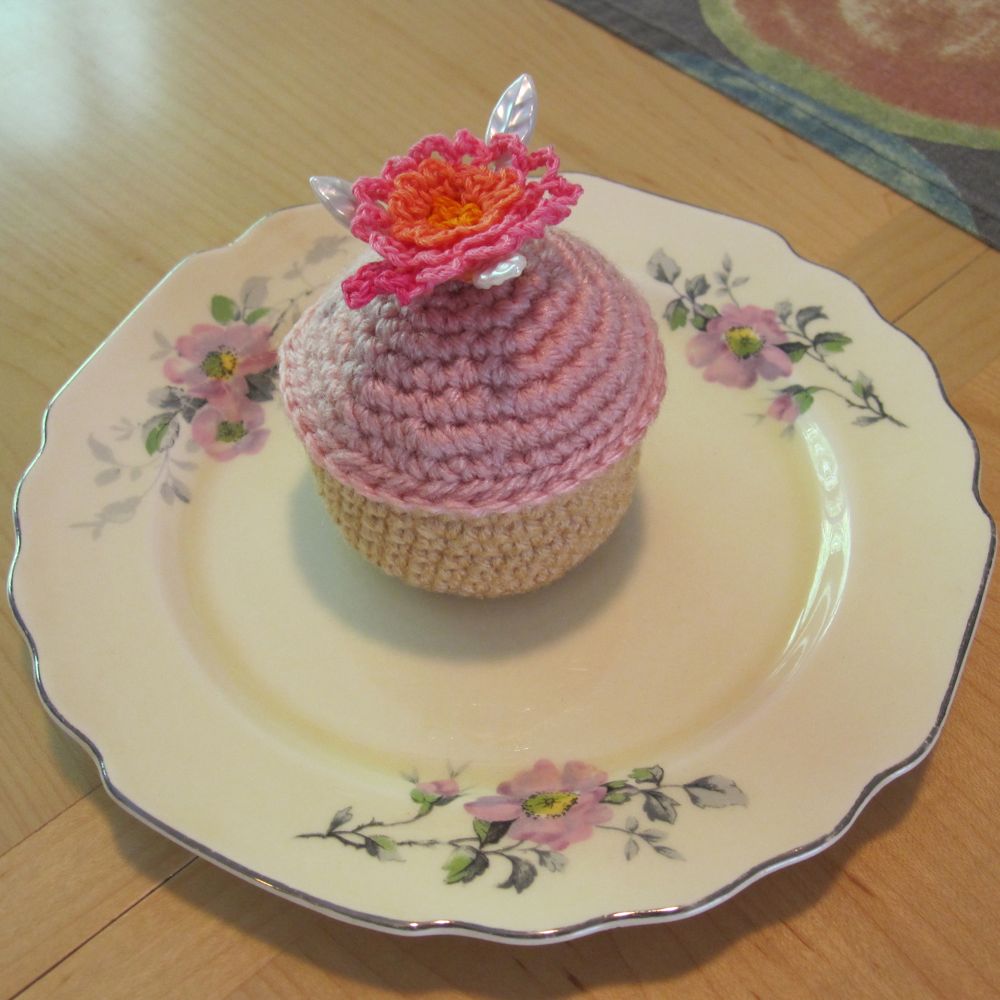
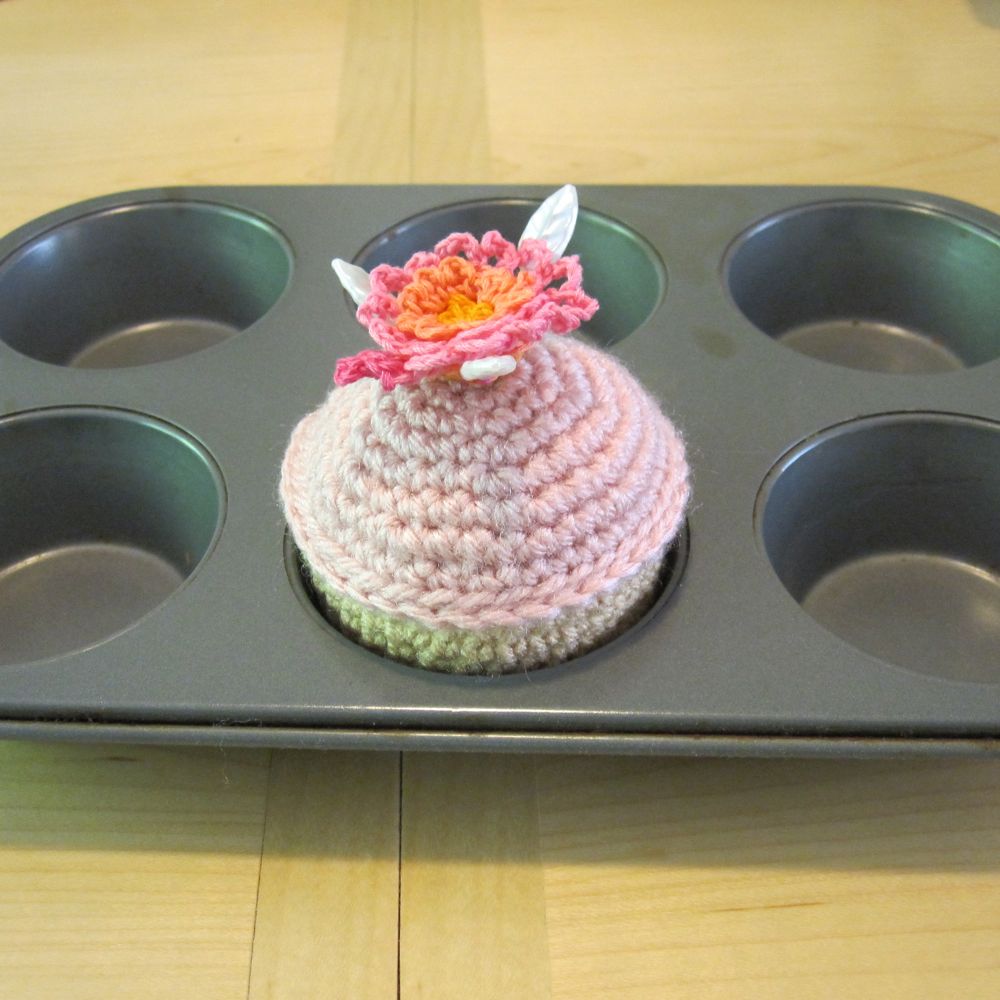
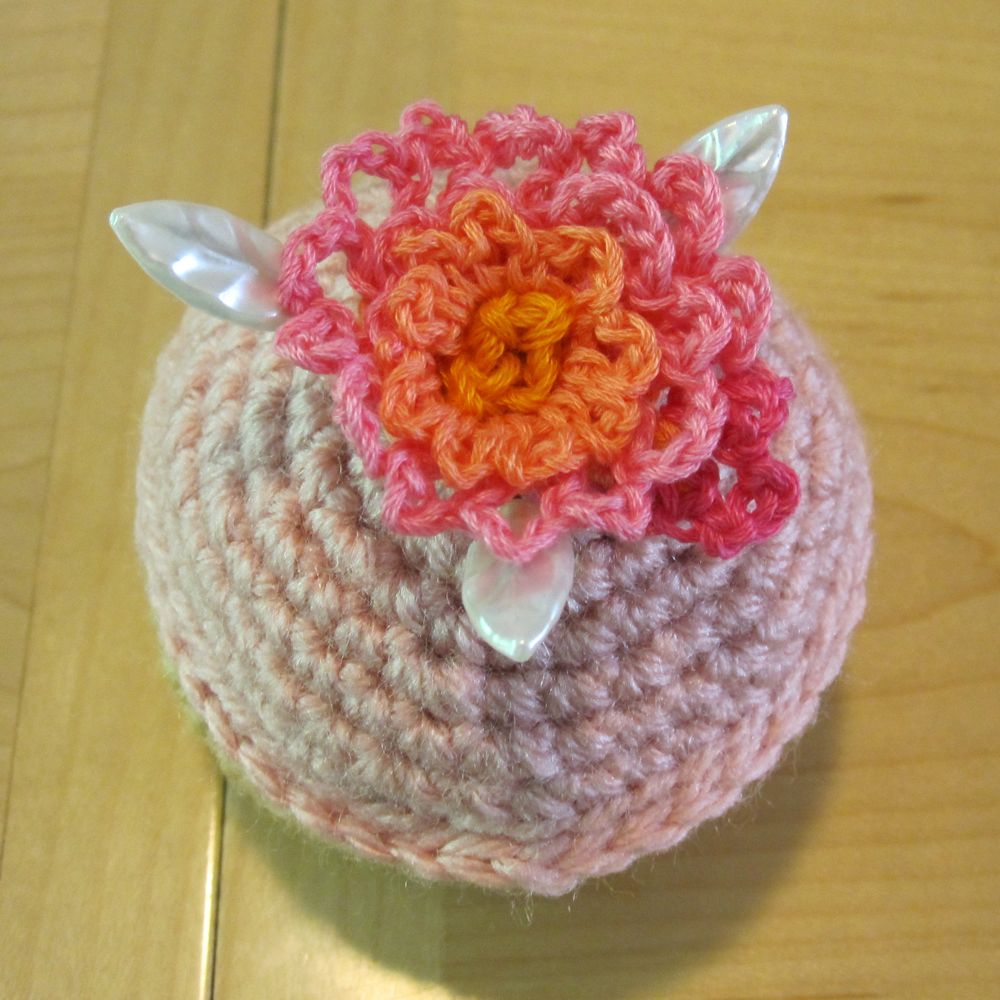
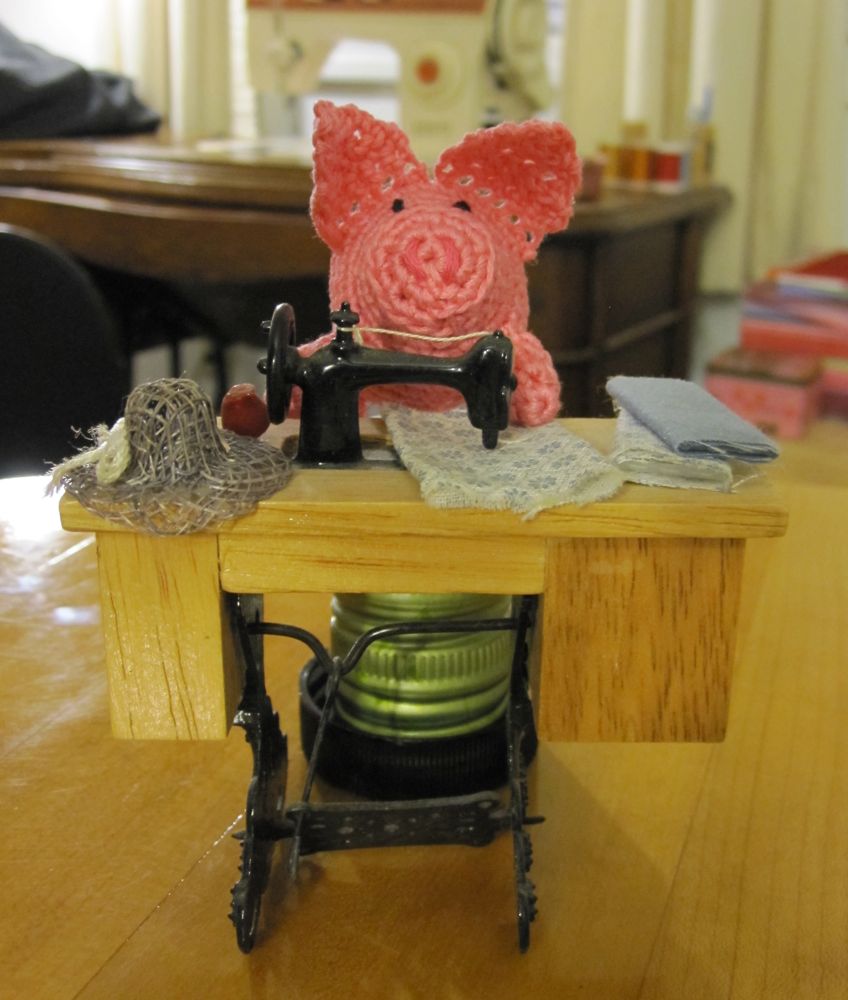
In this space would usually appear my entries for the monthly crochet challenges I’m part of on Ravelry. However, I didn’t make it this month. Between travel and finishing my wedding gift potholders, I didn’t succeed in finishing either the Amigurumi Army’s June mission or the June CAL from Ravelry. Actually, I can’t entirely blame that; I also crocheted a dustrag and a third Swiffer sock. However, I wanted to finish the projects anyway, so I used the grace period between month’s end and this post to work on them. One was finished, on one I declared bankruptcy because I have higher-priority items. It will appear later.

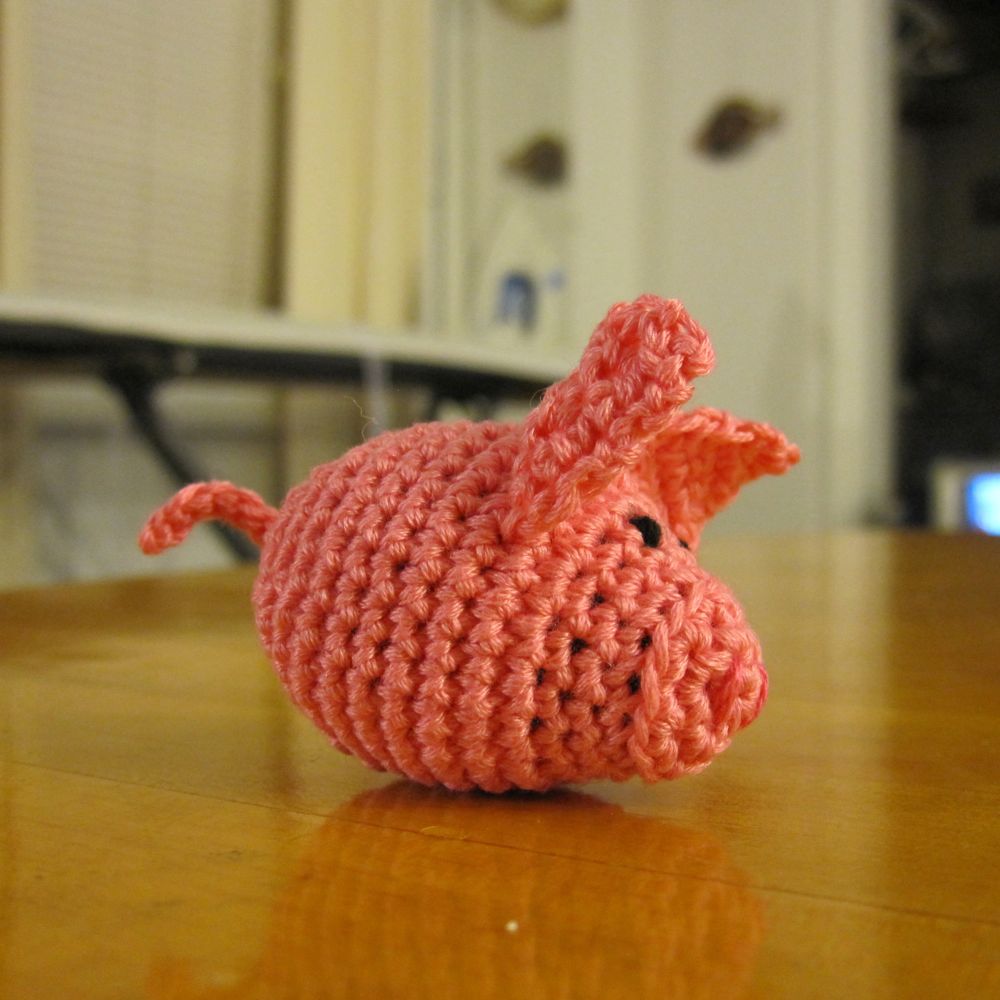
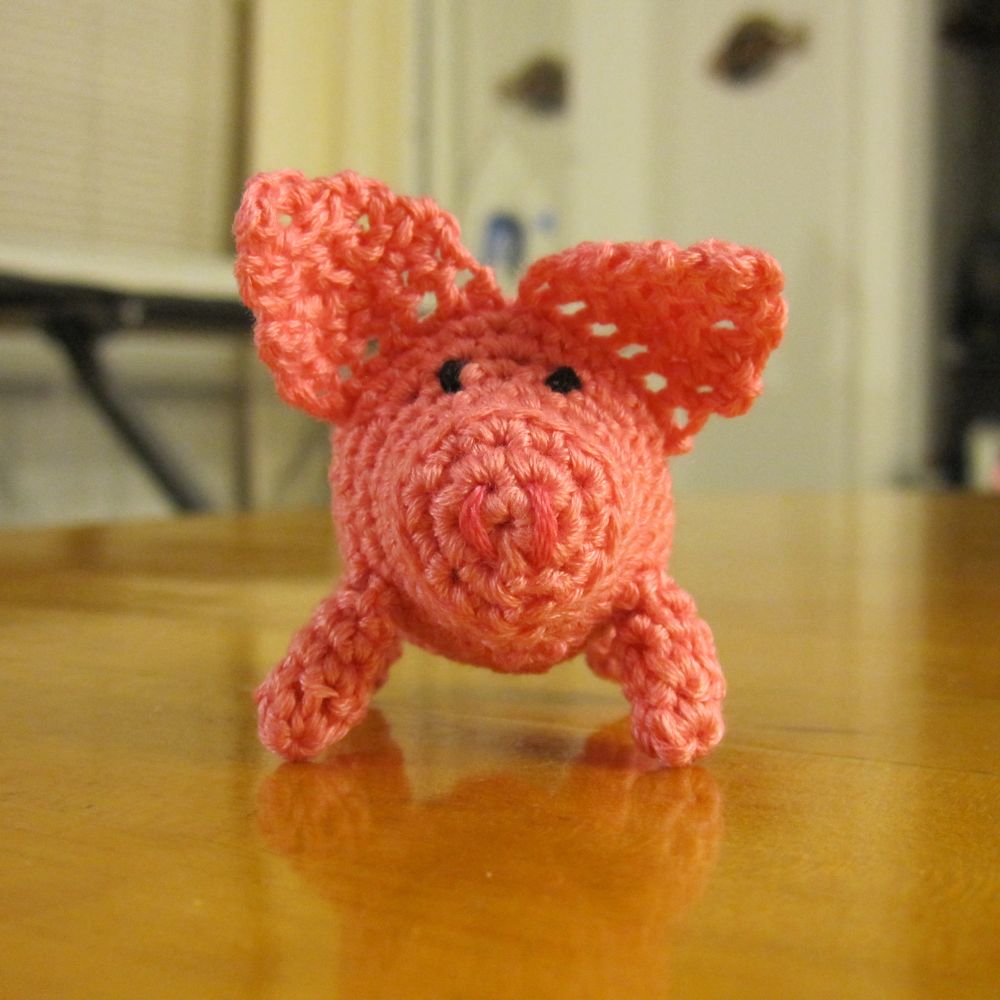
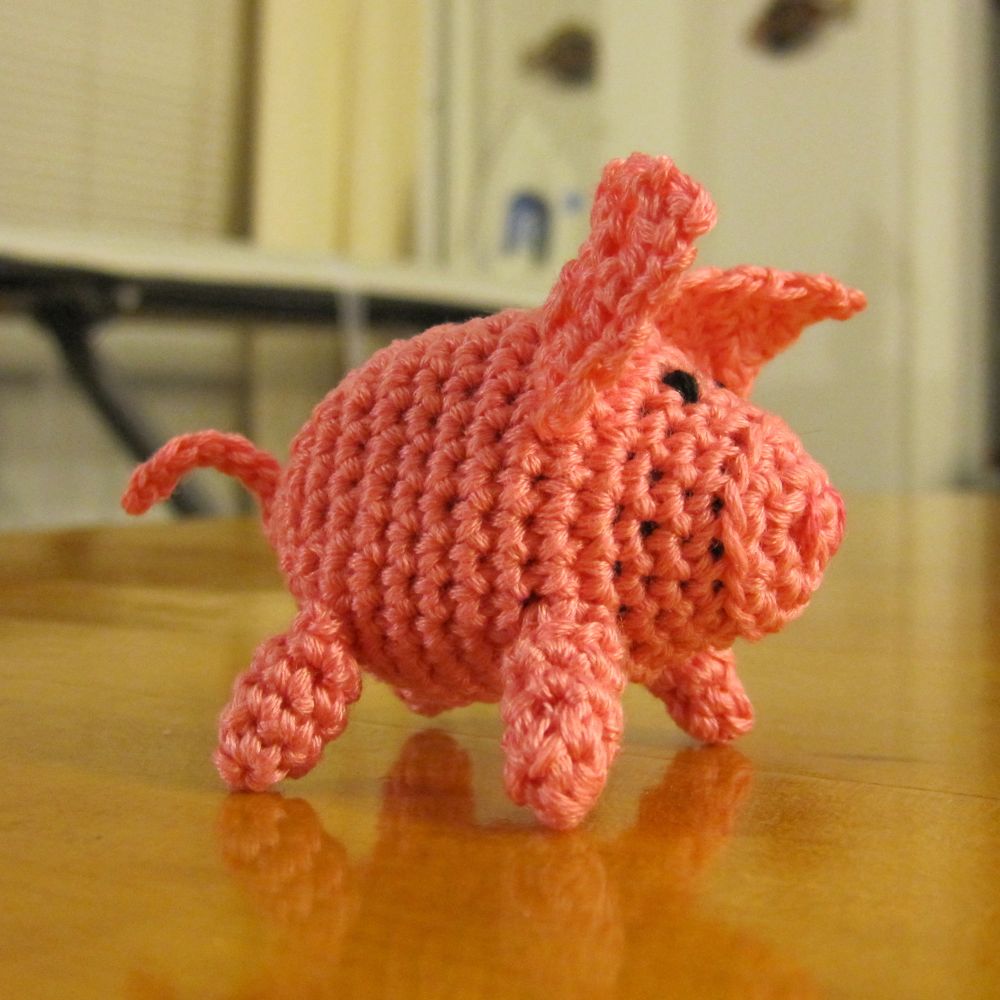
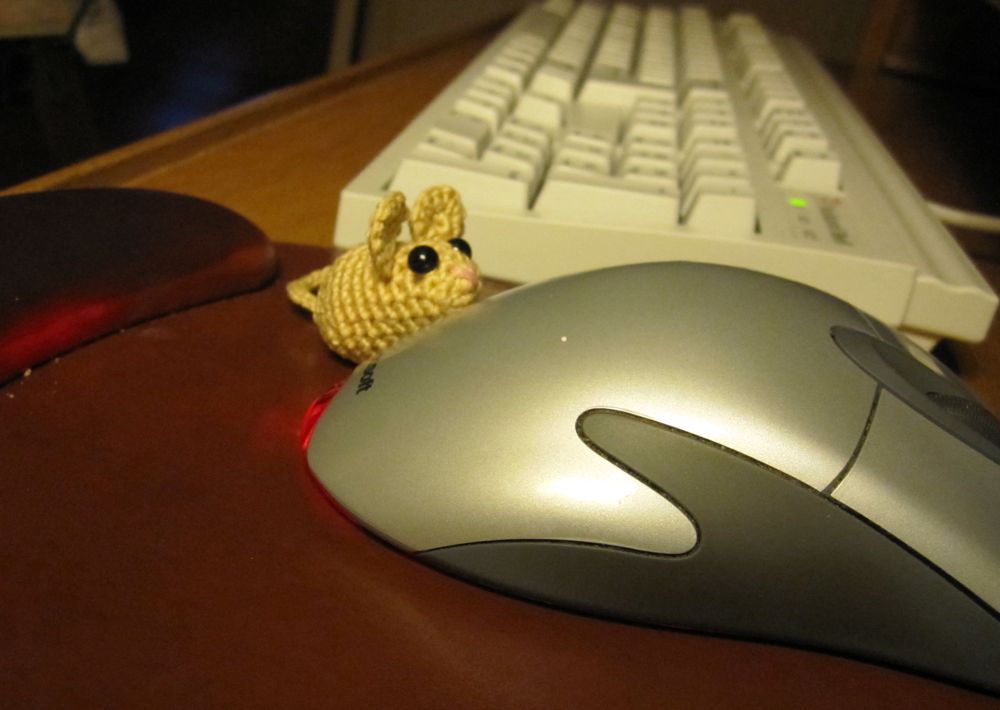
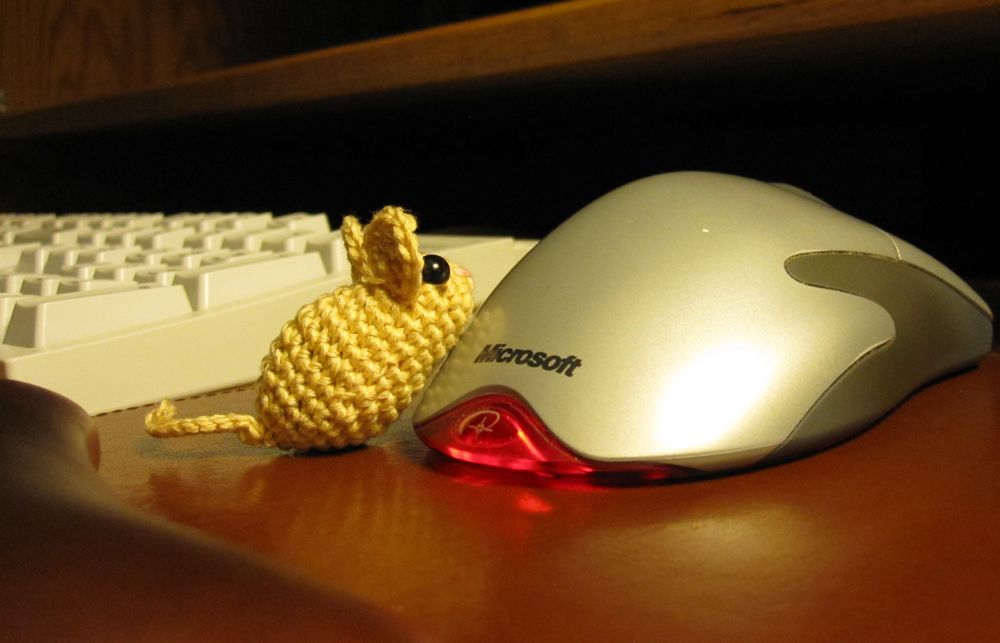
The one I finished was for the CAL, with the theme of animals. I had been wanting to make Kristie’s Kids’ little mouse (the designer of the pig I indentured earlier) and these monthly challenges are providing me impetus to get through my TBC list (to be crocheted, analogous to my sister’s TBR(ead) pile). I worked, as usual, with my 2.75mm steel hook and six-strand embroidery floss.

a mouse with a mouse and again

While visiting friends, I made a couple of small things – or at least started them. The one I completed had the highest honor of making it into their middle daughter’s Cinderella purse. I don’t know what he is, but the bird wings were the suggestion of their oldest daughter, and I think he at least turned out cute.

it's a bird, it's a plane? what is it?

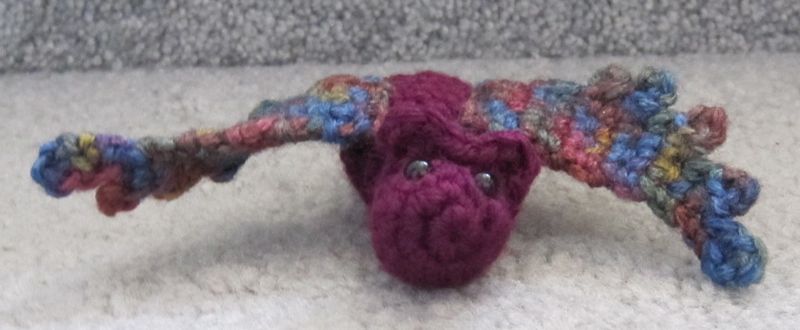
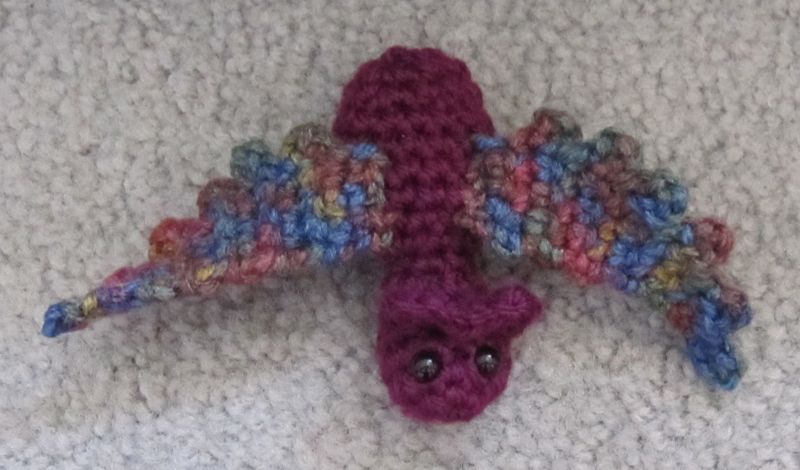
With him, I had some inspiration for a better way to do small ears. Say you have 12 stitches around (as I did) and the ears are roughly halfway. To make the ears, sc 4, (sc, ch 1, dc, ch 1, sc) all in FL of next st, sl st in FL of next st, and repeat () in FL of next st. Sc 5 to get back to the beginning. For the next round, sc 3, sc in BL only of next 5 sts (this is the BL of the previous round’s st for the first and last, and the remaining loop of the ear stitches in between), and sc in both loops for the last 4 sts. I found the ears stood up more easily with the addition of the BL stitches on each end.

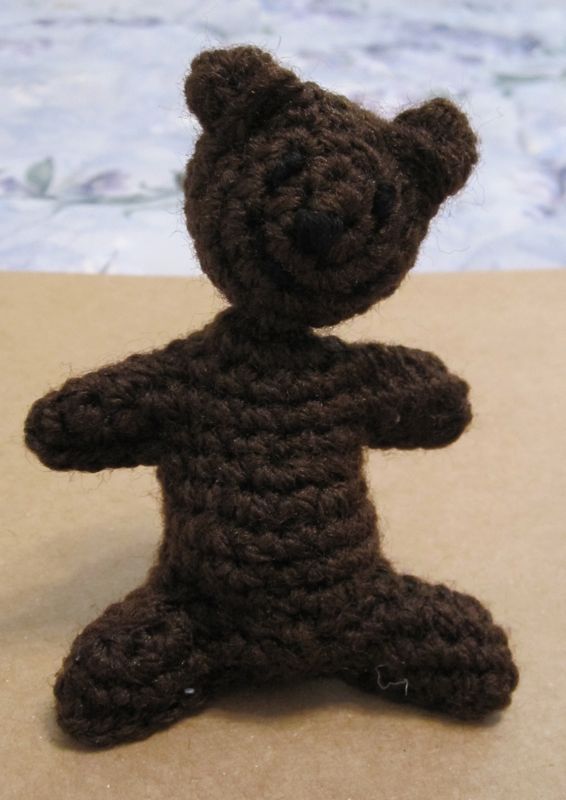
I then started on a teddy bear, using dc bobbles for the ears. My first attempt was a bit microcephalic, so I made a new head and produced the following. Both this and the winged thing were made with worsted weight yarn and an E hook (3.5 mm).

alas, not very cuddly

Finally, sitting in from of my parents’ television one day I made a bunny, from a pattern I believe I may have downloaded before I even knew how to crochet. Although it is very soft and squishy, the 22% wool of the yarn is too much for me, and it makes me itch even through my shirt. 🙁 Someone else will have to love it. This one was made with bulky yarn (Sensations Angel Hair) and an I hook (5.5 mm). I made a 4dc bobble for the tail but you can’t see it in either picture.

snuggly! snuggly!
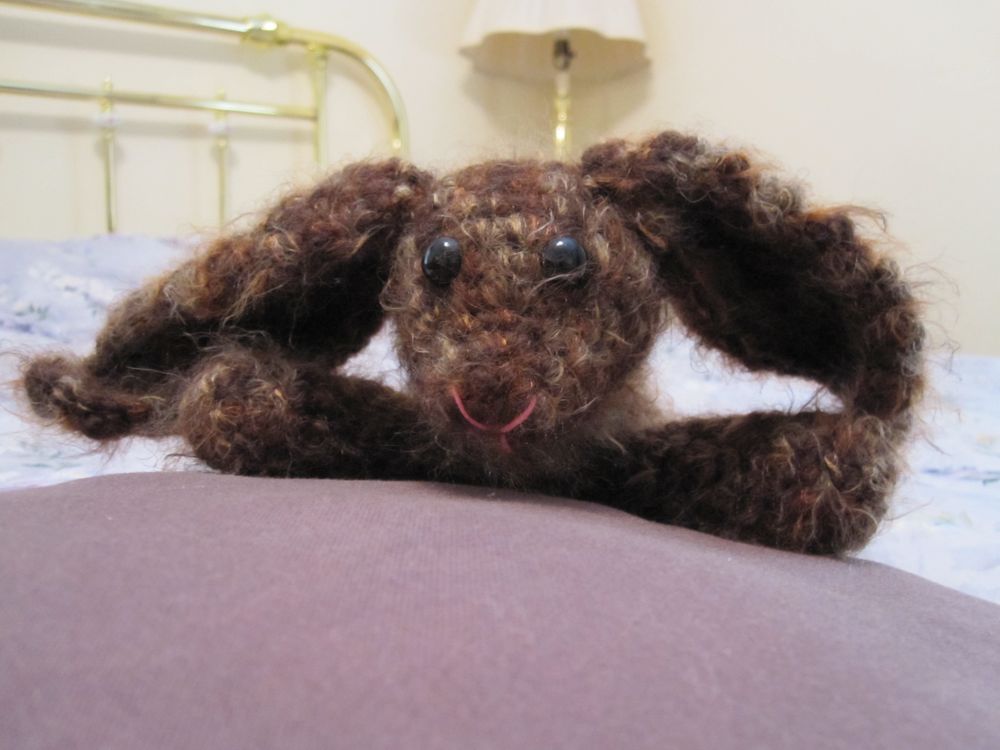
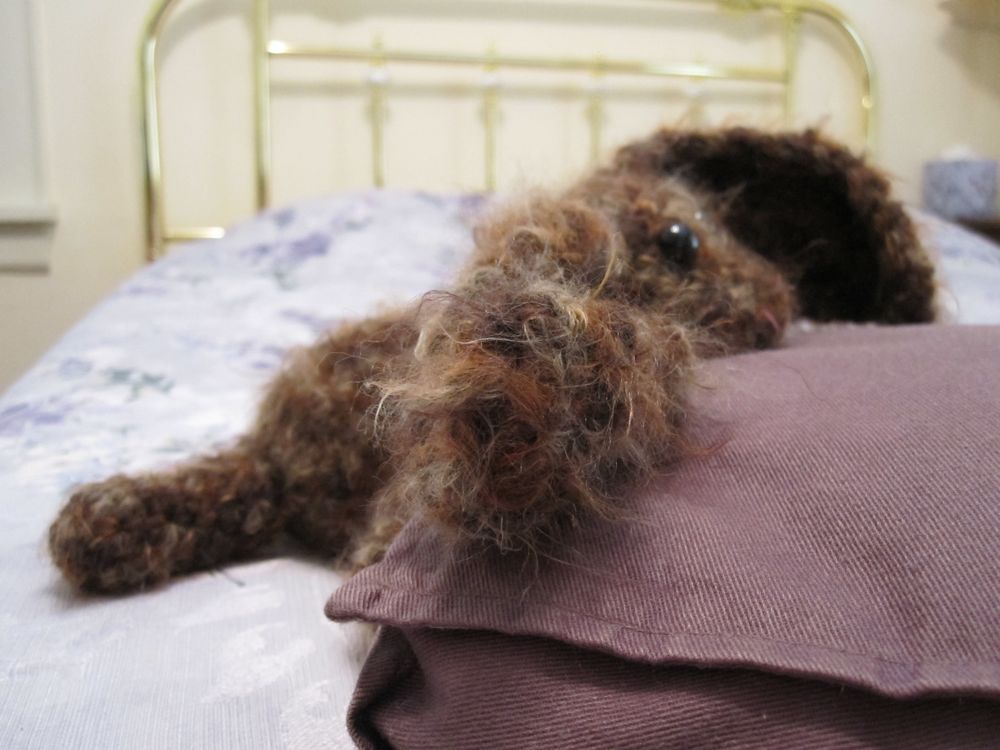
A bunny tail is called a scut or a fud, according to my mother’s crossword dictionary.

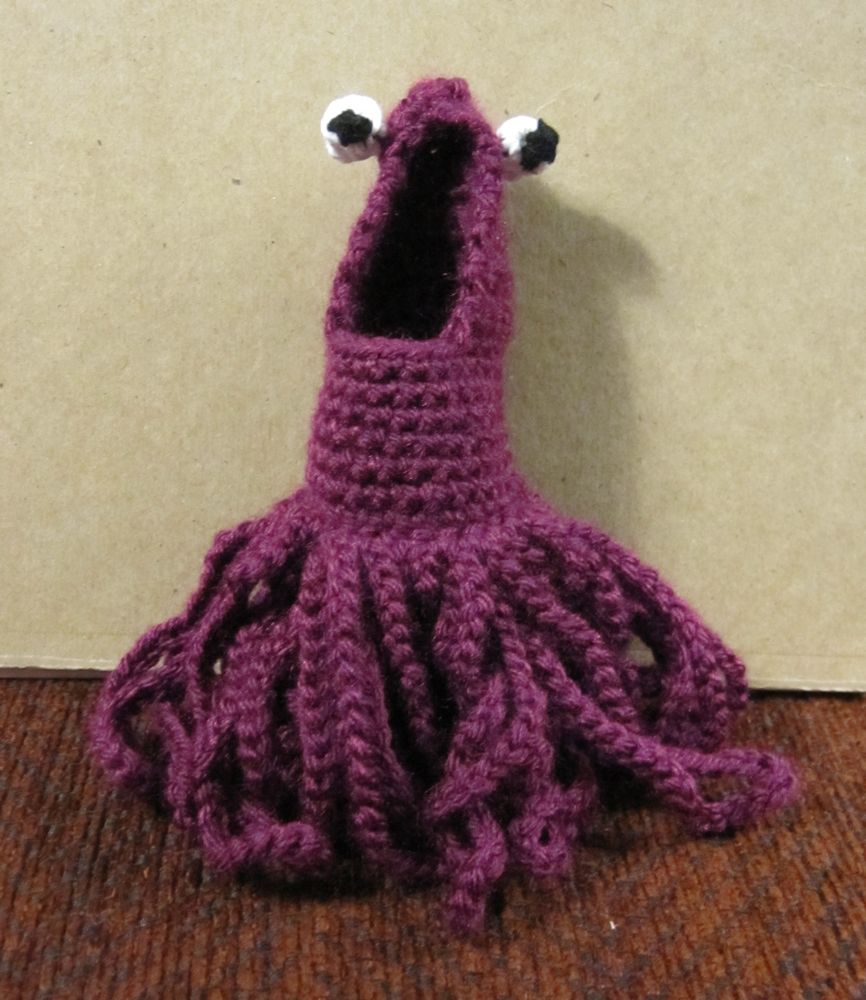
The Amigurumi Army theme for June was mythical creatures, and I am halfway through a project, but I have some other projects with deadlines and travel upcoming this month, so it will appear in a later post.

Flowers and cupcakes

May’s Amigurumi Army mission was flowers. Actually, the week from Apr 28 to May 4 in Iron Craft was also flowers, but I did not complete anything in time. I had a sad half-done daylily on my end table for half the month.

Finally I decided to go for it, finished the daylily, and made a flower that I intended to be a carnation but which may have ended up more like a small rose.

rose and daylily

Patterns! Note that both flowers involve stopping or turning in the middle of a row. Abbreviations are explained here.

Rose or Carnation:  
In any plausible color. (which with dyed carnations is pretty much any color)
– ch 37
– sc in second ch from hk, (ch 2, sc) five times, sc 30, ch 2, turn
– hdc 18, sc 12, ch 3, turn
– sc, (ch 3, sc) eleven times, sc, (ch 4, hdc) seventeen times
– ch 1, sc down side edge, FO.
– Roll up starting with narrow end.

rose before rolling

Daylily:  
make 5 in orange, yellow, or desired color.
– ch 10, sl st in second ch from hk, sc, hdc, sc 5, sl st
– ch 1; on opp side of starting ch: sl st, sc 3, sl st
– FO. Sew together overlapping each petal on the previous. To match real daylilies, the first petal should be completely on the top and the last one completely on the bottom.

lily sewn but unstemmed

After sewing the flowers together I wrapped the loose floss ends around pipe cleaners and wound them with florist’s tape.

flowers from back

Meanwhile, I joined another monthly crochet challenge group on Ravelry, and their May theme was food. I had previously made a lemon and an apple, but my food crochet was pretty limited. I couldn’t think of what to do, until I realized I’d never made a cupcake, which seems to be the canonical crochet foodstuff. I freehanded one over the course of two days. Afterward I discovered I couldn’t find any pins with plastic ball ends (nor the tomato pincushion I think they were in…) to be sprinkles. I did, however, know where my leaf-ended pins were, so I made another rose to top the cupcake. The one I made sure to sew so the bottom was a flat disc, not too tight, and then fluffed out the petals a bit more.

cupcake on plate

cupcake in tin

close-up of flower

Yipig Yipig

April’s Amigurumi Army theme was “let’s pig out!” I had been wanting to try Kristie’s Kids’ pig pattern for a while, so that gave me the excuse to make it a priority.

At first, the pig was a little pink egg with ears:

egg pig

Then I found another skein of matching embroidery floss and made the legs.

front view side view

Finally, I put that pig to work.

sweatshop labor

Long ago, I began crocheting a Sesame Street yip yip alien, as explained by wikiHow. I made one false start well before the new year and according to my Ravelry records I started a second one on February 20th of this year. I altered the pattern a fair bit – I was skeptical of it when it said to chain 2.5 to 3 inches in order to make a loop an inch in diameter, an endeavor that requires over 3 inches of chain; but really I changed it so the decreases for the “head” were in the middle instead of at the edges. I was hoping that would make the mouth a better shape, though I am unsure of the quality of the results. My version is also a fair bit bigger than the pattern’s. Finally, I did long chains slip-stitched into loops around the base instead of the individual chains lark’s-head-knotted in pairs onto the base.

Instead of making the straw-piece eyes recommended by wikiHow I made – well, a bunch of eyes that are now in my “to use as stuffing” bin. I settled on: with black, start a magic ring, make one full sc and begin a second. For the final loop of that second sc change to white, and then make four more sc in the magic ring in white. Pull the ring tight. Continuing in white, still, continue around the circle making 4 more sc in back loops only. Tie the loose ends of the black and white yarn securely to the end of the black yarn still connected to the skein, and cut all three close to the knot. With the remaining white strand, make two invisible decreases, but use the back loops instead of the front loops. Slip stitch if desired, cut yarn leaving a long tail, and sew to close off back end of eyeball. Put loose end through side of eye for sewing to head.

I don’t think I can recommend that method.

Without further ado, though:

front view side view