Homemade iron-on patches

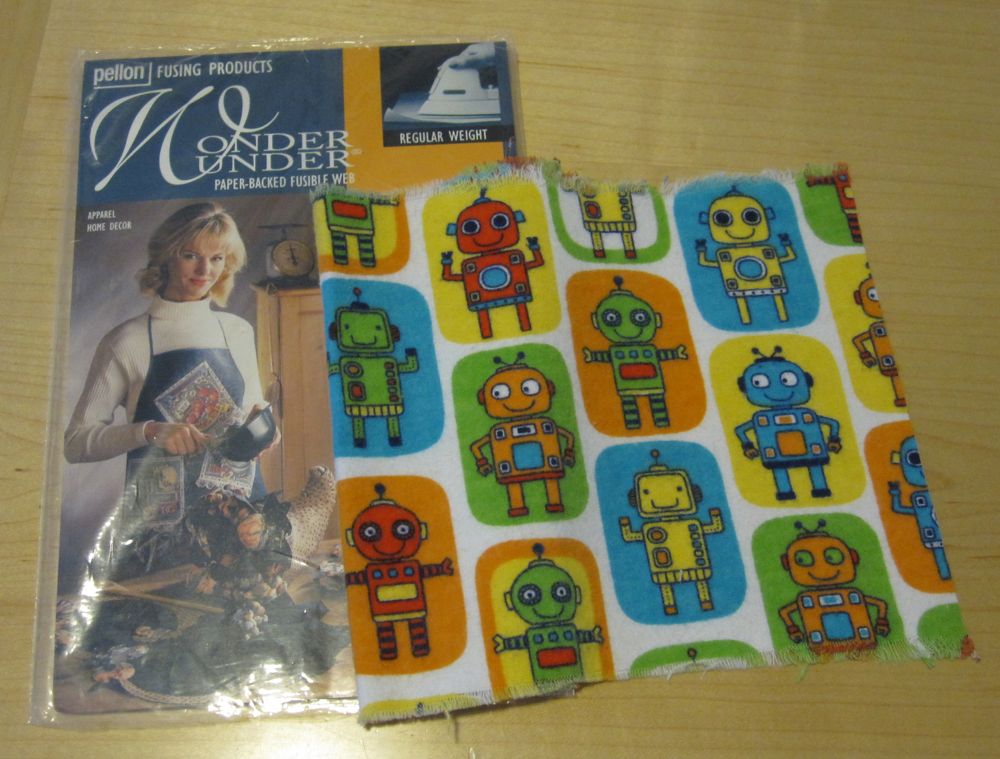
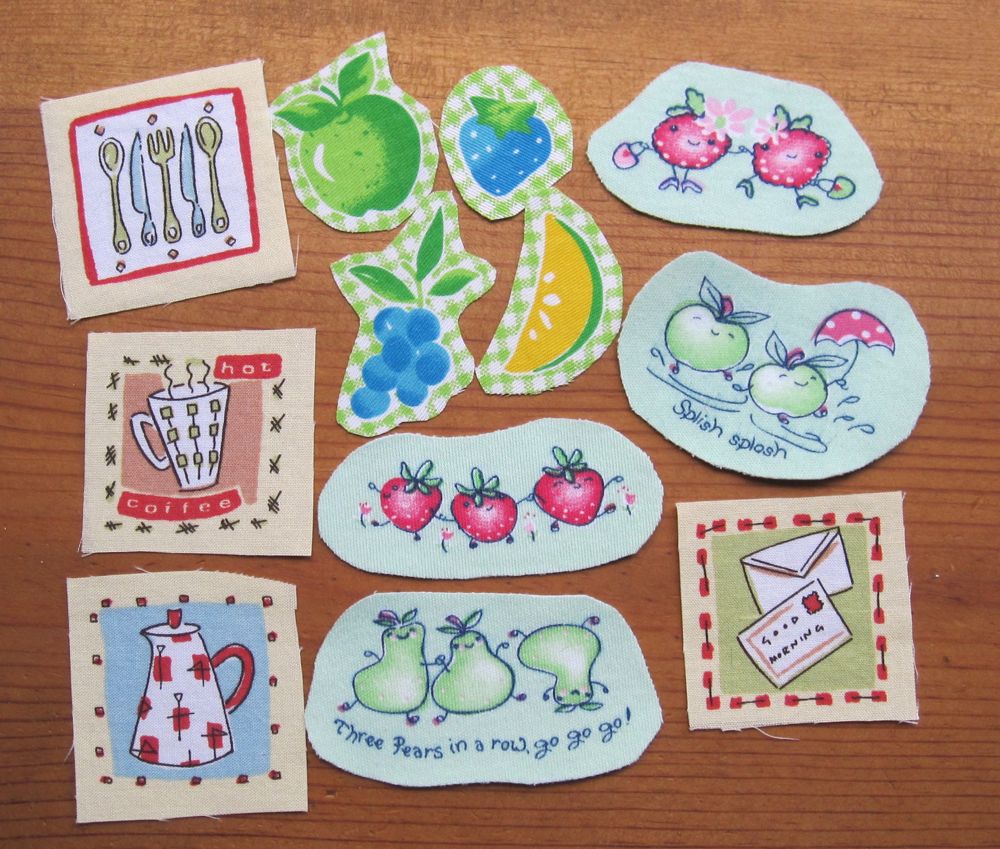
Craft Countdown #9 was robot iron-ons. It was getting close to 11:30 and I was worried about running out of ideas, so I started rooting through my fabric drawers. The top one holds flannel-ish material and denim, and I pulled out a small remnant of robot fabric. I loved this fabric, but there is so little of it, the options for using it are limited. I had thought about making iron-on patches out of it, but hadn’t gotten around to it.

What I had on hand for fusible web in sheet form was Wonder Under, so that is what I used.

materials

I cut pieces, lined them up with the pictures, and ironed them down. Of course, it being 11:30, I did two dumb things: I started ironing one on upside-down, necessitating a later cleaning of the iron, and I peeled the paper off before cutting them instead of leaving it as a protective backing. They’re still cute.

robots!

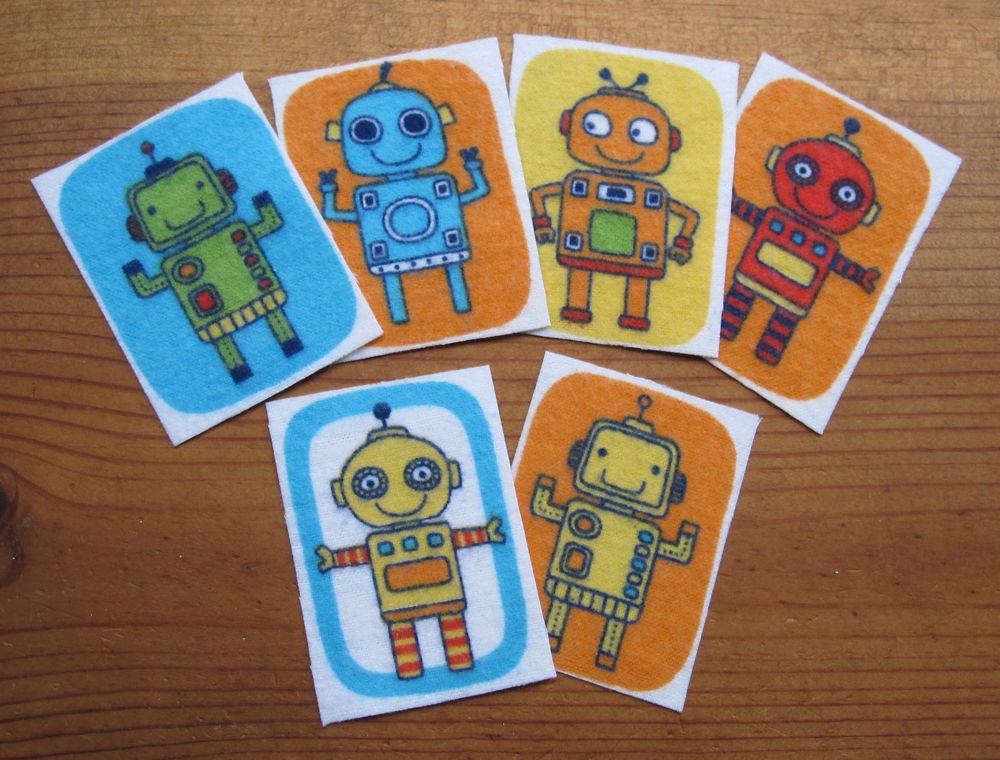
Now I just have to figure out what to do with them. I have made these before, out of other fabrics that had nice little pictures, but they languish in a drawer for the most part.

too many iron-ons

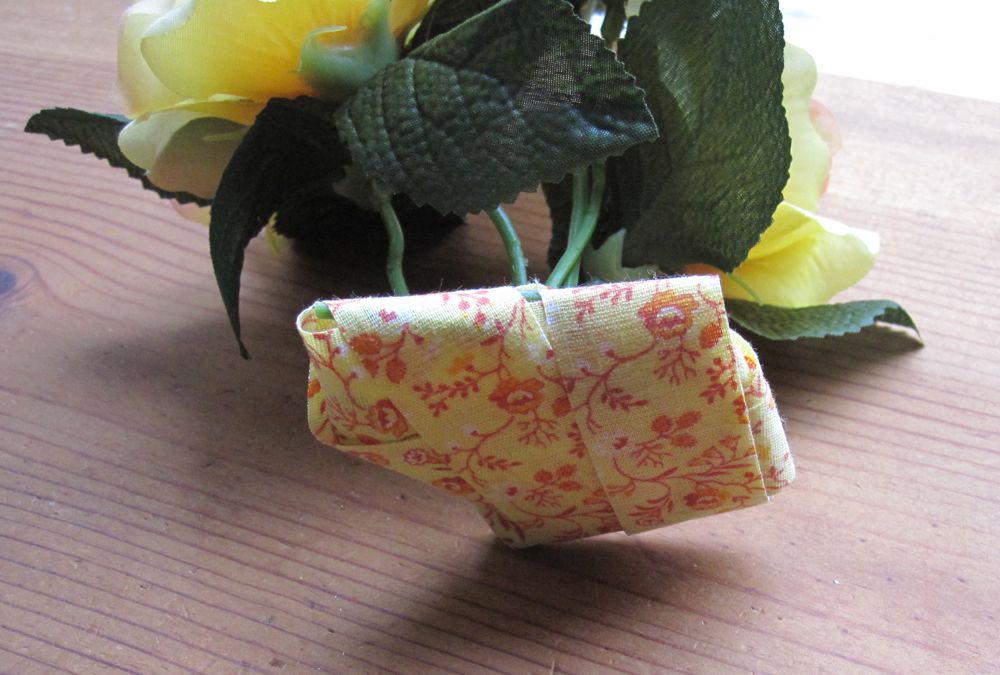
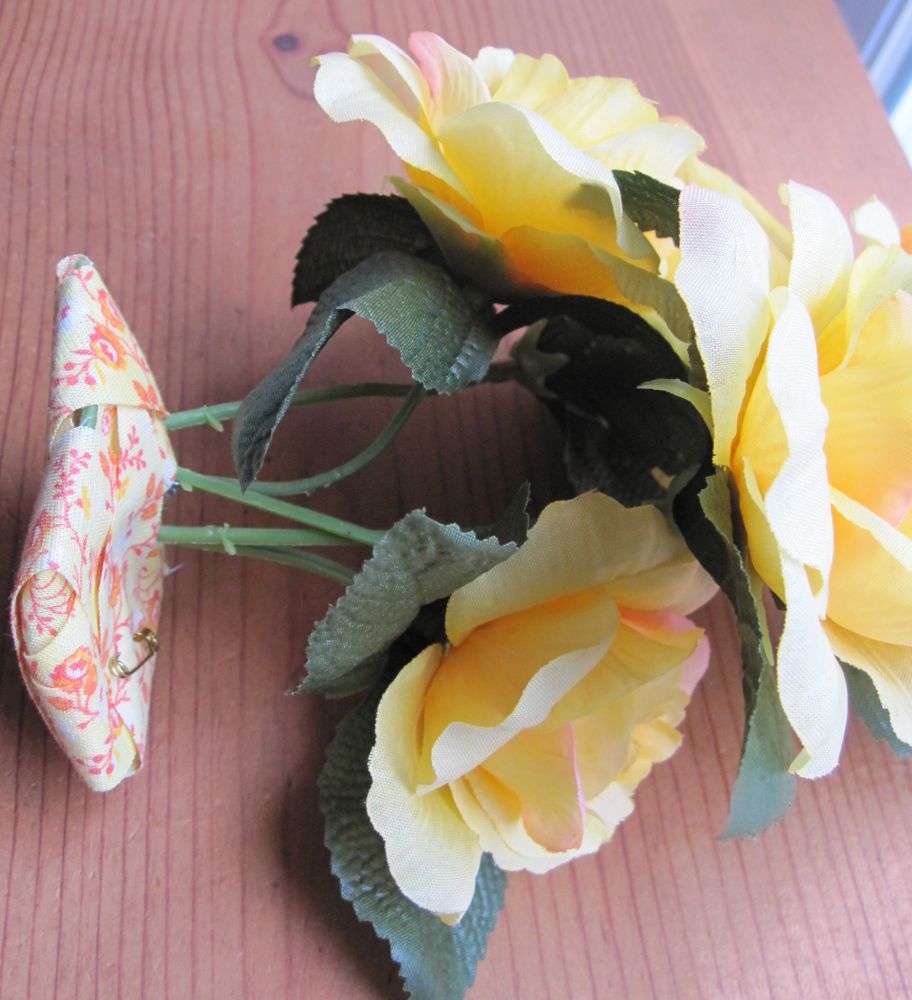
Of course, making the business card case and the memo pad holder gave me a use for some of my commercial iron-ons, so maybe these will see use in such projects as well.

Spray of flowers

We have come to Craft Countdown #7, the only one for which I bought new materials. My half bath has an absurd amount of shelf space that I really do not have any need for. It is also painted a shade of periwinkle that I believe was engineered in the laboratory to coordinate with as few other colors as possible. I decided to go with green and yellow as accent colors, which work okay, and a mild frog theme. There are four cubbies on each side of the mirror, and one was empty; it had held a large bar of soap that is now in use. I wanted something a little livelier than the other cubbies’ contents.

left side right side

I dropped by the dollar store while running errands in the afternoon, and found some nice looking yellow roses that I picked up. When I got home and cut them apart, I discovered I could move the leaves, so I pushed them all up right below the blossoms. I bent the stems around so the flowers would stand at varying heights, and wired them together.

materials from top

Then I found some (accidentally perfectly) coordinating ribbon from my stash and wound a length around the bottom to hide the tangle of stems. Initially I had it pinned together, but the ribbon was actually iron-on, so later I went back and pressed it so it would stick to itself and stay wound.

base middle

It serves its intended purpose!

in place

Sculpture class final report

Guess what I forgot to do yesterday?
Well, better late than never. To call this the final report is slightly misleading since the piece has yet to dry and will hopefully subsequently be glazed and fired, but the class is over.

Recall that in the first class we made a lot of little pieces – or at least I made a lot of little pieces. At least one of my classmates came in knowing exactly what she wanted to do, and so she made a small model, a maquette, just to figure out the particulars. I came into the second class still not sure what I wanted to do for my larger piece, but with roosters on the brain. I spent the beginning of that class making a new maquette.

bird

The instructor helped me build an armature of PVC pipe in a T shape, which was excellent for support but did make the crouching position basically impossible – the body really had to be completely horizontal. Oh well, working within constraints is often more interesting than working without them. The first night’s work produced this:

night 1

The next week when I arrived I was not very pleased with my work in progress. Lengthening the beak made an enormous difference in my opinion, all by itself. After I did a little work on it, the instructor helped me take the armature out, but we found the clay inside was too sloppy still for hollowing the bird and expecting it not to collapse. Removing the armature required cutting the bird in half chin to tail and then stitching it back together again. Since the clay was still fairly soft, we had to support the bird’s head. Here’s the end of two nights’ work:

day 2 view a day 2 view b

The fourth and final night of class, my third night of work on the bird, he had to be sliced in half again to make room to scoop out a lot of the interior clay. The thicker the clay, the longer it takes to dry and the more likely it is to dry unevenly. Again we violently slashed back and forth across the cut line to make sure the clay was thoroughly stitched together so it wouldn’t crack in the kiln later. I then did the final detailing, filled in low spots, and smoothed over rough patches with the newly available clay. I’ll go back with a piece of sandpaper and some other things probably a week from tomorrow and see if it’s dry enough yet to really smooth the surface.

final view a final view b final view c

Dry time is probably a good six weeks, but hopefully I will have a third post about glazing and firing this beastie!