Secret project preview

The final pictures of this project will be revealed on Monday, but I have some preliminary ones to show you. I was exploring mixed media, though that ended up being mostly clay with decorations.

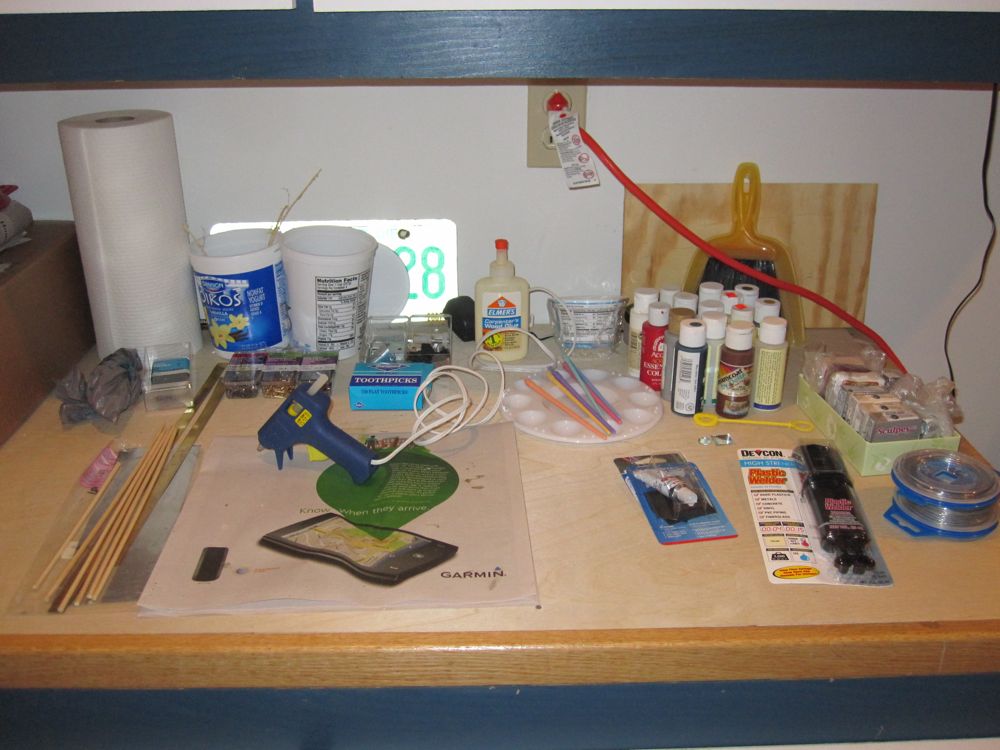
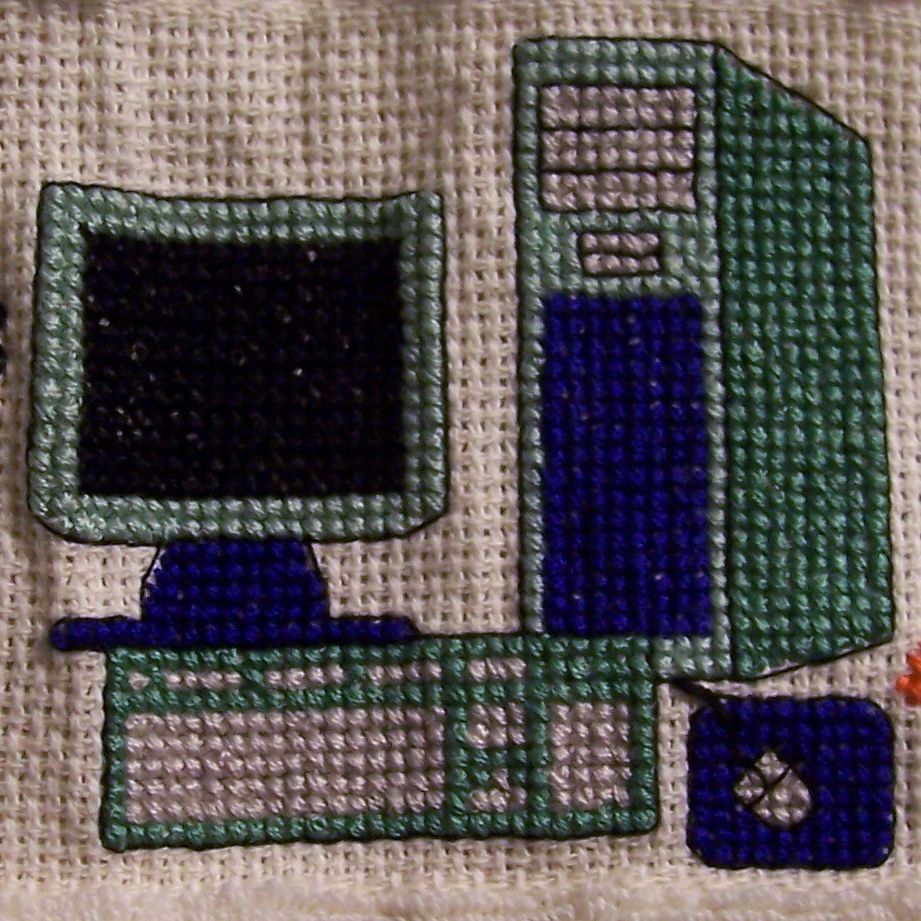
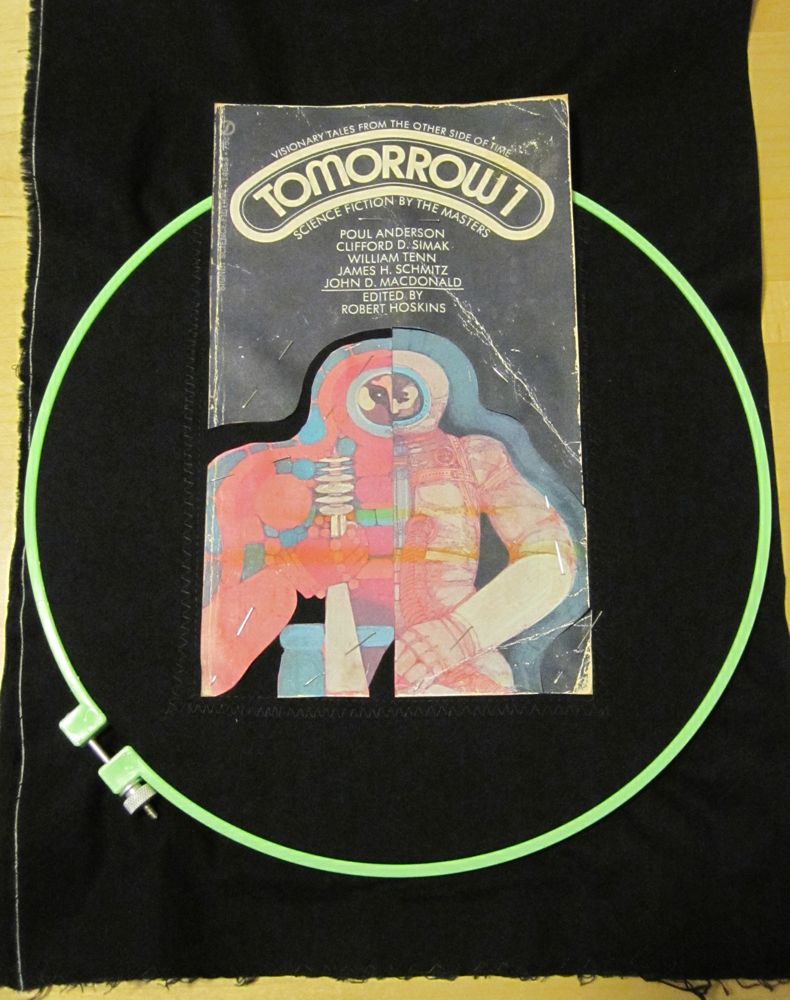
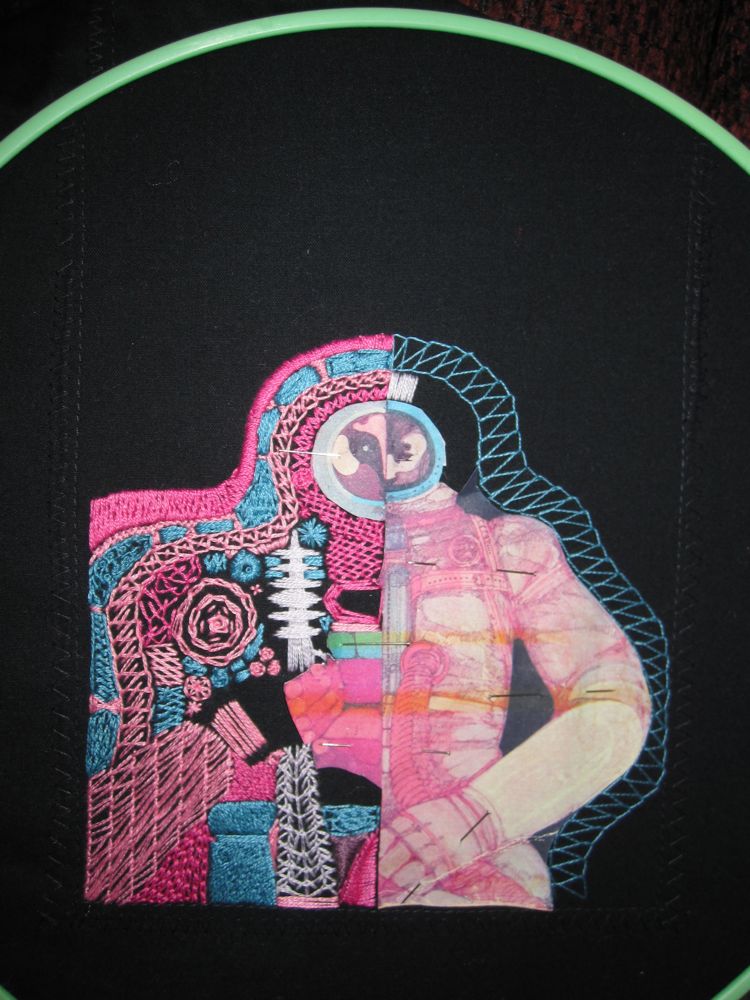
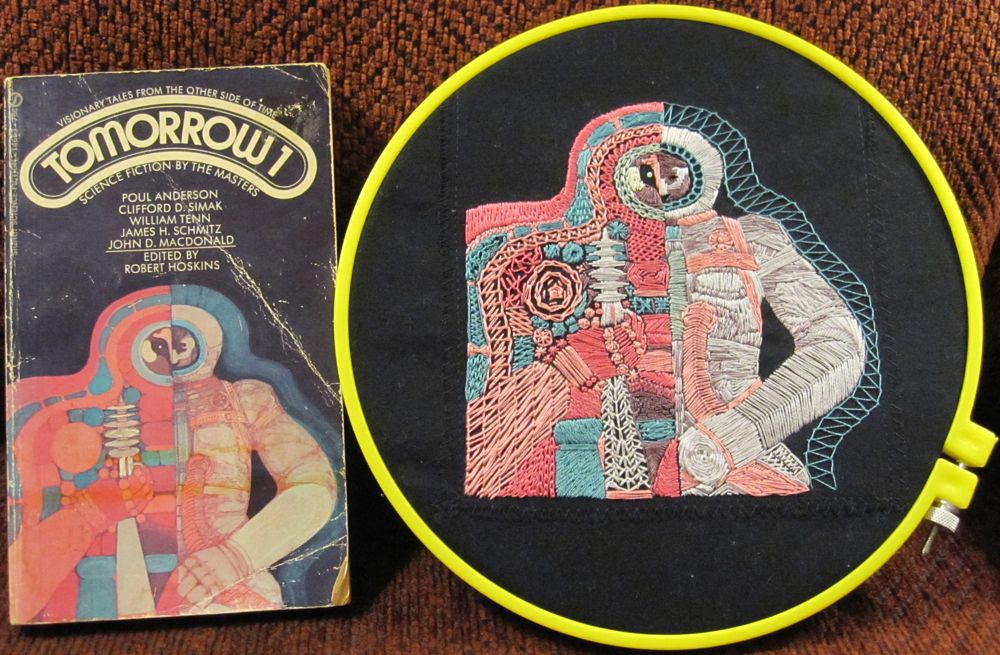
The first step of the project, which cannot be revealed right now because it would give the whole thing away, happened way back in the late summer or early fall. I was waiting for the next steps until I’d finished my SF embroidery, figuring it would be better to concentrate on one thing at a time. I did, however, get out a lot of materials the last weekend of stitching.

lotsa stuff

I wanted to do four figures, but apparently I have no idea what a boat looks like. I tried several times, looking at pictures in between, and still, no. It’s a shoe! It’s a bicycle seat! It’s an arrowhead! So, there were three, two in clay + mirror and one in clay + wire.

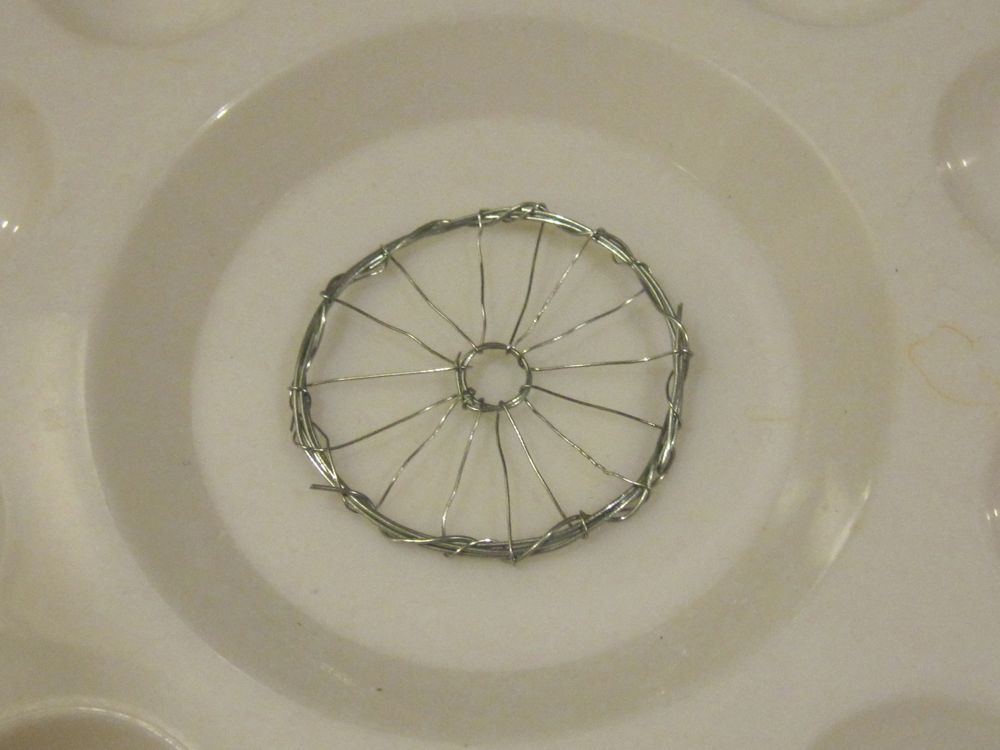
The wire one was maybe going to be a piece of a commercial toy, but I couldn’t find anything that looked like what I wanted: a bicycle tire. So I wound some wire around a small rod and around part of a large funnel, and then used smaller wire to make spokes between them. That was a pain.

looks bikey

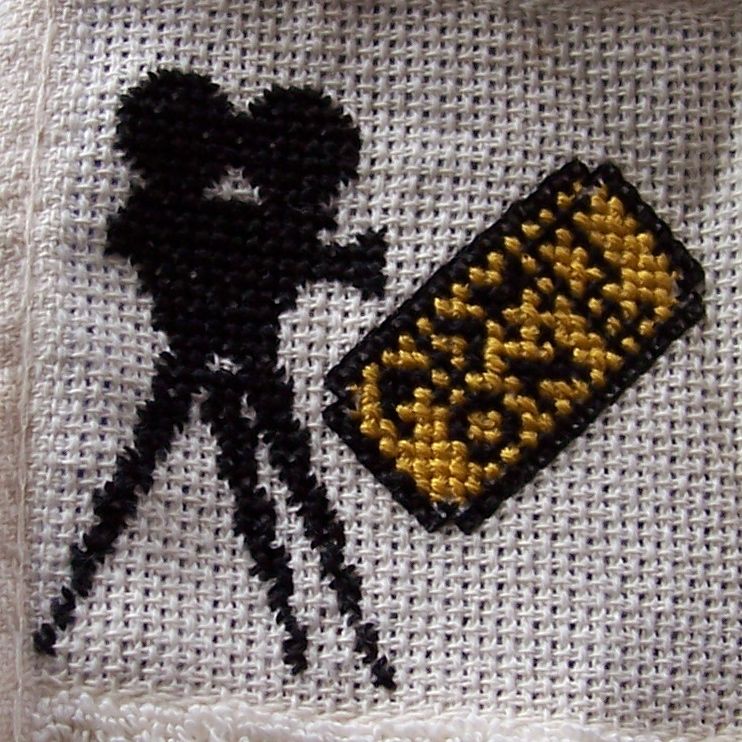
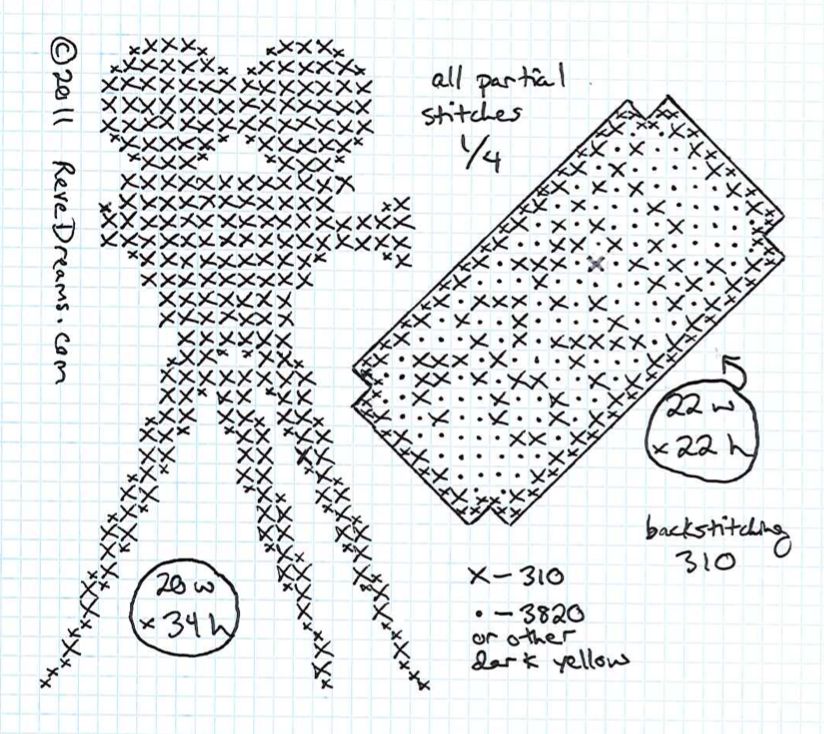
The ones with mirrors were a computer and a camera. The camera, in fact, ended up with two mirrors: one for the lens and one for the viewscreen on the back. The computer had a mirror for the monitor screen. These were surprisingly unpainful to make. Here’s a picture of the three figures after baking:

the unpainted figures

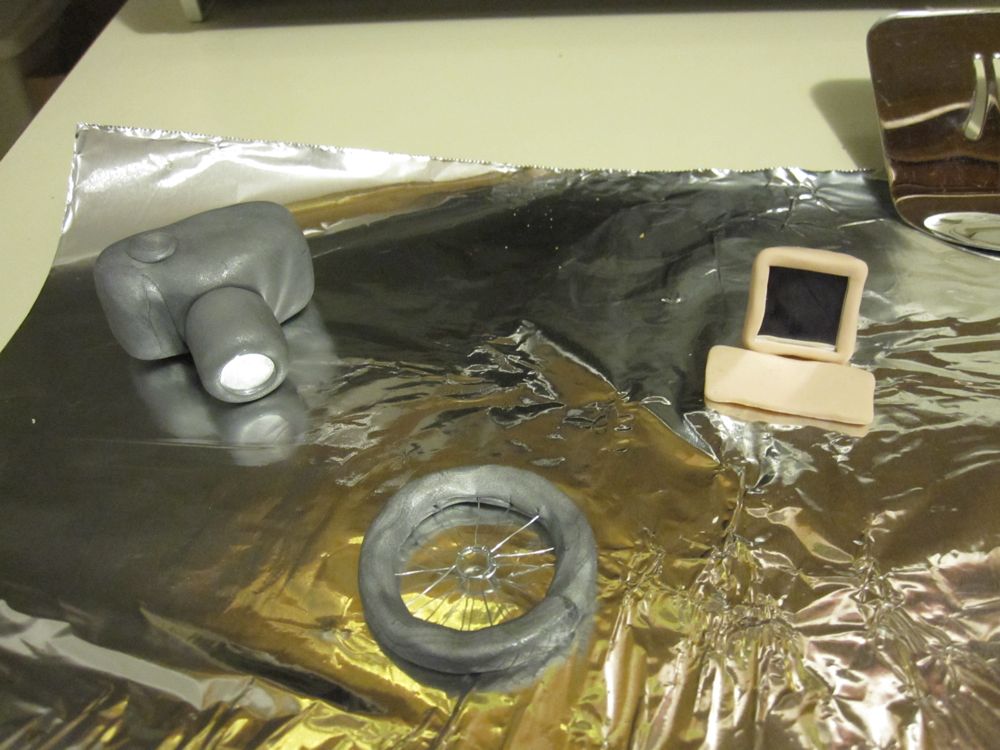
I didn’t have any black clay so I painted the camera and tire after baking them. Fortunately you can still see the tread on the tire, sliced in with a utility knife. The vent slots on the computer monitor, however, disappeared when I painted that figure with pearly white paint. Oh well! I used a bent wire to clean the paint off the mirrors after it dried – the bottom of the U.

The bicycle tire is set up to actually spin, though I can’t show you that picture until the big reveal. This entailed some time at the hardware store looking at all the options (fortunately one of the guys who works there was very enthusiastic about this project and helped produce ideas), but worked out pretty well and with minimal cutting and bending of wire.

Until Monday!

Simple cross-stitch patterns

I went through a phase some time ago of cross-stitching personalized gifts for people, often with my own designs. Some were in-jokes, some I no longer have the patterns to, and some were not really good enough to share, but I have a couple to show you. The first is an old-fashioned desktop computer:

oh, the majesty

I have the pattern available as a jpg should you want to make one yourself. There are no markings for the solid-color regions; the backstitching and keyboard keys are shown, and the rest is filling in appropriate regions. I wrote a personal message on the screen in backstitch; you can make your message more or less subtle by varying the color contrast. All color numbers are DMC, and of course the selections should be adjusted to your taste.

The one I have to share that I am more proud of, however, is the following.  

camera!

The camera and ticket may be stitched together or separately; the pattern specifies DMC color numbers, but you merely need black and dark yellow of some flavor.

SF in stitches

This is my entry to the Feelin’ Stitchy “Covered in Stitches” embroidery contest. I love the covers of 60s and 70s (and even some 50s and 80s) science fiction books – all lurid colors and crazy images. This was the only one on my shelf I felt I had any chance of doing justice to, though:

SF embroidery

I am so pleased with how it came out.

SF embroidery

I just stitched without any grand plan, and couldn’t have foreseen how well his hand would come together.

SF embroidery

My other favorite detail is his left shoulder; I love how the threads blended and it looks like abstract art.

SF embroidery

Of course, I have since discovered that the colors on my copy were not as vivid as they had been originally and in particular some formerly different colors had become indistinguishable from each other. However, it still looks good to me.

To make this, I first made three or so blown-up color copies on my home printer. Then I just pinned one to my fabric and started cutting out sections. Here’s a shot near the beginning:

SF embroidery

And here’s a shot of when I finally started thinking, “maybe this will actually work.”

SF embroidery

And it did!

SF embroidery