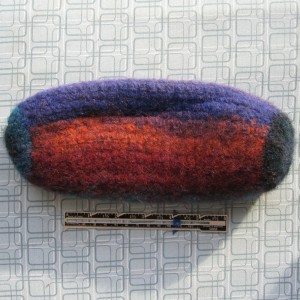
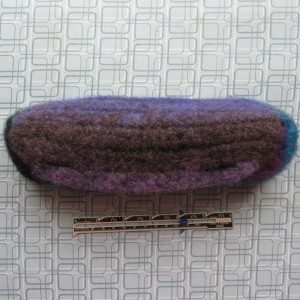
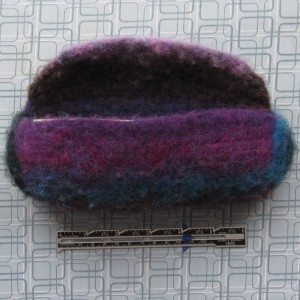
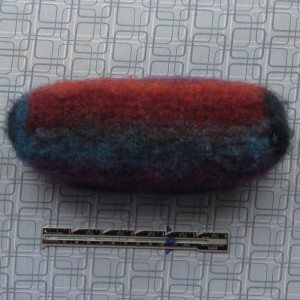
Drawstring Sachets

My sister wrote to brainstorm remedies for a stale closet, and in that conversation I offered to make some muslin bags for baking soda, dry rice, or scented materials. They are simple but not boring so I wanted to share the instructions.

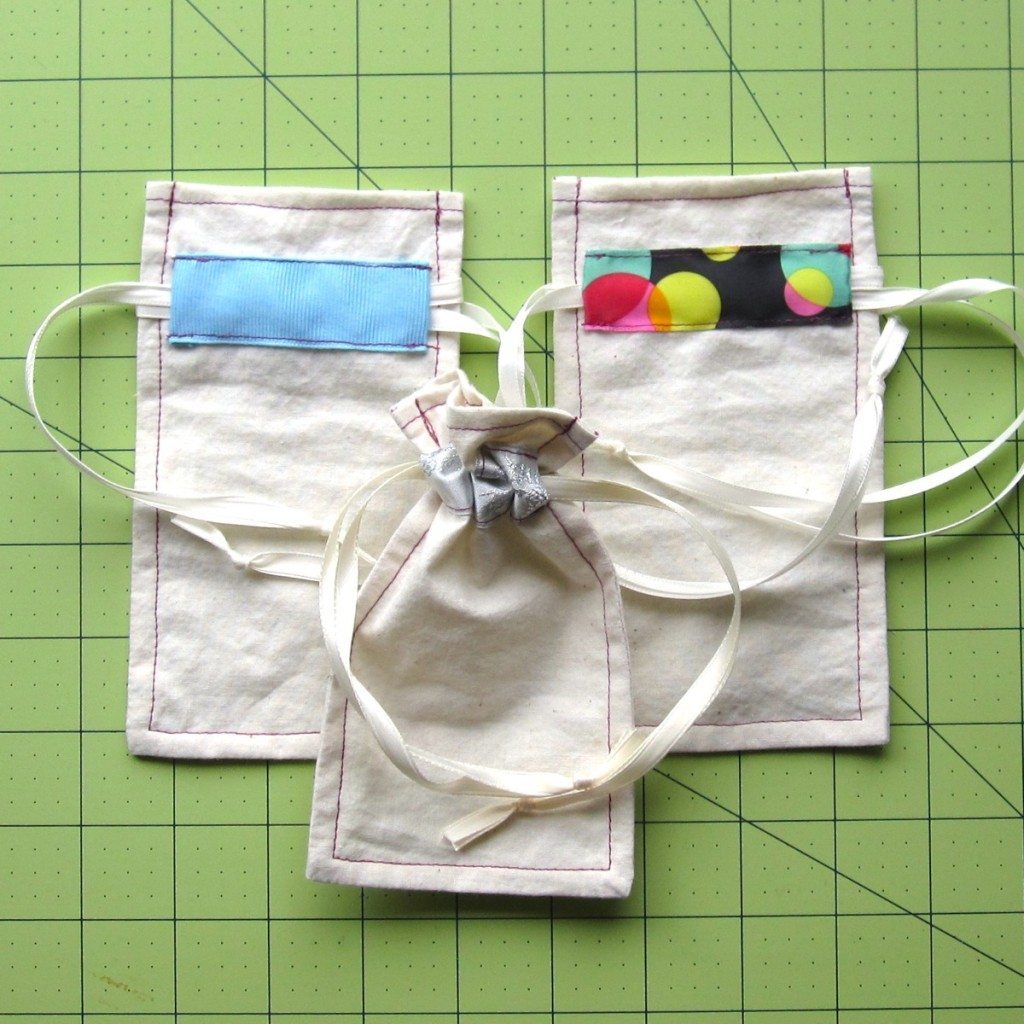
small muslin drawstring bags

For each bag you’ll need two 4″x7″ pieces of muslin and two 4″ lengths of 3/4″ to 1″ wide ribbon. You’ll also need two matching lengths of narrower ribbon (1/4″ is appropriate) to form the drawstring. This is a matter of taste, but mine ranged from 16″ to 25″ long – the closed bag in the photo is the shortest drawstring.

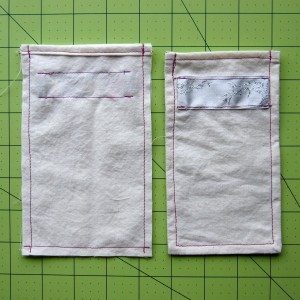
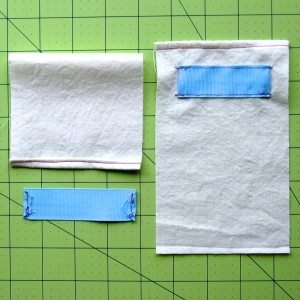
drawstring bags first steps

1. Prep the wide ribbons: Fold the ends to the wrong side by 1/4″ and tuck the corners under; sew to secure (doesn’t have to be pretty because it won’t show).

2. Prep the muslin: Fold the top edge to the wrong side by 1/4″ twice; sew to secure.

3. Attach the wide ribbons: Fold the ends of the ribbon in once more and place the ribbon on the right side of the muslin, 3/4″ down from the folded edge and centered horizontally – for me this put the ribbon ends just under 5/8″ in from the fabric edge. Sew along the ribbons’ long edges.

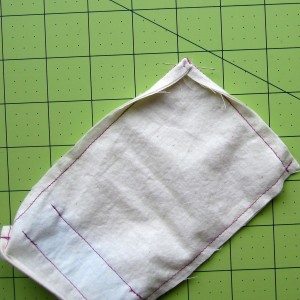
drawstring bags later steps

4. Attach the halves: Place the muslin right sides together and sew at 1/4″ along the three raw edges. Turn (I have some advice below).

5. Make an “inside-out French seam”: Sew again at 1/4″ along the sides and bottom of the bag. Be sure to avoid catching the ends of the wide ribbons in your stitching! This is for looks, but also to help prevent baking soda or other finer materials from sneaking out through the seam, between the two pieces of fabric.

6. Make the drawstring: Thread one narrow ribbon through both wide ribbons, so that its ends emerge on the same side of the bag; tie an overhand knot to join the ends. Thread the other narrow ribbon likewise, but so its ends emerge on the opposite side.

clean corner turning for drawstring bags

Advice on clean corners when you turn the bag at the end of step 4: I tend to clip my corners when I am going to turn boxy shapes, but I worried that it would defeat the purpose of the double seam a bit, so I used a method I read about ages ago.

Fold the seam allowances to the same side, as shown in the photo, and pinch them in place – finger up at the corner between the bag layers, thumb on the seam allowances (probably folding the top bag layer down to reach). Rotate the corner outward. If all goes well you should even find the extra bulk helps push the corner out cleanly without much effort from you.

Put a pin through the first corner while doing the second one, for safekeeping. I found this easiest to do when the bag was mostly turned, and I had just pulled the relevant corner up a bit.

For the record, my thoughts on stale closets are: baking soda before any scented things, to remove bad smells without also removing good ones; dry rice if moisture might be part of the problem; and then whatever scented things you might like, perhaps still mixed in with rice. The Upper Valley Co-op actually had rosebuds available in their bulk spices, which was pretty nifty, and after smelling a whole lot of jars I also picked out cinnamon chips (not the chocolate-chip-style things, but cinnamon bark in smaller pieces), whole cloves, lavender, and spearmint. I would also consider whole allspice, dried citrus peel (in wide strips, not little grinds), and maybe whole nutmeg broken apart with a hammer. If you wanted to go really simple, Yogi brand tea comes in some strongly-scented flavors — you could just hang some teabags up!
First time wet-felting

Just over a year ago, I bought a skein of Noro Kureyon, a scratchy wool yarn the yarn shop proprietor said was good for felting. I couldn’t decide what to make with it, so it sat for ages. Well, with my new drawing habit, I wanted something to keep my pencil and eraser in – mostly so they would be easier to hold on to when I wanted to move between the dining table and sewing room table.

The shape I decided on was a barrel with a flap in the long direction, buttoned down near each end. The pattern is at the bottom of this post (behind the cut, if you’re on my main blog page); before that are my experiences with the felting process.

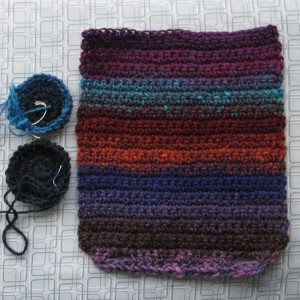
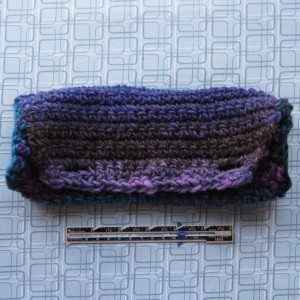
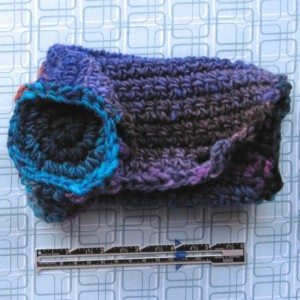
pencil pouch, preassembly assembled pouch pre-felting

My pre-felting measurements:
Gauge: a bit over 11 stitches and a bit under 13 rows in 4″.
The rectangle is 10.75″ tall and just over 9″ wide.

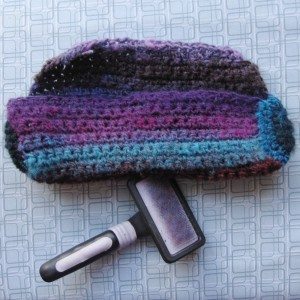
assembled pouch pre-felting, showing end pouch brushed, pre-felting

I read this was a good but slow felting yarn, and decided to help it along by brushing it with a cat brush before starting the felting process. I don’t know whether it helped, but then I don’t have any comparison.

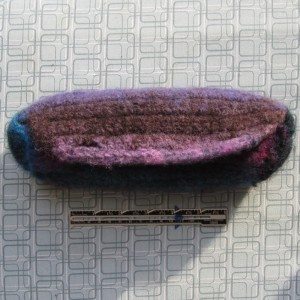
slightly felted pencil pouch slightly felted pencil pouch

slightly felted pencil pouch partially felted pencil pouch

I started with two rounds of wash-wash-rinse in my giant washing machine, with two spiky plastic dryer balls for company and a little bit of soap. The machine was set on heavy soil, hot water, and the heavy duty cycle, and the pouch was in a mesh bag to keep in lint. Even after a run in the dryer, very little happened (the results are the first 3 pictures above). Afterward I did a round of hand-felting by shaking the pouch (without a mesh bag) with the dryer balls in a plastic canister, in two changes of water, each with a bit of dish soap and one also with baking soda. I read that hard water inhibits felting, and while I wouldn’t call ours hard, it’s far from soft. Another trip through the dryer, and still just about nothing (last picture above).

After a bit more research, I learned this “good for felting” yarn has a reputation online for being persnickety about felting. I went back to the washing machine, but more seriously. Same settings, with a round of wash-wash-rinse, but this time with two pairs of pants in addition to the dryer balls, a kettleful of nearly boiling water added to each wash, and a pretreatment of soaking the pouch in ice water before the first wash – the temperature change is supposed to help shock the fibers open. No mesh bag, either, because it didn’t seem to be shedding badly.

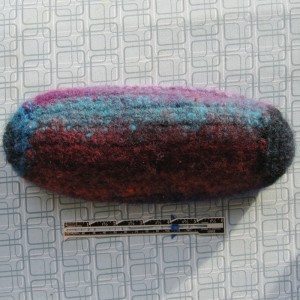
fully felted pencil pouch - front fully felted pencil pouch - back

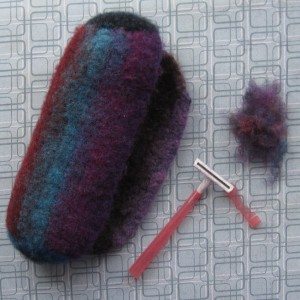
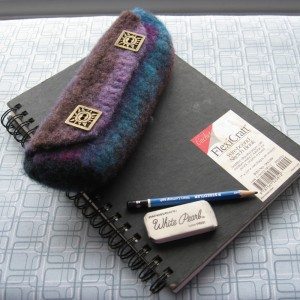
That is when the magic happened. So much smaller, so little stitch definition. I don’t know how much was the particular method I used last and how much was the fibers finally being ready to give up their original shape, but I can say I’ll start with this method next time. A shave (see notes on razors in an earlier post) and some buttons and it was ready for use!

shaved pencil pouch pencil pouch on sketchbook

Final measurements: 7″ seam to seam and 8.5″ end to end, since the ends are poofed out. Not quite 9″ around from opening to end of flap (what would be the height of the original rectangle); 2.5″ diameter. The rectangle lost almost 2″ in each direction.

Continue reading First time wet-felting

Illumination

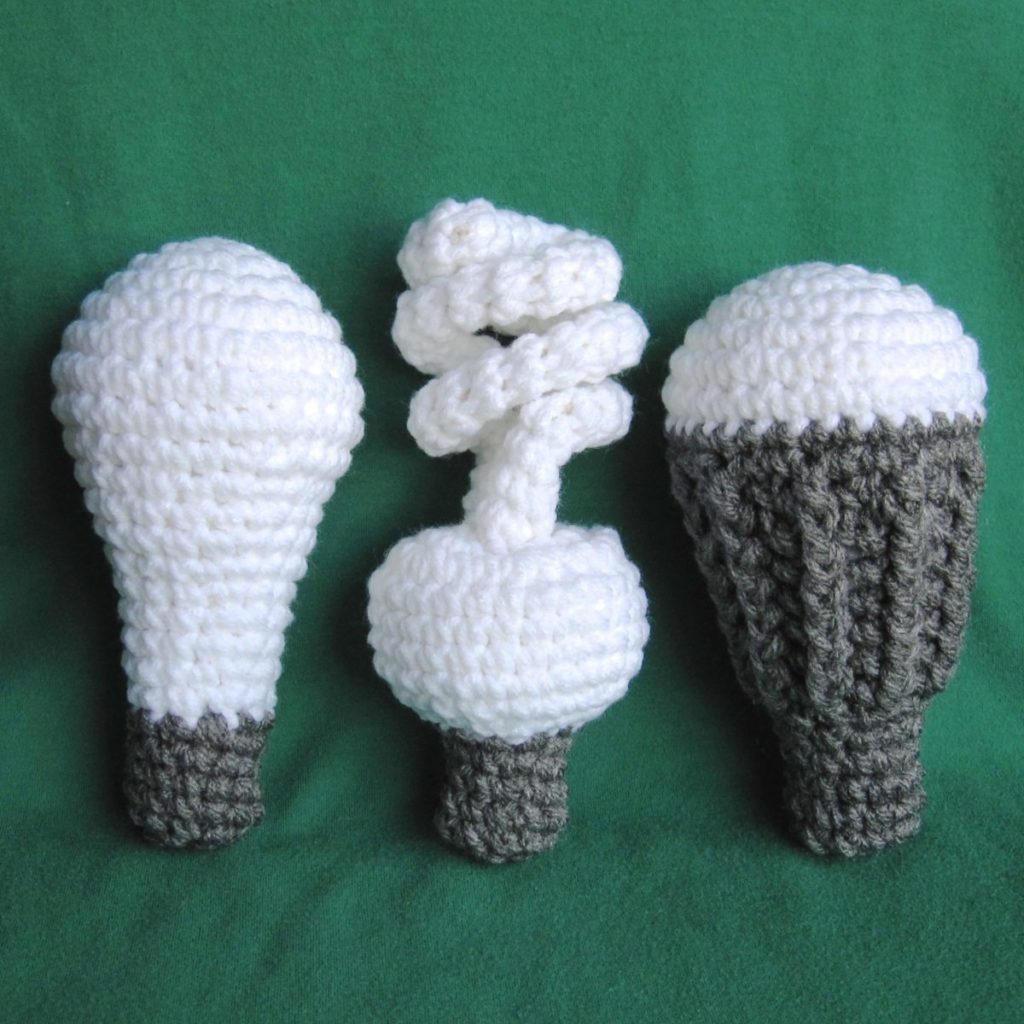
This is the 133rd anniversary of the opening of the Savoy Theatre in Westminster, London, which was the first public building in the world to be lit entirely with electricity. In honor of that I have old and new lightbulb patterns for you.

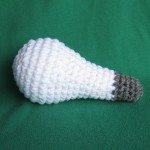
three light bulbs in crochet

Lightbulbs Aplenty Pattern

In the early days of this blog I designed a compact fluorescent lightbulb and stitched an incandescent bulb to go along with it. In honor of today I thought I’d write a pattern for the incandescent bulb, clean up the CFL pattern if possible, and add an LED bulb pattern to the mix!

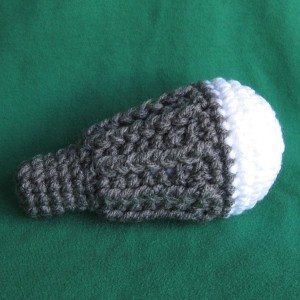
LED lightbulb

The CFL changes have been made to the original blog post, and for the LED pattern you’ll have to get the Name-Your-Price pattern in the store (which includes all three bulbs). The incandescent pattern is below.

Incandescent Light Bulb

incandescent lightbulb Gauge is not terribly important, but since I use an E/4 hook (3.5mm) on the CFL, I used it on the incandescent as well. You’ll need worsted weight yarn in two colors, stuffing, and (optionally) something to weight the bottom with (I have used tangled necklace chains, beads, pebbles, and coins). My crochet abbreviations and conventions are on the crochet reference page, and any stitch instruction you might want is linked to from the pattern page.

In bulb color:
1. Form magic ring, ch 1, and sc 6.
2. 2sc around (12).
3. *Sc, 2sc* around (18).
4. *2sc, sc 2* around (24).
5. Sc 2, *2sc, sc 3* five times, 2sc, sc (30).
6-8. Sc around (30 sc; 3 rnds).
9. *Dec, sc 5* four times, sc 2 (26).
10. Sc 2, *dec, sc 4* four times (22).
11. *Dec, sc 3* four times, sc 2 (18).
12-13. Sc around (18 sc, 2 rnds).
14. *Dec, sc 4* around (15).
15-17. Sc around (15 sc; 3 rnds).
18. *Dec, sc 3* around (12). Stuff bulb.

Cut yarn and needle join in second stitch from end; FO bulb color.

In base color: tie slip knot and place on hook. Insert into any stitch of rnd 18 and attach with slip stitch.
19. Starting in next st and ended in same st as sl st, sc around (12).
20-23. Sc around (12 sc; 4 rnds). Stuff, finishing with bottom weight if using.
24. *Dec* around (6). FO.