Cozy cables

I have a lovely new cabled shoulder wrap. This is a pattern I attempted last spring, but unraveled because of major sizing problems and dissatisfaction with the yarn I was using. It worked better this time around.

photo of me wearing the finished cabled wrap

The cable pattern is just beautiful. It looked questionable at various points along the way but always worked itself out in subsequent rows. Following my notes from last time, I used a J hook (6mm) and made the XL size with the S/M ribbing width. I might have been able to make the L, because under its considerable weight it wanted to slouch off my shoulders. I made two fixes to that.

photo of finished wrap from back photo of cabled wrap, close up

One was to make the ends meet at 90 degrees instead of head on, by placing the buttons parallel to the base of the ribbing instead of parallel to the front edge. That wasn’t enough, so I also slip-stitched from rib to rib on the inside, near the base of the ribbing, to reduce the stretch. That worked perfectly and also made the ribbing stand like an evil Disney queen’s collar, which was a pleasant side effect.

photo of cable wrap buttons close-up photo of slip stitch size adjustment

My buttons were marked 1″ and are chunky. I may need to reinforce the buttonholes to keep them from wanting to slip out, but they work pretty well. I like that they look like fancy dice.

Red and purple are hard to photograph…

Blackwork-appropriate embroidery alphabet

Remember the blackwork map of my local area that I spent so much time designing and stitching last year? I’ve added to it.

annotated blackwork map

Title, compass rose, and attribution. Since I did the vast majority of the work last year I used that date. And since I am me, I designed the alphabet myself, all the letters in upper- and lowercase, and digits although I ultimately liked the look of the Roman numerals better.

Since blackwork was popular over a long stretch of time I had a lot of options for an era-appropriate script. I found a website called Medieval Writing with lots of examples of scripts and was able to observe my lowercase options pretty thoroughly. I decided to create a blend of 15th-16th century English chancery hand and 15th-16th century French and Italian humanistic minuscule, with an eye to legibility for modern readers. Well, it turned out more to be based on those scripts in the way that TV movies are based on true stories, but I think it has the right flavor. I made the uppercase and numbers by looking at assorted typefaces and online calligraphy lessons, and the ampersand right out of my head. My favorites are the old-looking a, dramatic d, and potbellied U.

I have for you a blackwork alphabet PDF that includes the laid-out text for the map (aside from my name, which I didn’t think would be of much use). I thought it would be useful as an example of kerning the letters even if you wanted to use this for a different project.

blackwork map drying

After stitching, I washed the map and hung it from a deck chair out back, before I remembered I needed to block it on the ironing board with six or seven hundred pins. Next stop: the frame shop. I’ve never had any of my embroidery framed, so this will be an adventure.

Multiplicity

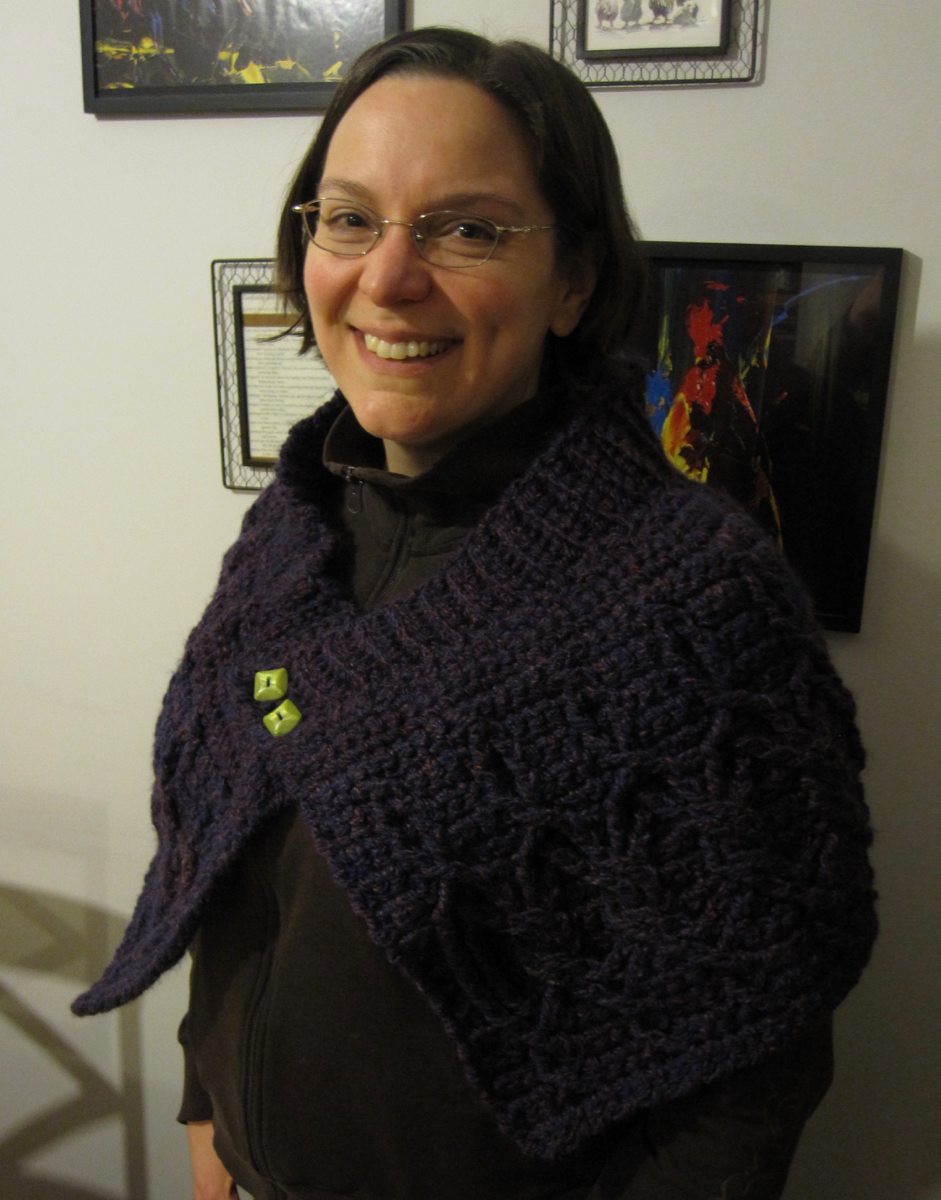
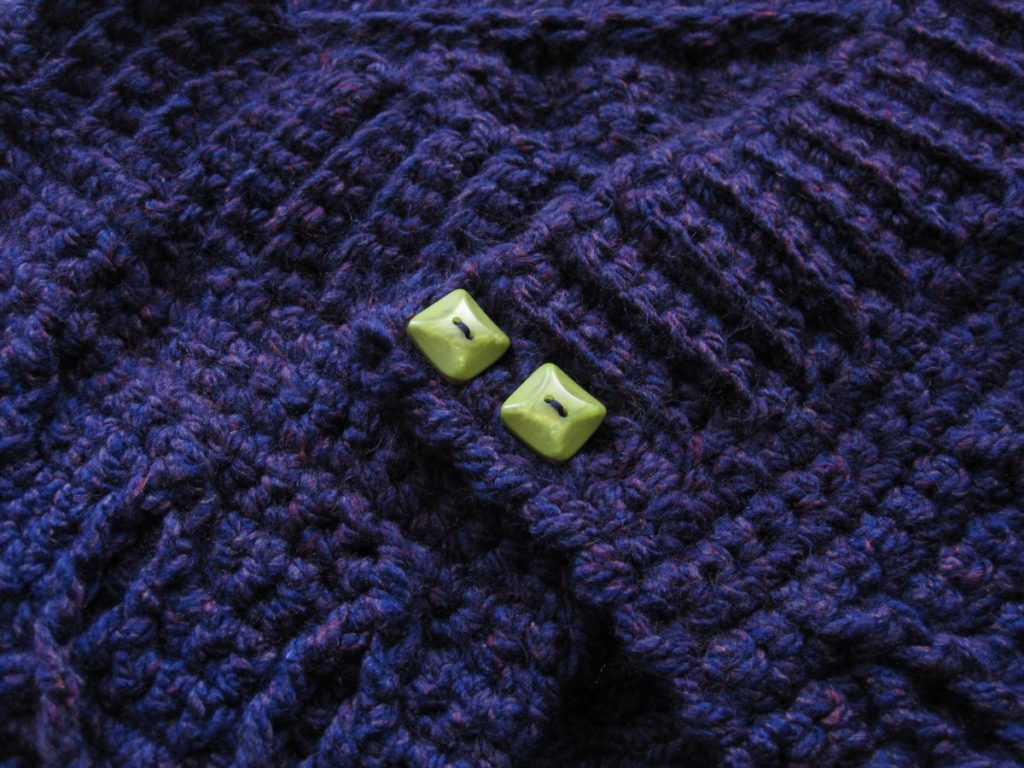
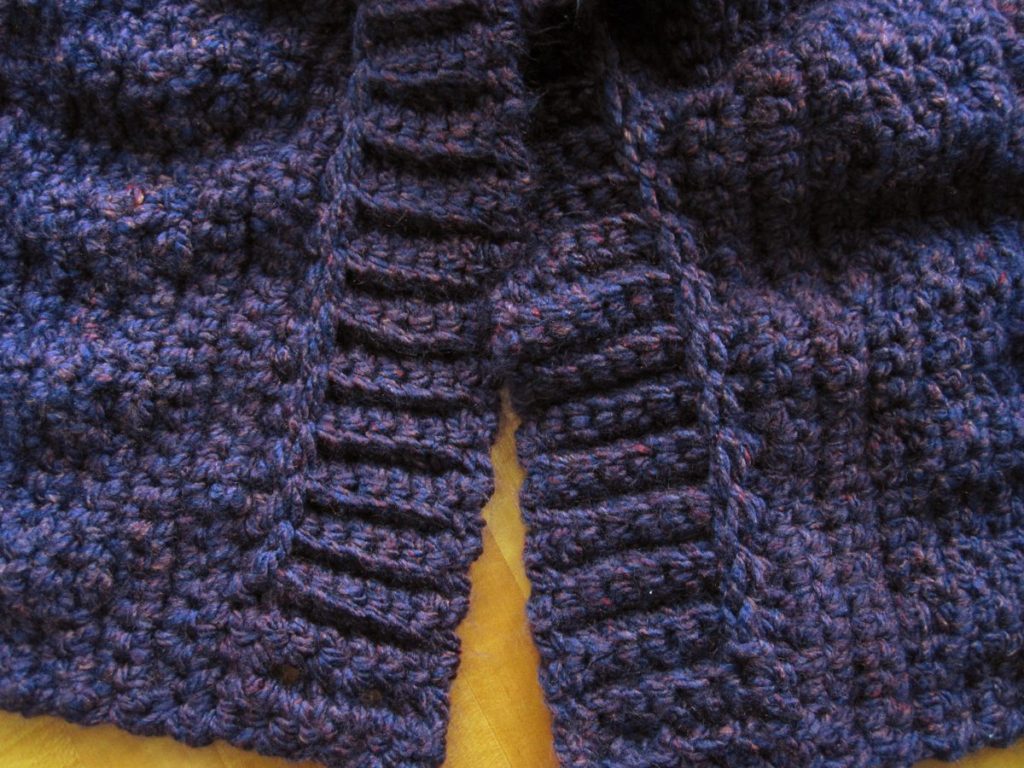
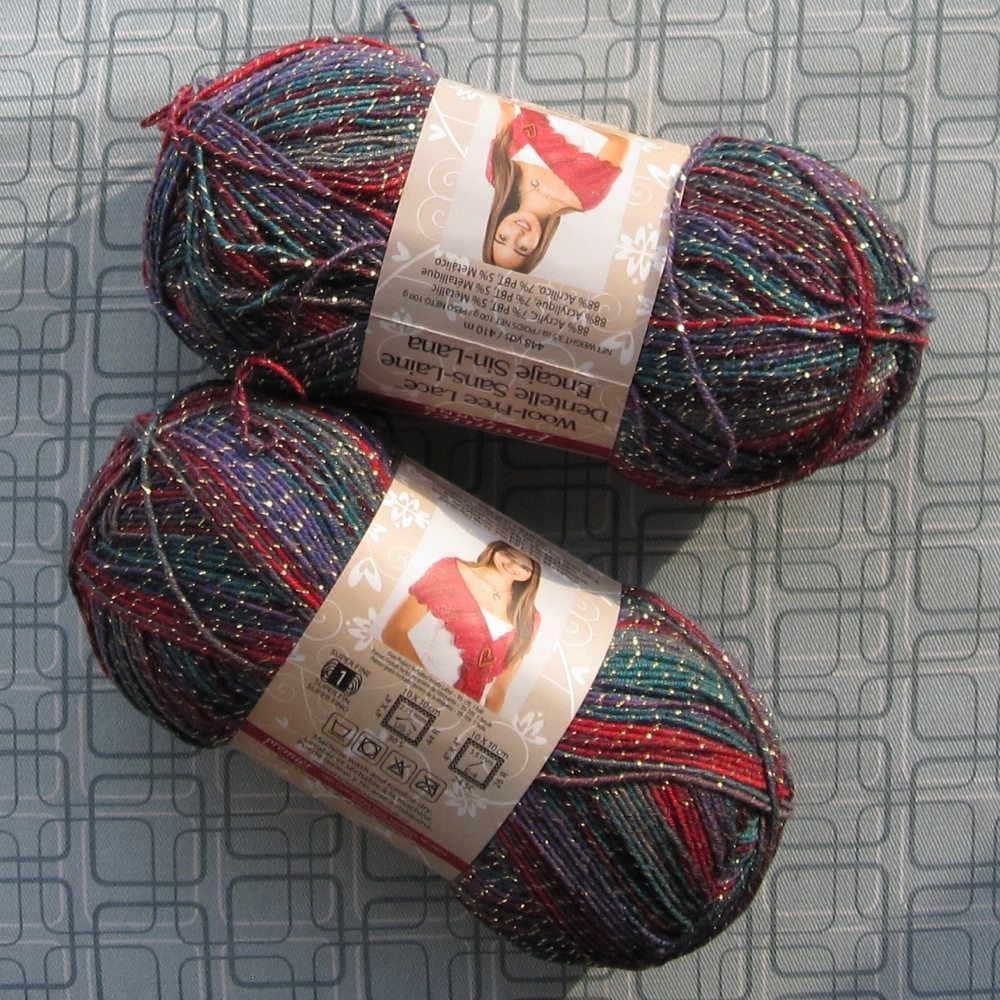
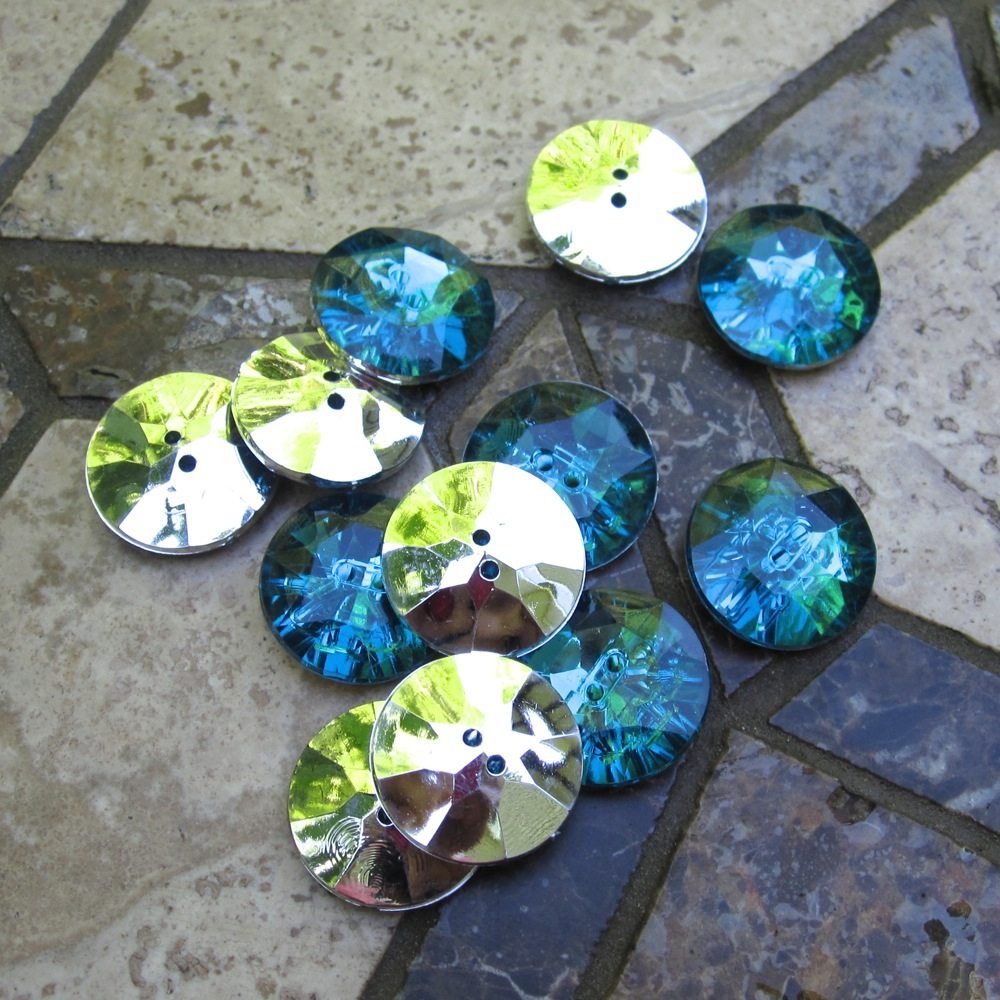
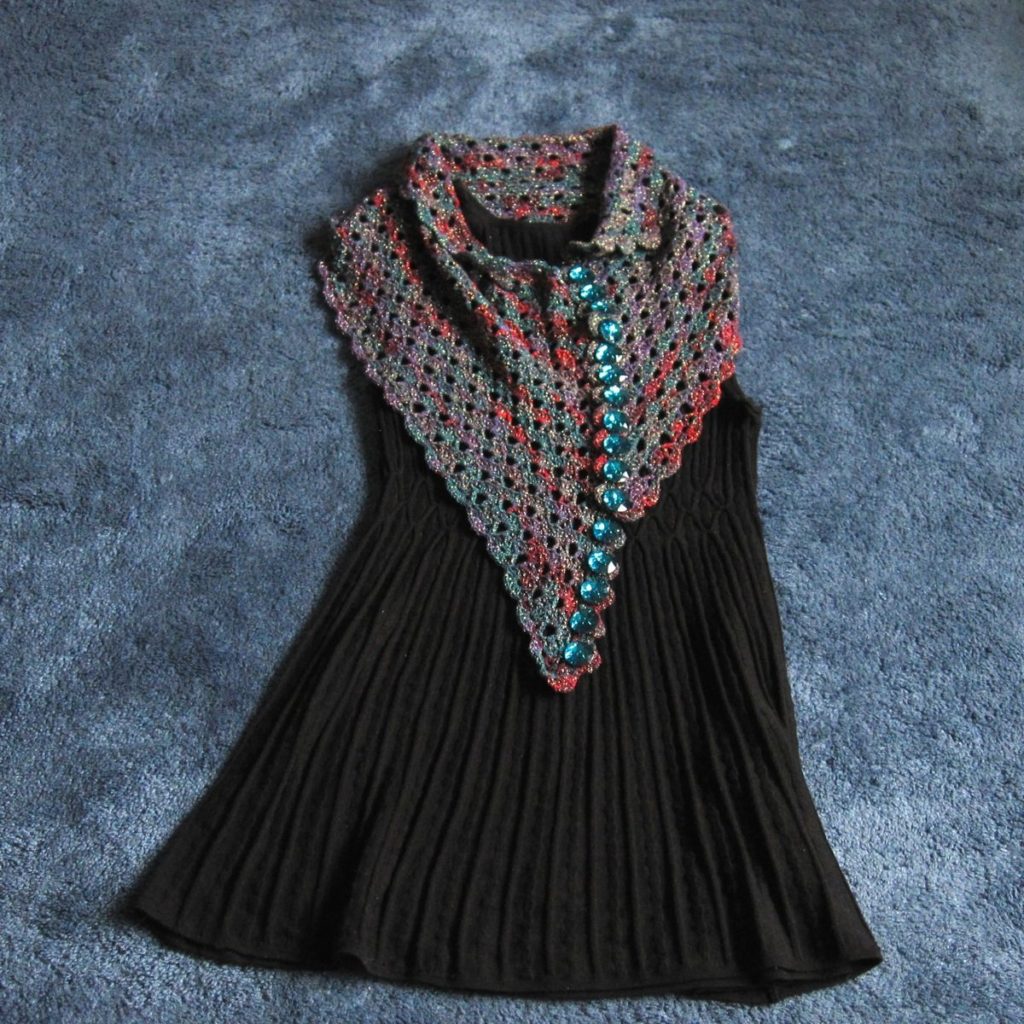
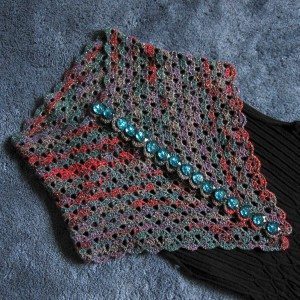
I’ve developed a taste for shawls and scarves to just wear around in the winter, not necessarily with a coat. I’ve also realized I like them better than jewelry to add interest to a plain dress, on the rare occasions that I wear a dress. Somehow I learned about Make My Day Creative’s Multiplicity Buttoned Shawl, a free crochet pattern for a trapezoidal fan stitch shawl that buttons along the non-parallel edges. She called it Multiplicity because there are a lot of options for draping and buttoning it. I thought it would be a nice pattern to make a blingy version of, though that thought was probably helped by the fact that wool-free laceweight yarn is not common, and the kind I found that wouldn’t break the bank, by Premier, came in a self-striping sock version and a metallic-accented lace version. None of the sock colorways thrilled me, so Gypsy Bling it was. I found some buttons to match (though not until the shawl was stitched); they are much larger than the recommended 12mm. Button cameos by me and my avocado tree.

Gypsy Bling Wool-Free Lace yarn by Premier my shiny, shiny buttons

I’ve apparently never written here about my electric toothbrush sander, made from June Gilbank’s tutorial. I used it to take the little molding nub off the sides of the buttons, and it worked terrifically.

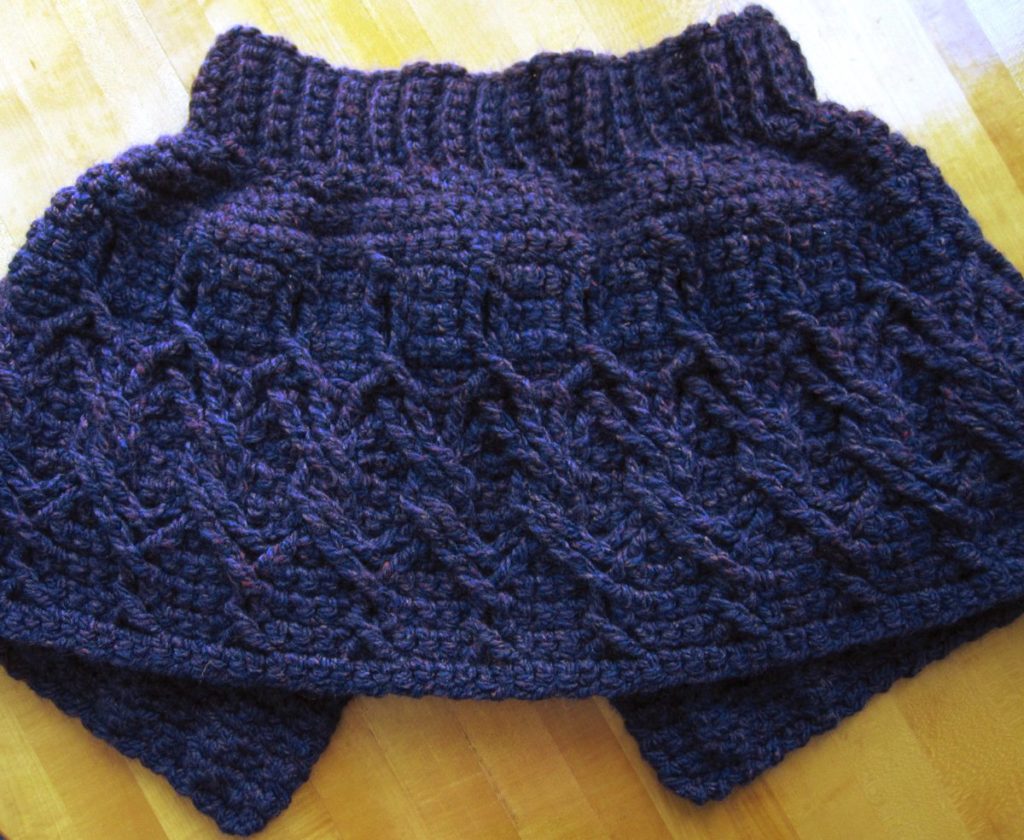
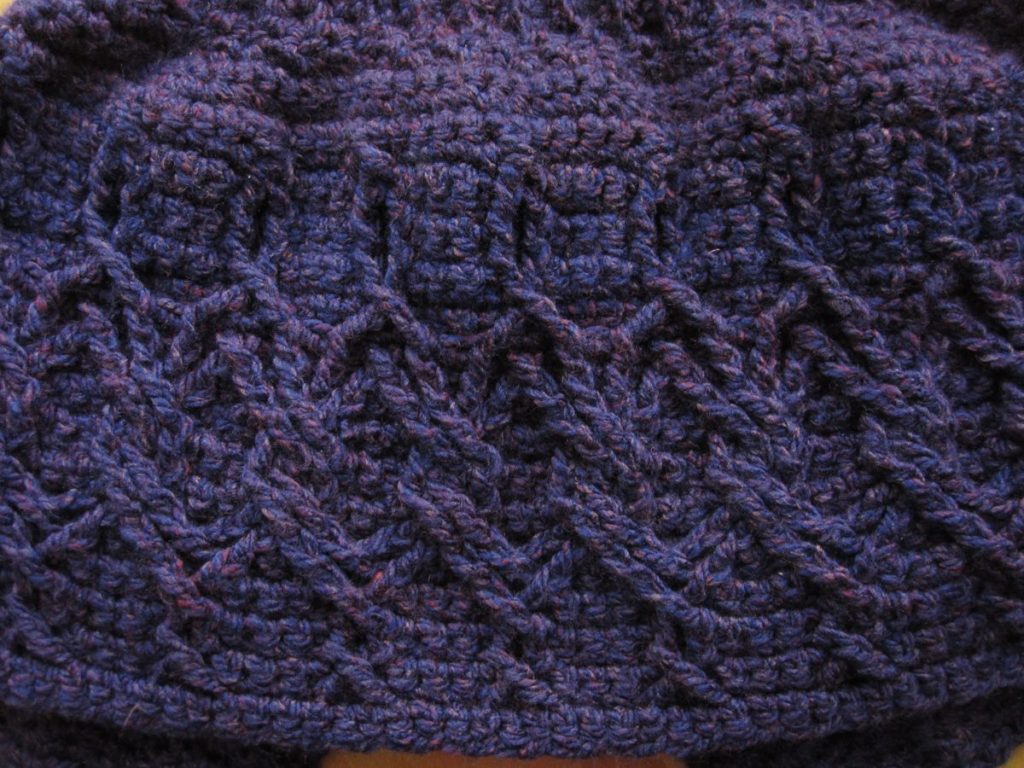
Anyway, I have postponed the final images long enough. The shawl itself:

Multiplicity shawl, buttoned straight Multiplicity shawl, buttoned asymmetrically

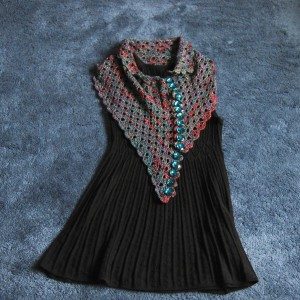
A few more notes: I ended up with one fewer starting shell and one fewer row-pair than the original pattern; the latter was actually great because it meant I needed 16 of my four-to-a-card buttons instead of 17. I do wish I had a bit more length – my shoulders are broader than average and my options for ways to wear this are somewhat restricted.

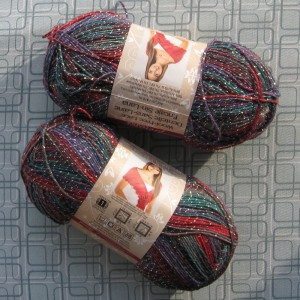
I had a hell of a time rewinding the yarn for use. It did not particularly want to unwind from the outside, but I couldn’t get it to pull from the inside. So I went back to the outside, but the first skein sort of exploded, and even with my loving husband’s help, getting it untangled took hours of work and split it into four pieces. I was smarter about the second skein and worked from the outside entirely, but even so it took an hour and a half to get it usable.

Finally, although synthetic fibers don’t really block, I did sort of block it. I machine washed it in a fine mesh bag, laid it out longways over my collapsible wooden drying rack, and clipped clothespins all around it. Every shell on the ends, and every four or five shells on the sides, with a second pin crosswise to the first for weight along the sides and a few extra pins clipped onto existing pins on the ends. It looked hilarious but worked pretty well. Should have gotten a photo!