Independence Day crafting

Thank goodness for federal holidays! I jealously guard the ones I can for me-time, which means crafting time. Memorial Day was taken up with travel which means July 4th was the first time since President’s Day that I had a day I could preserve for just crafting – no chores, no errands, no outside obligations. Not coincidentally it was also the first time since President’s Day that I spent a whole afternoon in my sewing room; in fact, I spent a long afternoon plus the second half of the morning. It was glorious.

So let me show you what I made! There was some time spent on projects that didn’t get finished, of course, but I was very pleased with the completions.

old and new fabric coasters

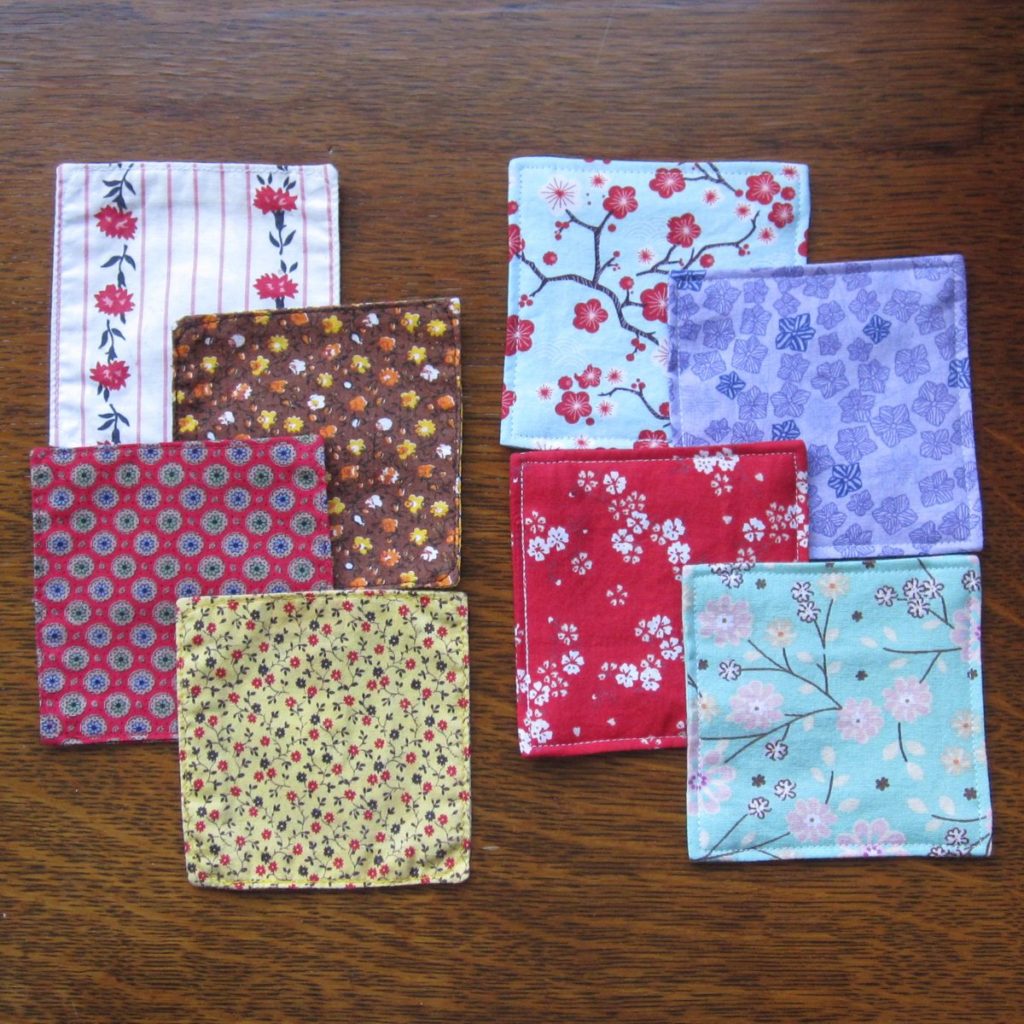
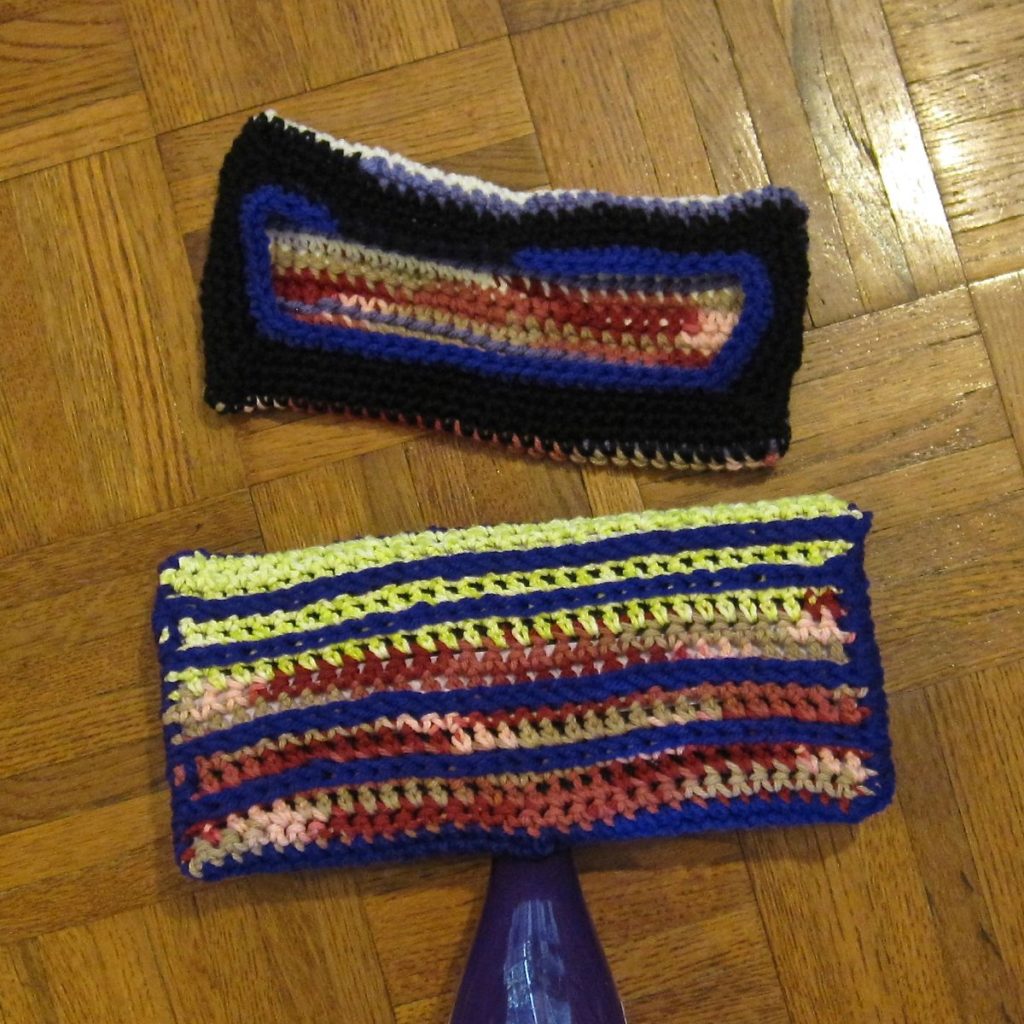
On the left, my old sewing room coasters, thin and blah. On the right, my new sewing room coasters, one layer thicker and more visually appealing. I had cut them out and done the first round of sewing previously, so finishing them was a sort of warm-up.

tool roll, rolled up tool roll opened out

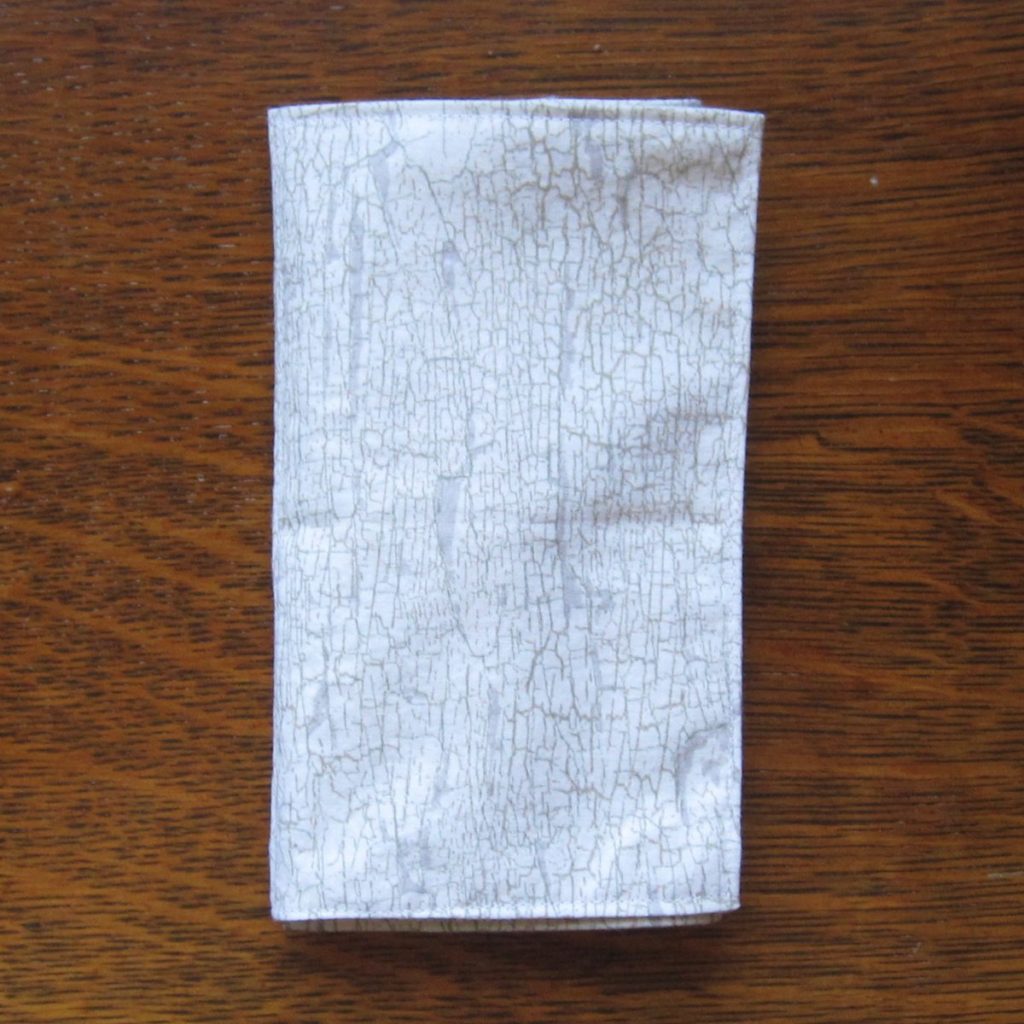
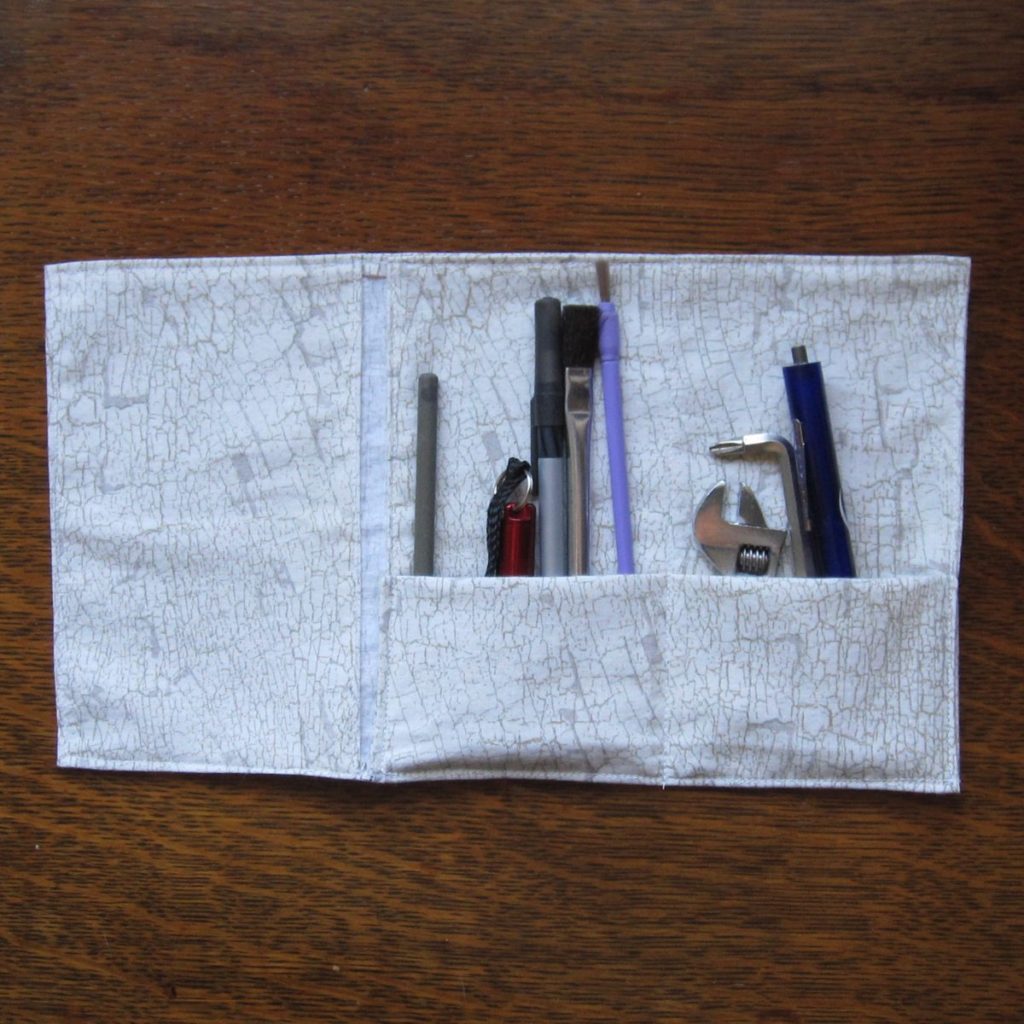
A roll for tools, similar to a knitting needle roll: one short divided pocket. Limitations of fabric meant the pocket couldn’t extend the whole way across, but that’s all right. The flap helps keep things together. I may decide to add a snap or other closure but we’ll see how it works out like this.

tool bag from side, with front side up tool bag from side with backside up

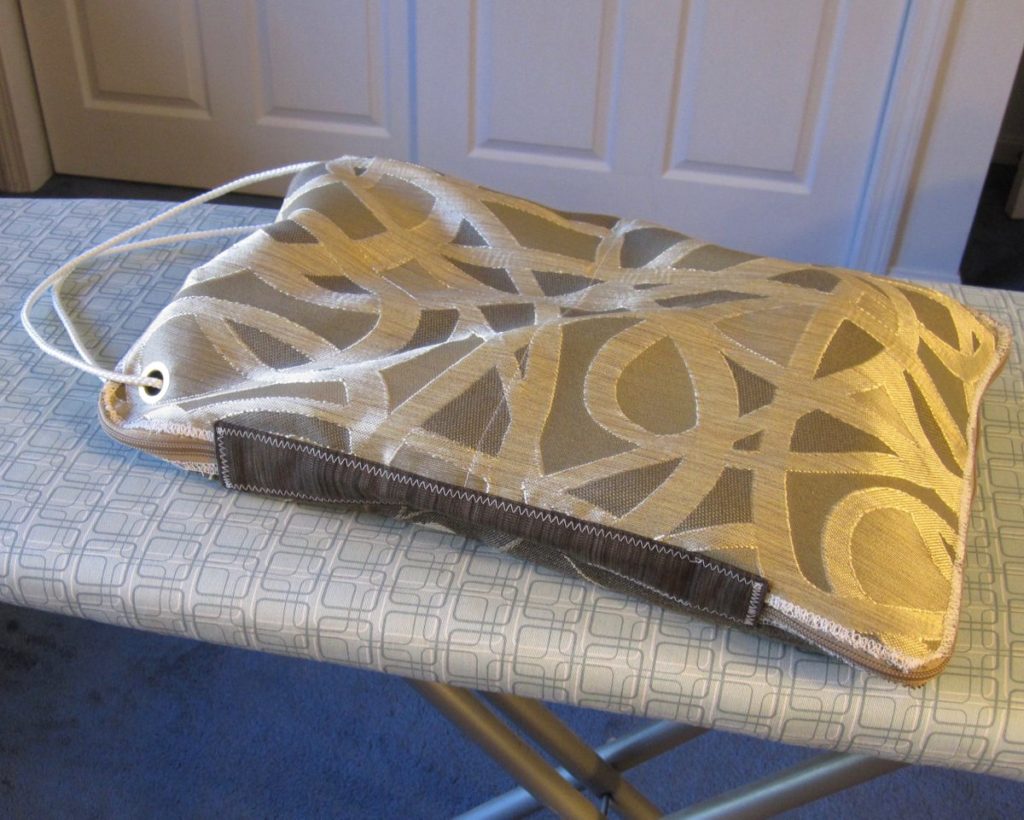
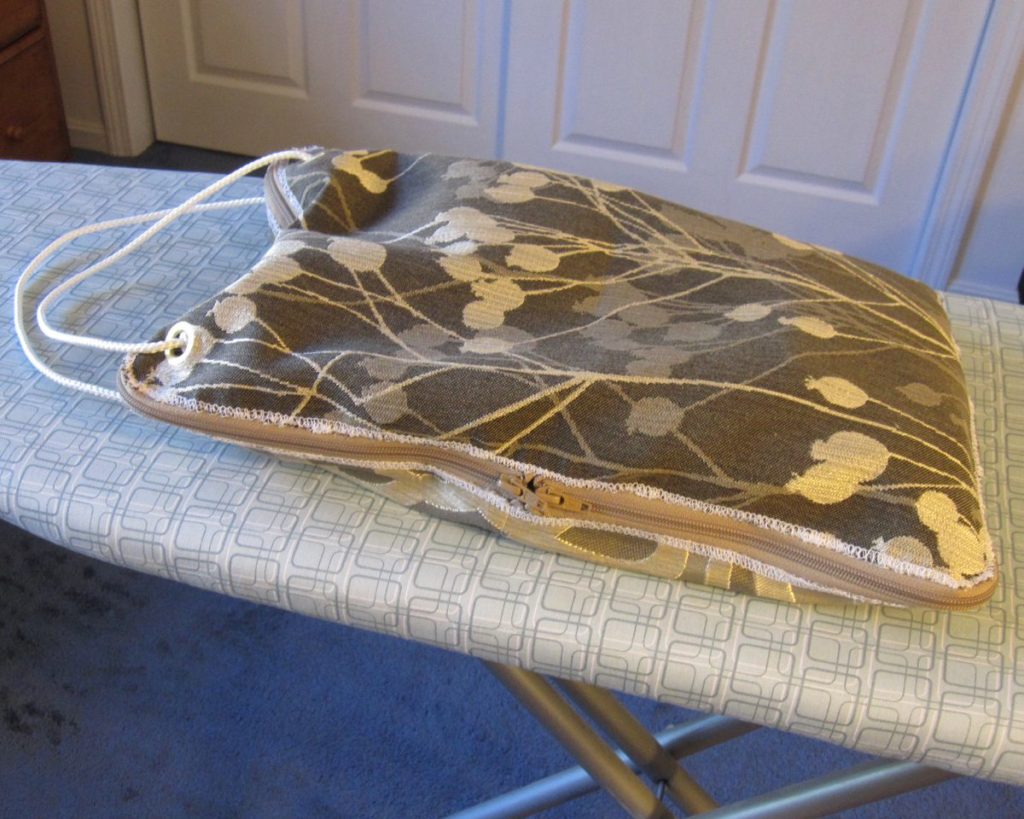
What the tool roll goes inside, the main event: a sewing machine repair travel tool bag. In this I can stash the basics for transport to the Sew-op or a friend’s house; any problems that require more than what fits in such a bag will be call for the machine to come home with me.

tool bag open and filled with tools

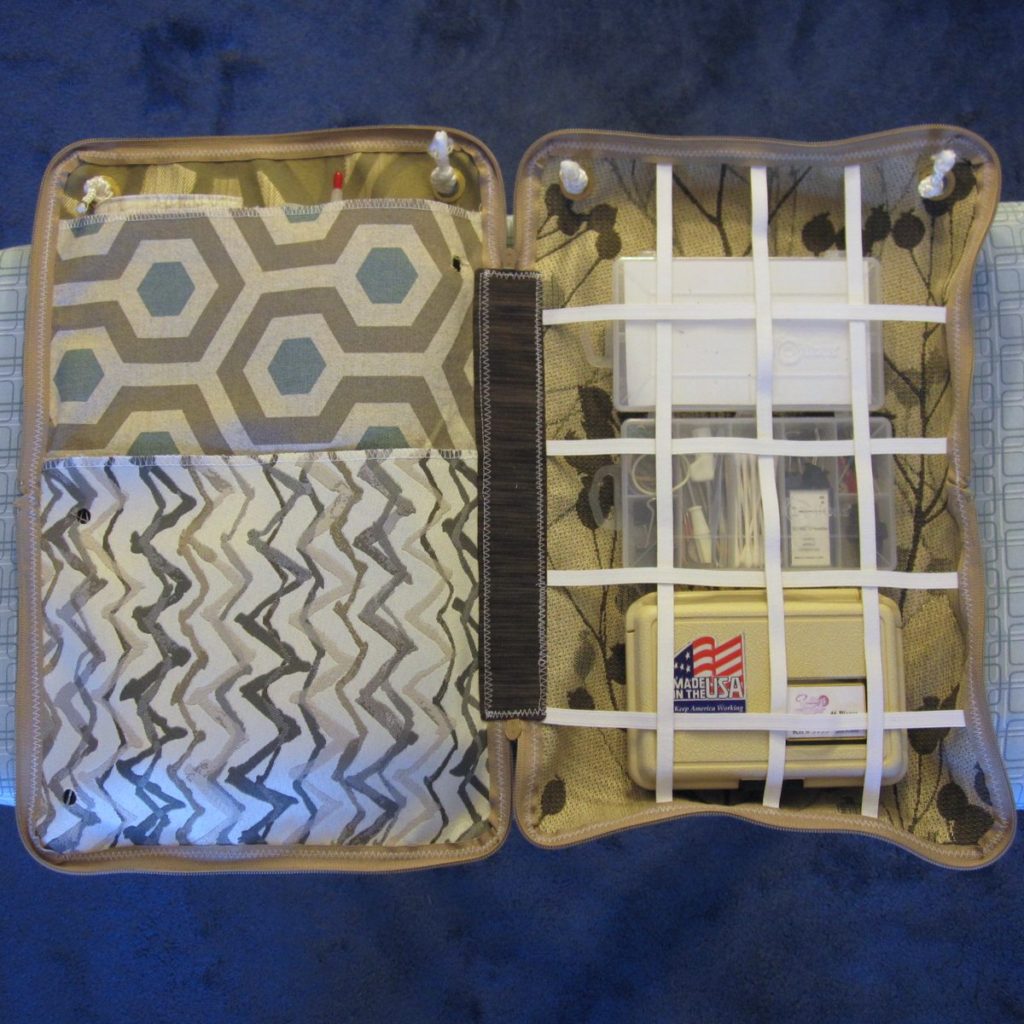
I am pleased with the bag and very pleased with myself that I dialed back my original plans, which would have involved many more pockets, individual elastic compartments for the three boxes, and in general a lot of complexity that may not have been so likely to come out well.

Except for the dark fabric making the “spine” of the bag the fabrics were all upholstery samples donated to the Sew-op. I bought the zippers – plus coordinating thread, but I decided to match the white serging they all shared instead. The rope was in our basement and the elastic was in my stash, as were all the materials for the previously-listed projects. A good haul for a day off.

Mop covers

Long ago I made crochet covers for my Swiffer sweeper, but I never got much use out of them. They were not as thorough at sweeping as I would have liked, and the normal Swiffer sheets are terrific at their job. That sweeper finally kicked the bucket and I got a Swiffer Wet Jet, unaware that it would not be able to hold the sweeper sheets. Well, for sweeping I’ve gone back to a broom and dustpan.

For mopping, though, I’d been using the Swiffer pads. They are much less good at their job than the sweeping sheets, but my regular sponge mop, which was supposed to squeeze out by folding shut like an alligator mouth, was no better and a lot more aggravating. What to do? Make new pads for the new Swiffer. I thought a smooth flat cotton pad with some acrylic slip-stitch stripes for scrub would work well. I also used acrylic for the upper part to hold it on to the Swiffer, though that choice was more to use up acrylic than anything else. The pad is also held by the velcro on the bottom of the mop.

photo of two crochet mop covers

I started by making two of slightly different size for testing: one that was the full 10.5″ by 4.5″ of the Swiffer itself, and one that was a scant 10″ by 4″. After testing I went with the larger size pattern but dropped a hook size. Size isn’t as crucial as with the sweeper because of the velcro on the bottom.

I soon realized they work much better after multiple washings, so for the remainder (I wanted 5 for the five rooms I mop, plus two spares) I made the cotton panel, put it in the laundry, added the acrylic stripes and upper sleeve, put it in the laundry again, and then put it into service.

My pattern

Your needs may be different depending on gauge! I use a G/4.25mm hook, but also seem to crochet more loosely than average. You may want to change hook sizes, stitch counts, or both.

I make the panel in cotton and the slip-stitches and upper in acrylic. This is mostly to use up acrylic, so if you want to use all cotton, go ahead.

Cotton panel:
Chain 31; make 14 rows of 30 sc. Wash this panel.

Scrub stripes:
Slip-stitch across in the valley between rows 3 and 4, 5 and 6, 9 and 10, and 11 and 12.
After a couple of panels I started slip-stitching from one row end to the next instead of stopping and starting each time.
If you run out of yarn slightly before the end of a row, don’t worry about finishing it. It’s not that important. I do find, however, that these stripes successfully catch gunk, so I wouldn’t leave them off.

Upper cuff:
Starting in the middle of a long edge, join yarn with a sl st, ch 1, and sc around the entire panel.
Join your round when you get back to your starting point and chain up for another. Make four rounds in which you decrease by 2 stitches in each corner. I accomplish this with what I call sk-dec, “skip decrease”: make a regular sc dec but skip a stitch in between the two loops you pull up at the beginning. This takes out two stitches at once with less bulk than sc3tog.
Join your final round and finish off. Wash again!

Crochet stitch sampler washrag

I’m teaching a crochet refresher class on Wednesday, and for it I designed a simple pattern that would allow us to practice the basic stitches without taking forever but while still making something. I thought I’d share the pattern in case you’re helping someone with crochet, or are just a fan of this type of pattern. It starts with a block made in the round so you don’t have to fiddle with a starting chain until you’re back in the rhythm a bit.

finished washrag sampler

Stitch Sampler Washrag Pattern

Use cotton worsted weight yarn and an H or larger hook (5mm).

washrag sampler square 1: rounds

Square 1: rounds (make 2)

1. Ch 6 and sl st to form a ring.
2. Ch 1. Sc 12 into ring; sl st to 1st sc made (12 sts).
3. Ch 2. Hdc in same st as sl st. *Hdc 3 in next st, hdc, hdc* three times. Hdc 3 in next st, hdc, sl st to 1st hdc made (20 sts).
4. Ch 3. Dc in next st. *Dc 5 in next st, dc in each of next 4 sts* three times. Dc 5 in next st, dc, dc, sl st to top of ch-3 (36 sts).
Cut yarn, leaving a nice long tail to sew with, and pull cut end through last stitch. Weave in the starting tail.

washrag sampler square 2: rows

Square 2: rows (make 2)

1. Ch 11. Starting in 2nd ch from hk, sc across (10 sts).
2. Ch 1, turn. Sc across (10 sts).
3. Ch 3, turn. Dc in next st. Ch 2 and sk 2 sts; dc in next 2 sts. Ch 2 and sk 2 sts; dc in last 2 sts (6 dc and 2 ch-2 sps).
4. Ch 1, turn. Sc in first 2 sts; sc 2 around ch. Sc in next 2 sts; sc 2 around ch. Sc in last 2 sts (10 sts).
5. Ch 1, turn. Sc across (10 sts).
6-8. Repeat rows 3-5.
Cut yarn, leaving a tail to sew with, and pull cut end through last stitch. Weave in the starting tail.

Sewing

Use the long tails to sew the squares together. To line them up, set each rows square with its last row/sewing tail at the top. Place a rounds square above each rows square with its tail off to the left. Match the near edges of the vertical pairs, placing the squares back to back with those edges up, and use the tail to whipstitch them together, stitch to stitch. Sew in the remaining tail afterward.

Next line up the two pairs so the squares make a checkerboard and the remaining sewing tails are on the edges to be joined. With each tail, stitch straight through one square edge to get to the outer end of the seam and whipstitch back to the center; secure the end. Before securing the second end you may wish to open out the full washrag and sew up any gap in the center.

Bordering

You can make a simple but sturdy border for the washrag with single crochet. Tie a slip knot and place it on your hook, and then insert your hook into a stitch on the edge of the washrag and make a slip stitch. Chain 1 and sc around; where you have stitches or leftover starting chain strands this will be straightforward, but on the sides of rows you’ll want 1 stitch per single crochet row and 2 per double crochet row. Just do it by eye. Stitch through the stitches or completely around the end stitch of the row as desired. Put 3 sc into the same stitch to turn a corner. I would make 2 rounds, and of course the second will be easier because there’s no figuring out where to put stitches. Don’t forget your 3 sc to turn corners!