 It was time for a tutorial on the local fibercraft blog I co-write, and I thought it would be the perfect opportunity for a locally-themed project, the kind I would worry was uninteresting to most readers here. I settled on a map of the area in blackwork embroidery and set to work. Over there you’ll find information about blackwork and stitching this pattern; here I want to discuss the design process.
Originally I wanted to partition the map into what we really think of as towns, which are smaller, more numerous, and more irregular than what the state governments regard as towns. The large boxy shapes date back to at least 1860, though, and I determined it would take me months to draw other boundaries. Drawing my own borders would also result in many arbitrary decisions about what was in or out of town.
I also didn’t intend to include 46 towns in the final map, but again, restricting would have required arbitrary decisions. The towns I included comprise the beat of the local newspaper, so any arbitrariness to the boundary is well in the past now.
To make the town outlines I imported an area map into MacStitch (of which I still owe you a full review) and traced the edges with backstitch. Deleting the cross-stitches was easy since none of them were black, so I was able to simply remove each color and its stitches from the palette. I then adjusted a number of the edge lines so all town corners would be at grid corners, in case anyone wants to make their own arbitrary exclusions.
I asked for and was granted permission to use fillings from Kim Brody Salazar’s wonderful blackwork fillings collection, but between asking and receiving I had the idea to make fill patterns out of the initial(s) of each town, and couldn’t let go of it. That meant 46 different fill patterns, 7 of which had to be built from the letter C. That is not a letter that has much difference between upper- and lowercase, or print and cursive. Also difficult were 3 Ws plus WF and WW. Oddly enough, the solitary F and E gave me more trouble than, say, the 4 Ss. Many evenings of sketching while watching the hubs play Skyrim passed as I designed letter fills and then slotted them into their locations.
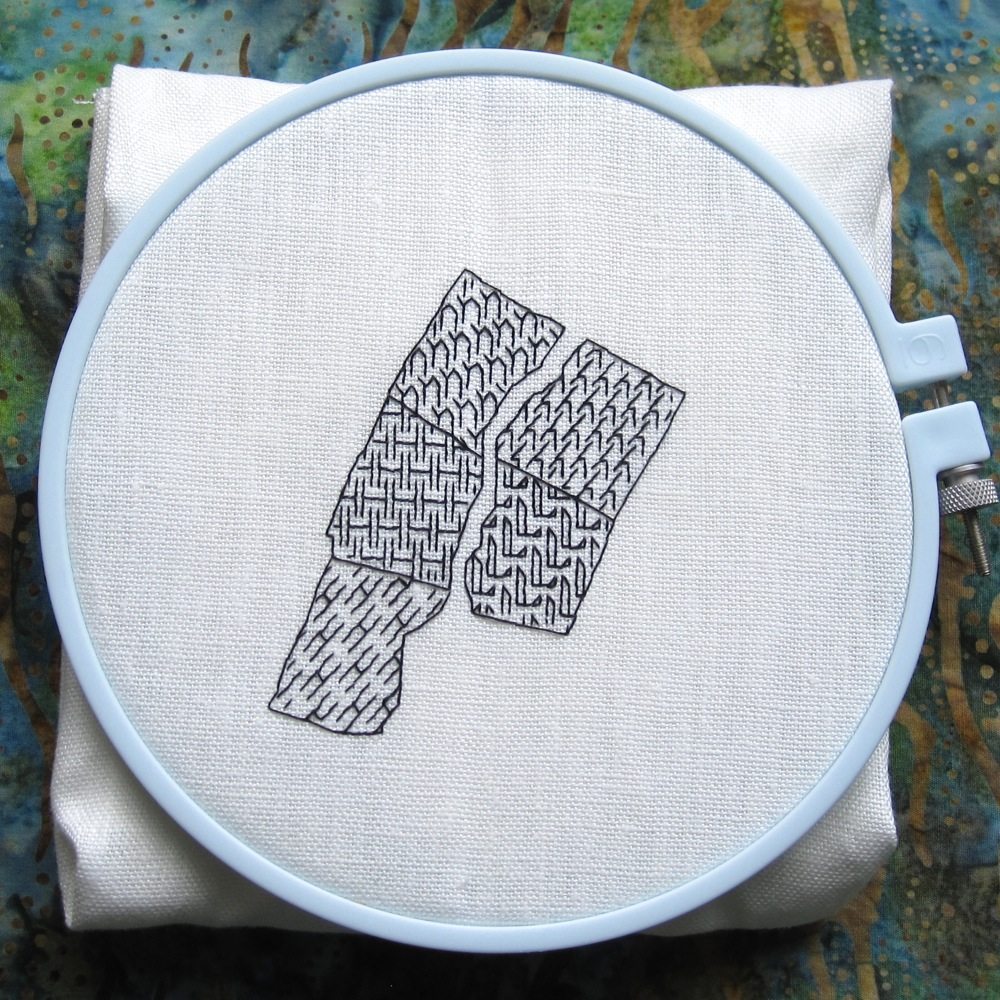
A few more evenings passed while I stitched the beginning of my sample, shown above. I don’t have time to continue to be so dogged about this, so it will be some months before I’m done, but you’ll see it again then. I’m working on 32-count linen (over 2, for an effective count of 16) with a single strand of black embroidery floss (DMC 310). The stitching I’ve done is all six strands of a 2–2.5 foot length of floss.
There are a few useful links in the pattern post that are also now on the ideas and inspiration embroidery page, halfway down, where I’ve added a blackwork entry to the slowly growing directory of embroidery techniques.