Larks as Learning Opportunities

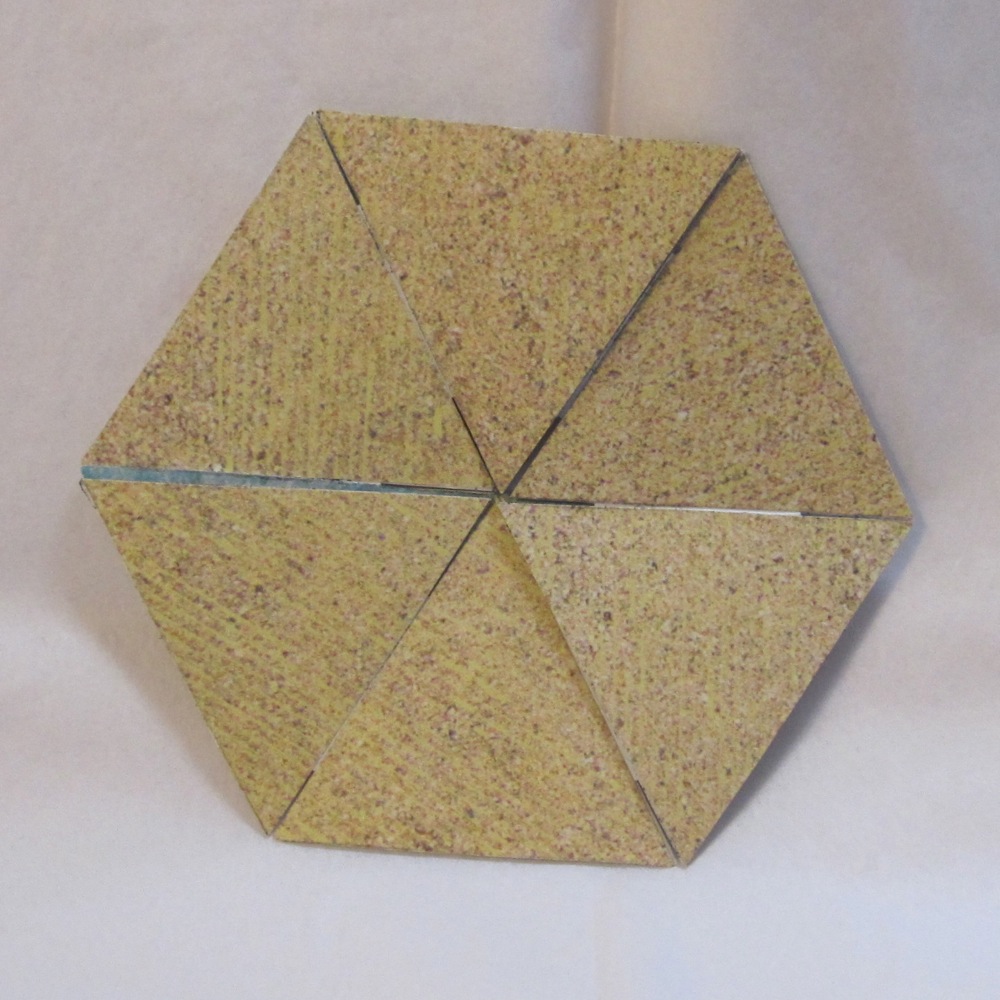
Last night I went through a stack of magazines I’d picked up at a tourist information stand and free at work. Something caught my eye as I was paging through a tourism magazine, and a while later I had this:

No. 1: The Larch.
No. 1: The Larch. 9″x12″, 2017. Sketch pad paper, Mod Podge, two outdated issues of the Vermont Visitor’s Guide.

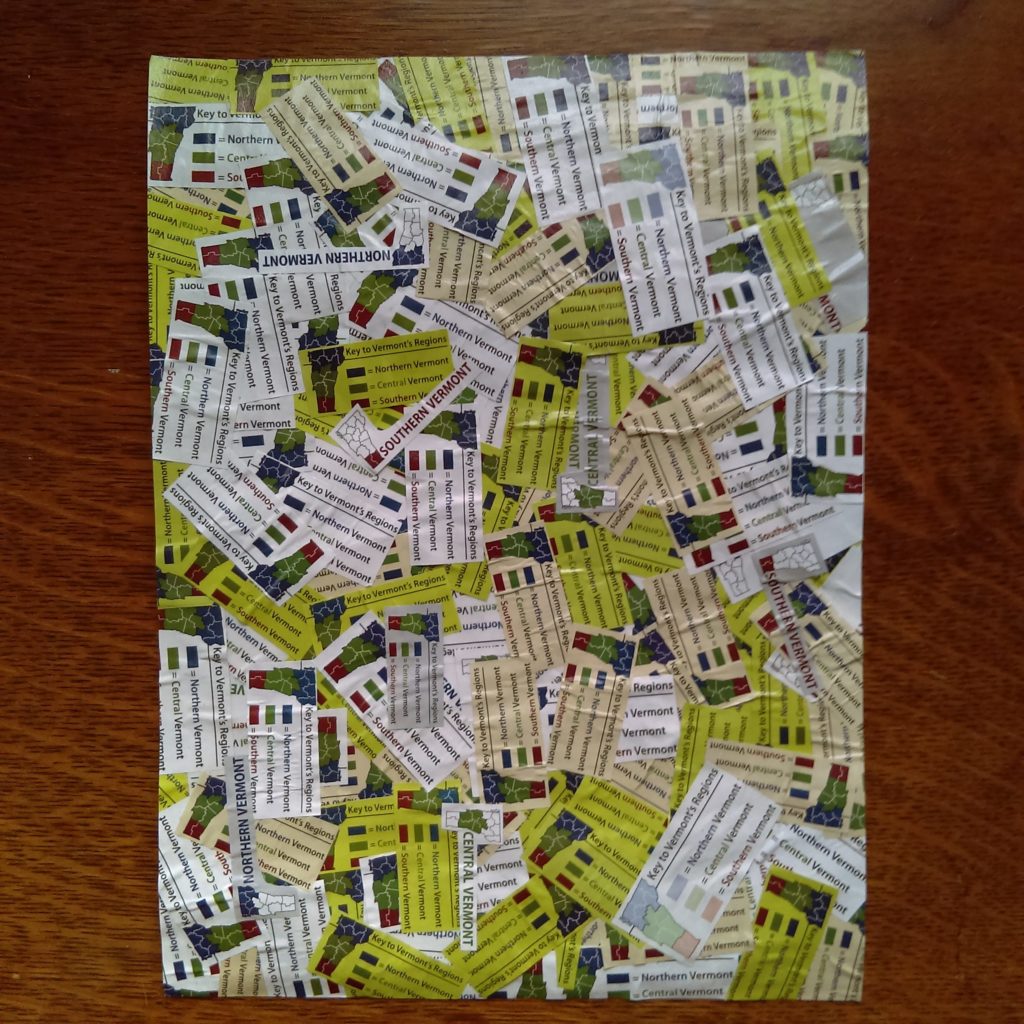
Well, not literally; I trimmed the edges this morning. But essentially.

Just a lark, slopped together with lots of mod podge and minimal care. I intend to make more collages in the future, though, so I thought I’d record what went well here and what I would change if I were doing a collage like this to be a serious piece.

The Good:

  • I laid my sketch pad paper out on waxed paper and glued magazine clippings off the edge. The waxed paper meant I could turn it over and see the edges for trimming this morning without having to try to peel it off in advance.
  • I had tons and tons of the little clippings. I kept cutting them even though I was sure I would end up with something like twice as many as I needed. Nope, I needed all of them.
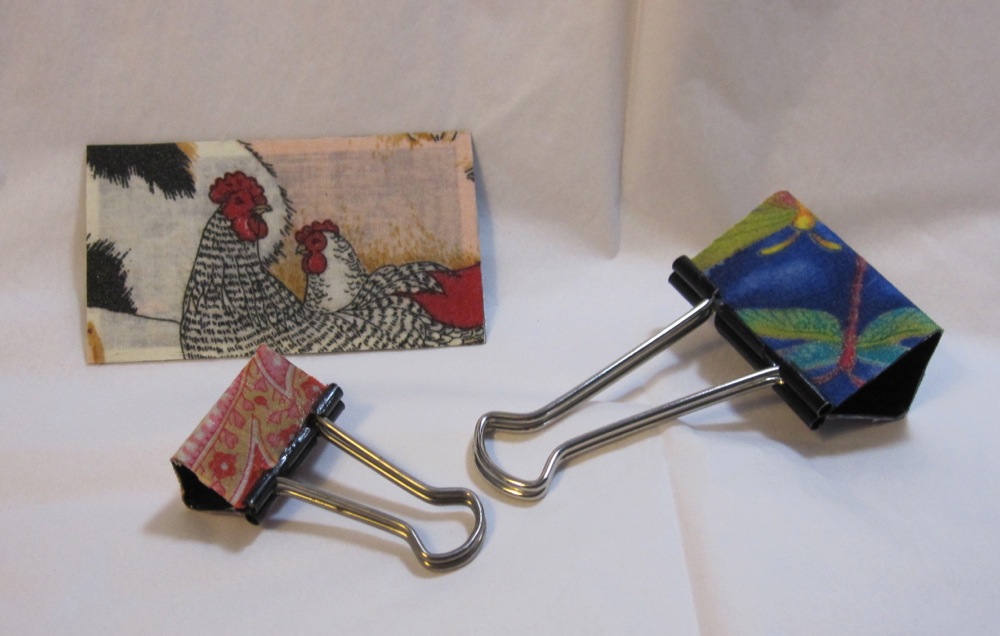
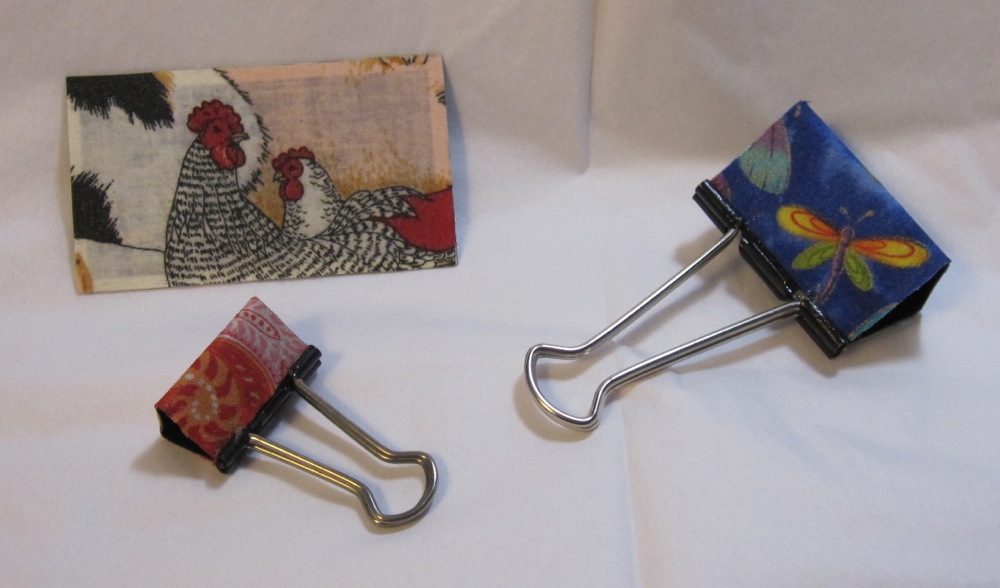
  • I saved out one of each version of the key to make sure they were all represented on the top layer.

The Not So Good:

  • I couldn’t get a sweet spot between too much and not enough Mod Podge in its role as adhesive. If it was a thick enough layer not to dry immediately it wrinkled the paper and made it translucent. If I were doing this “for real,” I would … well, I’d be a lot more careful in a lot of ways! But in particular, I wouldn’t use Mod Podge as the primary adhesive. Instead, I’d use a glue stick to attach one round of clippings (probably over half) with minimal overlap but hopefully good coverage. Then I would dab on a thin layer of Mod Podge, covering the whole page, and let it dry. Intermediate layers of Mod Podge should mean I wouldn’t have to worry about making sure the glue stick was all the way out to the corners of every clipping. Repeat with the rest of the non-reserved clippings, and finally with the reserved clippings. Then probably one more layer of Mod Podge, thicker now because the previous coatings should protect the paper from wrinkling.

Quite a bit gained from following that moment of silly inspiration!

I’ve got a fever!

And the only prescription is… more Mod Podge!

notebooks decorated with magazine cutouts and other paper, via mod podge

It started with the silver notebook. I got it for free at work but it had a big ol’ vendor logo across the front. I wanted to cover it, and pulled out a magazine clipping from my stash – but my Mod Podge was nowhere to be found (it probably dried up). After procuring new Podge, I covered that, but then thought, “what other notebooks could I decorate?”

I wasn’t so keen on the tan plaid notebook to begin with; it came in a set. The chickens, from the back cover of a calendar, dress it up nicely, despite one likely being 90 degrees incorrectly positioned. The gopher-y creature was the front of a birthday card received from my parents years ago. I liked that notebook fine, but the whole back cover still has the zig-zag lines so there’s no real loss.

At that point I thought my supply had dried up – my remaining notebooks were too attractive to decoupage some random paper onto. Then I had a meeting and took the pinkish notebook – and realized I’d been using it for two years and was only maybe 1/4 through. Boring! Addition time. I do wish I’d trimmed out some of the white between the leaves near the bottom of the image, but it’s nice nonetheless.

Decoupage: highly recommended for instant gratification.

Glue

At the Sew-Op, we have a lot of fabric that is too small to sew with, unless you are extremely dedicated. In looking for things that can be done with very small scraps, I found many projects that use Mod Podge to glue fabric to a number of different surfaces. With the idea that, project in hand, we might be able to donate our fabric to a good home (a local art gallery that holds classes and after school programs), I decided to test this Mod Podge theory.

I used ordinary cotton calico, the kind sold for quilting. I have some doubts that Mod Podge would work terrifically well to glue anything very heavy or thick. I cut pieces to wrap around two binder clips and cover a promotional magnet, brushed Podge on the surface of the item, pressed the fabric onto it (this required trimming to fit in all cases, more so for the binder clips), and brushed more Podge onto the surface of the fabric.

mod podge projects mod podge projects, alternate view

As you can see, it worked beautifully, with the caveat that the color of the base shows through the fabric a bit. On the other hand, the glue made the fabric sparkle a bit, which was an unexpected bonus.

If you are disappointed in the post so far, never fear, there’s more. Recently a video was going around about flexagons. It made me think of the old fortune tellers we made in grade school (I’ve also heard them called cootie catchers) and I decided to make one. I was ambitious and cut out pieces for a dodecahexaflexagon (twelve faces, each a hexagon, two of which show at any given time), but came to my senses and made a trihexaflexagon first. I cut six equilateral triangles of each of three decorative papers, two inches on a side, and a bunch of half inch squares of plain paper for the hinges. I glued them together using rubber cement, following the instructions on the Flexagon Portal, with only a front side on one end. After folding the whole thing up I glued the back on.

face 1 face 2

Changing from the second face to the third…

from 2 to 3 face 3

And back to the first…

from 3 to 1

Even more recently I discovered an old flexagon I made in middle school (I think). I’m not sure whether it officially counts as a flexagon, but it has more than two faces. In fact, it has four, and each consists of six squares in a two by three rectangle. With Thanksgiving I did not have time to explore it for this post, but it will appear at some point in the future!