Pattern assumptions

connecting the dots Crochet has its own conventions and standard operating procedure. You know already about crochet abbreviations for stitches and methods, but I’ve realized there are plenty of other things assumed to go without saying in patterns which perhaps don’t go without saying. I thought I’d make a list of all the ones I’ve thought of or seen recently, in hopes it will help a newer crocheter. Of course every one is “unless otherwise specified,” and although many of them may be so basic as to be self-evident to everyone who tries crochet, I wanted to err on the side of completeness.

Please feel welcome to comment with your own clarification questions!

Beginning:

  • There are two sets of terminology in crochet, known by the shorthands US and UK. I always use US (including throughout this post) and say that in my website but not the individual patterns. There are a few telltales if you don’t know which terminology you’re working with:
    • If you see sc, it’s US. I’ve seen some warnings that US slip stitch can be called sc in UK patterns but (a) I’ve never seen it in an actual pattern, and (b) it wouldn’t be used as a primary stitch unless you were doing slip stitch crochet, in which case you’d know what to expect.
    • If you see hdc, it’s US.
    • If it’s an amigurumi made with dc, it’s UK.
    • If you see htr, it’s almost certainly UK – I’ve seen htr in US-terminology patterns, but there it’s a nonstandard stitch that needs to be defined.
  • If you are asked either to chain some number or attach new yarn with a slip stitch, it is implied that you are to tie a slip knot and place it on your hook first.
  • The instruction “sc 6 in magic ring” or similar is preceded by an implied “coil yarn into ring, pull up loop, and chain 1.” The chain 1 is often but not always included in the written instructions; the first two implied instructions are what forms the magic ring.
  • “Join with sl st into ring,” which would be applied to a chain, always means to slip stitch into the chain closest to the slip knot.

Middle:

  • Stitching “in ring” or “into ring” is done by inserting your hook into the center of the ring, not between the strands of any of its stitches.
  • In general, in fact, it appears to me that whenever you make stitches on a chain that is attached at both ends (i.e. not a starting chain for work in rows or a chain out/stitch back situation), you will insert your hook under the chain (in the chain space) rather than between the chain’s strands. It is certainly true for granny squares and other afghan motifs worked in the round.
  • When working into the top teardrops of previous stitches, make one new stitch per old stitch if not directed otherwise.
  • A range of row or round numbers followed by a single set of instructions (e.g., “8-14: Sc around”) means to do the same set of stitches for each row/round numbered, except for anything that cuts or otherwise finishes off the yarn, which (unless the instructions have you start new yarn) are meant to occur only at the end of the last row/round of the range.
  • For double crochet and taller stitches, the row or round stitch count includes the turning chain, but not the joining slip stitch (if applicable). This may also be true for hdc but it is less universal.

End:

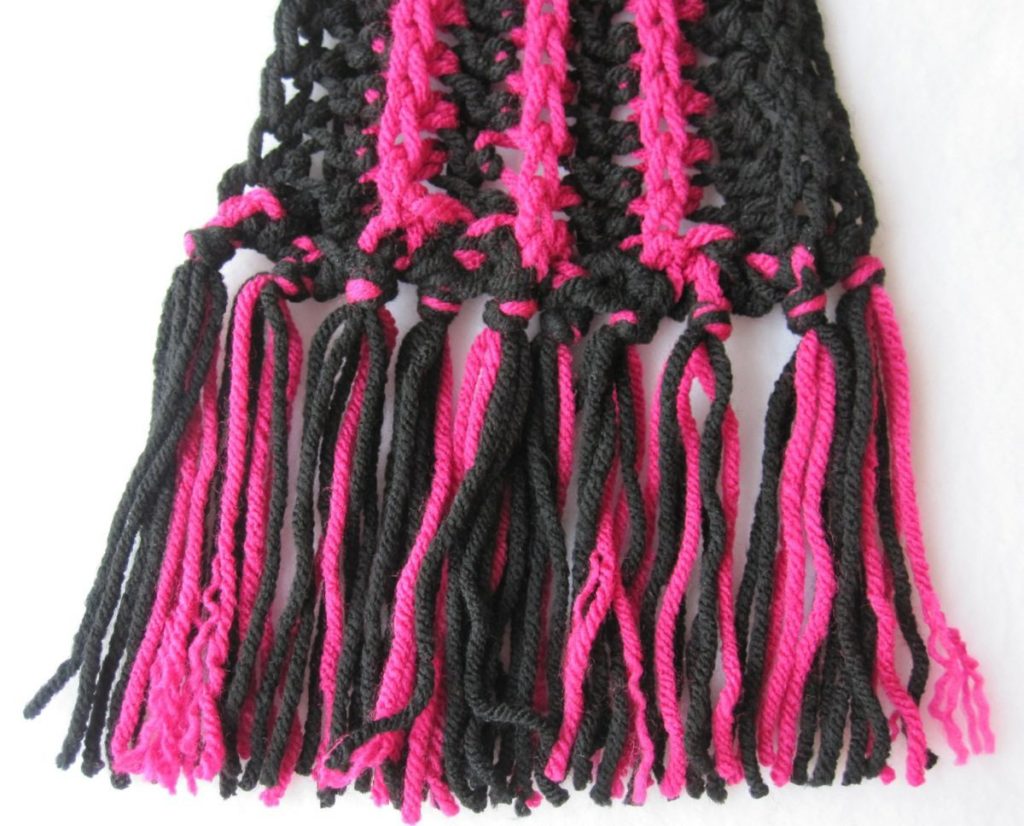
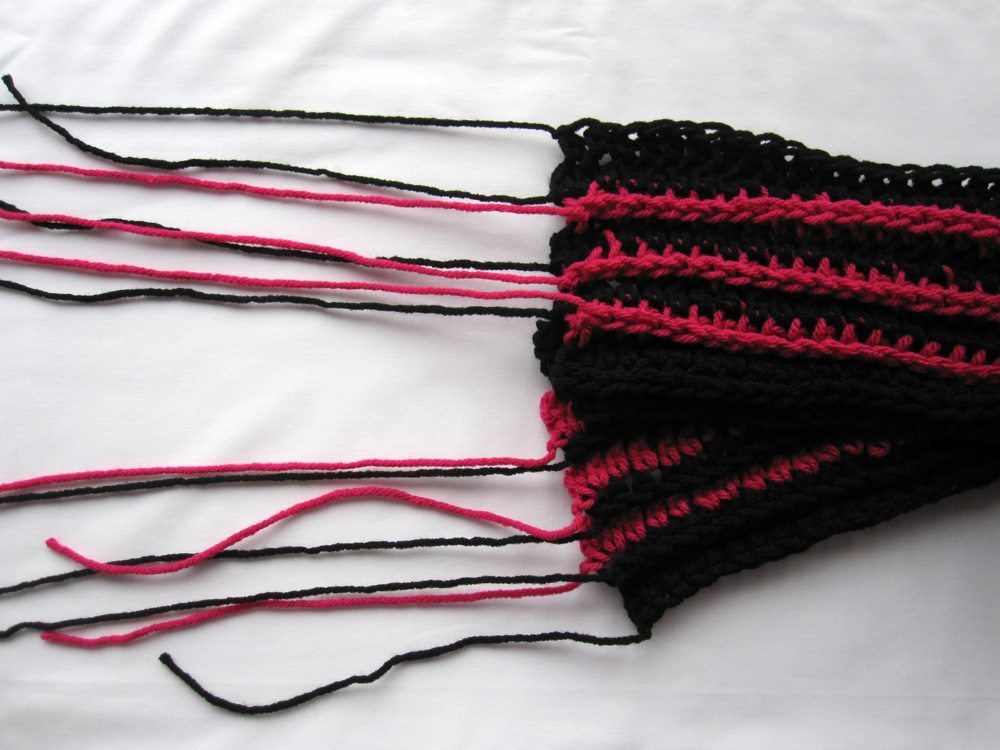
  • “Finish off” (FO) means to cut the yarn, pull up the last loop on your hook until the cut end emerges from the final stitch, and weave that end in. “Finish off” may itself be an implied instruction, as well.
  • “Cut a long tail” or similar instructions, on the other hand, mean to pull the cut end through as with finishing off, but then await further instructions. And, of course, it also means to leave enough yarn attached that you can use it to sew two pieces of crochet together or sew an opening closed.

Last-minute scarf

I promised a scarf to a friend for her daughter, and sat down to start it. To my surprise, in less than an hour and 45 minutes the crocheting was done and I just had to add fringe!

last minute scarf

There it is with the fringe. This is a scarf in half double crochet, each row stitched in the bottom loop of the “faux teardrop” on the back of the previous row. I got the idea from Jenn Ozkan, but clearly from the pictures I used a larger hook for the yarn than she did: K/10.5 (6.5mm) for Red Heart With Love, a plush worsted at the thickest end of the weight class. I wanted the scarf to be soft and smooshy.

I started with a row of foundation hdc that was about 54″ long (though you could certainly use a starting chain instead), and stitched 9 rows total:
2 black
pink, black, pink, black, pink
2 black
The scarf is about 5″ wide. A skein of RH With Love is 7 oz/370 yds (198 g/338 m), and I used about three-quarters of a skein total: just over 3 oz (160 yds; 85 g/146 m) of black and just under 1.5 oz (80 yds; 43 g/73 m) of pink. Over half an ounce of black and about a quarter ounce of pink went to the fringe.

It wasn’t really practical to carry my yarn between stripes, because I was always starting colors at the opposite end of the scarf than I had finished them previously. Instead, at the beginning and end of each length of yarn I left a long tail to incorporate into the fringe. If you want to try out foundation half double crochet for the first time this isn’t a bad choice of project for it. There’s a great tutorial for foundation sc on futuregirl’s blog, and the modifications for hdc are minimal: still a ch-2 to start, a yarn wrap before each hook insertion, and pulling through 3 loops on the hook where in sc you’d pull through 2. Fuller instructions at the bottom of the post, but meanwhile fringe!

fringecloseup

The recipient of the scarf has three younger siblings, the youngest of whom is still a baby. I wanted to put fringe on the scarf in such a way that picking it out would be laborious. My solution was to put the ends of any given length of yarn in two different tassels. I should probably tell you adding fringe took about as long as the crocheting, but if you did it a more simple way (either feeding a bundle of yarn through and tying it in an overhand knot, or attaching a bundle of yarn with a lark’s head knot) it would be a lot quicker. I cut two-foot lengths of yarn, 11 pink and 21 black for each side. Most, if not all, of the strands are in tassels no more than 3 apart. In between I tried to corkscrew them around – and sometimes not having messy strands meant getting the tassel strands around the outside of the lengths stretching between tassels. I did all the pink first so the black would cover it over a bit between tassels. The pictures below show the loose ends from crocheting, most of the pink strands woven in, and the fringe finished but not yet trimmed. I have a note to myself that indicates I believed I took pictures when 4 tassels had been knotted and the rest were awaiting the rest of the black yarn, but apparently that was only a hallucination.

unfringed scarf partly fringed scarf uncut fringe

Most of the 10 tassels on each end have 7 strands of yarn, but one has 8 since there was an odd number of strands left from crocheting. They are 2 pink and 5 black, 3 pink and 4 black, and one 3 pink and 5 black. I tried to have more pink on the outside tassels and less on the inside ones. I trimmed the fringe by eye, and the reason it looks shaggy is that I did so before washing the scarf. The scarf is fully machine washable and dryable (in acrylic yarn, and in a mesh bag to avoid snags) but the fringe will get split ends, so don’t trim until afterward (and hand wash/line dry if that will bother you).


Foundation Half Double Crochet:
1. Chain 2; yarn over, insert hook into first chain and pull up a loop. Pull it up a little higher than you would normally.
2. Yarn over and pull through first loop on hook (essentially, chain 1).
3. Yarn over and pull through all 3 loops on hook. [One foundation half double crochet, fhdc, made.]
4. Yarn over, insert hook into chain made in step 2 and pull up a loop. Again, a little higher than you would normally.

Repeat from step 2 as many times as desired, but stop after step 3 of the last hdc. Basically, step 1/4 creates a location to stitch into, and steps 2 and 3 are a half double crochet made in that spot. My note about pulling the loop in step 1/4 up higher than you would normally is because foundation stitches are supposed to be true to width, but if I do not make sure to pull that loop up tall I get a tight edge (a fhdc strip that curls downward) exactly as I do if I use a starting chain without doing something about my natural chain tension.

What is this stitch?

Spoiler: the answer is at the bottom of this post.

Looking at my Dashboard, I saw someone had found my blog by searching “modified half double crochet.” I wondered what they might have intended, so I searched that phrase myself, with Google. The top result (and the only one on the first page that didn’t take the phrase apart) was a video by Zuliblu Crafts on crocheting an infinity scarf. The modification to half double crochet is that the loop that you pull up through the previous stitch also gets pulled through the yarn-over, and the last yarn-over is pulled through the two loops remaining on the hook. You could think of it as the yarn-over getting slip stitched down before the completion of the stitch.

To wit: YO, insert hk in next st; pull up a lp (3 lps on hk), pull 1st lp on hk through 2nd lp on hk (2 lps on hk). YO, pull through both lps on hk.

This is not half double crochet and my first reaction was, “that’s extended single crochet!” – but clearly not, since esc does not start with a yarn over. Extended single crochet, for a reminder, is sort of single crochet stacked on a chain.

Extended single crochet (esc): Insert hk in next st and pull up a lp (2 lps on hk). YO, pull through 1 lp on hk (2 lps on hk). YO, pull through both lps on hk.

And as another reminder, half double crochet (hdc): YO, insert hk in next st; pull up a lp (3 lps on hk). YO, pull through all 3 lps on hk.

I made swatches of all three stitches to compare, since they are relatives. I used three colors of Red Heart Soft; not every color has the same feel (I’m looking at you, Guacamole), but these do. Each swatch is 25 stitches by 15 rows, with 2 turning chains that do not count as a stitch. I figured that should be large enough for size differences to make themselves known.

swatches together

The first one, purple, is old familiar half double crochet. The second, blue, is extended single crochet, which looked a mess to me while it was in progress but is more appealing now that I step back and look at the whole swatch. The third one, green, is the modified half double crochet. It took some getting used to; pulling the loop through the yarn over is a little awkward, but got easier with practice.

hdc swatch hdc detail

The half double crochet swatch is 6.5″ by 8.15″ and weighs 0.8 ounces. It is the stiffest of the three.

esc swatch esc detail

The extended single crochet swatch is 6 3/8″ by 9″ and weighs 0.85 ounces. It is the largest, though more so by size than by weight, and I have no idea why it is so wide. It is also the softest of the three, which should be no surprise given the measurements. It’s really quite airy.

knotted swatch knotted detail

The modified half double crochet swatch is 6″ by 7.75″ and weighs 0.8 ounces. It is decidedly smallest in size, but weighs just as much as the half double crochet swatch. Slip stitching the yarn over to the previous row apparently compactifies without using any less yarn. This is much less lacy than esc, but nearly as soft. I agree with Zuliblu Crafts that it is a good scarf stitch.

The first time I looked at the video the comments didn’t load. The next time they did, and someone said the stitch was called “counterpane stitch.” Well, the only sources I could find for that are modern and poorly cited: one that says simply “I found it in an old book” and one that uses very old fashioned terms but gives no source for their text. Then there is the Encyclopedia of Needlework available on Project Gutenberg and given a date of 1886 by Heirloom Crochet, which indicates counterpane stitch is exactly what we now call half double crochet (or half treble in the UK), and the stitch is question is called knotted stitch. I like knotted stitch for it, because pulling a loop through both the previous stitch and the yarn over does create a little knot-like loop around the vertical portion of the stitch.

Of course, crochet is kind of the Wild West of needlework, and it is not impossible that older sources used counterpane stitch to name both of these stitches – “the answer” I promised at the start might not truly exist. As an academic type, though, I will be going with knotted stitch until such a time as I see a primary source for counterpane.


Incidentally, the video also shows a nice by-hand method of making a slip knot, although I would switch the positions of the two yarn ends so the loop is tightened by pulling the working end of the yarn instead of the cut end.