The description of the construction of potholders ended up rather long. The outline: make 7″x7″ fabric faces, quilt them to 7″x7″ pieces of fleece, zigzag the two halves together, stitch extra wide double-fold bias tape around the edge, attach a loop of bias tape, and hand-sew the free edge of the bias tape down. The instructions will be for a pair of potholders.
Some related posts: Potholder examples 1, potholder examples 2, Embroidery for Edge Finishing (good choices for sewing down the binding).
Making faces:
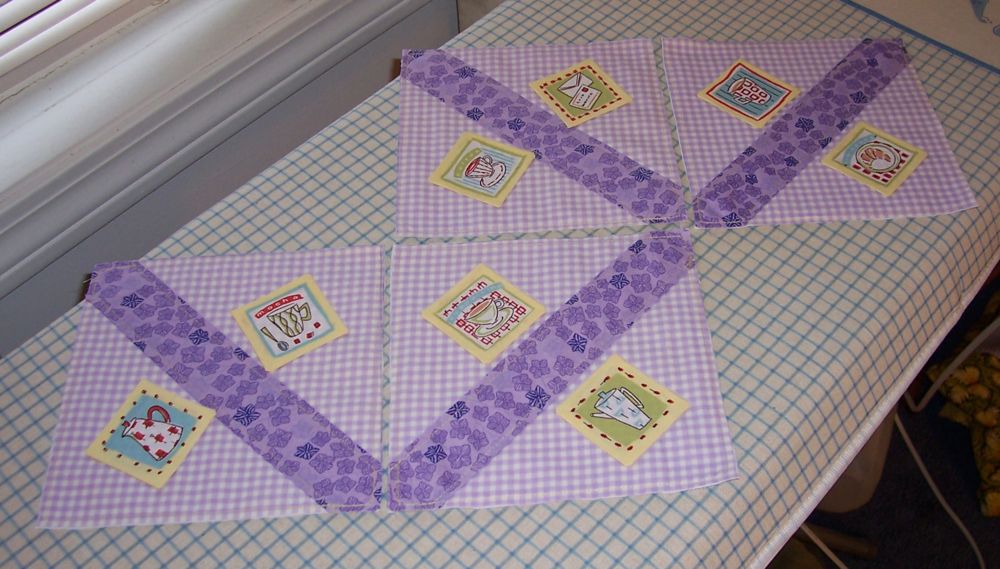
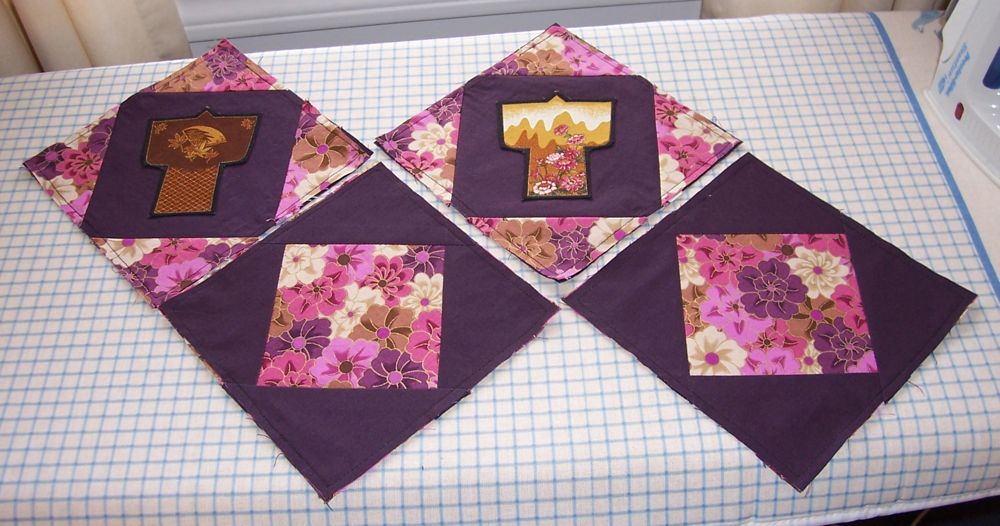
The simplest way to make the fabric faces is to find a fabric you like and cut four 7″x7″ squares. There are a huge number of variations, though: you could stitch (heat safe) ribbon along a plain piece of fabric, or applique other fabric onto it, or employ any quilting technique. The two sets of potholders I made most recently were patchwork and confetti piecing.
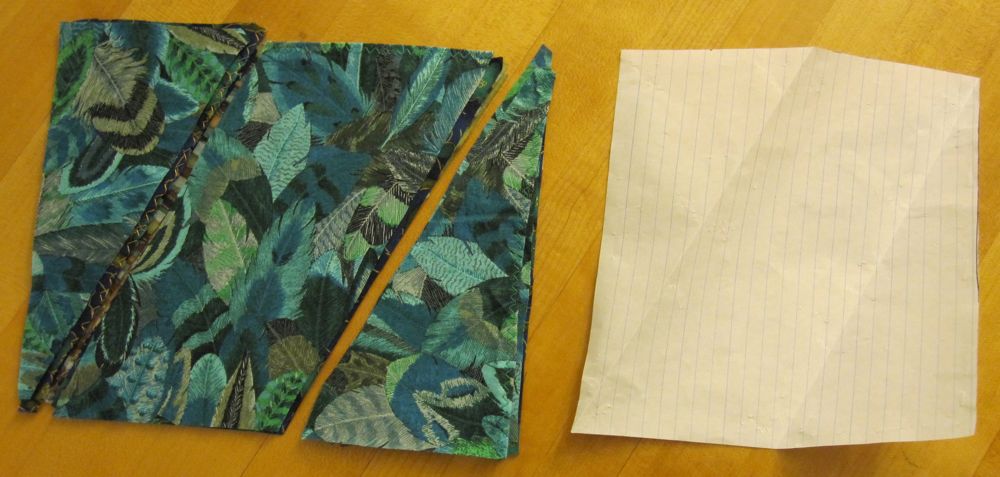
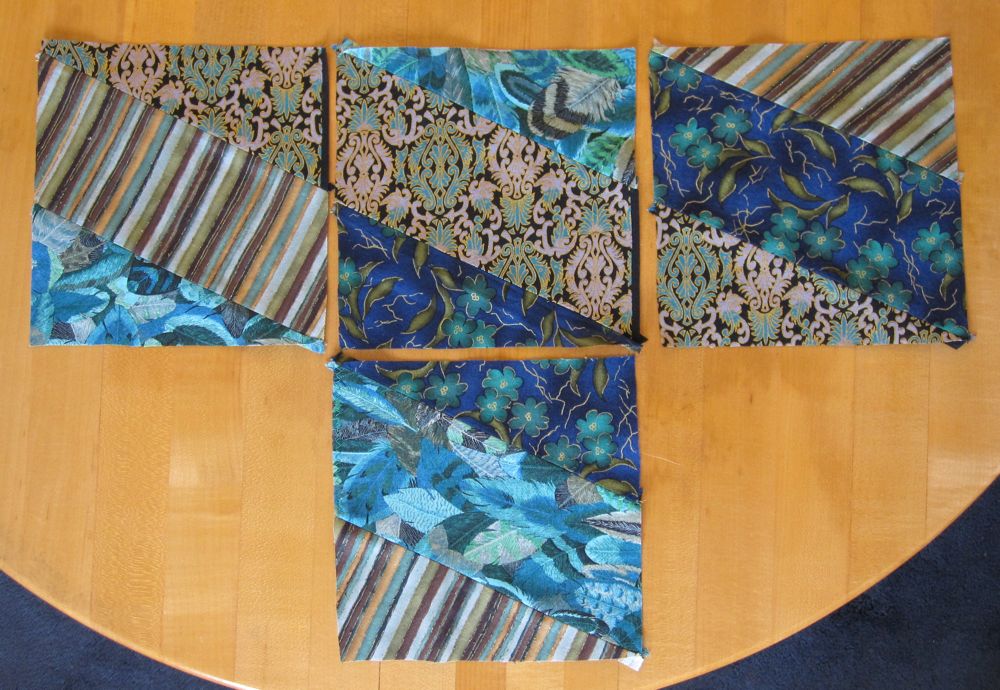
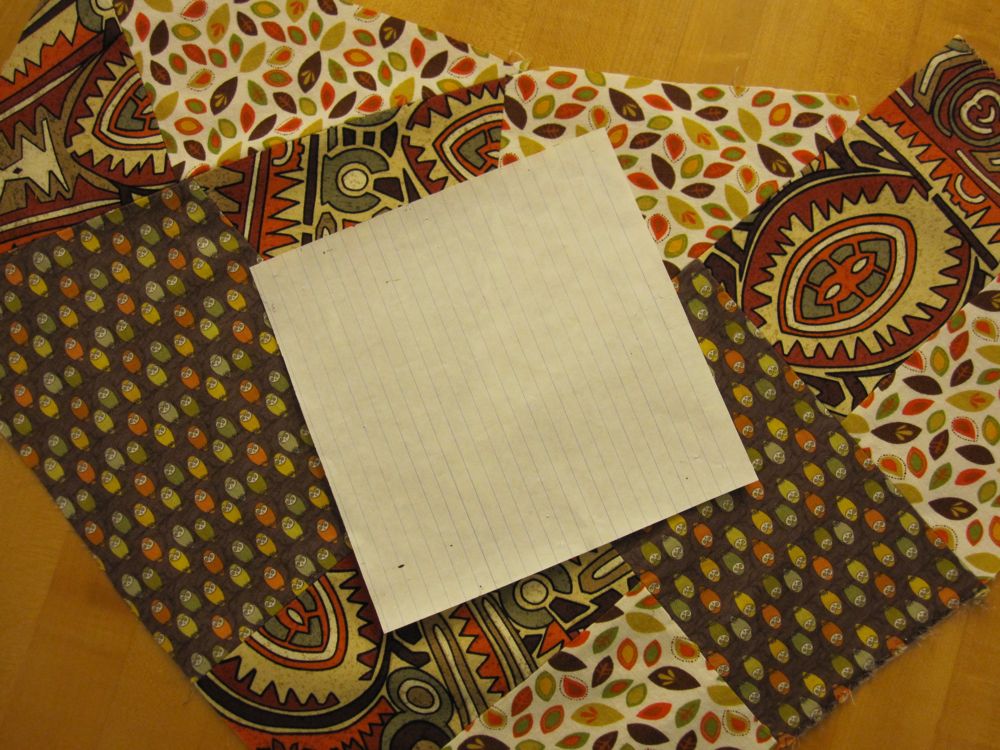
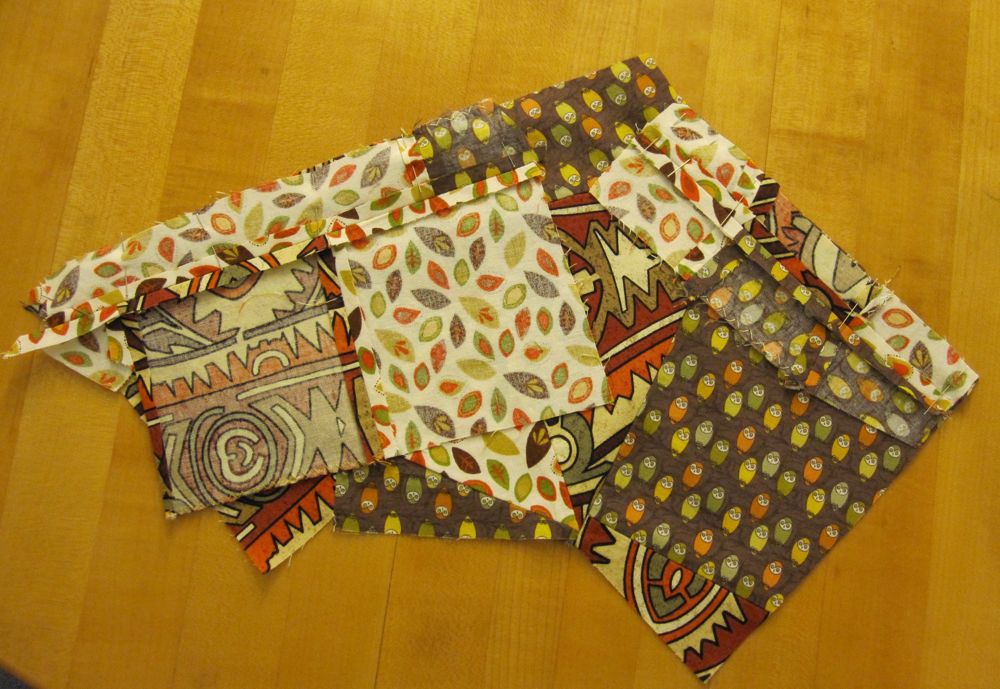
For patchwork, I was rather imprecise: I have several 7″x7″ squares of paper, and I folded one in rough thirds diagonally, using a ruler to make sure the folds were parallel, and cut fabric with a(n unmeasured) 1/4″ seam allowance along the folded edge or edges. I had four kinds of fabric so I cut one inside third and two outside thirds of each, matched them up so no two faces had the same combination of fabrics, and sewed them together with a 1/4″ allowance. Then I pressed the seams open.
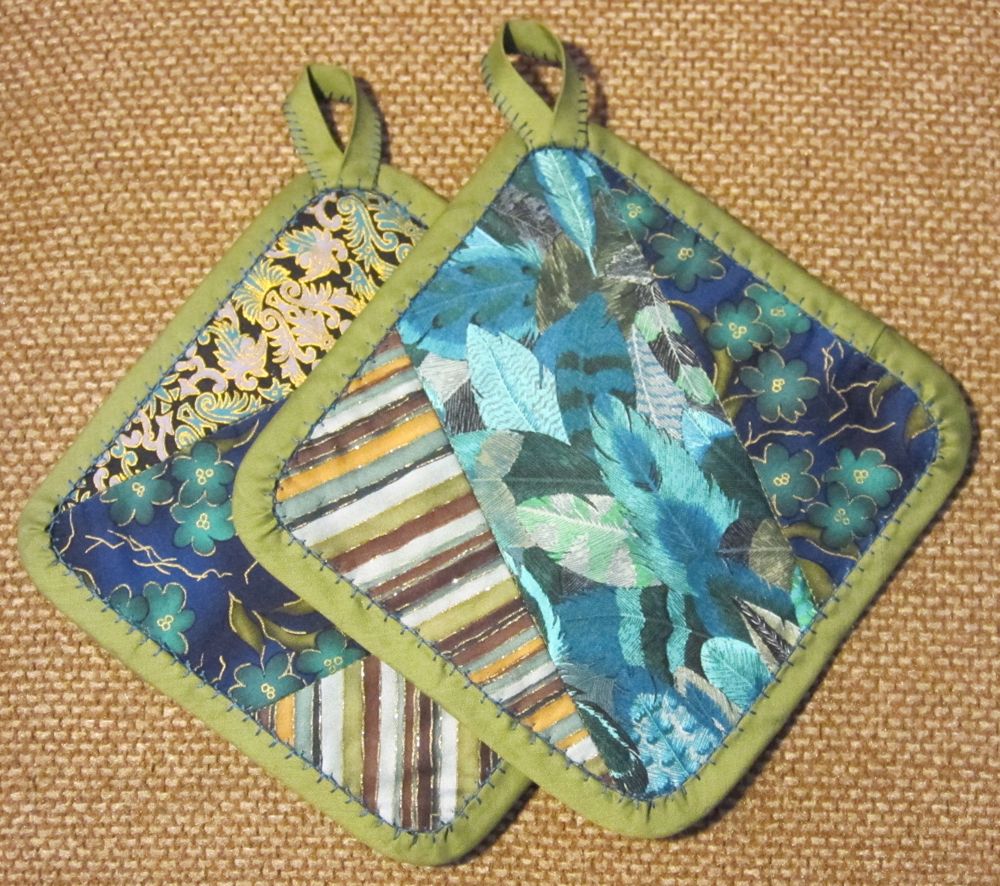
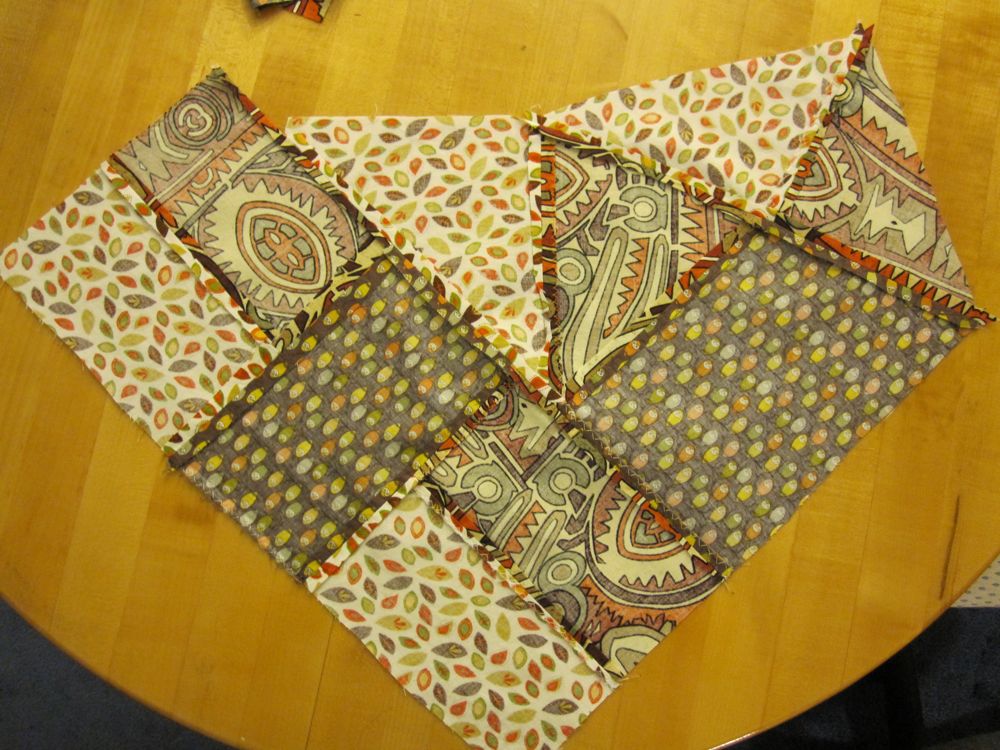
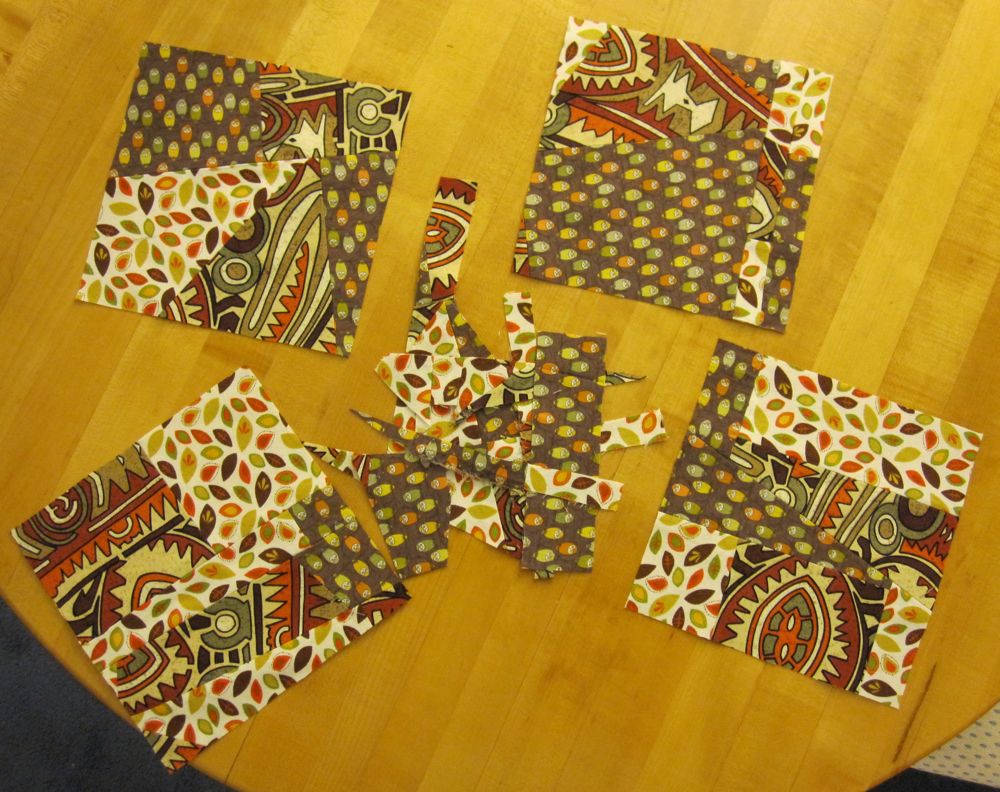
Confetti piecing may take longer but requires no measuring. You need more fabric for it than the total surface area of the finished faces, but you can also add more later if you discover you didn’t cut enough. I usually cut five to six faces’ worth of material for the four I am making. The different pieces should be sewn together with a 1/4″ seam allowance, but not necessarily squarely. You may lay one diagonally across the other, sew along the diagonal, and trim off the excess beyond the seam allowance. That excess may then be lined up with some other part of the material and sewn on. Press the seam allowance open after every seam, to minimize bulk. You may also cut a straight line across the material and stitch the halves together in a different orientation. Repeat until there is some region that looks like a good potholder face, cut out a 7″x7″ square, and sew the remainders together again as before (I think of this as “rolling out the scraps”). You can see why this takes a lot of material: lots of seam allowance, and little pointy bits sticking out unusably from the edges.
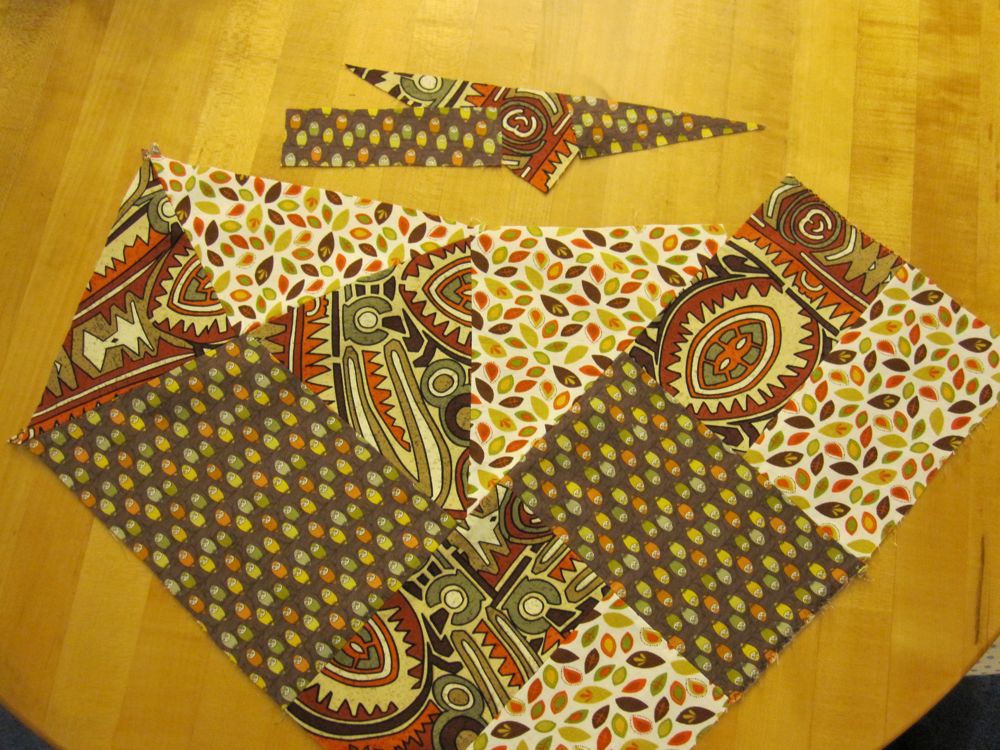
Try to continue the straight line of the template all the way across the fabric, to make using the leftover fabric easier.
“Rolling out the scraps.”
Construction:
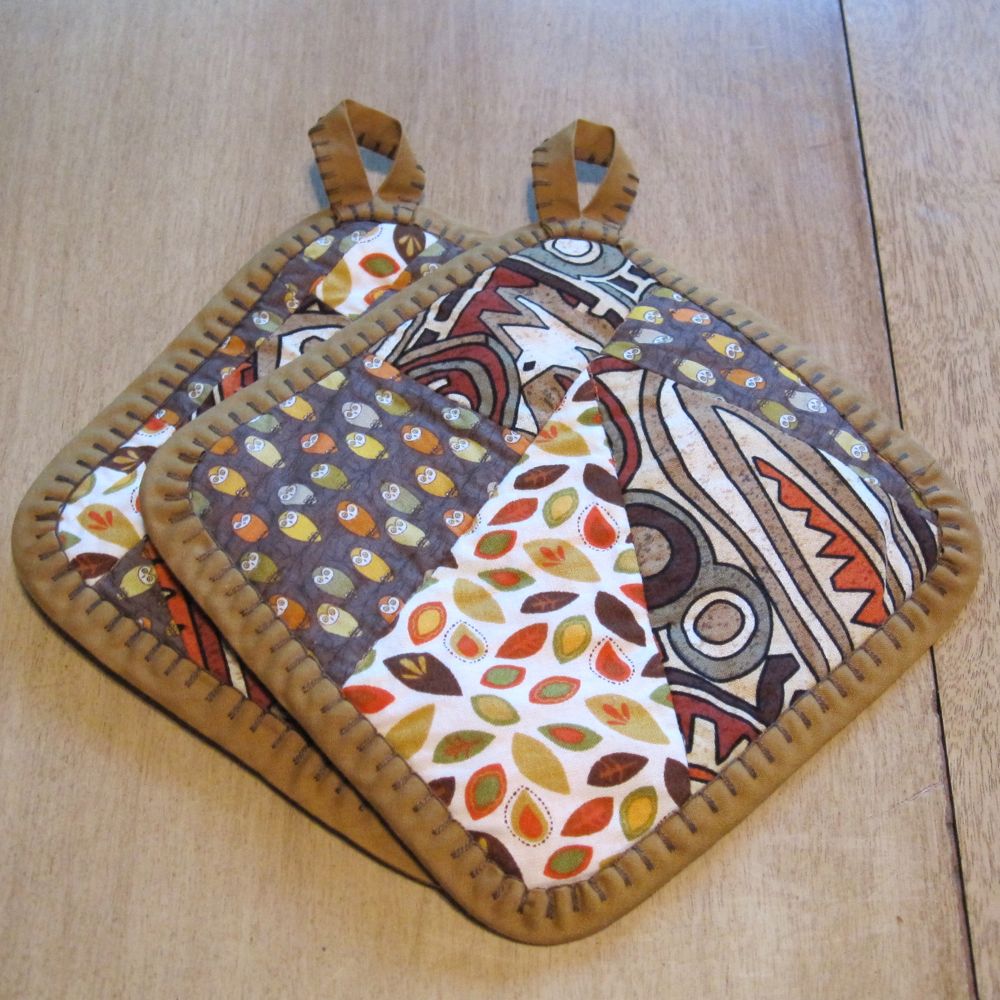
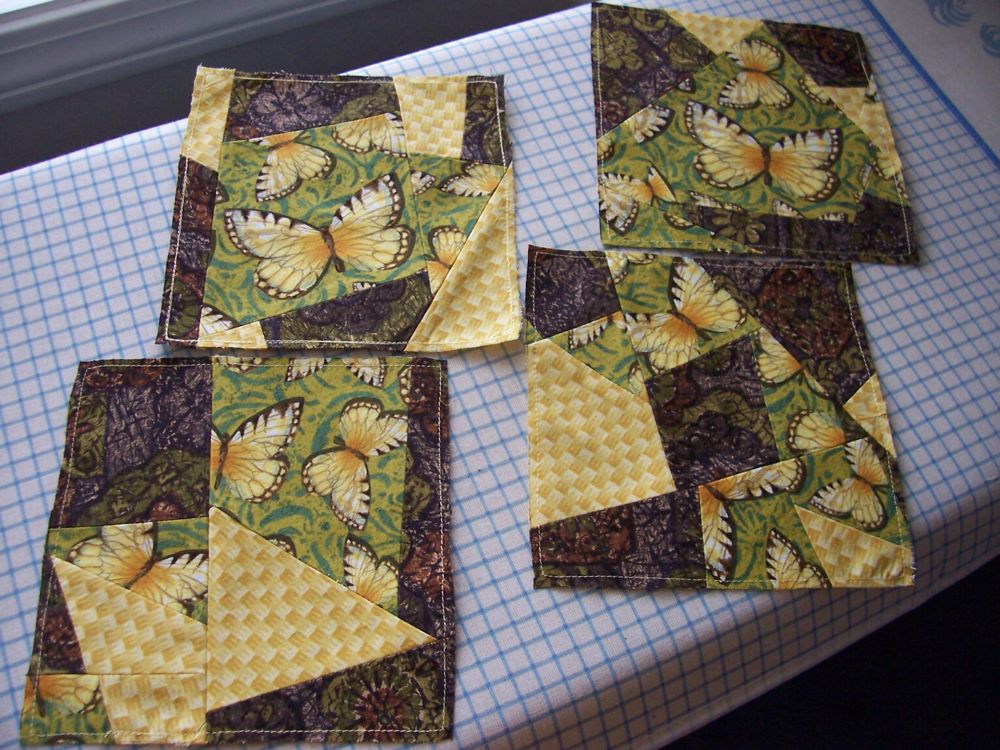
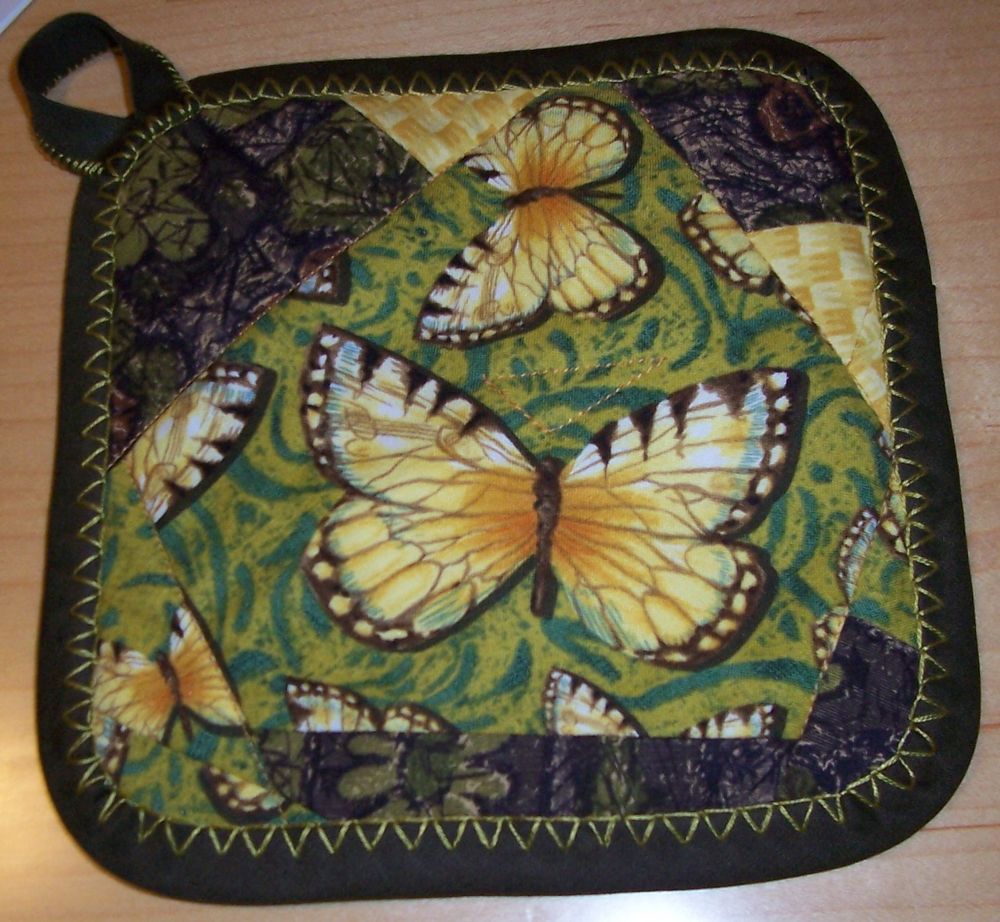
I use fleece remnants for my padding. Any color is fine, so long as you line thinner/paler fabrics with muslin or white cotton to keep the fleece color from showing through. Cut four 7″x7″ squares and pin your fabric faces to them. Stitch around the edge at about 1/4″ and quilt them down the center in some way. My butterfly potholders had a stitched triangle somewhere in the middle, my patchwork potholders are stitched along the two seams, and my confetti-pieced potholders are stitched along some assortment of seam lines.
If the faces have an upper corner, align them so those match when you pair the halves up. Zigzag around the edges of the potholders. You could also straight stitch, but zigzagging keeps the edge from puffing unattractively under your bias tape and makes straight stitch unnecessary.

I cut a 14″x14″ square of fleece and pinned all four faces at once. I don’t think I recommend that, since it is still advisable to stitch around the edges of each face.

Edge binding:
Each pair of potholders uses about two yards of binding, or 2/3 of a package. You want extra wide double fold bias tape. Unfold it and pin one raw edge along the edge of the potholder (if the tape is folded unevenly, use the narrower half), curving around the corners. This takes a fair number of pins. Make sure you start a bit away from a corner so you don’t have to join the cut ends on a curve; to make the join, fold the right-hand raw edge (with the edge of the potholder facing away from you) in on itself and overlap the left-hand raw edge over it. See the pictures below: you want the exposed tape ends to point toward you when you sew the seam on your machine.
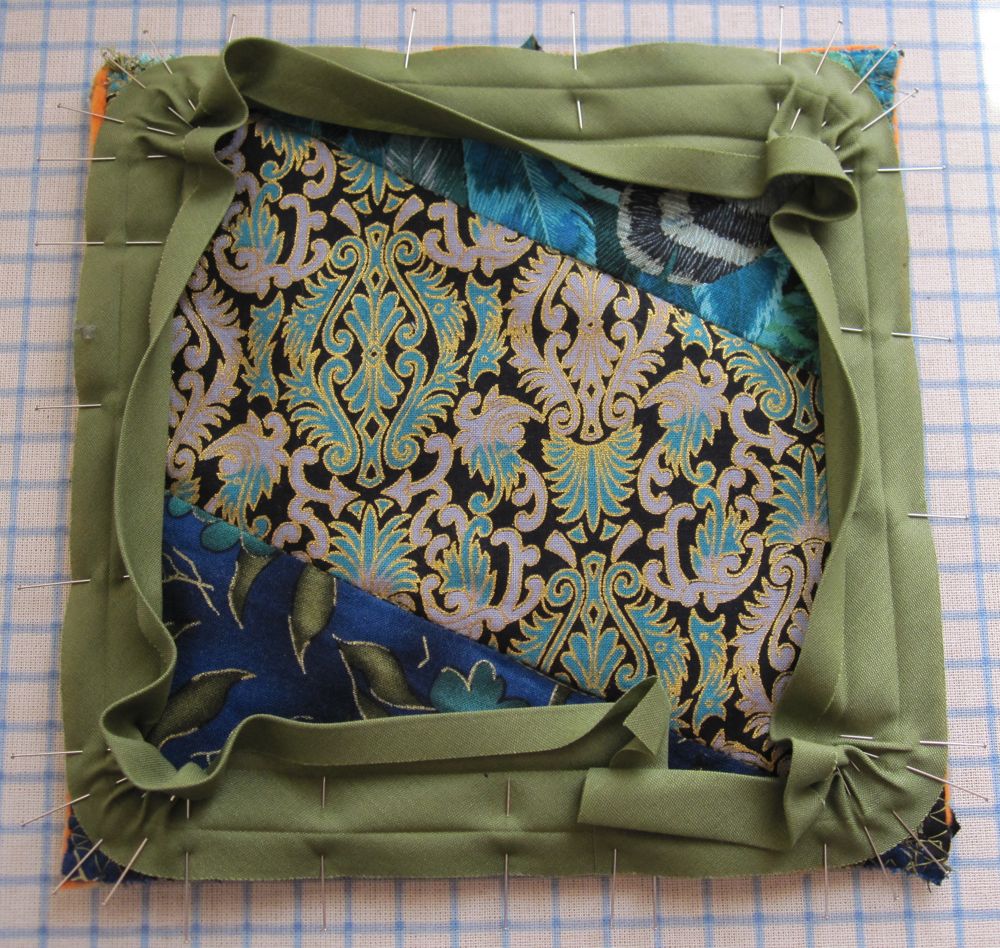
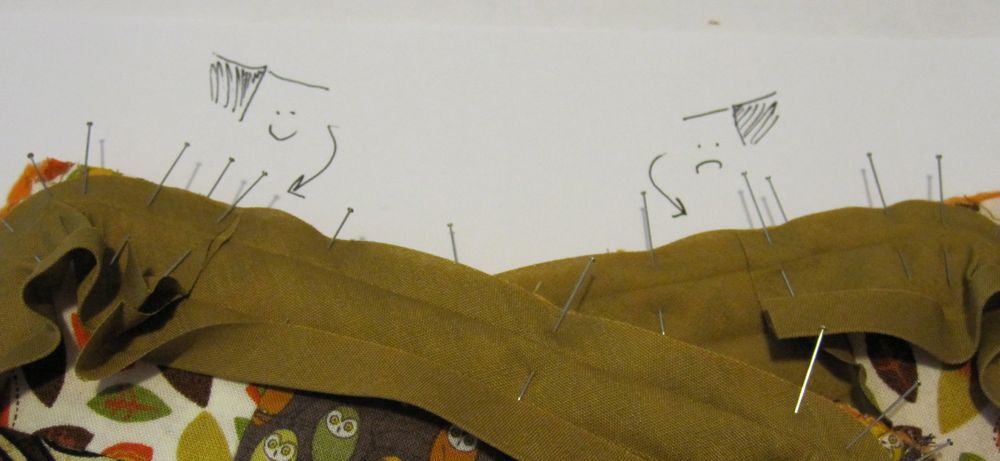
You want your raw edges downstream.
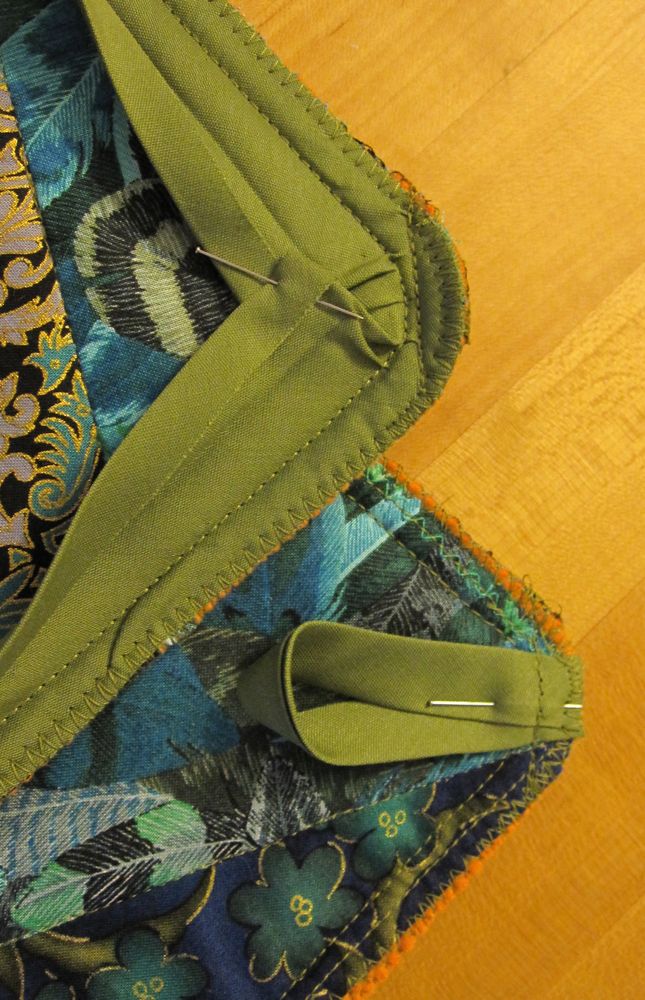
Stitch in the fold line all around the potholder. I often have to walk the machine with the handwheel around the corner curves, and even with that I sometimes have to redo one or two. Afterward, trim the potholder corners to match the curve of the bias tape, and zigzag around the edge again. Cut a 5″ to 5 1/4″ length of bias tape to be the hanging loop. If you have a desired top corner, make sure you pin the loop to it. Fold the bias tape in half so the open edge faces out (see picture) and pin to the opposite side of the potholder from the edging. I usually pin the edging down so it can’t get caught in the stitching. Sew the loop on in a straight line close to the corner edging stitch. Trim any bits that stick out past the edge and zigzag the loop ends down.
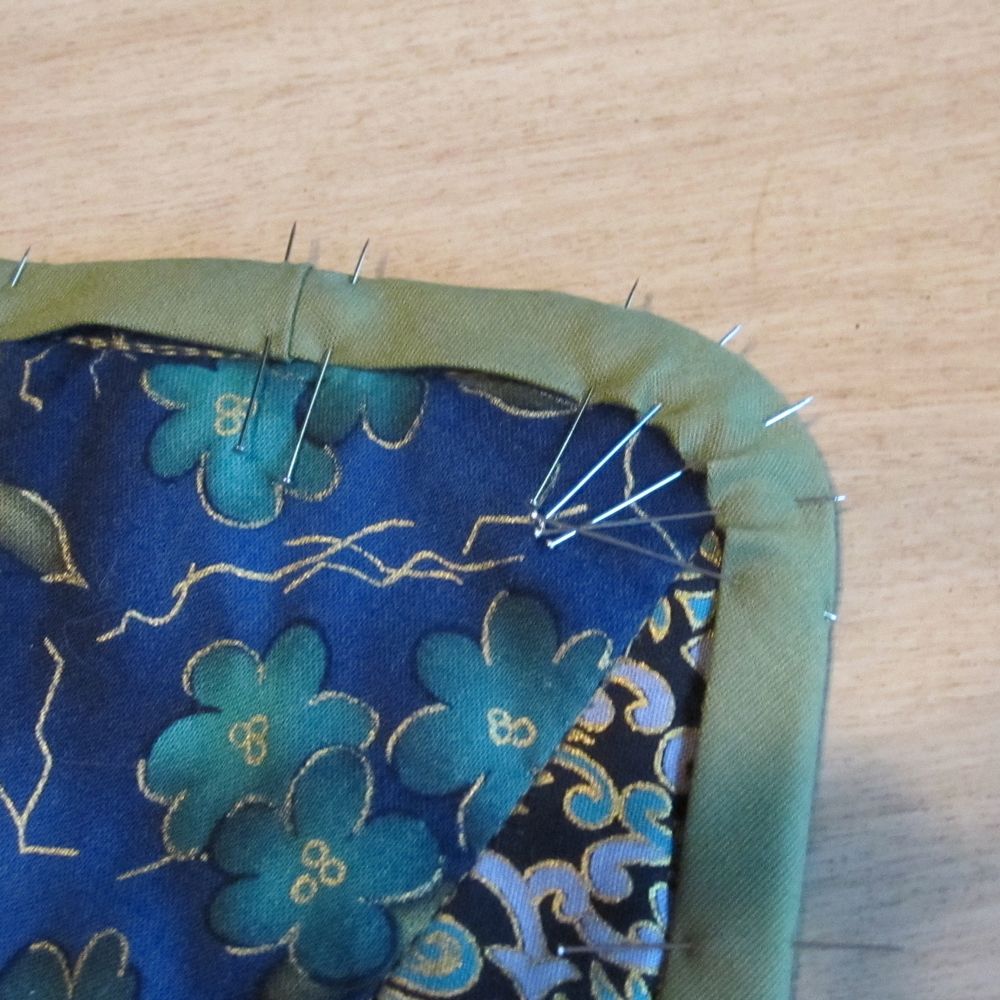
Fold the edging over to the loop side and pin down. At the join, unfold the original bias tape folds so that the outer layer of tape is completely wrapped around the inner layer. You may need to change the original fold on the inner layer, making the strip a little narrower, in order to get a smooth line.
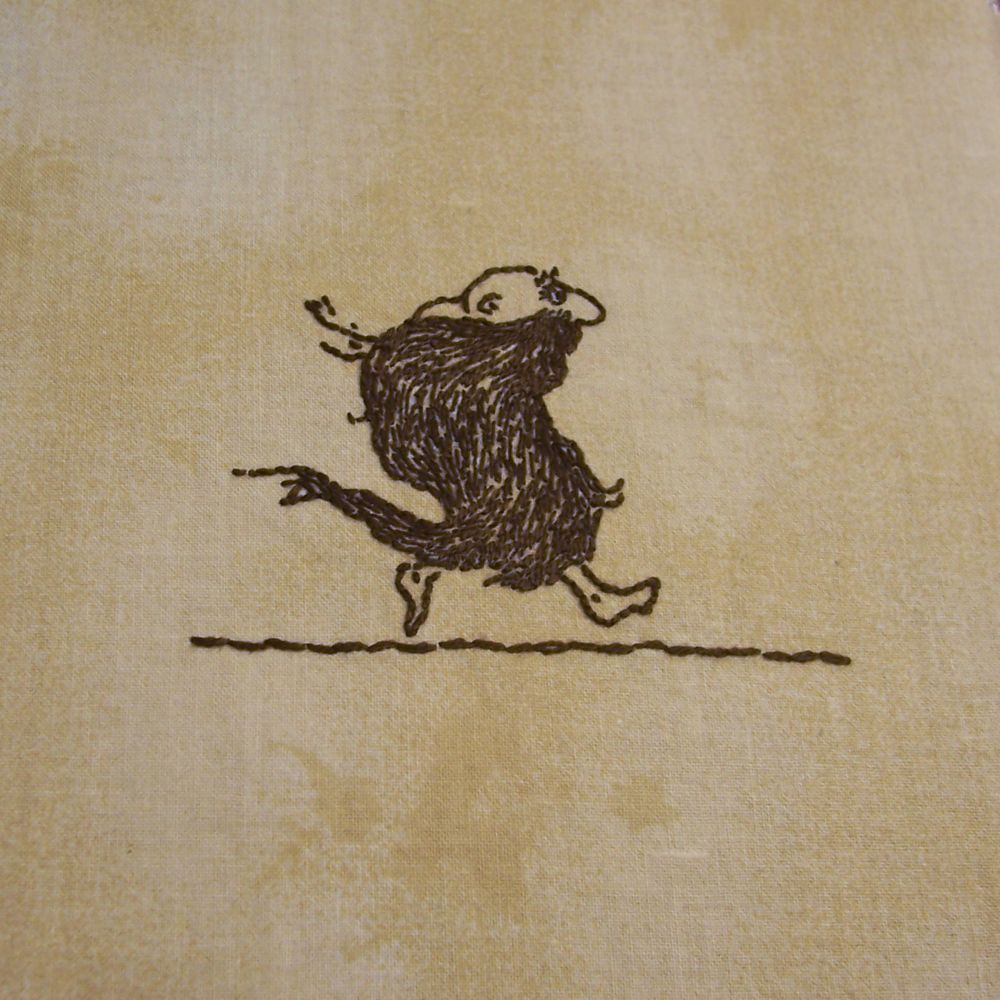
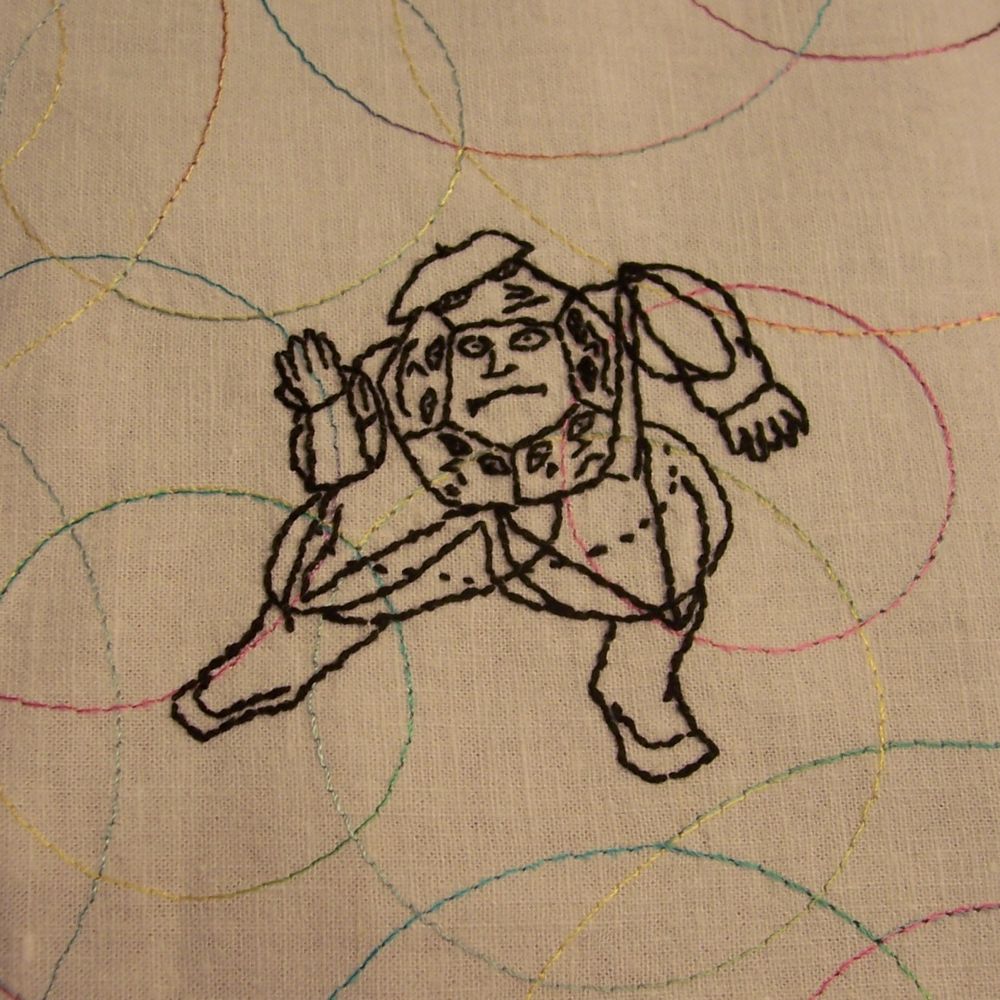
There will be a separate post with my thoughts on choice of embroidery stitch for the loose end of the binding [edit: here it is!], but whatever stitch I use I proceed in the same way: start at the near edge of the loop and stitch the binding down underneath it. Proceed around the potholder until you reach the near end of the loop again. Pin the loop up, stitch across the base, and then stitch up the far side of the loop, around, and back to where you started (this is why the open edge of the bias tape should be outward: your stitches will seal it off).
I also wash the potholders in a mesh laundry bag and give them a press before wrapping them. As long as your embroidery is sturdy, there should be no problem machine-washing the finished project.