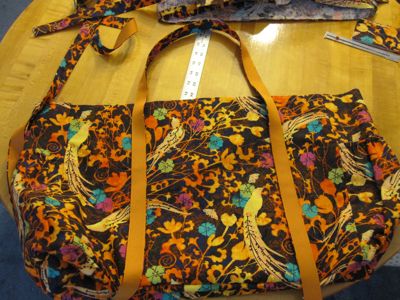
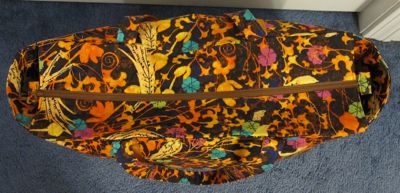
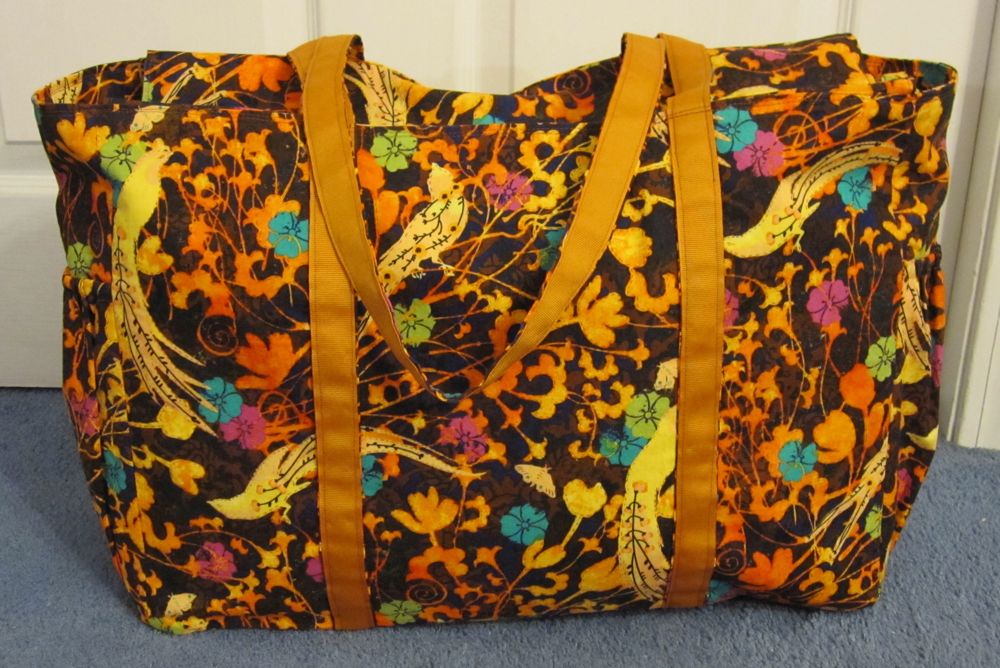
I travel a lot, rather more than I would like, and decided before a recent trip than my usual carry-on was just too heavy. Even empty, it was a load, and part of that was due to a large number of internal pockets and partitions, none of which I really needed. It was also very sturdy and probably waterproof, but I decided I valued lightness more than those properties.
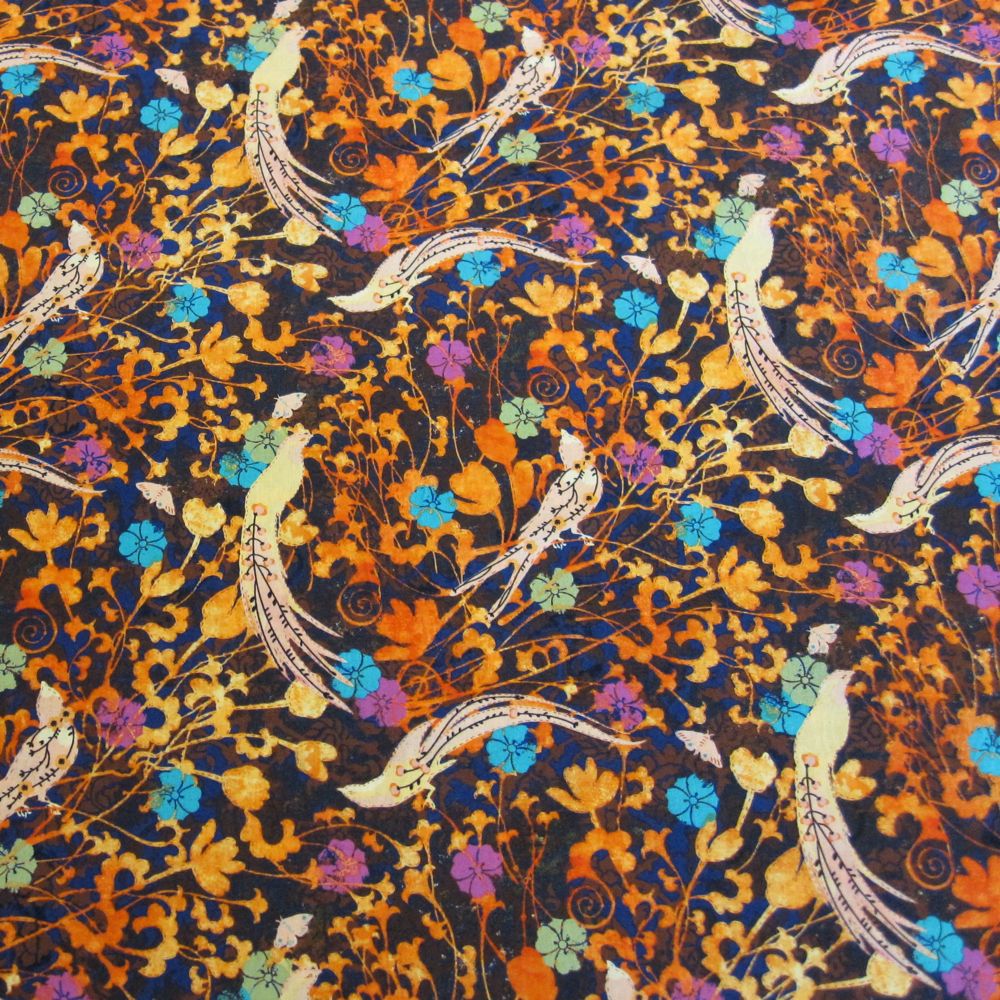
I went to the fabric store with the intention of getting some clearance upholstery fabric and making a new bag, perhaps even reversible, but was drawn in by an amazing calico instead (it was with the clearance upholstery fabric).

I could wad this up and bungee-cord it around my belongings and it would be pretty.
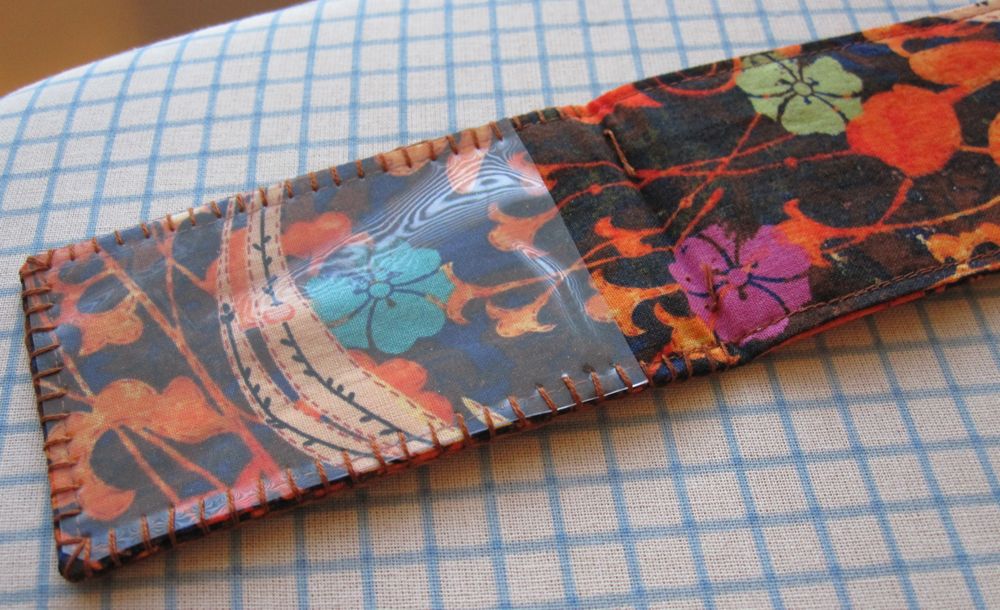
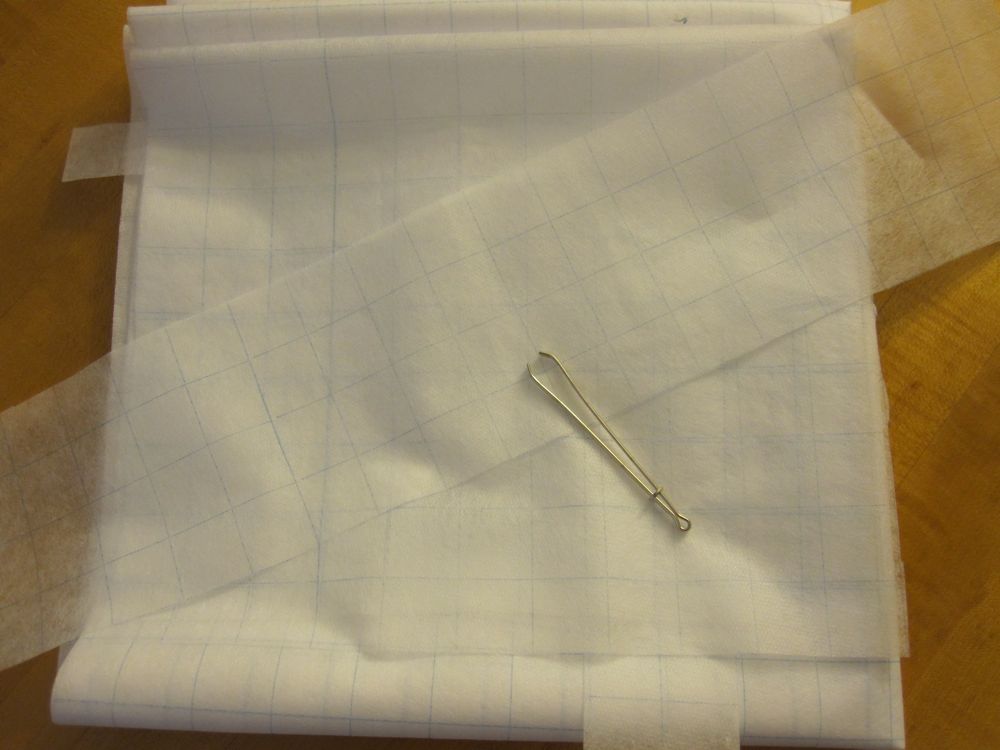
A pattern for a similar bag gave me an estimate for yardage – which turned out to be a massive over-estimate – and I bought small amounts of two semi-coordinating fabrics in case I wanted them. I also got some wide grosgrain ribbon and a zipper, and the best interfacing ever, pictured below. Also pictured is my bodkin, another essential tool to this process.

Gridded out in 1″ squares. The height of convenience.
I measured my previous bag and made myself a pattern, and then a bag. The rest is a tutorial in case you care to do the same.
You’ll need about 2 1/2 yards of 44-45″ wide fabric (pre-washed) and 1 to 1 1/4 yards of interfacing, as well as 31″ of 1/4″ wide elastic, cut into four 7.75″ pieces, a zipper at least 18″ long, and 122″ (not quite 3.5 yards) of ribbon between 3/4 and 7/8″ wide. Cut pieces from fabric and interfacing as follows:
| piece |
width (in) |
height (in) |
# in fabric |
# in interfacing |
| front/back |
19 |
14 |
4 |
2 |
| bottom |
19 |
9 |
2 |
2 |
| sides |
7-9 |
14 |
4 |
2 |
| side pockets |
11 |
18 |
4 |
0 |
| zipper flaps |
19 |
3.5 |
4 |
0 |
| zipper tabs |
2.5 |
2.5 |
2 |
0 |
| strap |
1 |
122 |
0 |
1 |
| strap |
2 |
122 |
1 |
0 |
If you have less than 3.5 yards of fabric or interfacing, of course you’ll have to piece the straps. In fabric, add 1/2″ to two of the pieces and 1″ to the rest, if you have more than two. In interfacing, add 1/2″ to all but one of the pieces. You could also use iron-on interfacing, which I might actually recommend for the strap.
Actually, I kind of wish I’d made the fabric for the strap a little wider – maybe three inches of fabric and an inch and a half for the interfacing. That would not only give a wider strap, but it would allow the fabric to stick out on each side of the ribbon a bit more, which would be more attractive. All the assembly steps are the same; just make sure to center the ribbon and do your stitching right at the ribbon’s edge.
Width versus height is not important for the bag bottom or the strap (well, or anything, if your fabric does not have a directional pattern). The sides are a sort of trapezoidal shape. I made them by measuring out a 9×14 rectangle, then marking in one inch on each side of the top 9″ distance. Then I draw a diagonal connecting line between the now-7″ top and the 9″ bottom, starting a half inch in from each of the top and bottom. A schematic is here.
I will give instructions to assemble the main body of the bag and lining, then construct and attach the strap, then construct and attach the top with the zipper (which happens when the outside and lining are connected). Construction of the strap and zipper assembly can certainly be done earlier/along the way.
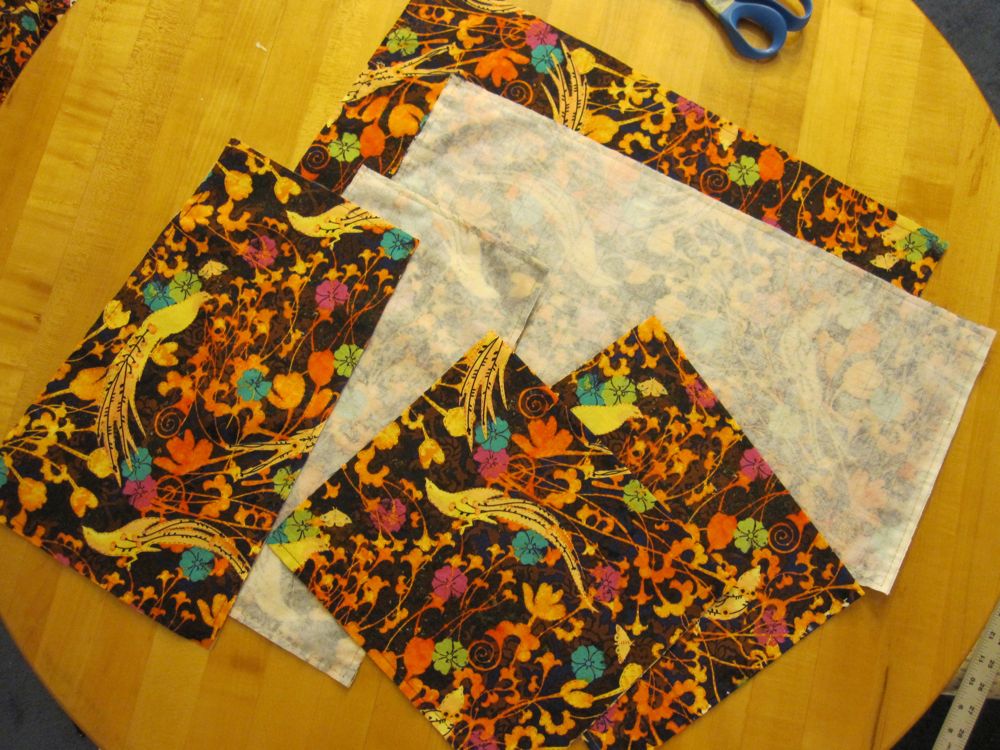
The first step is to attach the interfacing to the appropriate pieces. Pin the appropriate interfacing pieces to the wrong side of the outside front, back, and side fabric pieces, and to both bottom pieces. Stitch at 3/8″ from the edge (or iron on).

Not quite all of the outside of the bag.
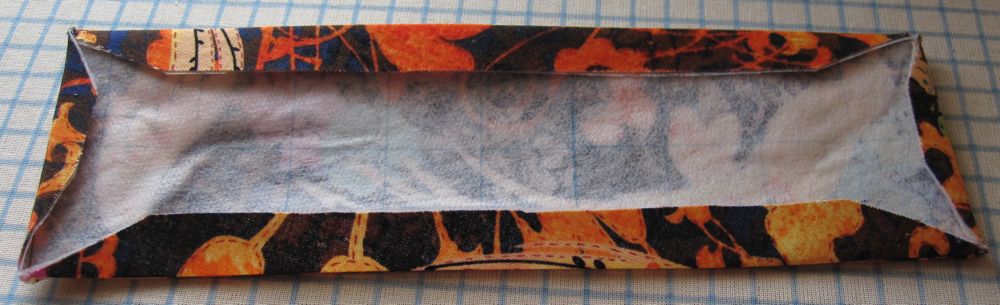
To make the side pockets, fold each pocket piece in half into a 9×11″ piece. Stitch at 3/8″ in along the fold and the edge opposite to the fold. The former makes a casing for the elastic, and the latter is to make it easier to attach to the side pieces. Feed each piece of elastic into each casing (bodkin time!) and stitch at 1/2″ on each side (the elastic should line up with the fabric at each edge). Give a couple of tugs at the ends to spread the gathers evenly. To attach to the sides, it is probably easiest to start by pinning the center bottoms together, and then the bottom corners. Pin about 2″ in from each side so the layers lie smoothly on each other. You’ll have too much fabric between the center pin and those 2″-in pins; smooth it into a pleat on each side that overhangs the 2″-in pin. Then pin up the sides and sew at 1/2″. If you are concerned about your thread showing (my thread matched well enough and the fabric was busy enough that I wasn’t) sew just under 1/2″, but as close as you can.
Next, form the vertical part of the bag: pin two sides, right sides together, to the front outside of the bag and the other two sides to the front lining of the bag. You will find they are about 1/4″ too tall; this is because of the slant of the sides. I lined them up at the bottom and found it didn’t matter much that they were off at the top. Stitch, and repeat with the back of the bag and lining to make two tubes.
To complete the basic bag shape, sew in the bottom pieces. This is a little tricky and I tried it two different ways. The one that I think worked better is this: pin the short sides together (right sides together) and stitch corner to corner. This may require walking the machine with the hand wheel at each end. Then, pin the long sides together and stitch corner to corner. It is awkward but not too time-consuming. Finally, stitch a wide zigzag in the seam allowance, just outside the straight stitch, and trim the extra fabric just outside the zigzag. You’ll probably want to press the outside of the bag so the folds are sharper.
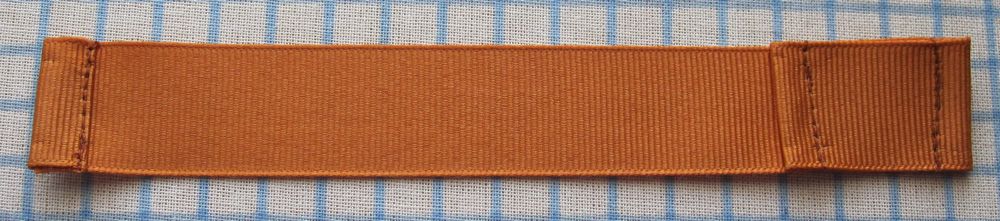
Before the two halves of the bag are joined, the strap must be sewn to the outside part (you could sew through both layers, but I suspect it would be very difficult to get the inside smooth). To avoid using thousands of pins, I ironed the strip of interfacing to the fabric with Stitch Witchery. If you used iron-on interfacing for the strap you could just do that. Then fold the edges of the fabric over the interfacing and press.
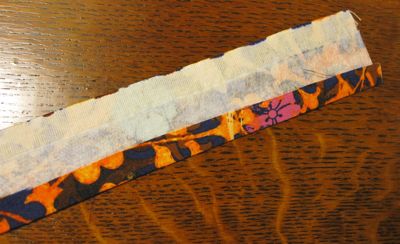
Partially ironed.
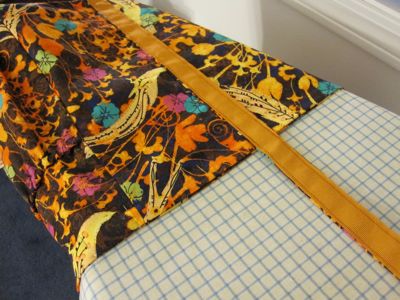
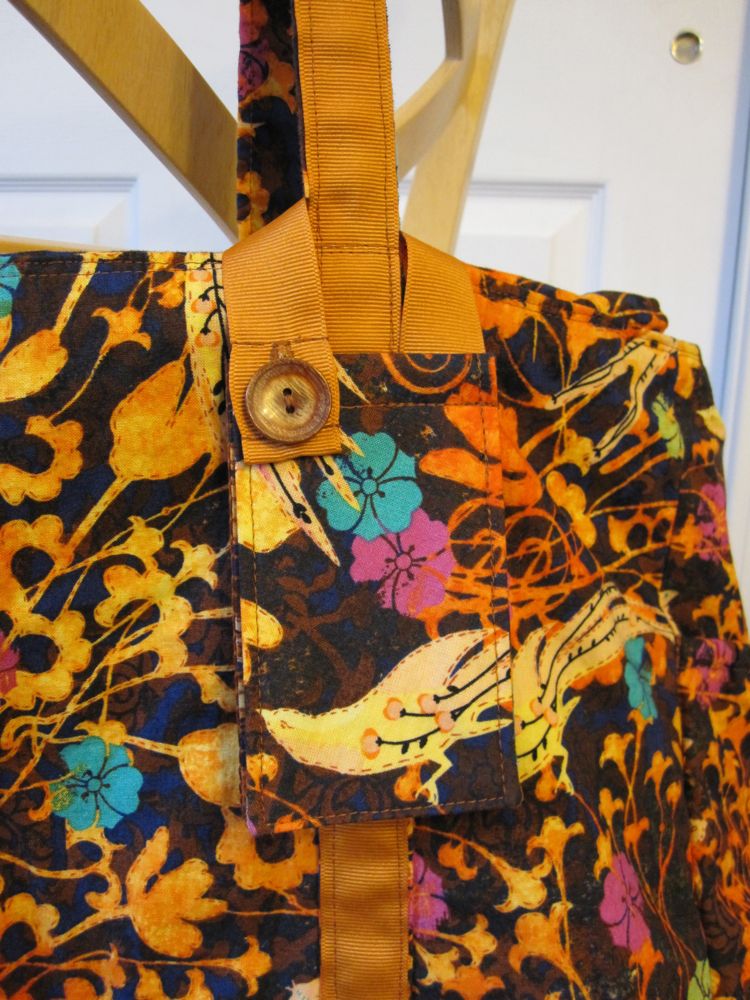
I thought it would be a genius idea to then use Stitch Witchery to attach the ribbon to the strap, to cover over the raw edges of the fabric. I figured I could get away with a lot fewer pins that way.

Harder than I thought.
Well, I started by laying the ribbon on top of the rest of the strap and pressing. That left me with fabric bulges. So I pulled apart what I’d done and turned it all over so the fabric was on top, always ironing with motion toward the loose ends. That worked better, but the Stitch Witchery didn’t keep everything together! Maybe I could have done it with two layers, but it wanted to stick to the ribbon and not the fabric (which is the opposite of what I would have guessed). I ended up having to pin it before pinning it to the bag, just so it wouldn’t totally come apart while I was pinning it to the bag (which was an awkward operation anyway).
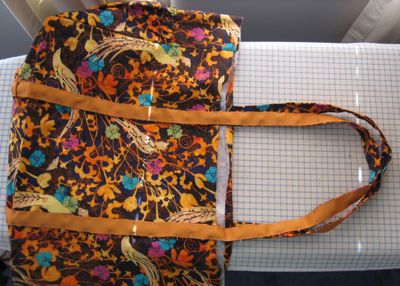
Starting to look like a bag.
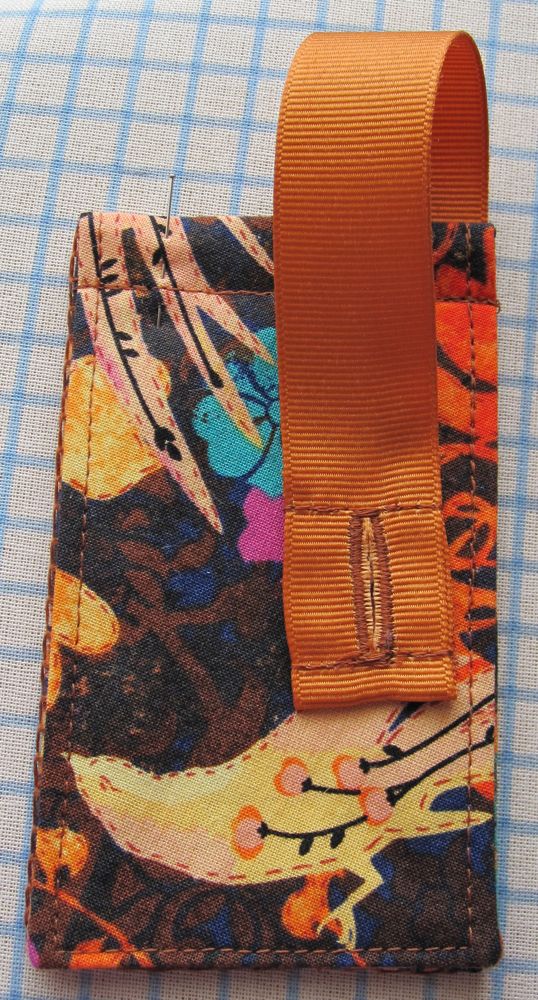
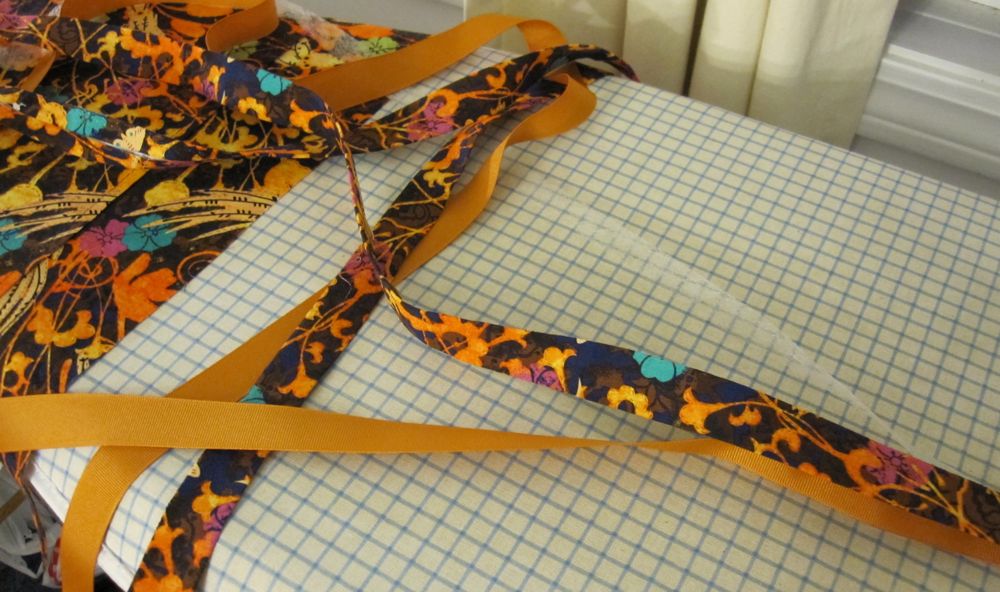
When you pin the strap to the bag, the centers of the straps should be 5″ from the side seams and 8″ apart from each other. Each loop should be 25″ from top edge to top edge – make sure to fold the edge down inside 1/2″ before sewing the straps! Also, flatten the seam allowance toward the side of the bag rather than the base.
About half of the pins below are just through the strap, and the other half to the bag as well. Pinning took a lot of patience and a little blood. Where the ends meet, I just folded each one under and abutted the folded edges. I ended up having to redo the folding/pinning at the sewing stage.
I had only two pins left in the box when this shot was taken.
Sew the straps however seems most manageable. Since my sewing table seems to like to grab pins and remove them, I did both edges of each strap first, starting and ending a couple of inches into the bag, so I could remove those pins before sewing the rest. The body of the bag I did as four continuous stitch lines, backing up to stitch a total of three times across each edge of the spot where the ends meet. To get a neat(ish) line, I moved my needle to the right and sewed with my presser foot lined up with the edge of the strap.
Before doing anything else to the outside of the bag, turn it down 1/2″ all around the top and press. At this point if you like you can stitch the base of the bag and lining together. I just straight-stitched through the seam allowances at the corners and the middle of the long seams, bases flat together and seam allowances sticking out around. After that you can line things up and press the top of the lining down to match the outside.
Short edge first, and pin, then long edge.
The last piece you need is the zipper section. First, fold the short edges of the flaps down 1/2″ and press. With that fold in place, sandwich the zipper between two flaps, right sides together, and stitch (hat tip to Hannah for this method). I let the base of the zipper (the metal stopper) sit just outside the flaps; doing it again I might put it at least a half inch outside the flaps. I used my regular foot and let it run along the bump of the zipper, and that worked well. Do the same on the opposite side.
Fold the flaps away from the zipper and press. Line up the folded edges and stitch them together, close to the edge. I suppose you might want to topstitch to hold the flaps away from the zipper teeth, but that didn’t occur to me at the time.
Take each zipper tab and fold it in half, right side together. Stitch each of the two edges adjacent to the fold at 1/2″. Trim the corners and turn, working the corners to a point, and press. Fold the raw edge inside about 1/2″ and press. Slide one tab over the foot of the zipper, trimming the zipper tape if needed, and pin. Sew across the open edge of the tab to close the tab and attach it to the zipper.
For the head of the zipper, I moved the zipper slider just inside the fabric flap area and trimmed the loose end to just over 1/2″ farther than the flap edge. Again, I might make that just over 1″ doing it again. Slide the tab over the raw edges and stitch. Make sure when you sew this one on you do it very securely, since it will double as the zipper’s top stopper.
Finally, and I do mean finally, mark a line 1/2″ in from the raw edge of the zipper flaps (I used four or five pins on each side). Slip the flaps in between the lining and outside of the bag, centering them on the front and back and lining your mark up with the folded edge of the bag. Pin and stitch all the way around. I stitched once with my needle to the right and once with it centered, both with the presser foot lined up with the top edge of the bag.
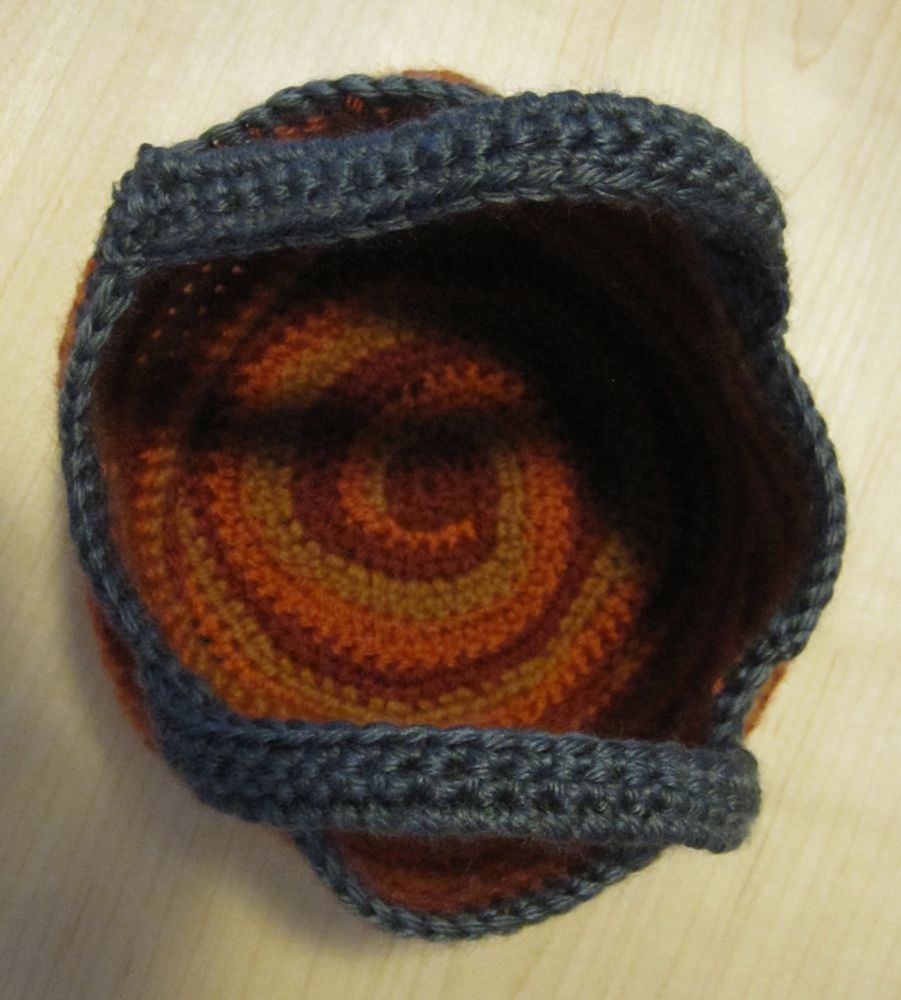
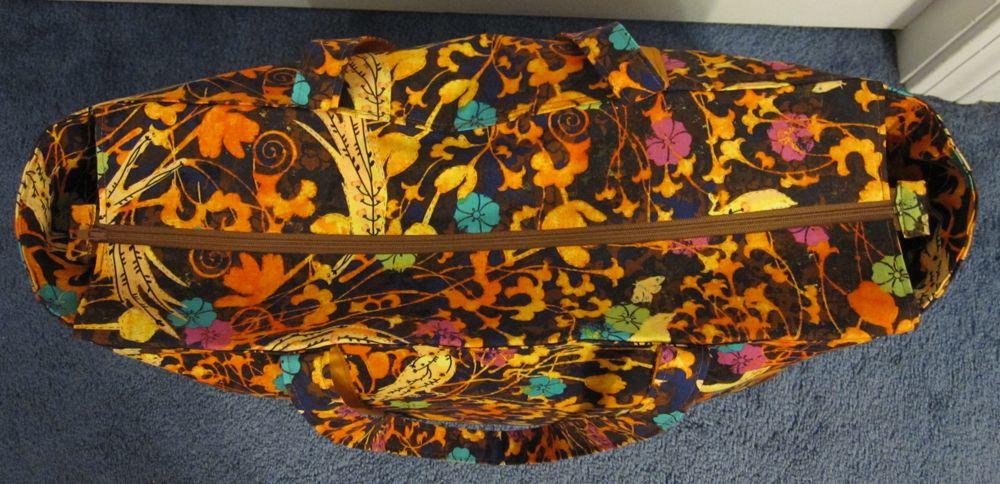
You are done!


