New hat!

Saturday was my second crochetiversary, which makes today my second crochetiversary, observed. So it is only fitting to have a crochet post.

I have been on a quest for a winter hat that fits my big head and doesn’t become completely useless when the wind blows. Last time I used two strands of worsted weight held together, and while my Strawberry Shortcake hat is a favorite now, it’s not what you would call warm.

side view front view

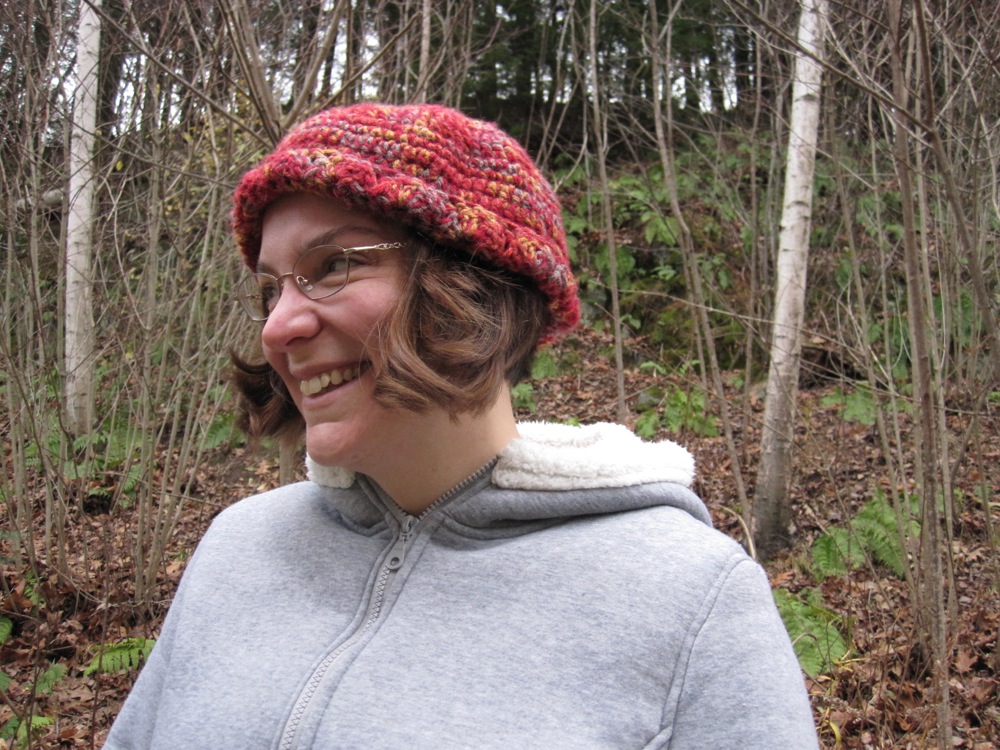
I made a second hat shortly after the hat above, also with two strands held together, and while it was more snug, it still wasn’t warm. I tried lining it with a second layer of hat, but then it was just floppy and unwieldy – without really being that much warmer, because now it didn’t come down far enough to protect my forehead or ears.

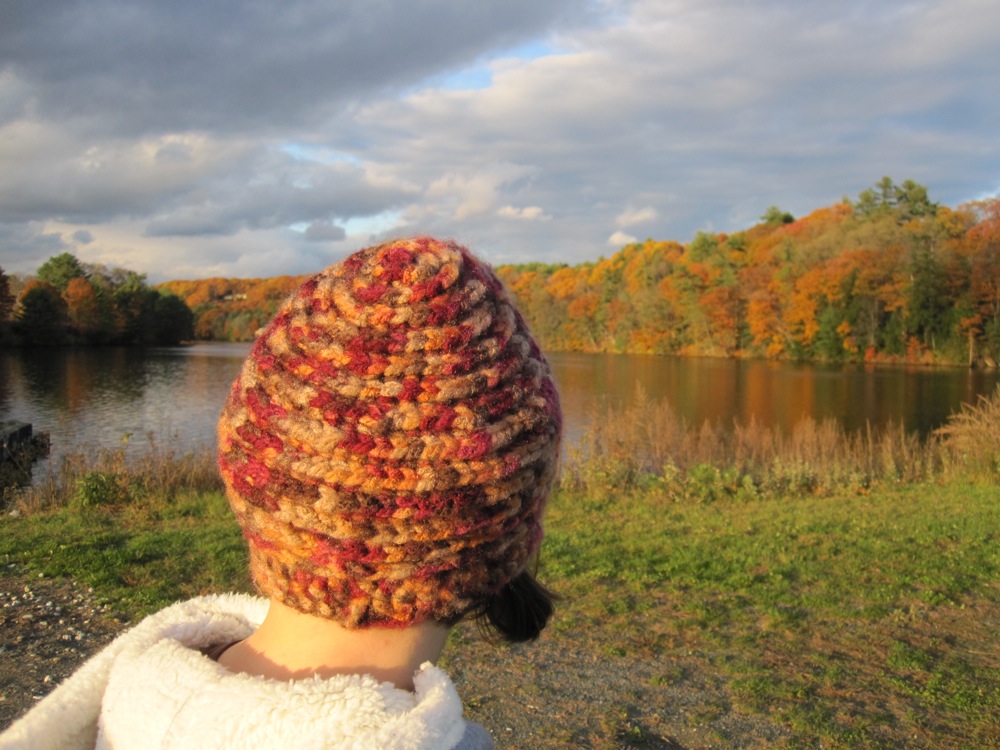
Enter two skeins of Lion brand Jiffy Thick & Quick and my N hook. There aren’t many pure-acrylic bulky yarns that are easy to crochet (the homespun types cause me no end of aggravation putting the hook through them instead of around them), and I can’t have even 20% wool against my forehead without being itchy to distraction. Fortunately, this kind comes in a variegated autumn color scheme I like.

Following the idea of a pattern I saw online, I made it from the bottom up. This made fitting a lot easier, since from the start I had something I could actually put on, rather than resting a pancake on my head and wondering “should I stop increasing now?” For extra density I used back post half double crochet, and for ease of real-time fitting I started with foundation half double crochet. For the latter, I did exactly futuregirl’s method for foundation single crochet, including starting with a ch 2 (ch 3 was too much, oddly), but with a yarn wrap before the first hook insertion. Back post is when the post is to the back of the stitch; it is the one where your hook goes into the back of the fabric, around the post, and back out through the back of the fabric.

front back

I realized I don’t know how to decrease properly in hdc, and instead of looking it up I made it up: make an hdc except for the final yarn over/pull through (3 loops on hook), pull up one loop in the next stitch, yarn over and pull through all four loops on the hook. Similarly for bphdc. I tried it with a yarn over between the two loops pulled up through stitches, which is the accepted method, and it was just too bulky. The way I did it you get a nice little triangular stitch.

I wanted to relax and not pay attention to the pattern, and of course hats are very sensitive to personal size and gauge, but the idea was this:

1. fhdc until you have something that fits around your head, over your ears and nape of neck to forehead. Sl st to join; this is the back of your head.
2. ch 2; hdc around with a dec on each side of the head [foundation stitches are supposed to be true to size, but even when I focus on pulling the link and chain through a good ways, mine are still a little tight]. Sl st to join.
3. This is the first back post round. Ch 1 and bphdc around, with an extra bphdc at the end (in the sl st). Here you start working in a spiral, so no joining.
4-5. bphdc around with 4 increases: two near the start of the round and 2 near the end [this puts them towards the back of your head where more of the size is].
6-7. bphdc around.
8. in this rnd you start decreasing. Put one dec about 1/6 of the way from each end, and otherwise bphdc around.
9. put three dec in the first quarter of the round and three more dec in the last quarter.
10. put 8 dec in, concentrated toward the front.
11. put 7 dec in, evenly spaced.
12. as in 11.
13. back to 8 dec, but evenly spaced. After this rnd I had 23 sts. If your head is smaller you might have fewer.
14. as in 13.
15. dec 7. Stitch around so the top loops show to the outside like in the bphdc and FO.

side

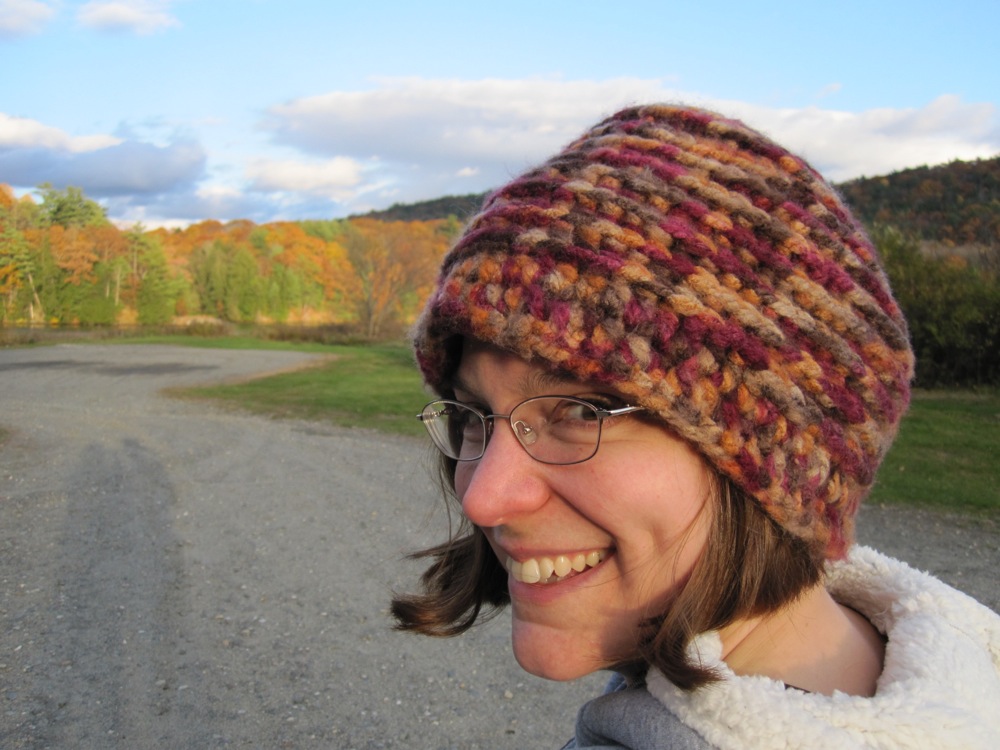
It is an incredibly warm hat that covers my ears almost completely, without being insufferably thick or floppy. Success!

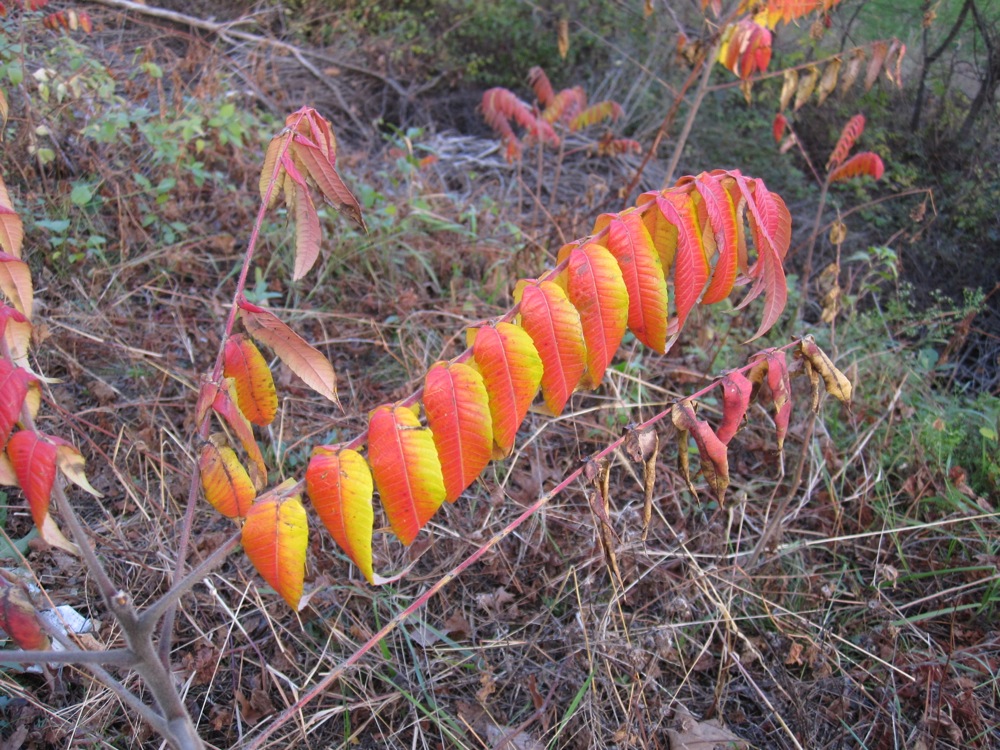
We took these pictures on the same day as the kappa pictures, and the leaves were gorgeous. So, a little bonus picture of one of the most beautiful fall colorations I’ve ever seen:

gorgeous

Also: happy birthday to my brother Jason!

Quick fixes

I’ve been trying to downsize at home, including in my closet. I hang my sweaters/sweatshirts up at one end of a row, so whatever is at the other end is the item that has gone unworn the longest. I was eyeing that end for possible elimination, and the item hanging there was a lightweight zip-up jacket, kind of a really heavy t-shirt or unfuzzy sweatshirt material, with nice embroidery on it. I like it, but it had migrated from the beginning end after being washed all the way to the far end, without being worn once.

It occurred to me the only reason I don’t wear it more is that the sleeves are way too long, and they don’t stay pushed up. Therefore, even if I just wash my hands quickly they are likely to get wet and annoying.

yikes

That’s an easy fix, though – I checked, and two inches would do the trick. The embroidery on one sleeve would still be completely above the new line of stitching, so it wouldn’t complicate things. I even happened to have a perfect spool of thread!

perfect

While I was at it, I thought I’d fix some damaged parts of the bottom hem in the back, as well. I took my sewing machine repairman’s advice and lowered the tension as well as shortening the stitch. Shortening the stitch was not the best plan, but I did note many fewer dropped stitches than last time I did this, so lowering the tension was a good move.

worn out could be better

Oh well. I think the rippled texture will come out in the wash, and it’s the bottom back, so hopefully no one will be looking too hard.

The sleeves worked like magic, though. I moved the stitch length back to my usual setting, folded them up and pressed, and stitched without trimming the extra.

back front

Trimming afterward meant I didn’t have to worry about failing to catch the raw edge while sewing. Nice and smooth and no dropped stitches!

back front

Best of all, when I put my hands out the jacket hits at my wrist instead of my thumb.

perfect

While I was in the mood to finish things, I fixed this problem:

oops

Oh noes! Underwire! It didn’t want to scootch back into the casing completely, so I pushed it as far as I could and covered it over with a double layer of ribbon.

fixed

This bra is nearing the end of its lifespan anyway, so I expect this fix will last as long as the rest of it does.

Alterations!

Tonight I teach my third class at the Sew-Op, and the second that is of my own design. It is a basic course on clothing alterations. The idea is to talk a bit about how clothes go together and about the most common alterations, as well as any tips and tricks I can pass on, and then let the class be guided by the particular interests and needs of the participants. I have a handout that should contain more information than we’re able to really go through in a two-hour class, so they have a reference for future use.

As part of the preparation I also posted a new page, which has been in the works for some time now. You can see it above as “Sewing Tidbits.” It is a sort of glossary, including links to other places with useful information. While the alterations class was the motivation for finishing it, there are non-alteration entries as well.

Looking through my small library of sewing books, it turned out only two were really good for alterations to existing clothes rather than to clothes you are sewing from scratch. One is so out of print Amazon doesn’t even have a front cover image for it: The Complete Book of Sewing, new revised edition with over 750 explanatory pictures, by Constance Talbot, 1943. [I am of the opinion that the best sewing books are from the 40s, 50s, and 60s, after electric sewing machines and mass production were well-established, but while people still made a lot of their own clothing.] Ms. Talbot has an entire section devoted to remaking and remodeling – changing the features of clothing either to eliminate worn parts or update its style. The other book that is good, which is probably not a surprise, is The Costume Technician’s Handbook, by Rosemary Ingram and Liz Covey, 1992 (the link is to a newer edition). This was one of the two textbooks for my Introduction to Costuming class in college, and since theaters often have to contend with low budgets, they have to make costumes work as many times as possible. This book has a thorough section on alterations with many, many pictures. Some of the alteration suggestions aren’t great for personal clothing, because in live theater you know the audience is at least a few feet away at all times so the fine details aren’t as key, but many of them are.

I have some show and tell pieces (“manipulatives,” they would be called in education): some children’s clothes I picked up at the thrift store, a partial pant leg to demonstrate how cuffs go together, and a partial waistband. The cuff and waistband are partially stitched but go together the rest of the way with velcro, so you can undo and redo them.

cuff and waistband

I’ll share some of the other parts of the class, and things I learned or wrote up while creating the sewing tidbits page, here over the next few posts. Please feel free to ask questions and make requests!