What happens when you go out the evening of Monday, October 25, resolved to spend more money than you would wish on a costume that is not as high quality as you would wish?
If you’re me, you come away with a sewing project.
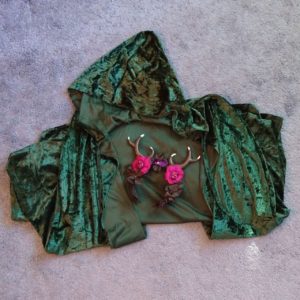
The only Costume Proper in the store that particularly interested me was only available in Small, and that ain’t me. So I went back to the car…but the gears started turning. There had been a green velvet cloak that I might have bought to wear over the unavailable costume, and maybe it was worth buying… I can’t reconstruct how I got there, but on the strength of that cloak and the fact that I owned suede ankle boots and a leaf pin I’d only kept because it was reminiscent of the ones the hobbits get in Lothlorien in the movies, I concocted a plan to be a wood elf.
I went back in and got the cloak; there were elf ears but they were the kind that’s a big production to put on and were also a sickly yellow color so I passed. That evening and the next day I accumulated brown tights, an antler headband (since I didn’t have ears), plus two yards of tan faux suede (found in clearance!), a remnant of sage green heavy slightly-stretch cotton, and a large skein of brown cotton yarn.
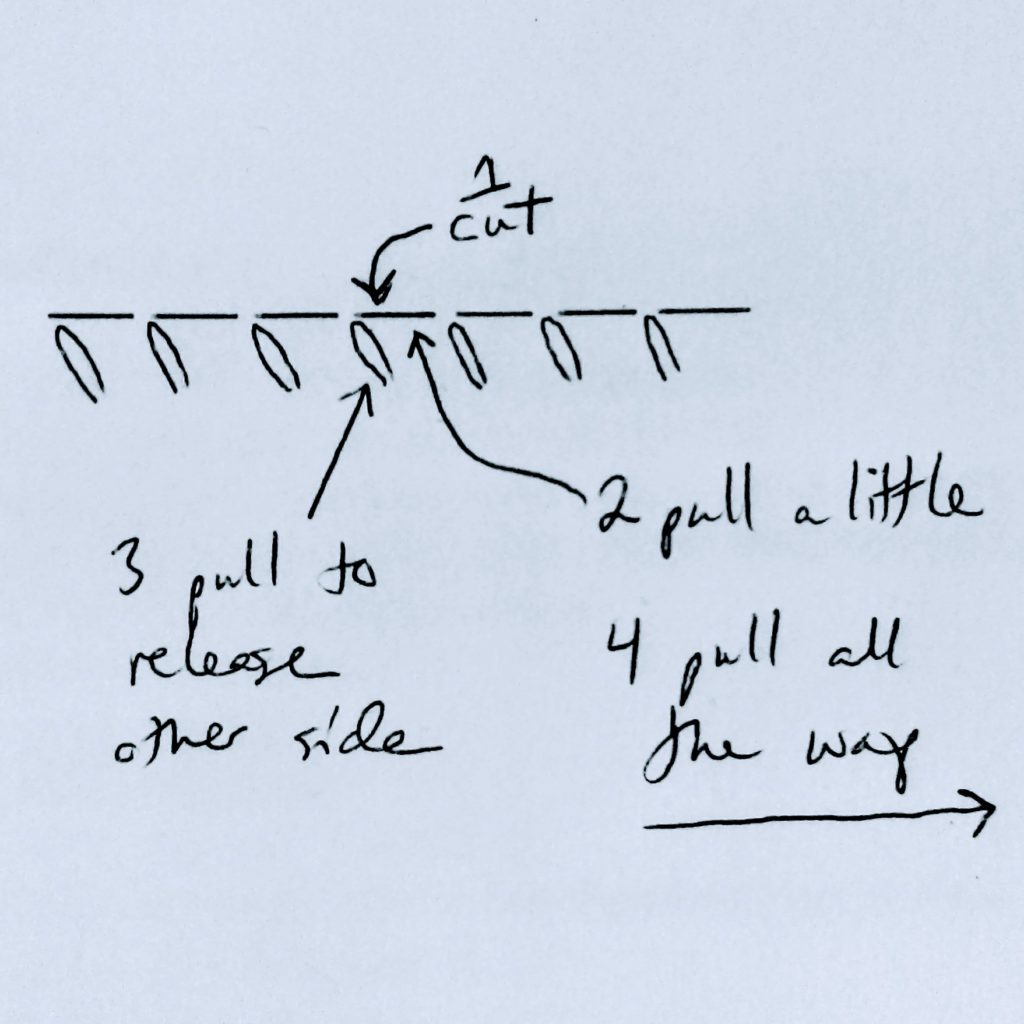
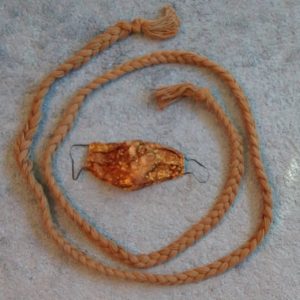
Tuesday night I set to sewing. I made a coordinating face mask from stash elastic and fabric (a brown leaf-patterned batik and unbleached muslin), cut out and started sewing two drawstring belt pouches, and cut the entire 190 yards of yarn into 4-yard lengths. I tied the lengths of yarn into a bundle at one end, combed them out into equal 3 sections, and braided them, tying them off at the opposite end afterward.
I also set the headband to stretch a bit since one-size-fits-all headbands tend to give me a headache.
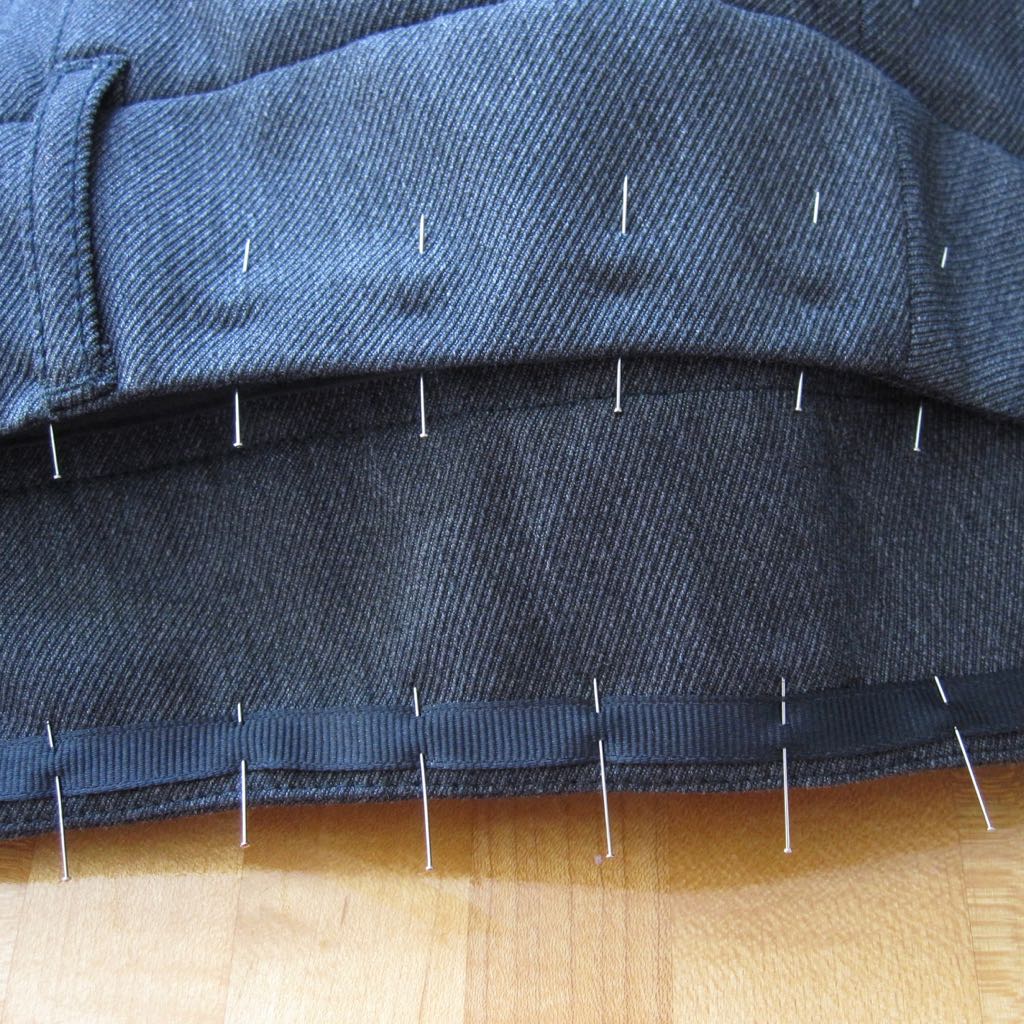
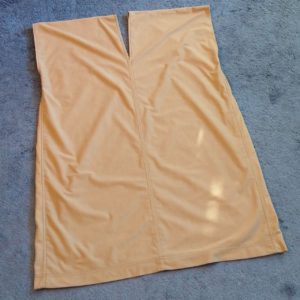
Wednesday I started the tunic dress. Some poking around online for “simple tunic pattern” had reminded me of the scheme of 4 tall rectangles, sewn into a cylinder for the lower stretch, and with the top edges sewn to make shoulder seams. The unsewn upper part of the rectangles becomes a sharp V neck and the armholes.
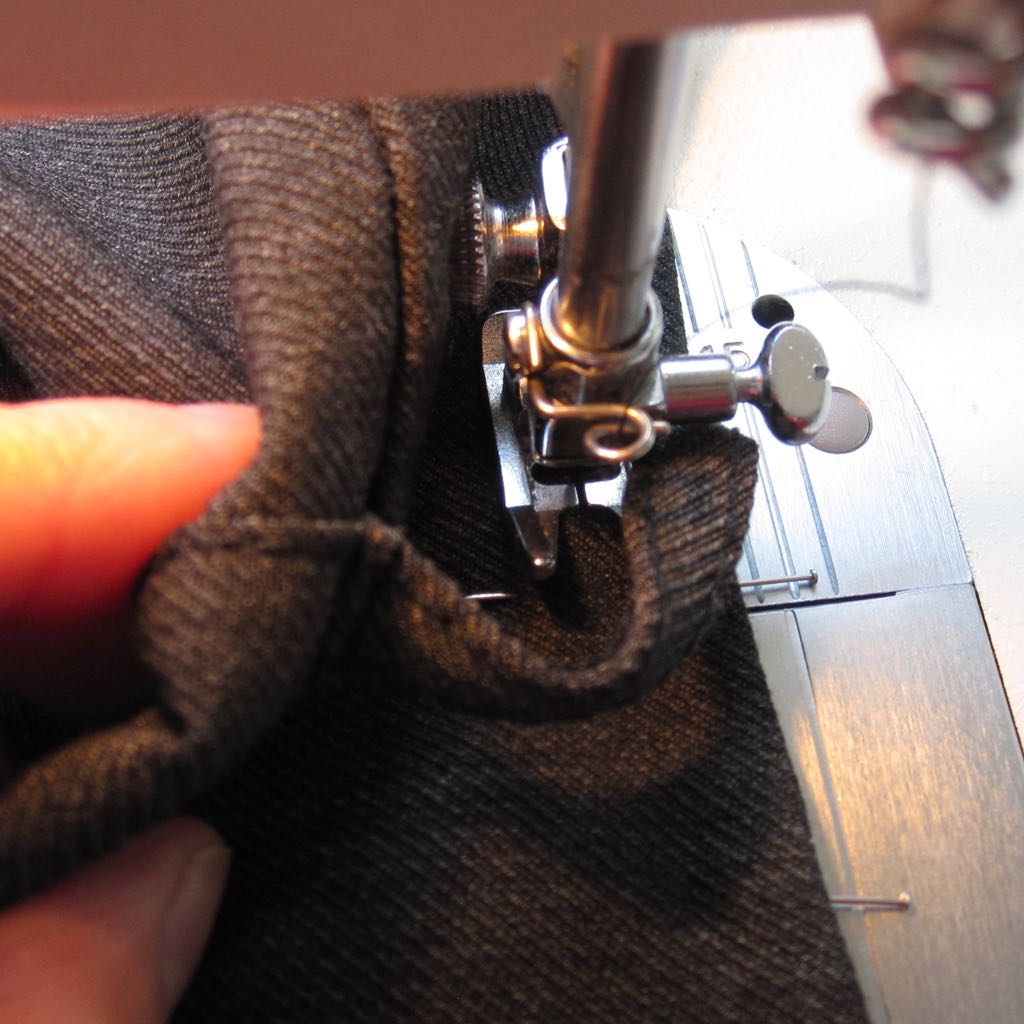
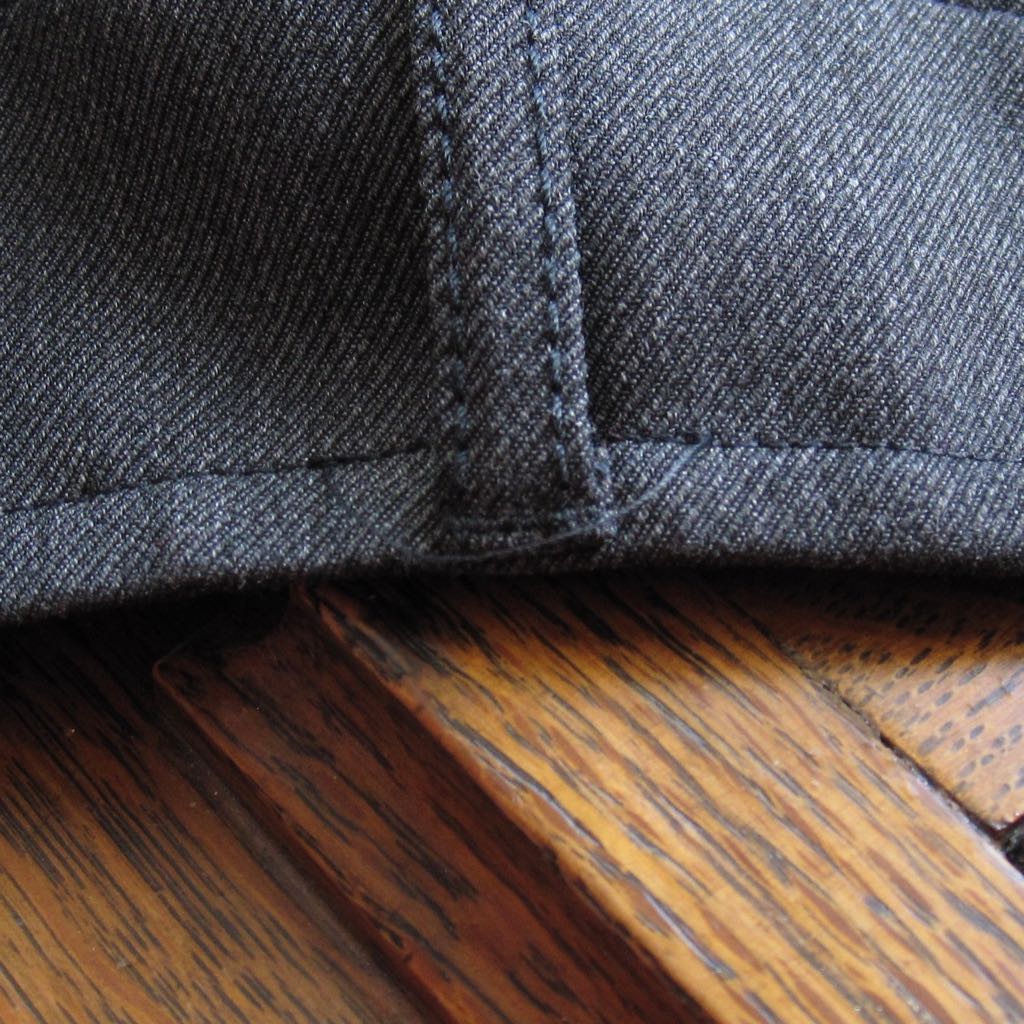
The width of the fabric went around me quite comfortably so I measured and cut what seemed like a suitably generous length, and cut it in quarters the other way. My approach to making sure it worked out was to sew the seams only far enough that I knew they would work, then try it on and extend them as needed. I did the center front and back and the shoulder seams first, and decided after sewing about an inch near the bottom of the armholes that I would insert a narrow panel in each side seam. With no stretch to the fabric at all, I thought an additional couple of inches around from the waist down would help my mobility a lot.
I cut those side panels that night, but the rest of the sewing happened Friday, when I was off work.
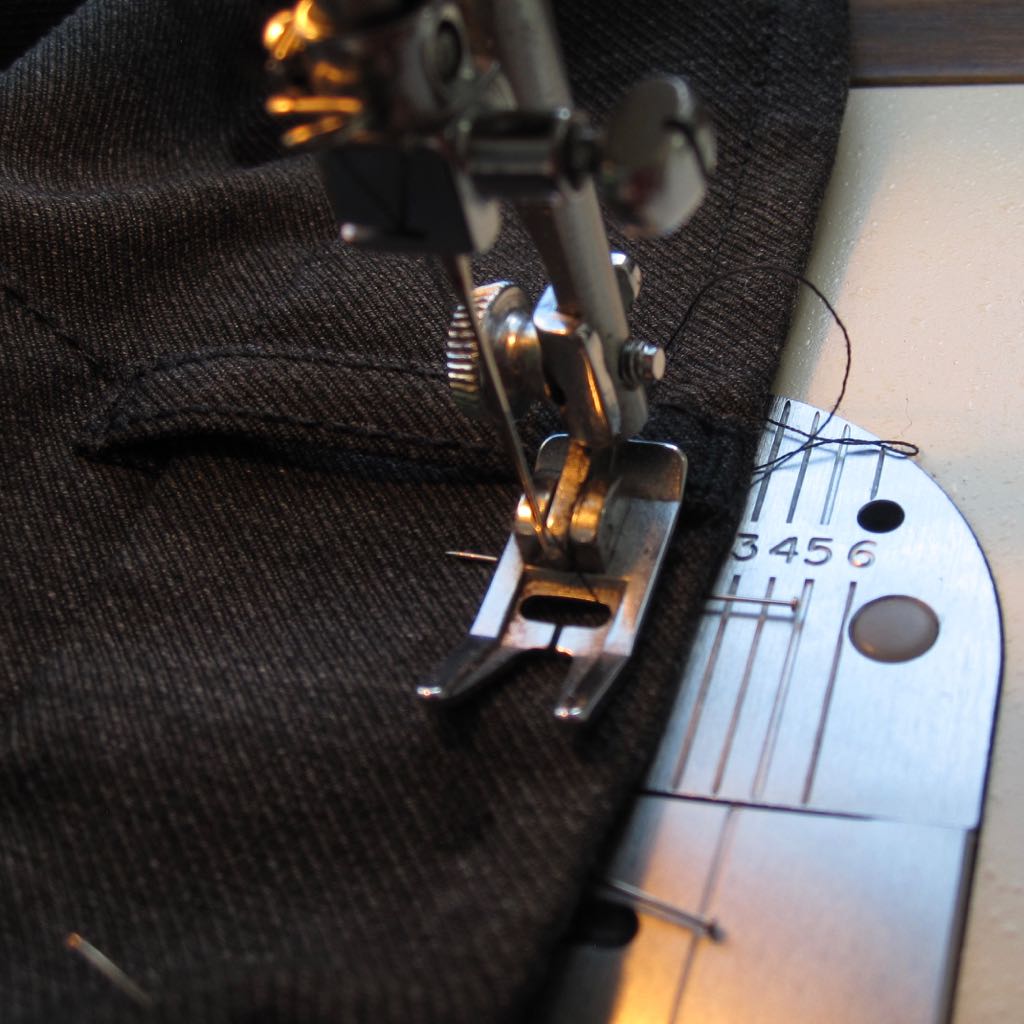
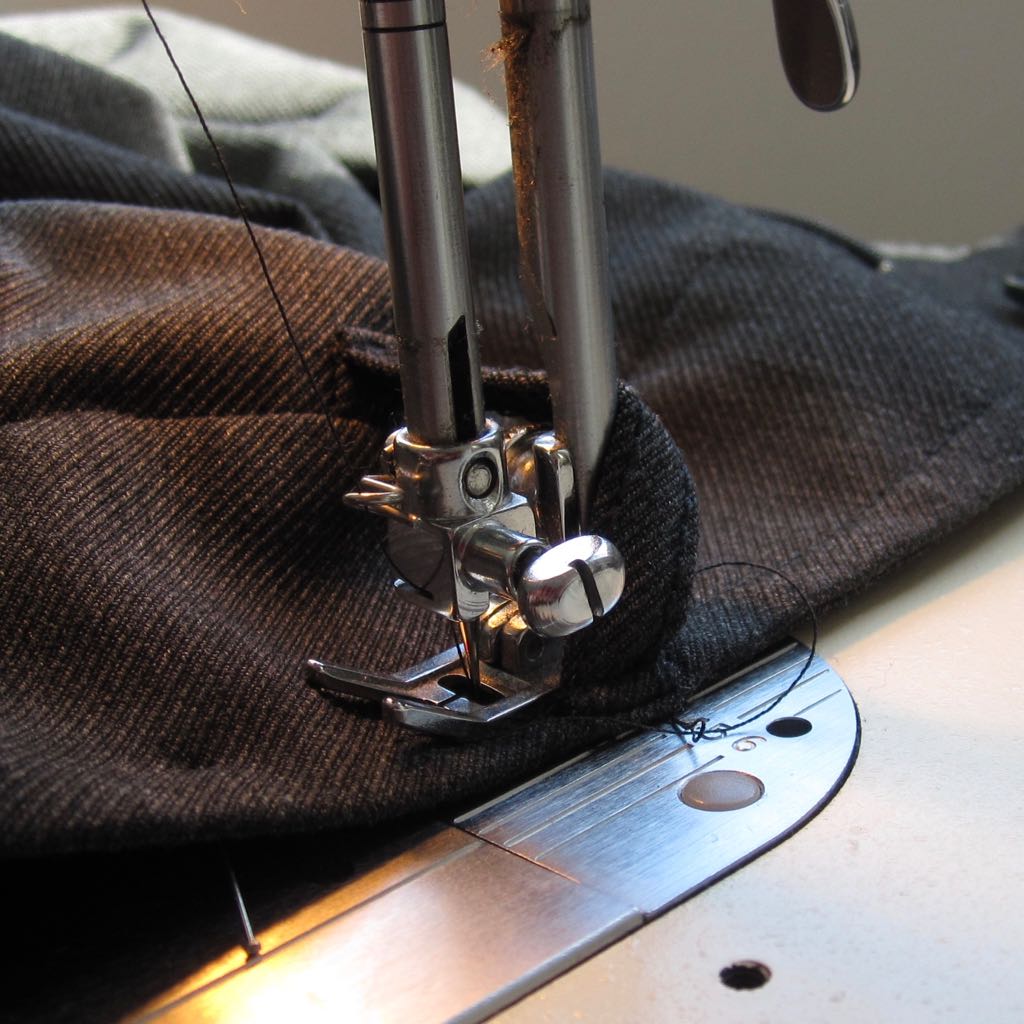
When I tried the tunic on after assembly I thought, well, it’s really bulky and unflattering but it will do. After that I sewed all the seam allowances flat and hemmed the armholes and bottom (I’d done the neck already), and threw it in the wash.
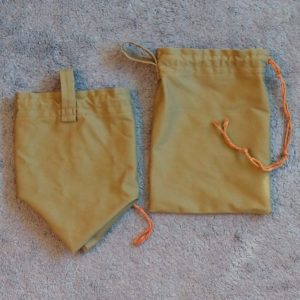
Then I turned my attention to the drawstring pouches. I finished them as planned and hung them from my braided “rope belt” by their drawstrings – to realize that would have them banging into my thighs every time I took a step. Not enjoyable. Also, they would be much more out of reach. So I cut two strips of the fabric and folded them in thirds, then made a loop out of them to sew to the pouches for hanging. That worked well. I had to thread them onto the belt before putting it on but that wasn’t as awkward as I expected.
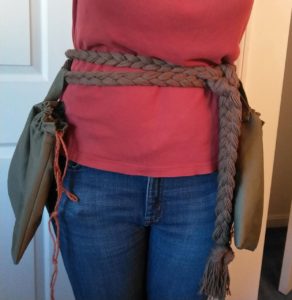
This is a remarkably awkward angle to capture a selfie.


Once those pouches were done, I was done. And rather amazed I’d made it in time for our big Friday night Halloween event!
When the tunic dress came out of the dryer I was pleasantly surprised at how well it draped, given that it has less shaping than a paper bag and no stretch to the fabric at all. Stitching down the seam allowances and washing it had somehow made it much less bulky. I did wish that I’d turned more fabric under at the shoulder end of the neck opening, but I’d already done an inch there tapering to the half-inch seam allowance at the center front, and I don’t know if non-stretchy fabric could do much bigger of a taper easily.
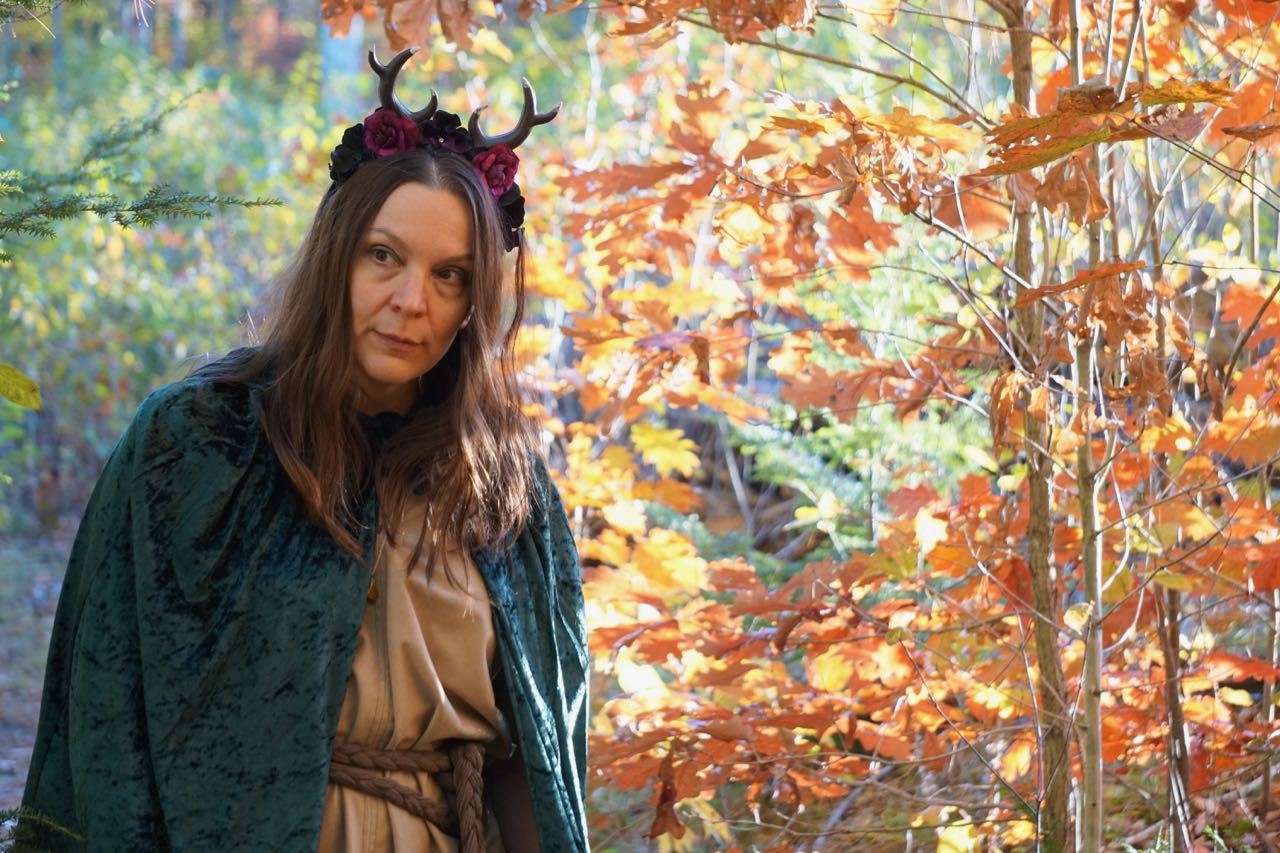
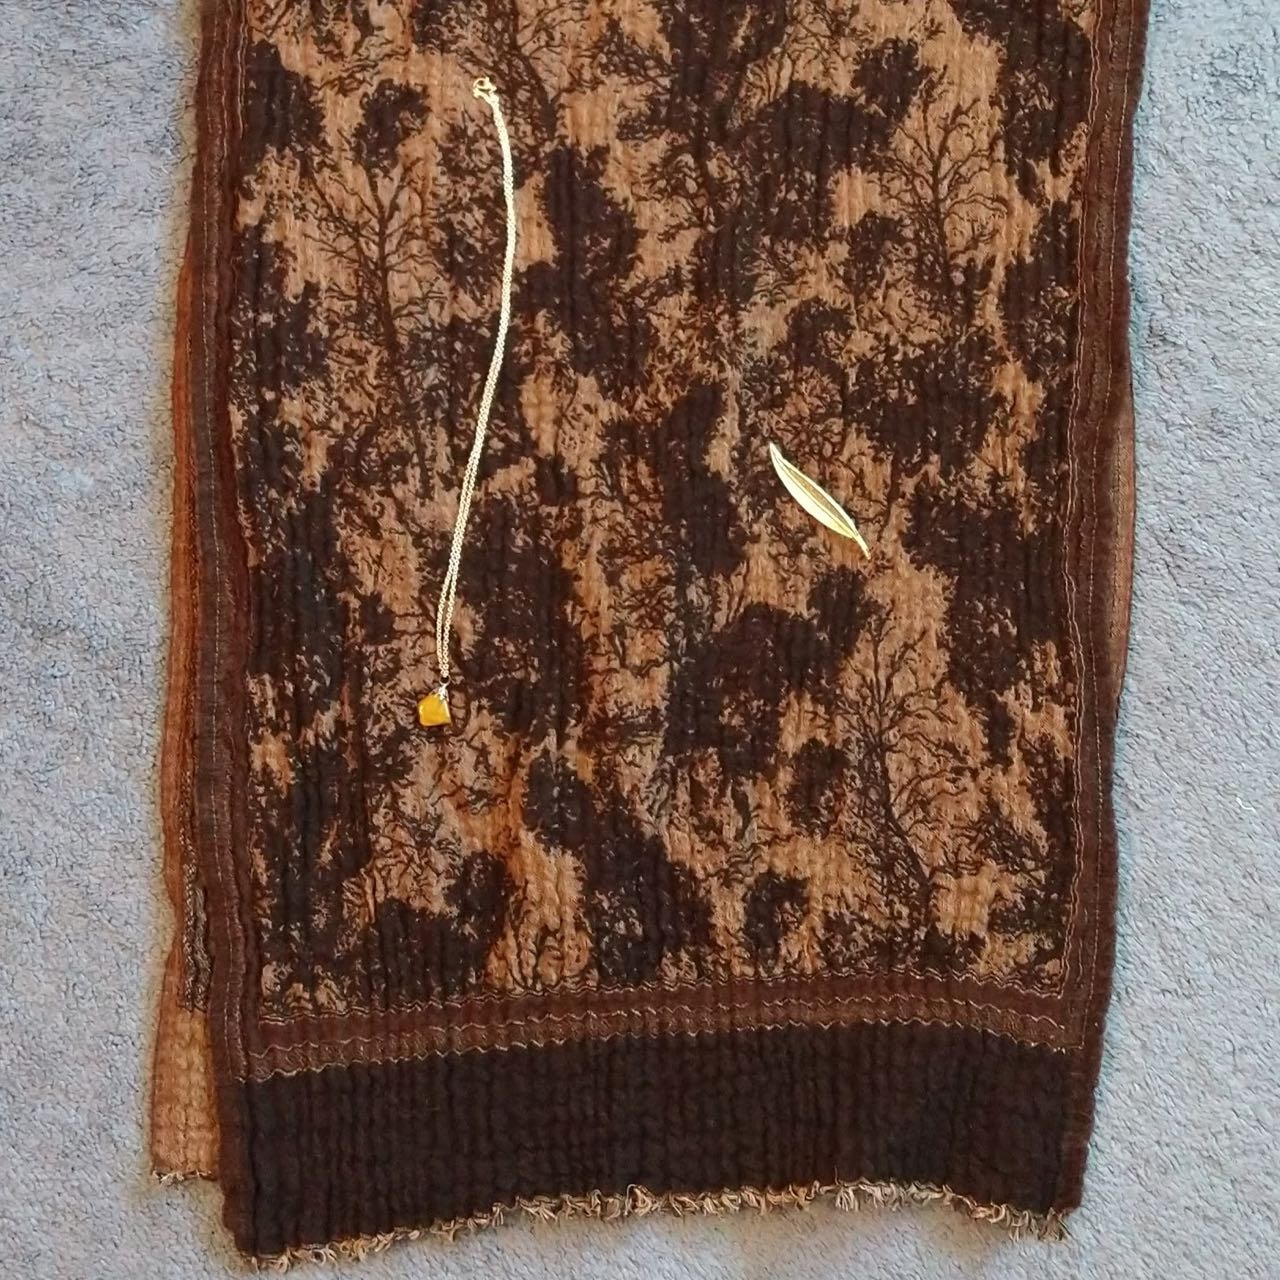
I accessorized with green and metallic eyeshadow and a tiger eye pendant, and the hubs and I went to a park by the river to take photos in the late afternoon.

Success of this costume brought to you by the letters L and H, long hair. 
Embracing my mid-forties

That night I added a tree-patterned shawl secured with my leaf pin, and of course my face mask. I actually liked the face mask as a costume component because it kind of looked like I was going into battle. I had my phone in one belt pouch, and my keys and a pair of gloves in the other.
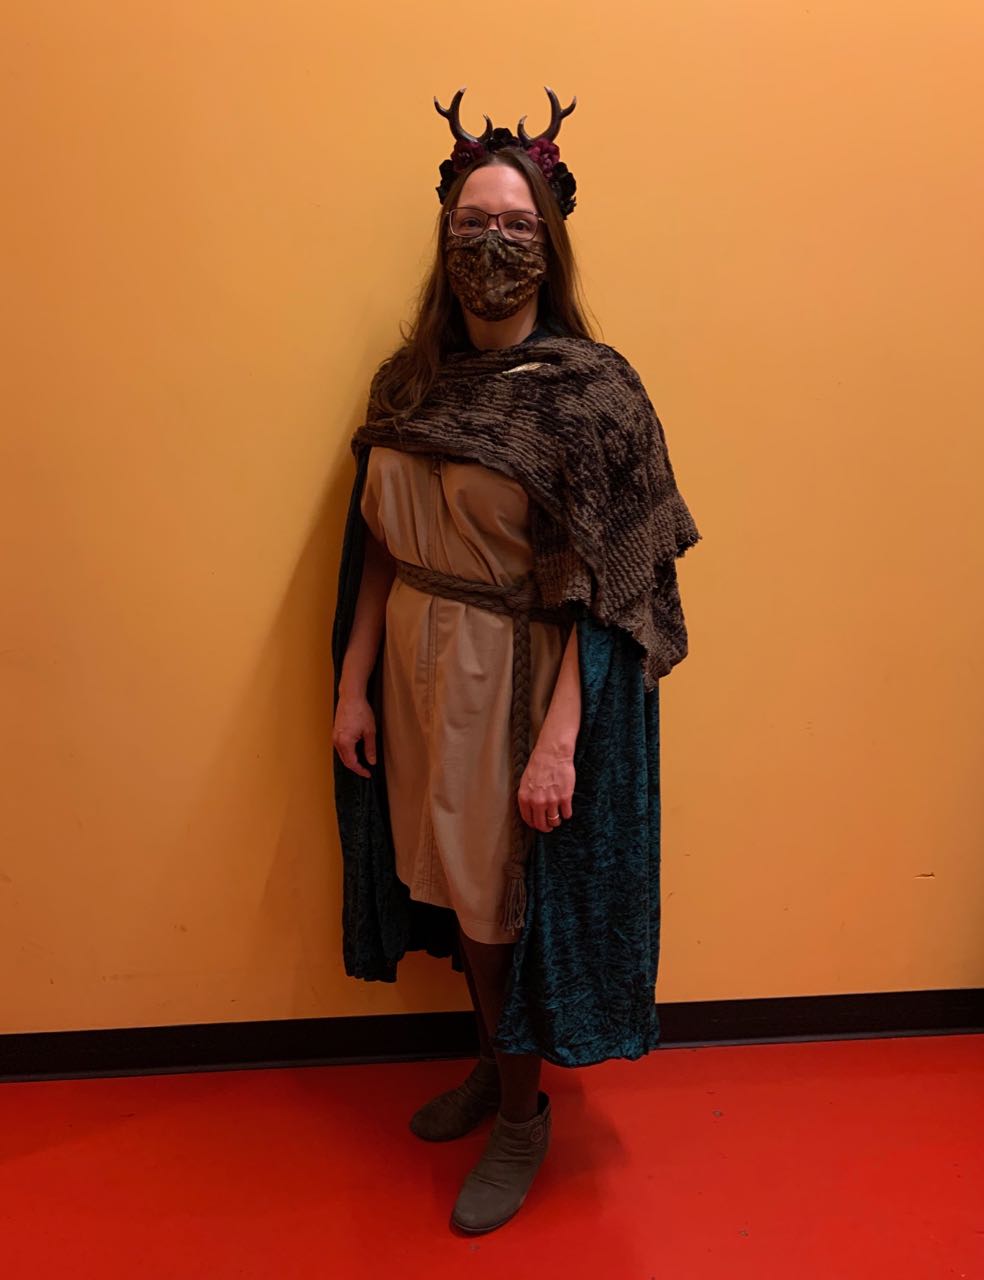
Suitably geared up for the Friday night festivities! No one had any idea who I was. In reality, or in costume. Such is life. 🙂