The Sew-Op got involved with a local art gallery, AVA, as part of their 40th anniversary year. They are located in a former denim overall factory, and wanted denim to be part of their activities for the year. They were very interested in straddling that blurry line between art and craft, using denim for purely decorative endeavors, useful items that are attractive but not decorative per se, and everything in between. We discussed the limitations of the medium (we have no industrial sewing machines, so there is a bound on how many layers of denim can be sewn in the Sew-Op) and some possibilities. As part of this meeting a few Sew-Operators, myself included, volunteered to make some sample denim items for the kick-off repurposing session. That was this past Saturday. Let me show you what I did!
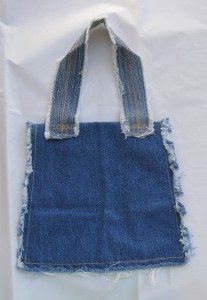
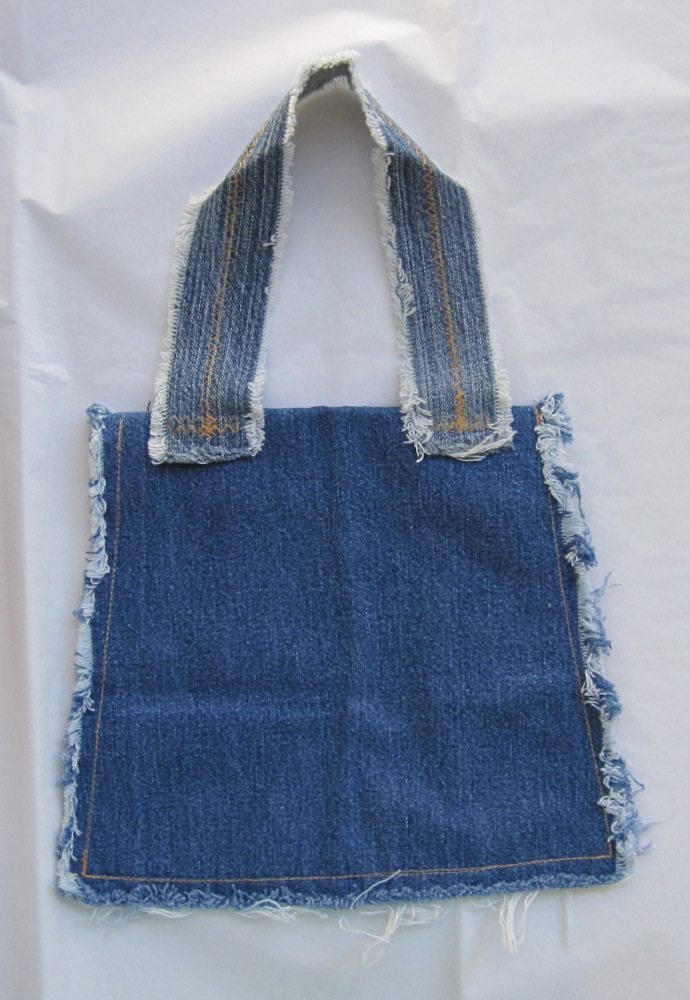
This simple bag was actually whipped up for the organizational meeting. It’s two pieces of leg trimmed to equal size and sewn flat against each other, left open at the top and a little way down each side, after a strap had been sewn to one of them and the part of each that would be left open had been stitched across. I made a straight stitch about a half inch in from the edge so it could fray, and the strap has two slightly offset lines of zigzag stitch down the center. It’s all done in the thread color I refer to as “jeans gold.” After washing it I trimmed the sides, combed the bottom and gave it a little haircut as well.
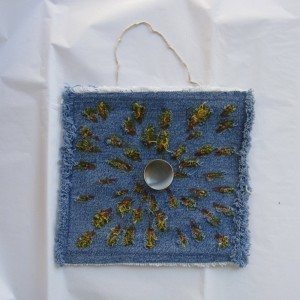

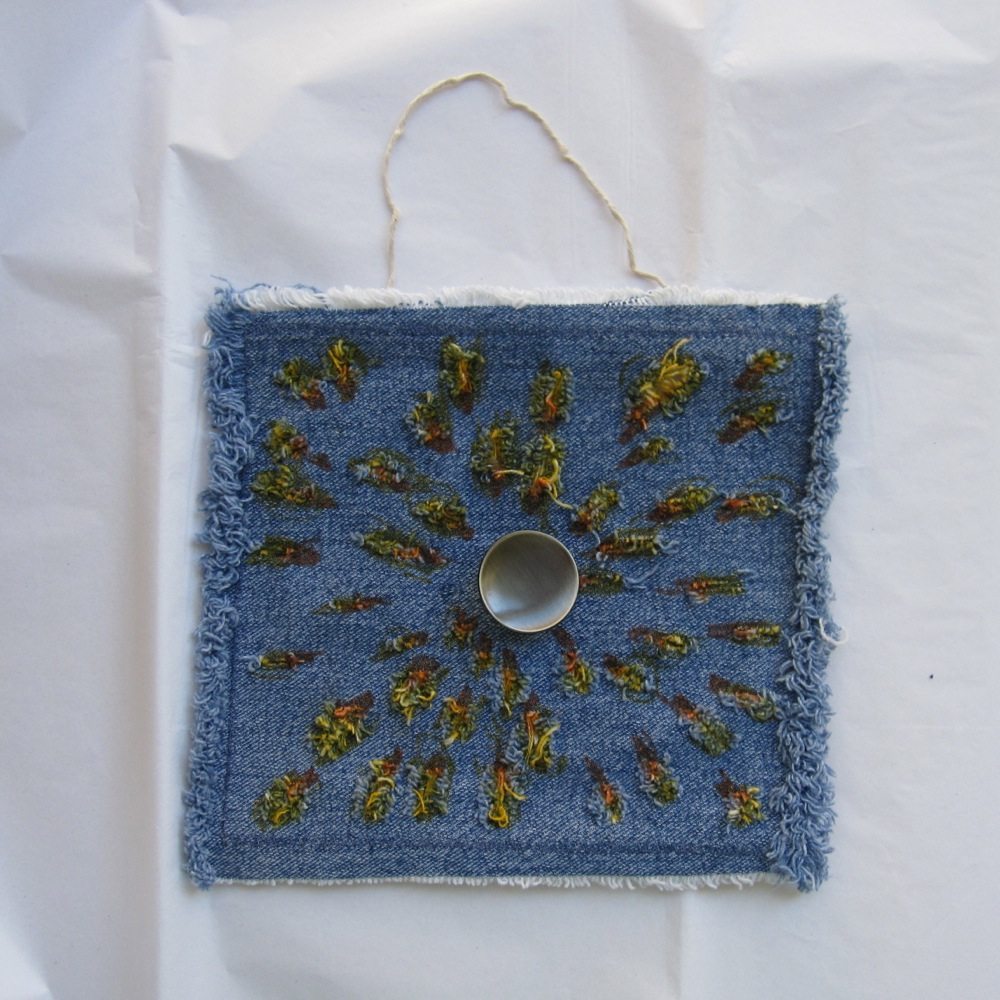
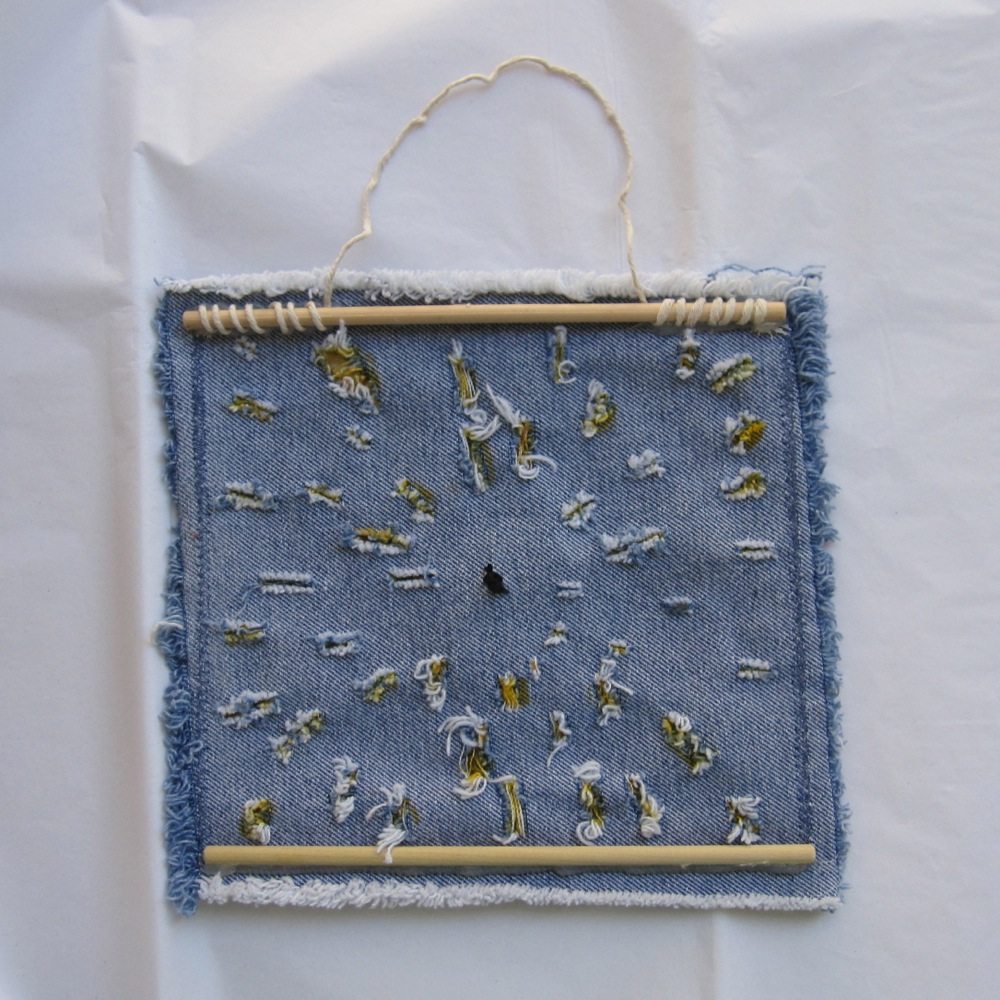
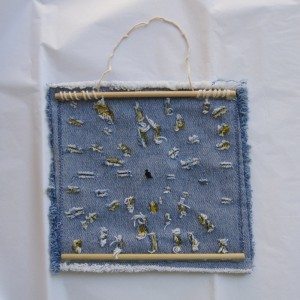
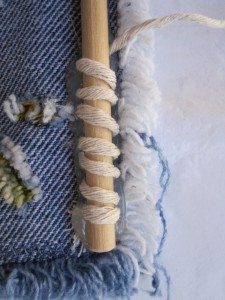
This wall hanging was primarily to demonstrate the hanging method, dowel with string wrapped around it and hot-glued in place. I stitched around with a narrow zigzag about 5/8″ in from the edge, cut the fabric with a utility knife, washed it, and colored the slits with Crayola fabric markers. After stitching the button on I cut dowels to size and sanded their ends, and ran hot glue along the dowel against the fabric. If I had a higher temperature glue gun I may have been able to run the glue on the fabric and stick the dowel on afterward, but with low-temp the beginning of the line had solidified by the time I got to the end.
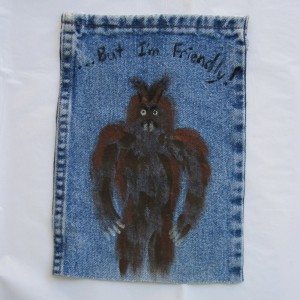
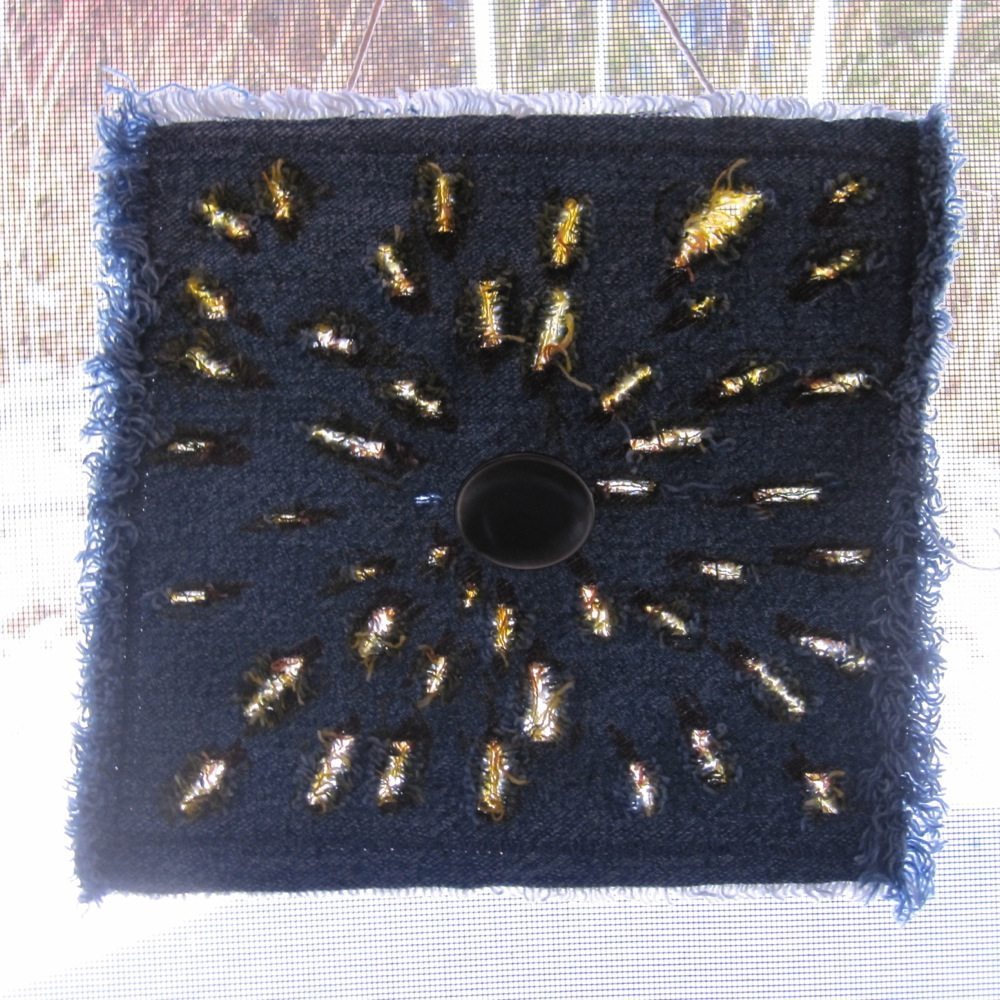
This guy was whipped up quickly with acrylic paint and those cheap plastic-bristled kids’ paint brushes. I used brown, copper, black, pearl, and glow in the dark. I couldn’t get a good picture, but the eyes, teeth, and claws glow.
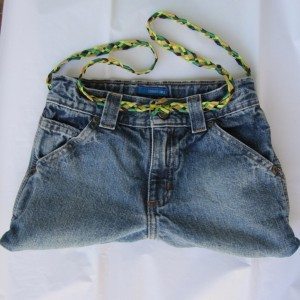
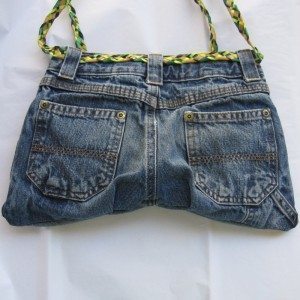
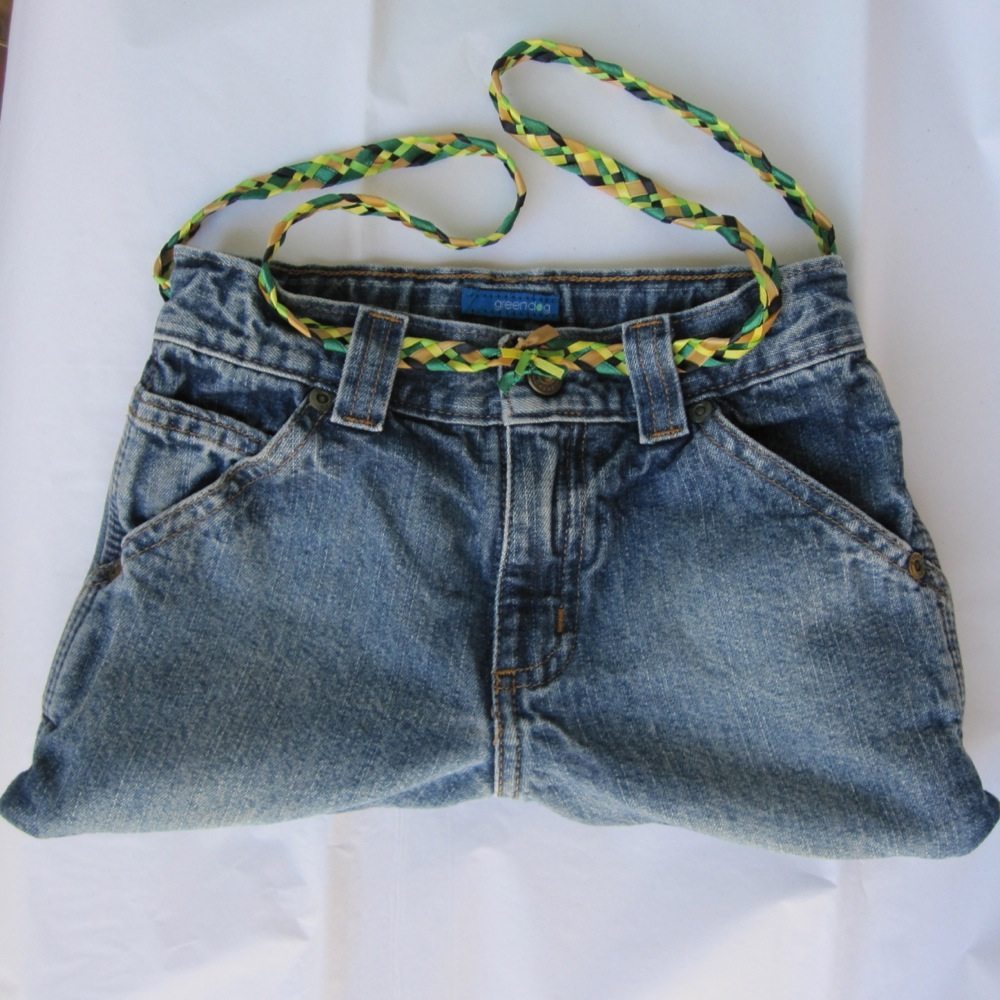
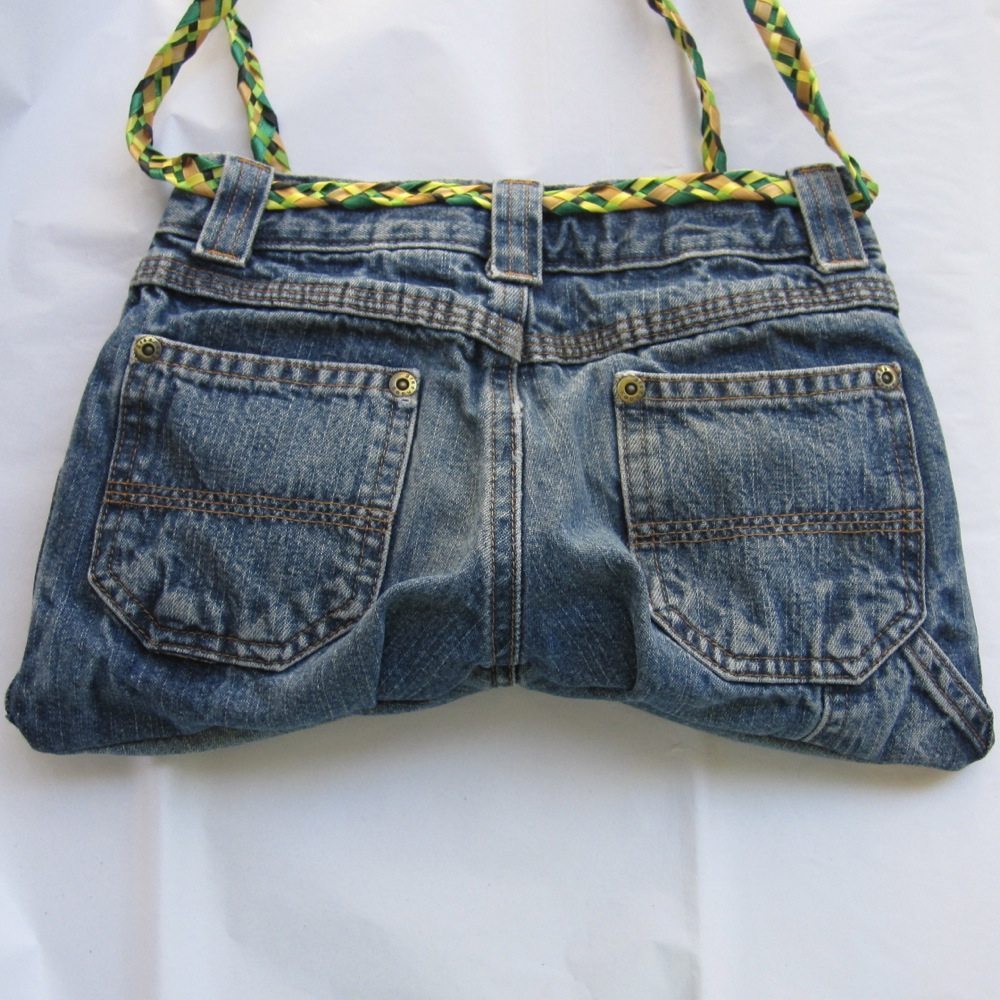
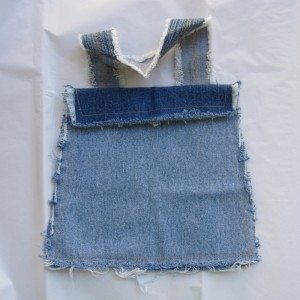
The most admired item, however, was this bag made from the top of a pair of jeans. I cut off the legs, undid the inseam, and sewed a seam across. Since the back of jeans is wider than the front, I added a pleat just inside each back pocket to accommodate that. I had originally placed the side seams to minimize the width difference (the outseam is the topstitched one, so you have to fold on one or the other side), but the jeans had additional pockets below the right back pocket so I changed that to try to minimize the number of layers I was stitching through. To line it, I cut a rectangle of fabric a bit wider than the base of the bag, folded it in half and sewed the seams adjacent to the fold. Then I folded down the top so the pocket was as deep as the base of the bag to the bottom of the waistband (as measured by eye from the outside), pressed it, and hand-stitched it to the bottom edge of the wastband inside. I also stitched the inside of the waistband shut, but you can actually access the space between the bag and lining through the fly. All the pockets still work, as well.
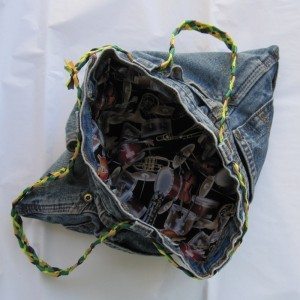
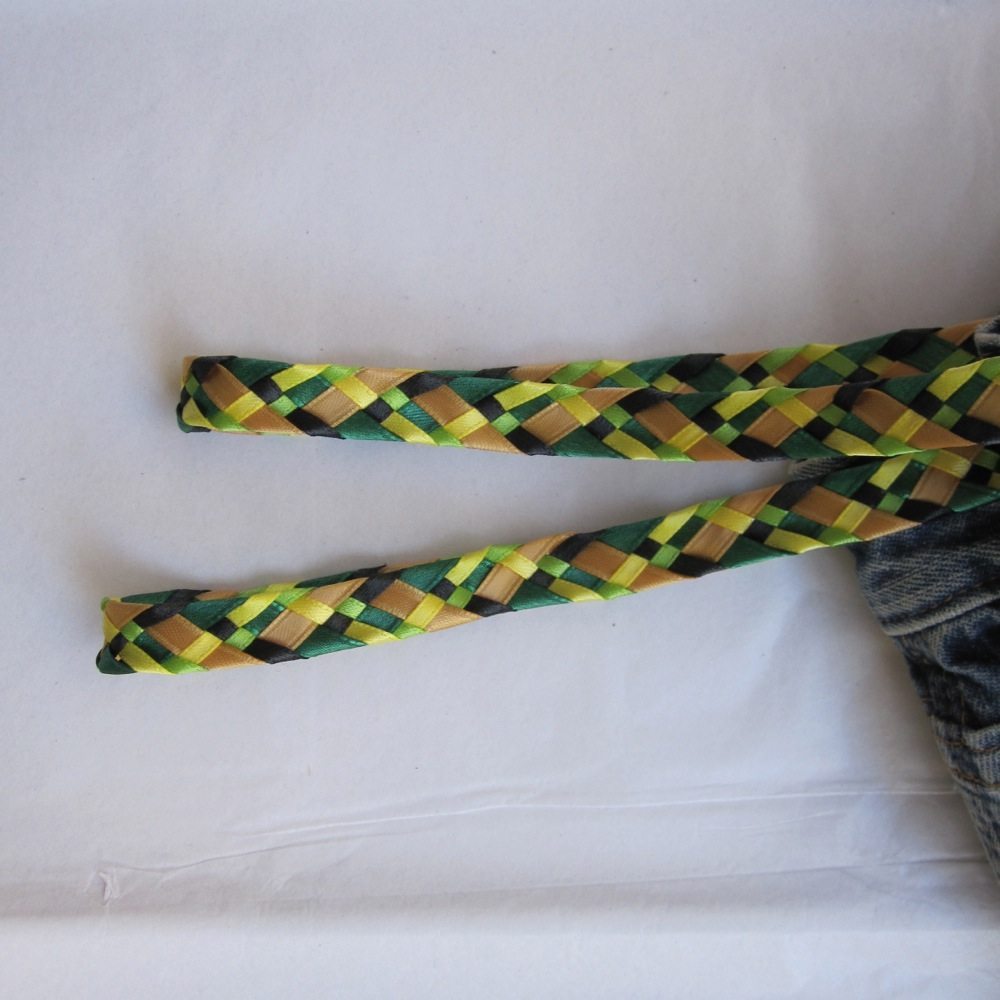
The strap was the most time-consuming of the whole operation, because I braided it out of five lengths of ribbon (using these braiding instructions). I very much like it, though, and it seems to want to stay smooth and flat. After threading it through the belt loops I tied the like-color ribbon ends together in interleaved square knots (tie half of each, then the second half of each, so some of them are entangled), trimmed them, and glued them with Fray-Chek.
I also brought along my denim coaster from the craft countdown. I had one more idea for a bag but not enough time to complete it… perhaps in the future.
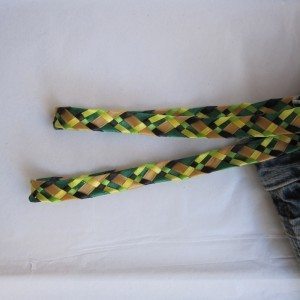
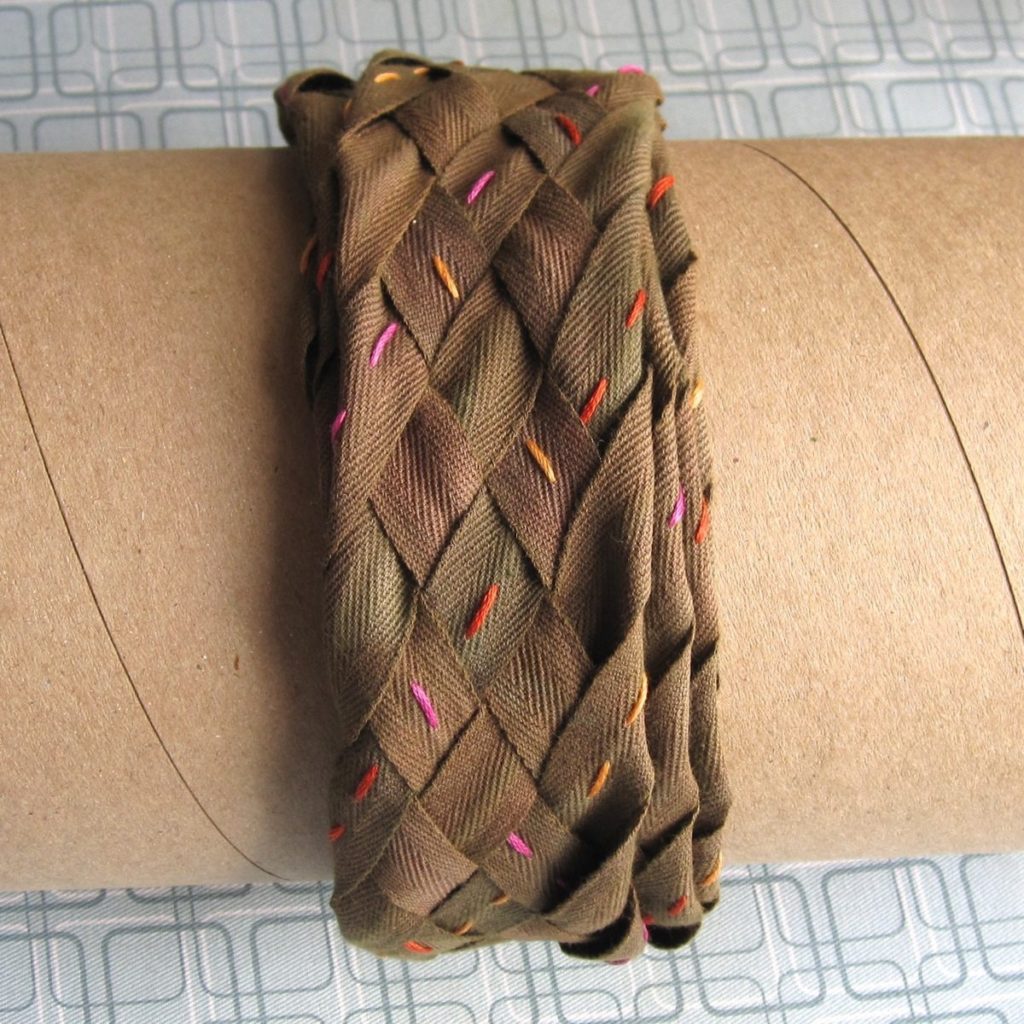 The dyed twill tape I showed you in October is now a braided strap. I decided to add some color and interest via a running stitch along the full length of three of the strands, with three colors of embroidery floss in the intersection of the sets “colors that work with the fabric” and “colors I already have on hand”: gold, red-orange, and a sort of light magenta. That was a little awkward because of the length of floss needed to avoid having to stop and start in the middle, but not too time consuming. The braiding instructions I used are on T.J. Potter’s site, method 1 of the flat six-strand braid.
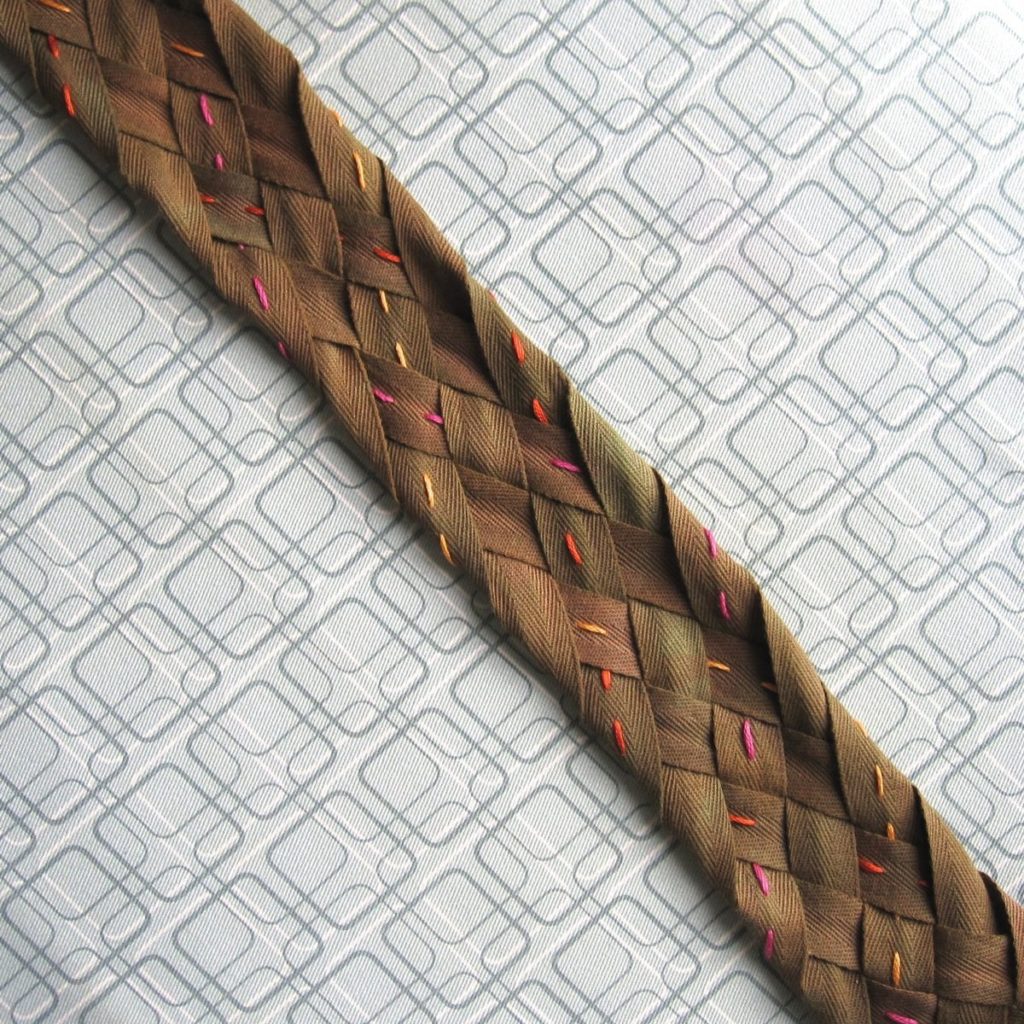 The braiding took probably an hour and a half, including machine-stitching the ends. I really like how it looks. To secure the ends I just made two parallel stretches of zig-zag stitch. I was wondering as I went along whether I would need to stitch the braid together at other points, to keep it from deforming, but I think it might be okay. At most I think it will need maybe two lines of stitching across it, splitting the strap part into thirds, to keep the braid fairly smooth without ruining the lovely flexibility of it. It is plenty long to go all the away around the sides and bottom of the bag, which is terrific, and probably with some extra. Unfortunately whatever record I might have made of the length of the individual strands is gone, so I can’t tell you the conversion rate.