Pants are difficult. Especially dress pants. If the hips and thighs fit, the waist is at least verging on too big. But dress pants’ waistbands are awful to alter – layers and belt loops and topstitching and often no pre-existing seams. What to do?
I realized that my current dress pants fit great right out of the wash, but as the fabric relaxed (mine all have a little lycra in them) they would sag down on my hips, ending up too low – they didn’t look or feel good and they became too long. I envisioned pants where the legs were made of the gently stretchy fabric but the waist was made from something with no stretch at all, and realized I could mimic that by stabilizing the waist with something non-stretchy.
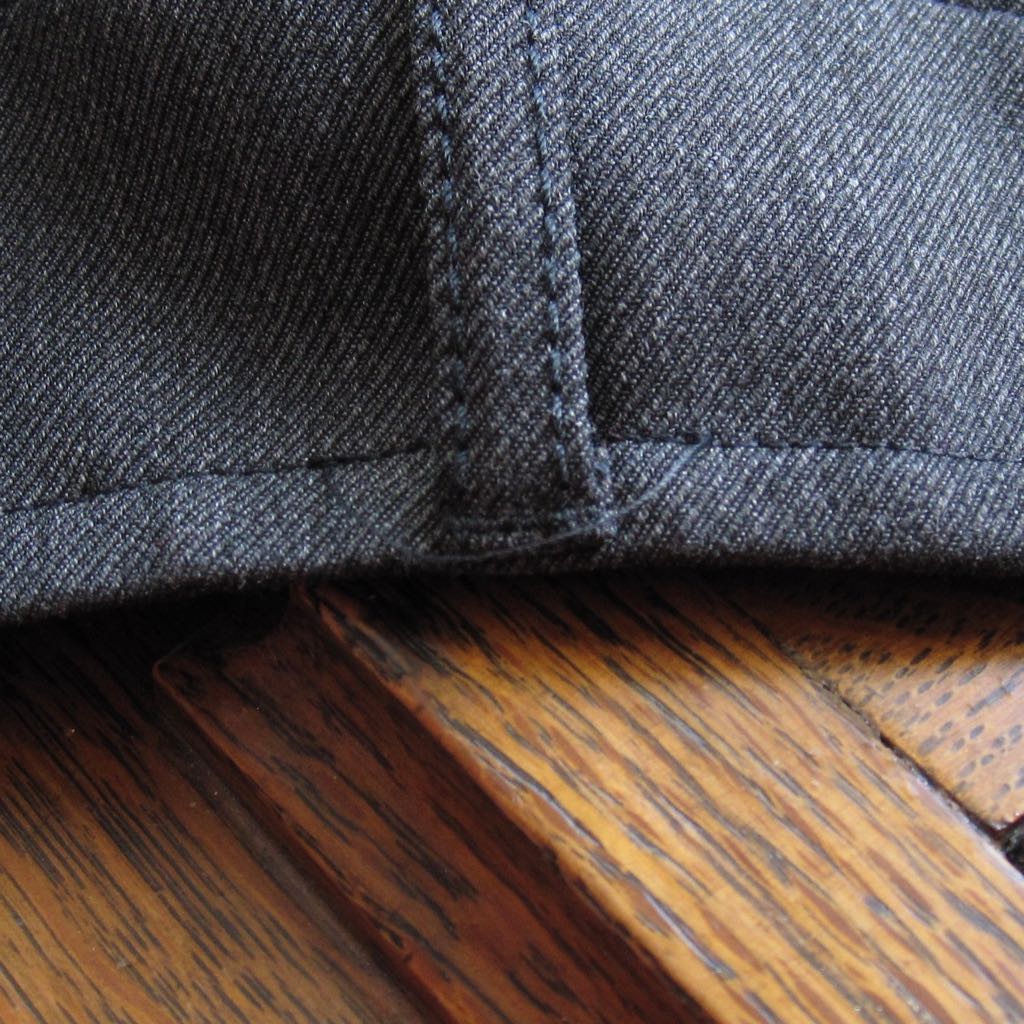
So here is the technique! I did my first round of waist stabilization back in February, so I can attest it does work. It shows from the outside, but isn’t obvious, especially if you wear your shirts untucked as I do.
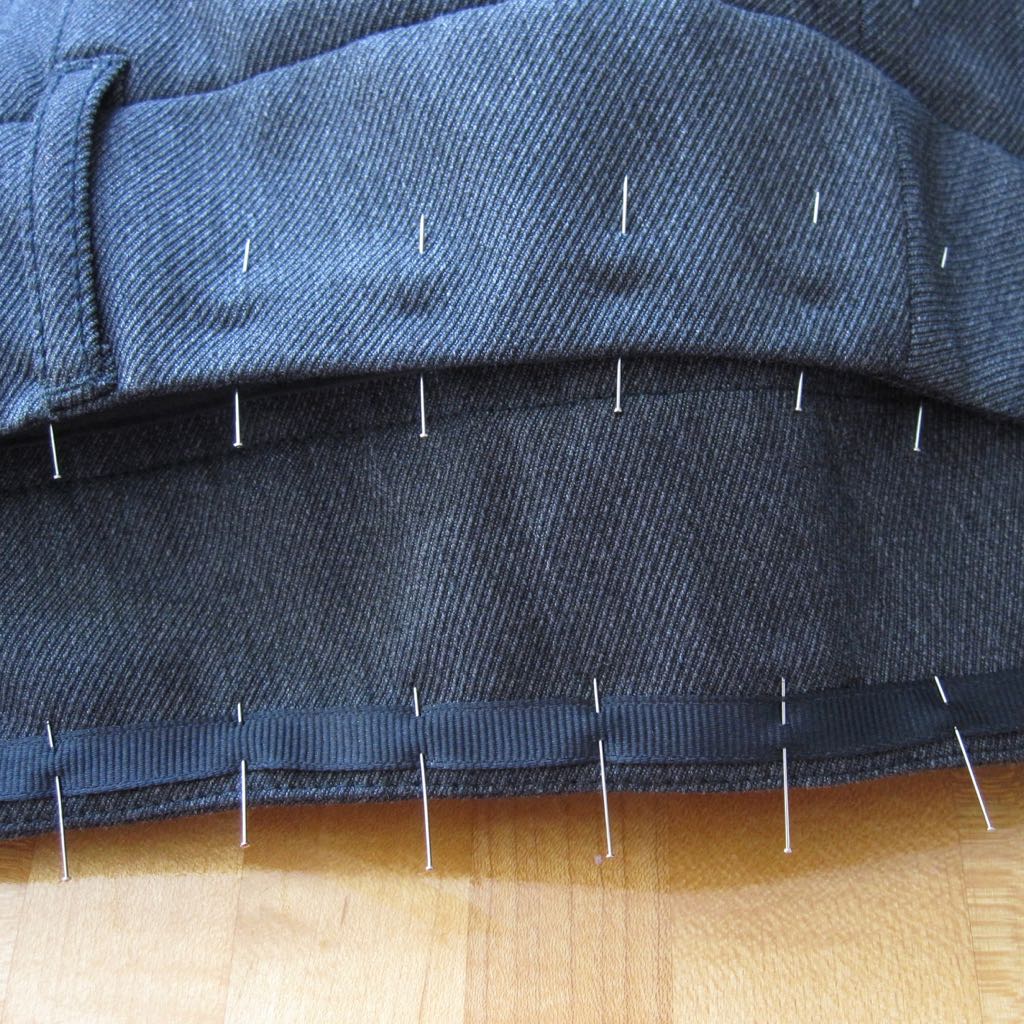
Acquire some narrow grosgrain ribbon, or another non-stretchy material.
1. Pin the ribbon to the inside of the waistband, just far enough from the top edge that stitching through its center will be below the top of any belt loops the pants have. You will have to pin from the inside of the waist but sew from the outside of the waist, so have the points of your pins sticking out on the outside of the waist or buried between the layers of the waistband.
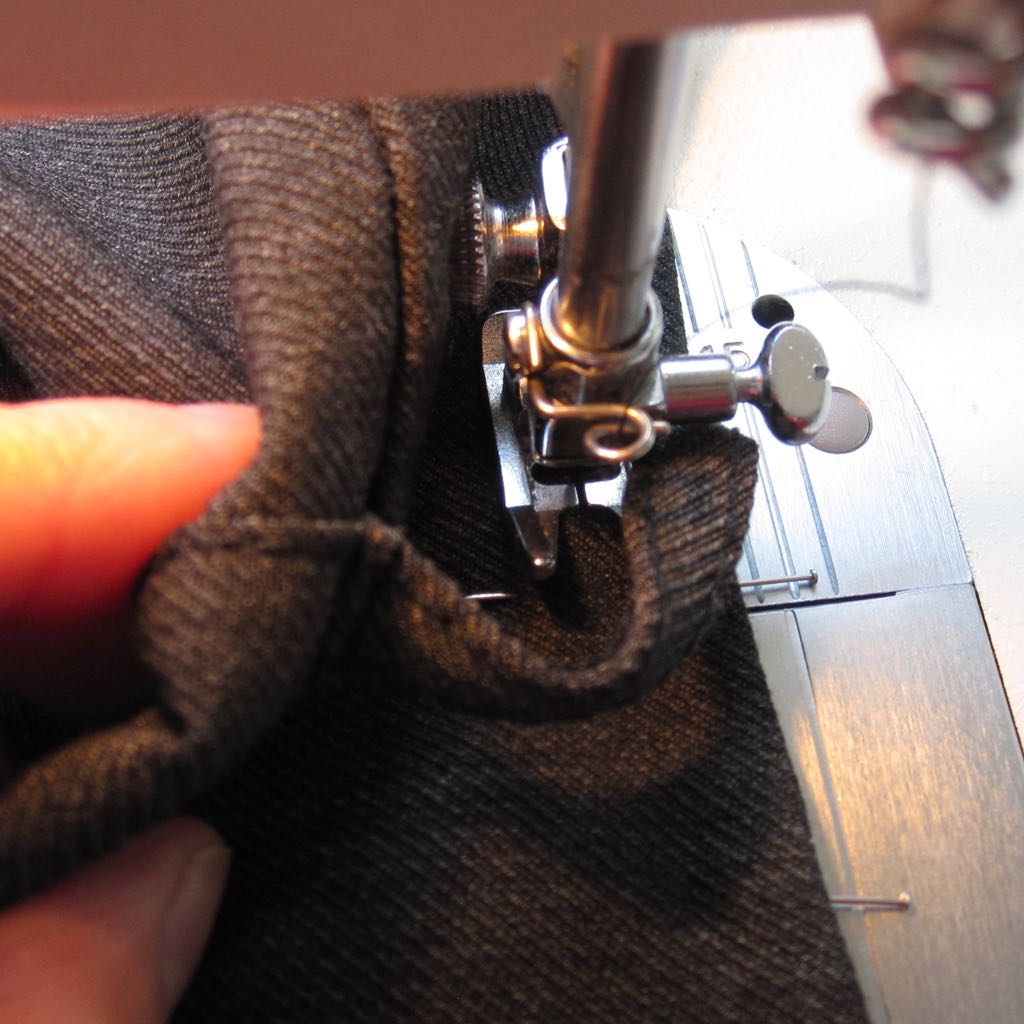
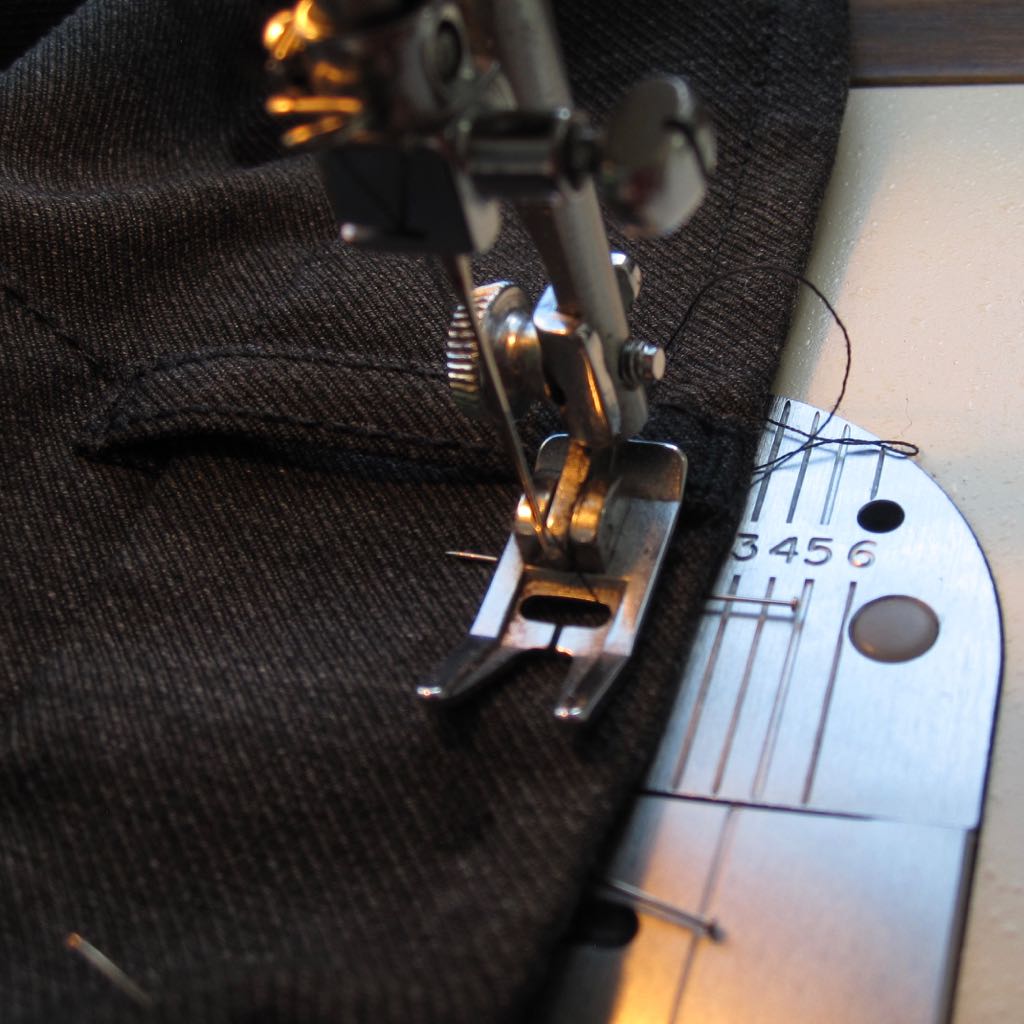
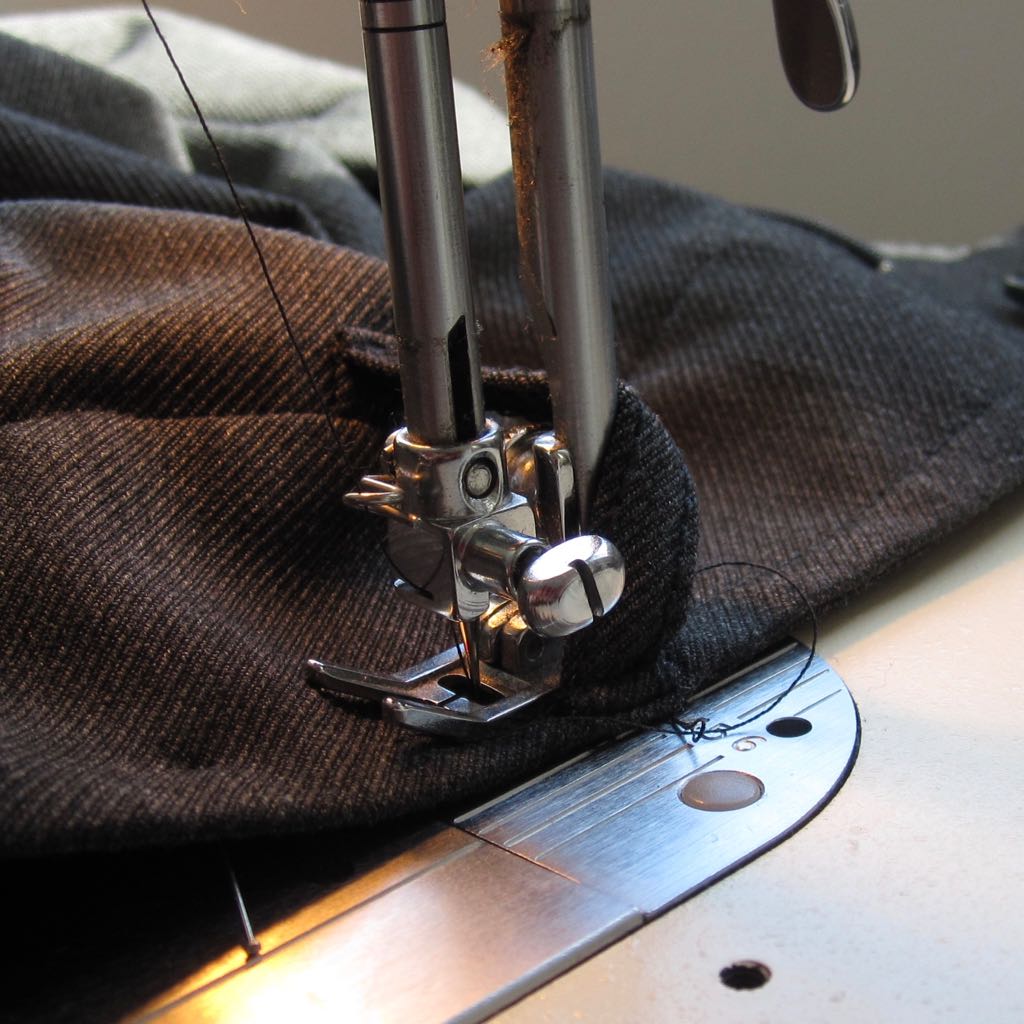
2. Looking at the outside of the waistband, sew a straight line down the approximate center of the ribbon. It is more important to have it straight relative to the edge of the waistband than relative to the ribbon. When you get to a belt loop, sew a bit underneath it and then backstitch. Lift your presser foot, pull the fabric out a little (so there is a small loop of thread) and start stitching again past the belt loop, starting with a backstitch to get as close as you can to the belt loop (underneath if possible).
3. Trim the ends of your thread and the loops that bypass each belt loop. Complete!