Sometimes, an ordinary fabric coaster doesn’t suffice. At least, that’s what my sister told me a few years ago. Her water bottle at work was sweating through the paper towels she used as coasters. In those situations, you need terrycloth.
I made her one then, and decided to make her another one this year featuring some of her favorite hobbies.


I use a double layer of terrycloth and made the coasters a bit larger than my usual ones to accommodate the thickness. It is also much easier to quilt the sides individually than the whole coaster together – and in this case I think it counts as quilting rather than “quilting.”
I don’t have records of measurements and so forth from the previous coaster; this time I cut fabric into approximate squares 7″ to 7.5″ on a side. After finding the images I wanted to use, I traced them onto the fabric (roughly centered) with a fabric marker. Finally, I zigzagged them onto terrycloth and then cut them out, in an effort to reduce the amount of terrycloth lint in my sewing machine.
The quilting on the previous coaster was your usual concentric squares and parallel lines, but this time it was accomplished by embroidering the images. I covered and widened the marker lines with stitching through both the fabric and the terrycloth.


When I went to construct the coaster, I decided on a 5 1/4″ square. From the center of each image I marked out 2 5/8″ in each direction, discovering they were not at all centered on the fabric, and drew in the stitching line for the outer seam with a pen. I stitched around each face individually. To align the faces, I put a pin through each corner of the stitching on one face, with the pinpoint on the fabric side, and then put the pins through the corresponding corner, fabric to terrycloth, on the other face. “Up” is the same direction on each. After pinning, I stitched around the previous stitching lines, leaving the middle of one side open. I trimmed the seam allowance to between 3/8″ and 1/2″ and then turned it right-side-out, working the corners as far out as I could. I hand-stitched the opening shut and then top-stitched by machine between 3/8″ and 1/2″ from the edge (evenness was hard).
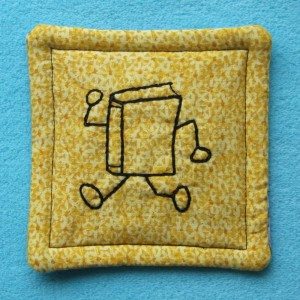
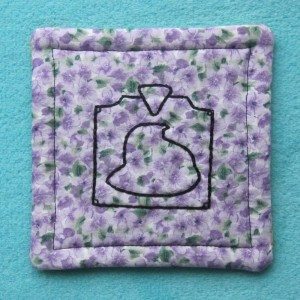
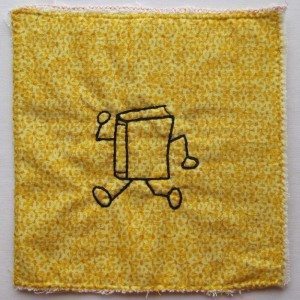
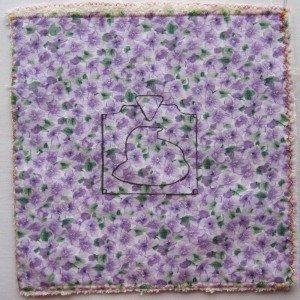
Incidentally, the yellow side of the coaster features Ballycumber, the yellow book mascot of Bookcrossing, a world-library project. The other side is for Markeroni, a historical marker with my sister’s Markeroni mascot on it. The colors even fit: many historical markers are green, and Peep the mascot is lavender. (I think. He may be a well-traveled pink.)