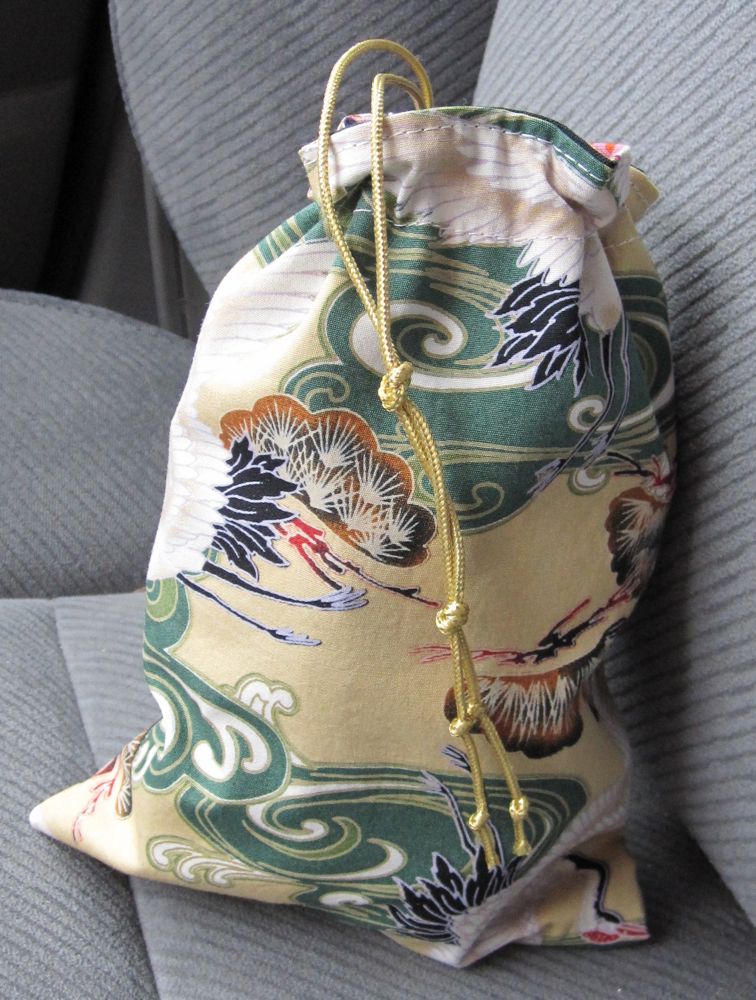
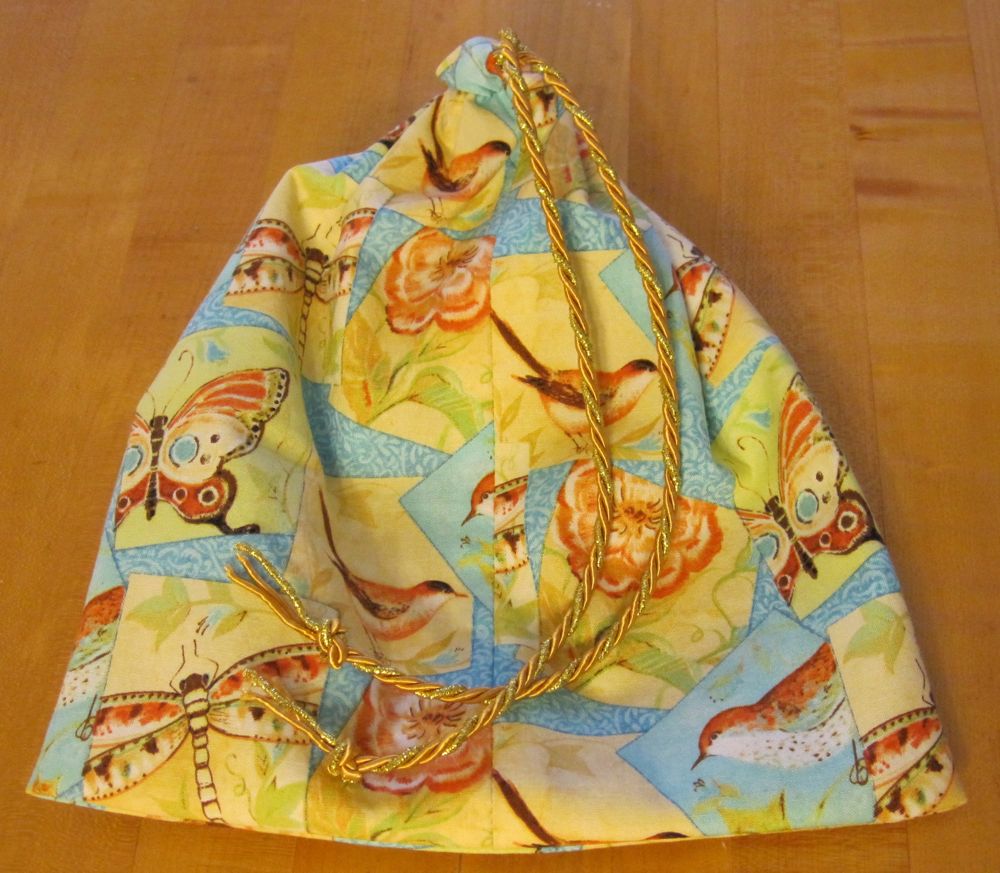
Last Tuesday afternoon I had a haircut. As often happens, I completely forgot that it was the holiday season, and I would like to give my stylist a gift, until a couple of hours before. Or, really, about an hour and fifteen minutes before. I thought I would cut a piece of nice fabric, get cookies, and wrap them in the fabric.
In about twenty minutes I made a reversible drawstring gift bag, and then I stopped by the nice grocery store en route for some gluten free cookies. That is why these pictures are all in my car.
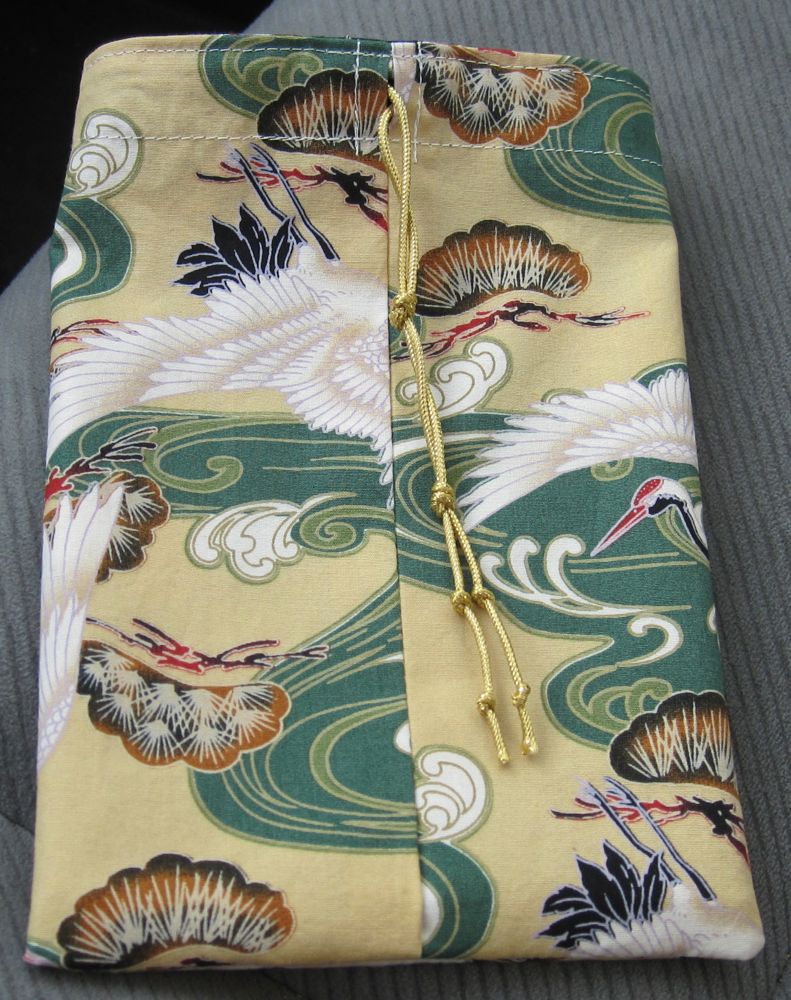
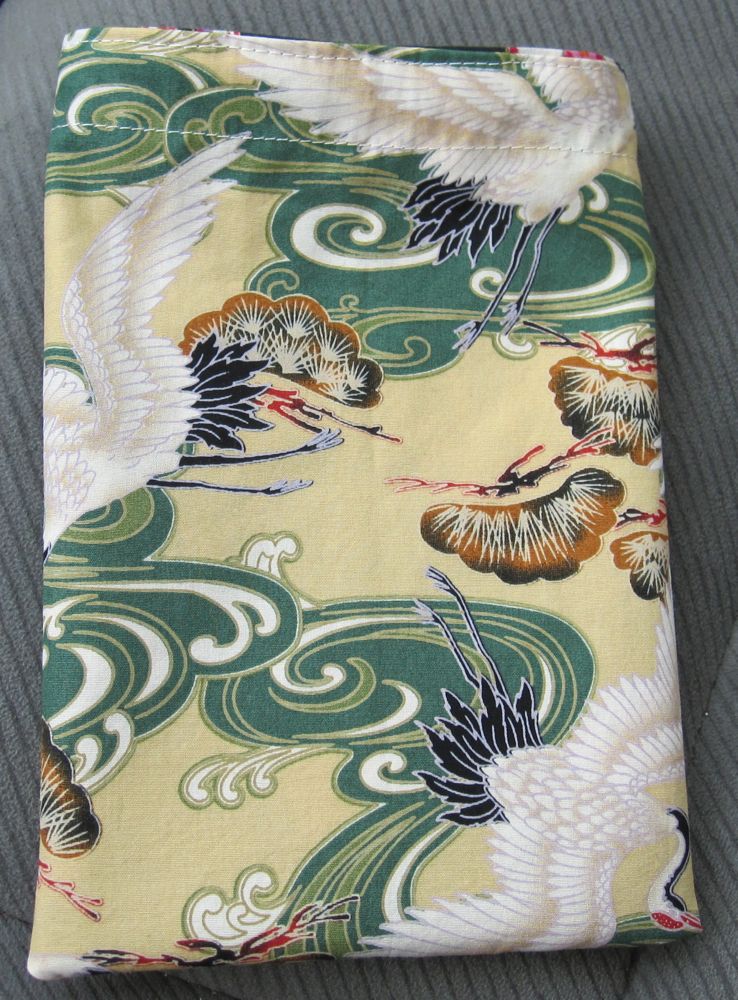
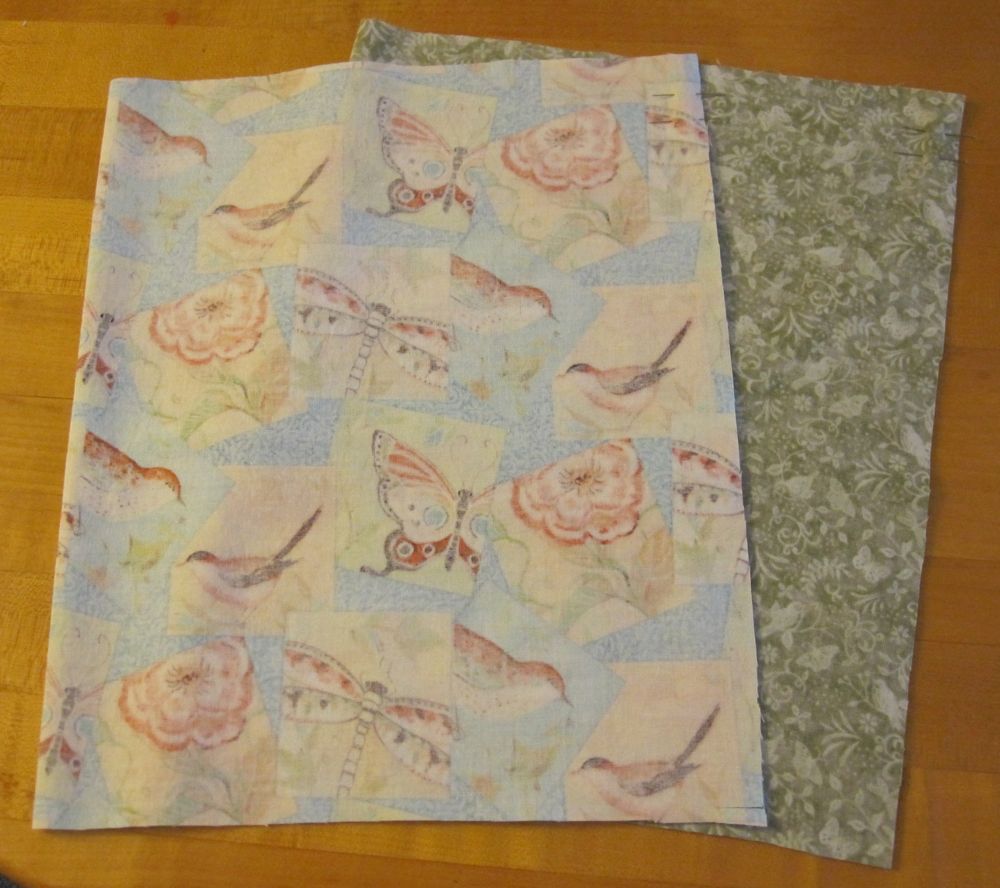
It wasn’t until I was writing this post that it occurred to me the other fabric is also cranes.
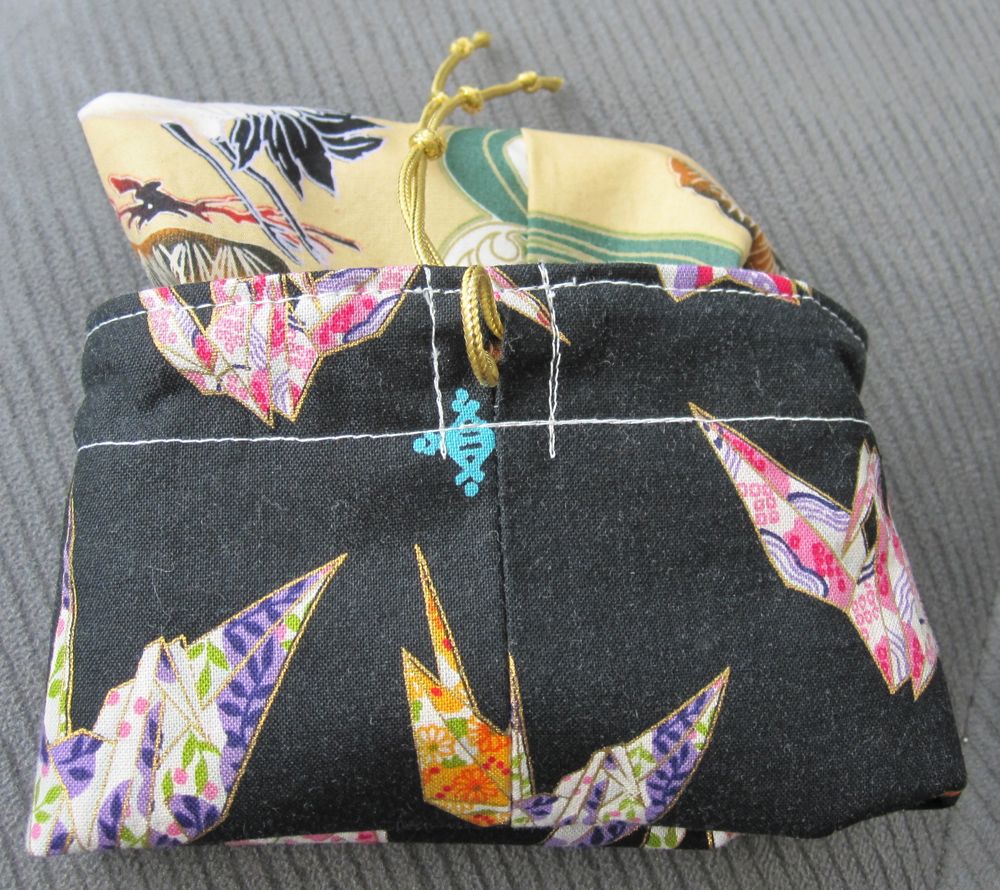
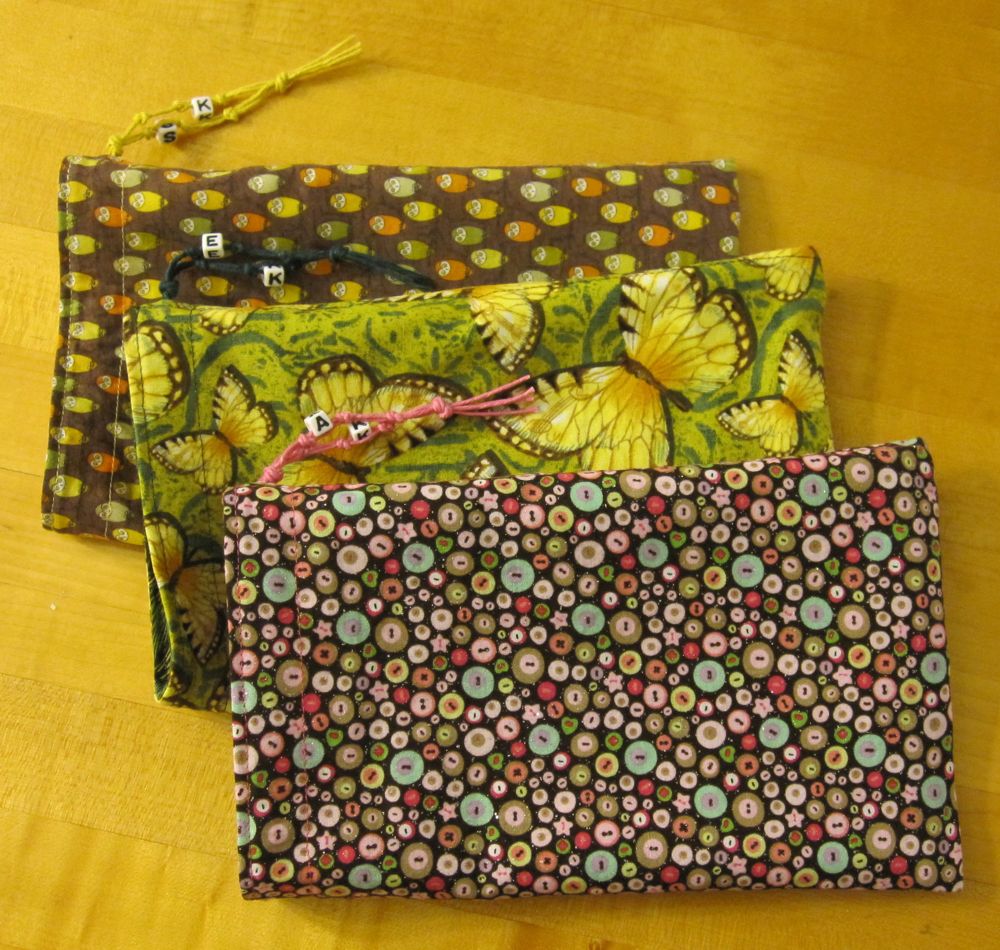
Later I made some more bags of the same sort, so I could share the method with you.
You’ll cut two identical pieces of fabric. Make them twice as wide as you want the finished bag, plus an inch, and the height from bottom to drawstring plus a generous two inches. The pieces below are 20″ wide and 12″ tall, and the bag they made ended up 9.5″ wide and not quite 11″ tall, not quite 10″ to the bottom line of stitching for the drawstring casing.
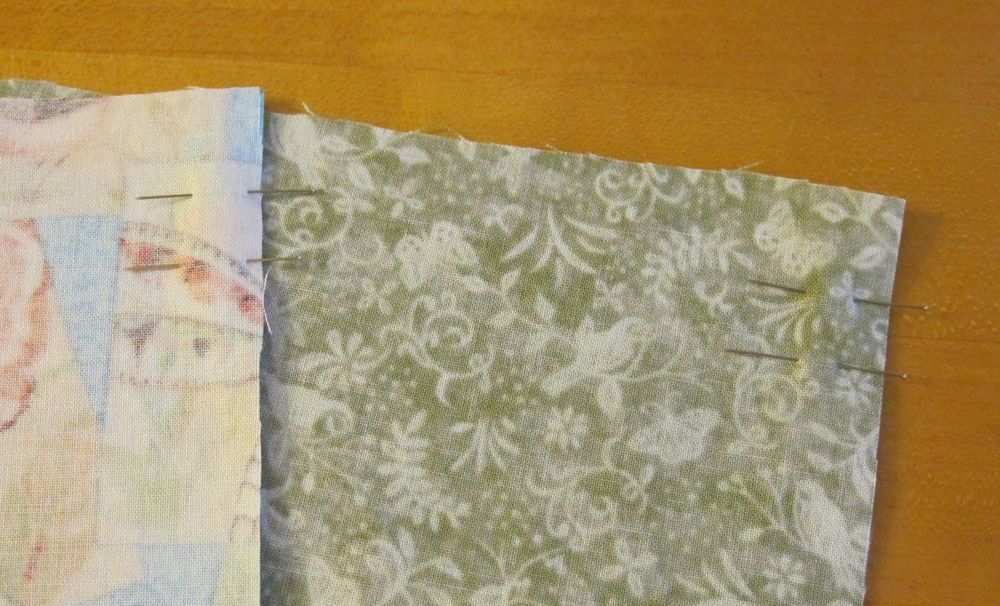
The pins in the second picture indicate the opening you will leave for the drawstring to go through, on both pieces. My markings are at 3/4″ and 1 1/4″ down from the top of the bag; when I made some bags for children I pushed the second line down an eighth of an inch. Sew the side seam with a half inch allowance, skipping the part between the pins and backstitching on each end of it, and press the seam open.
Fold the top of the bag down a half inch, press, and turn the raw edge under. Press again. I found my sleeve board very helpful for this step.
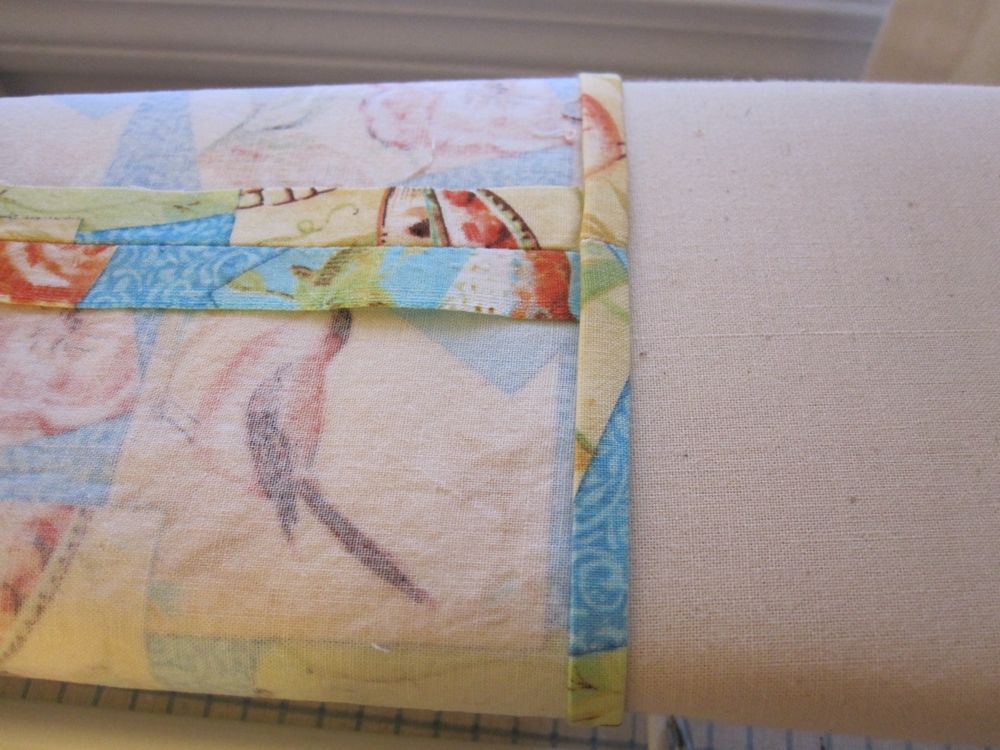
To keep the seam allowance from poking out the opening when you move the drawstring around, sew it down a bit away from the seam line. I just lined my presser foot edge up with the seam line. If you are putting the drawstring opening on a face of the bag, as in the crane bag, you need only go a bit past the drawstring opening. If you are putting it on a side, as in the three matching bags below, I recommend stitching all the way to the bottom.
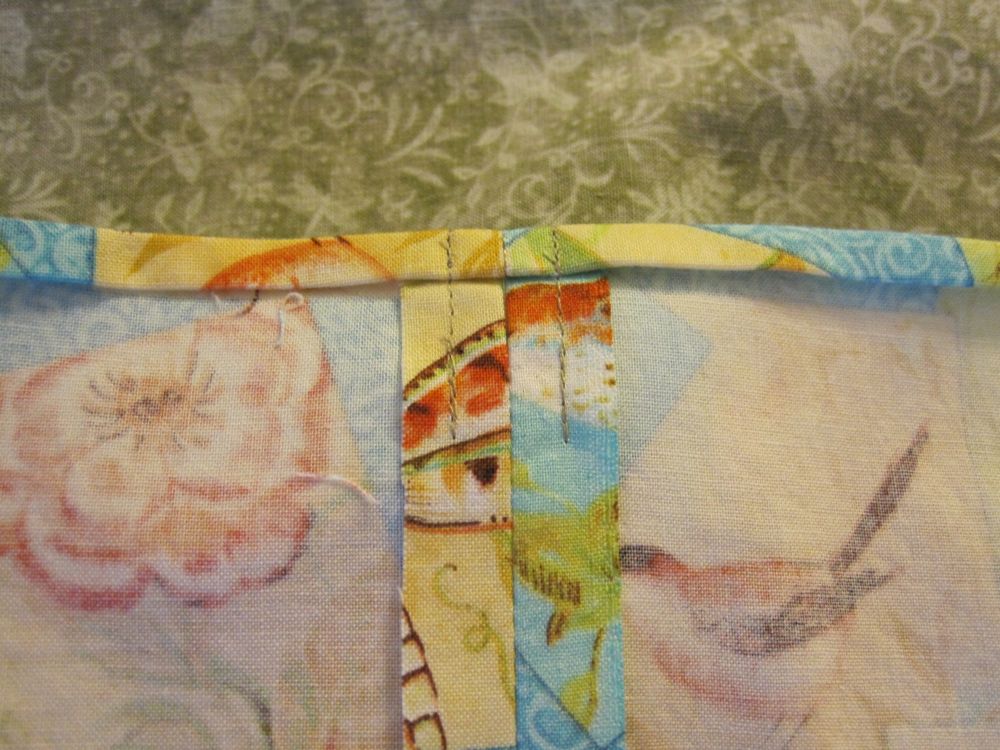
For a bag with the opening on a face, flatten the two pieces so the seam line is centered and lay them on top of each other, seam allowances together. Otherwise just line them up with the seam allowances on the same side. Stitch across the bottom at a half inch, and again between that line and the raw edge.
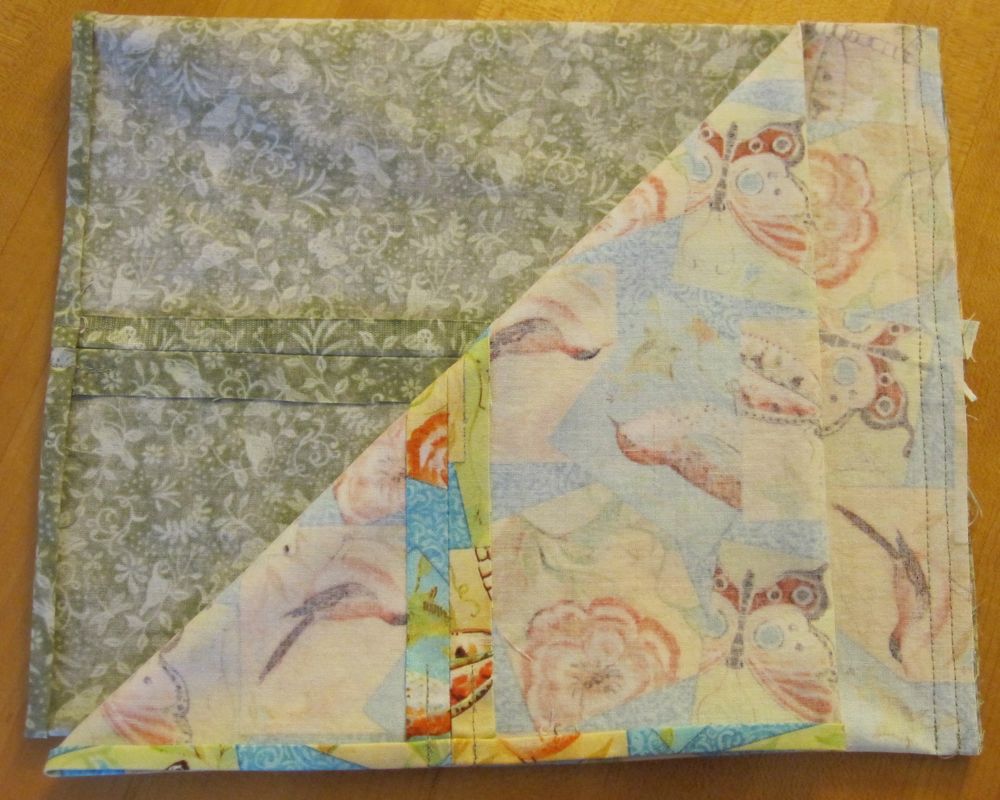
Note that if your two fabrics have different amounts of give or you were less than precise when cutting, you may have slightly different lengths. It is more important that the tops be lined up than the bottoms.
Wrap one piece around the outside of the other and line up the tops, making sure the two drawstring openings match up. Pin and sew around, once close to the edge and once below the drawstring opening. I did the first by lining my presser foot up with the edge of the fabric and putting my needle to the right, and the second by running the edge of the fabric at my 6/8″ mark (the largest my machine has) and putting my needle to the left. Run the drawstring through and you’re done!

I made three matching bags for the three daughters of a friend, and used beads for their initials. There is a baby in the house, so I put Fray Check on the knots below the beads to keep them from coming undone. They have stickers and a few craft supplies.
I also made one with dinosaur fabric on one side and fabric with forks and spoons on the other. Here’s the whole family:
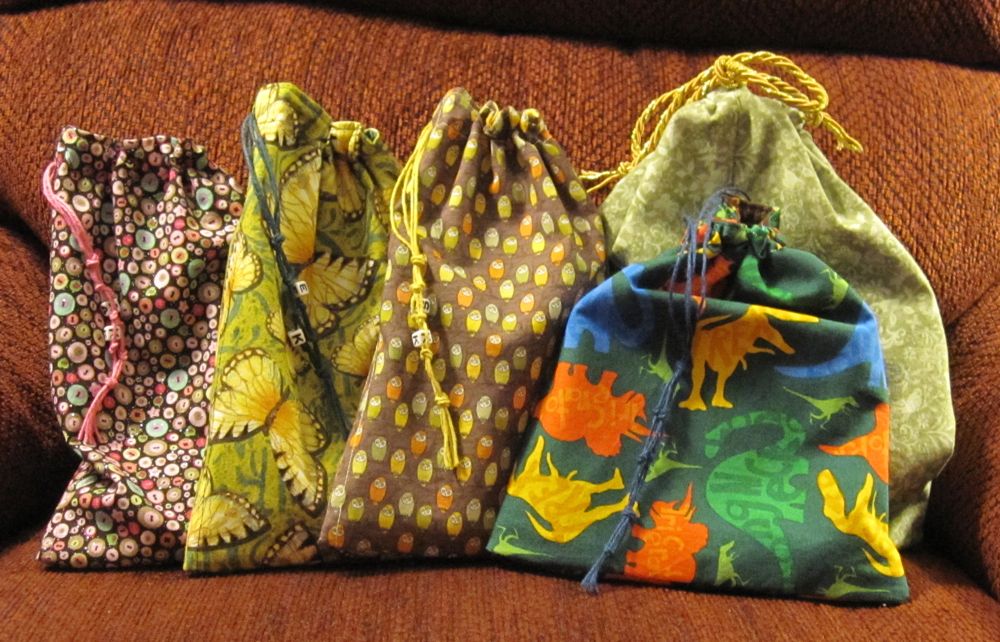
The dinos say “triceratops,” “t rex,” and “long neck.” Either they gave up or they are still mad that brontosaurus has been taken away.
I figure this could be very good for my remnant problem – or it could be very bad.
So cute! And yay for passive aggressive fabric! 😀