I generally find it (relatively) easy to construct patterns for sewing that are rectangular, trapezoidal, triangular, etc – anything consisting of not too many straight sides. For the longest time circular patterns (that couldn’t be traced from lids or bowls) were labor-intensive, though. Knowing that a circle is defined as the set of points equidistant from a given point (that is, a radius away from the circle’s center), I could use a ruler, draw an X to mark the center, and make a bunch of marks all the way around that I would then connect by hand to make as smooth a circle as I could.
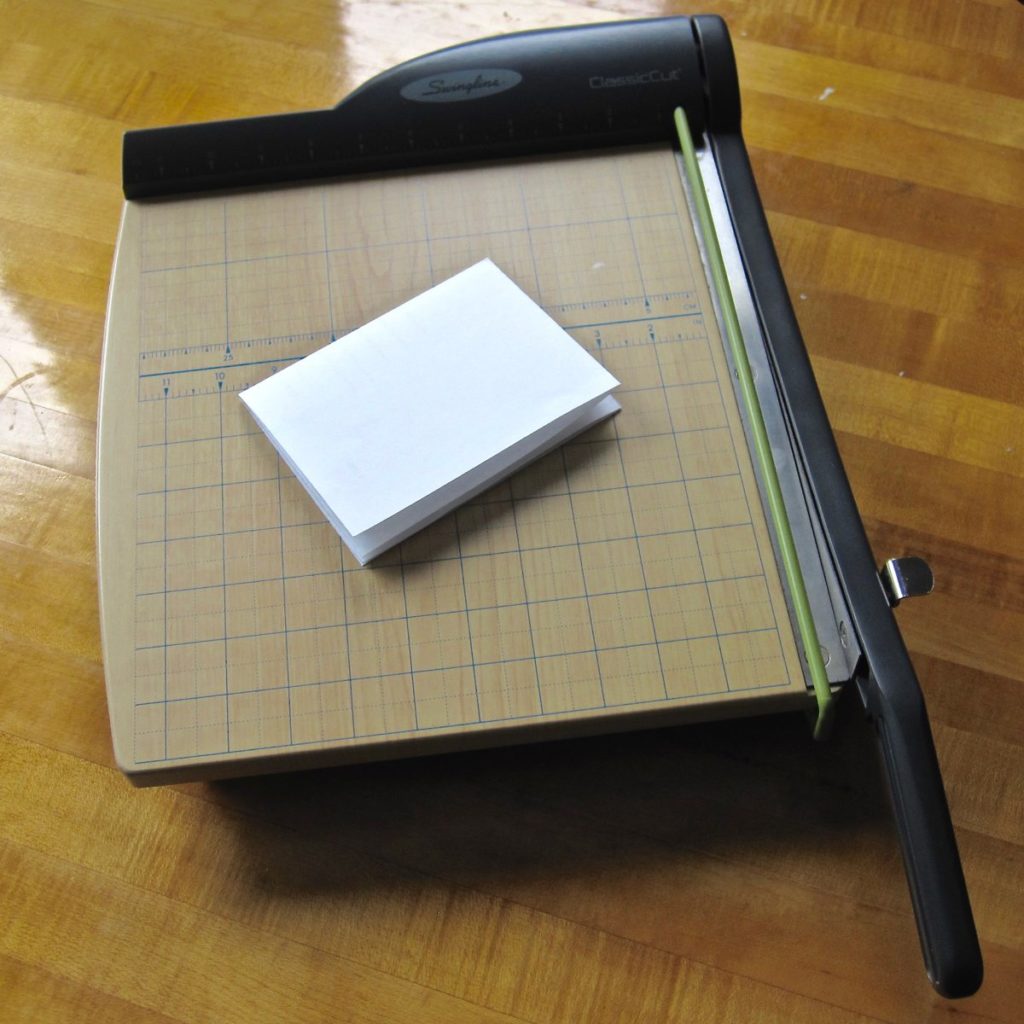
However. There is a far easier way if you own a paper trimmer. Start with a sheet of paper (or taped-together sheets of paper) big enough to accommodate your circle, and fold into quarters. The picture below is a sheet of letter paper from which I will cut a circle 8″ across.
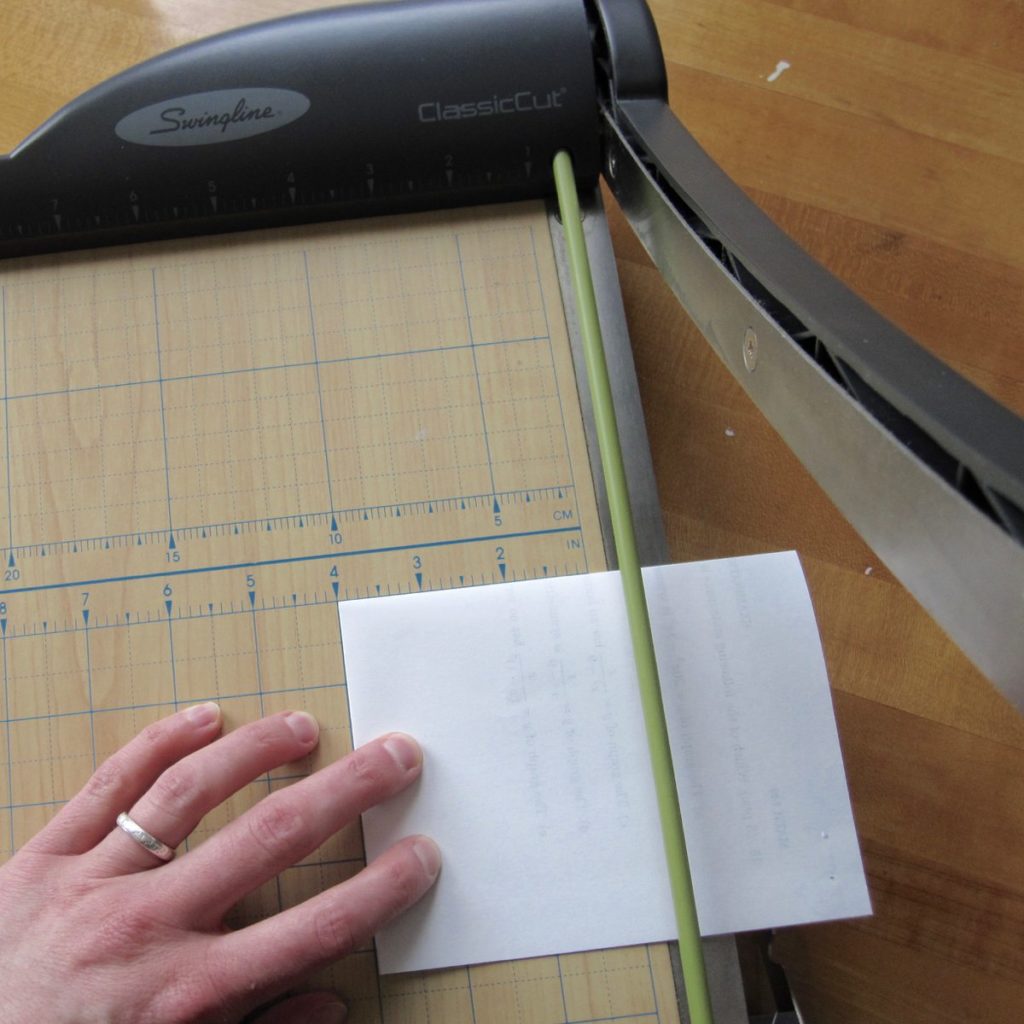
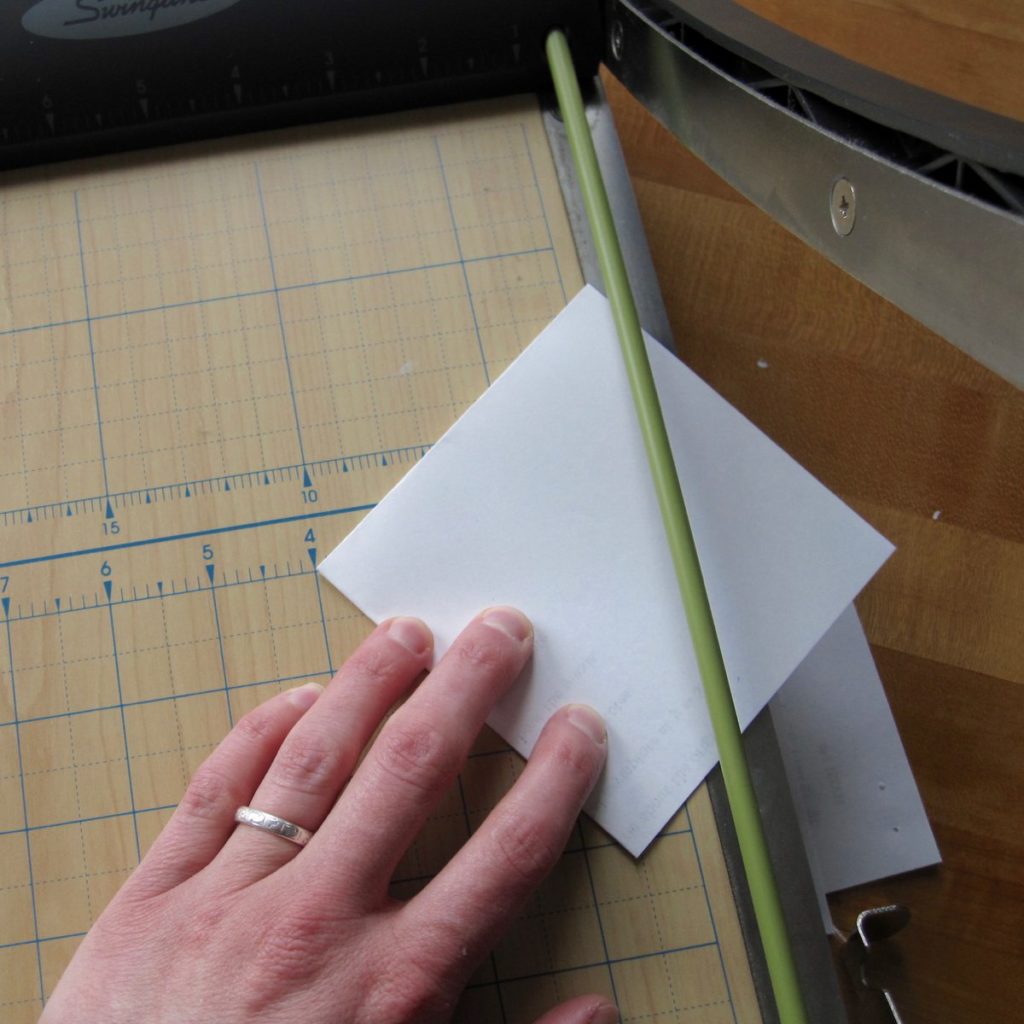
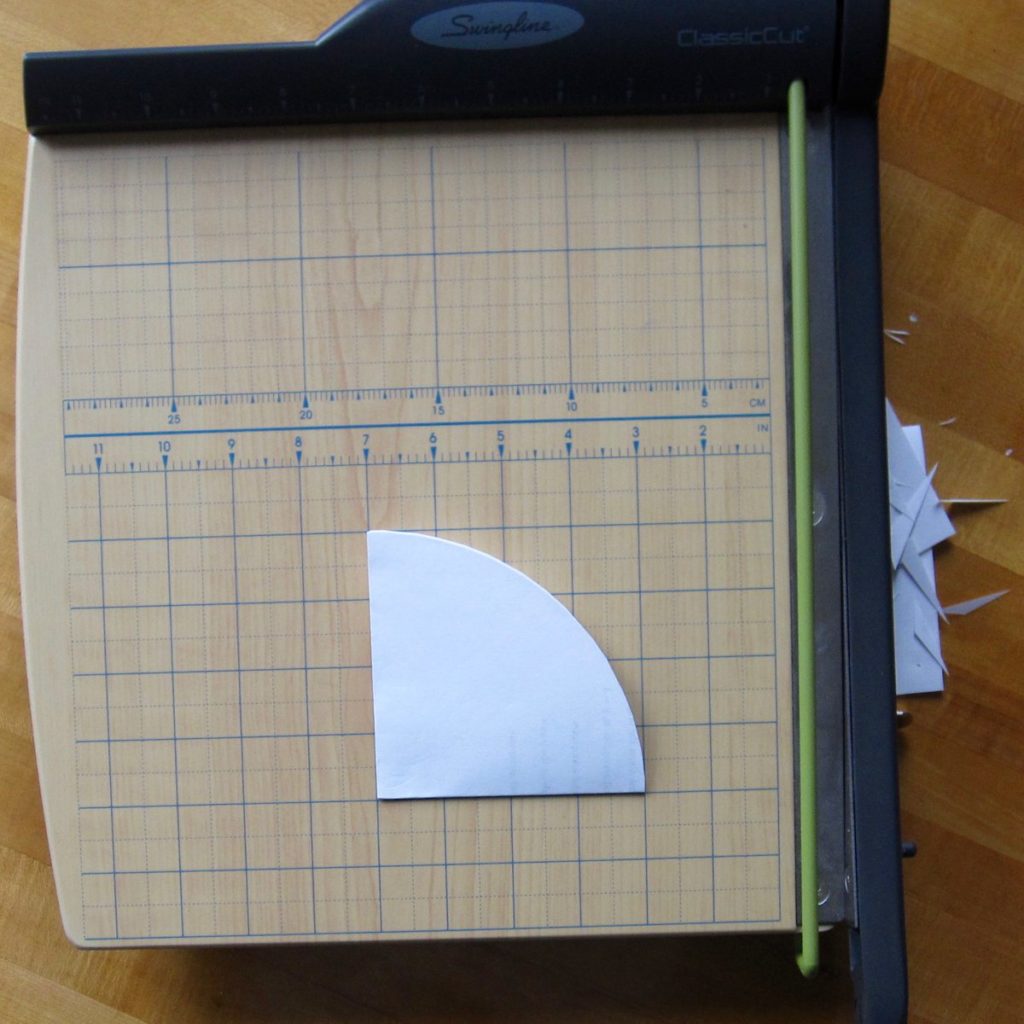
The second picture above shows the first cut. The corner where the two folds meet will be the center of the circle; I’ve placed it 4″ from the blade to cut my paper down into a 4″ square. After that I’ll start cutting off corners that show up between the two folded edges, as shown below.
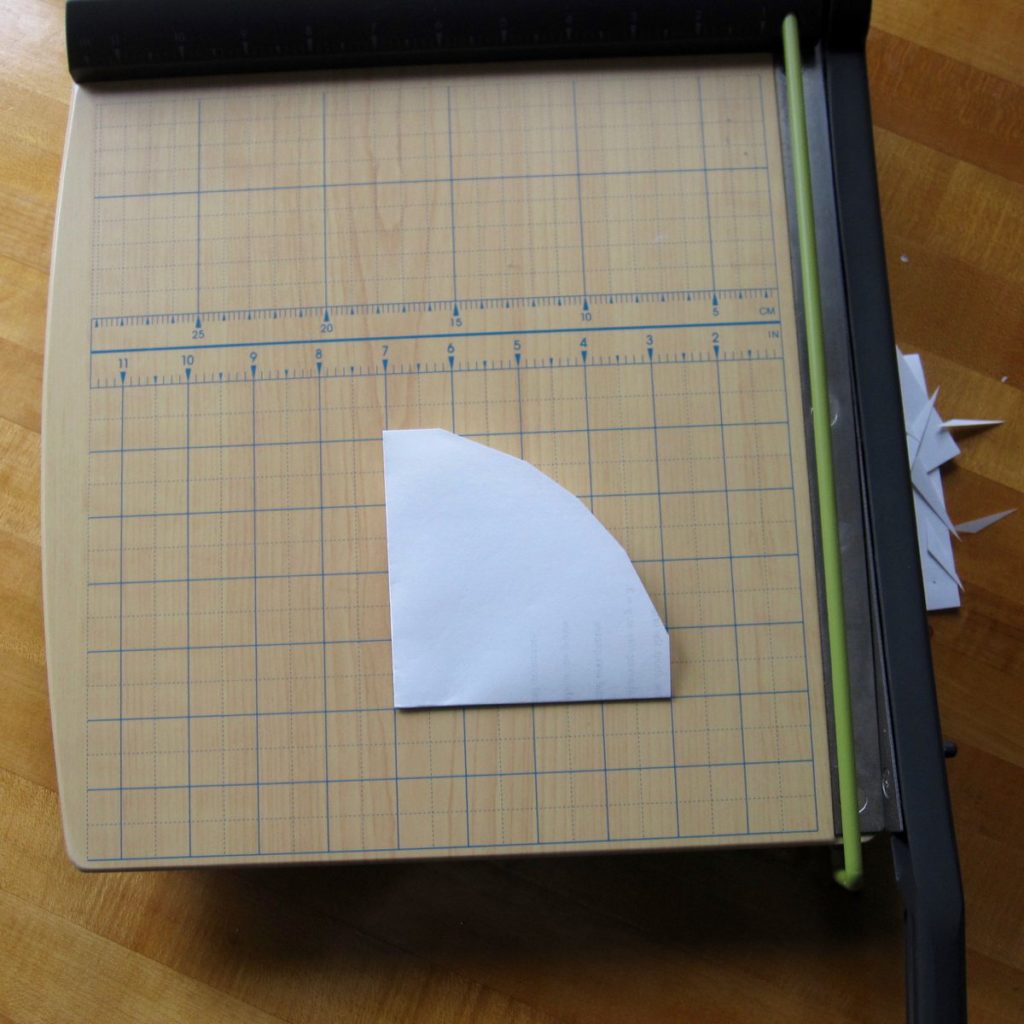
The second picture above is after six cuts, and it’s already looking pretty good. I didn’t keep count but I would estimate it took 20 or so cuts to make the finished circle, shown folded and unfolded below. Larger circles take more cuts.
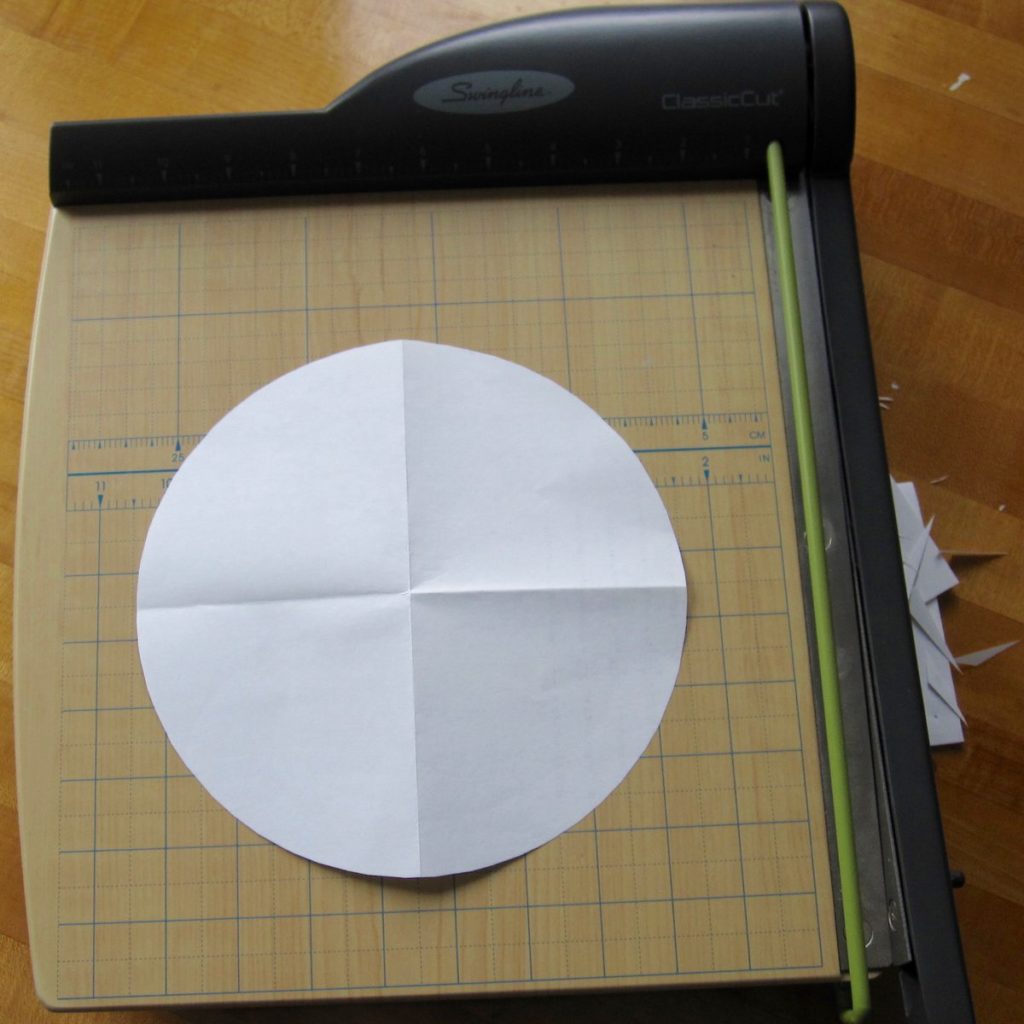
You could obsess over the smoothness of your circle and even take scissors to it after the paper trimmer has reached its limit, but the one shown is plenty smooth for the purpose of a sewing pattern – the roundness of my seam would not be improved by additional trimming.
Limitations: with my paper trimmer I could make circles 1.5″ across (the metal strip is 3/4″ wide) or anything 2″ across or bigger (the markings start at 1″), but it’s not so easy until about 3″ across. However, for smaller circles there’s usually something I can trace, or at worst, the ruler method doesn’t take as long. Though circles up to 23″ across are possible, the early stages of large circles are difficult because your paper will likely be wider than the opening for the blade. I recommend folding your paper a third time, into a not-quite-triangle. That extra fold can lead to inaccurate cutting, so trim away excess paper as though you were making a slightly larger circle. Three cuts (two sides and the center) should be plenty to remove the paper that’s in your way, so you can unfold to quarters and proceed with the circle making.