This fall I finally decided to break away from commercial greeting cards as much as possible. I’ll pay for wit, but if I just want sweet or pretty I’ll go the less expensive route and make them in-house. Of course, I got a die-cutting machine as a gift that I use for them, and if I had to count the cost of that in the cost of making them myself it would be a long time before the savings in card purchases caught up, but as-is I believe I can make a hundred cards for the price of a dozen in the store. My disintegrating sticker and card storage folder was due for replacing anyway, so I tried to figure out something to accommodate leftover die cuts.
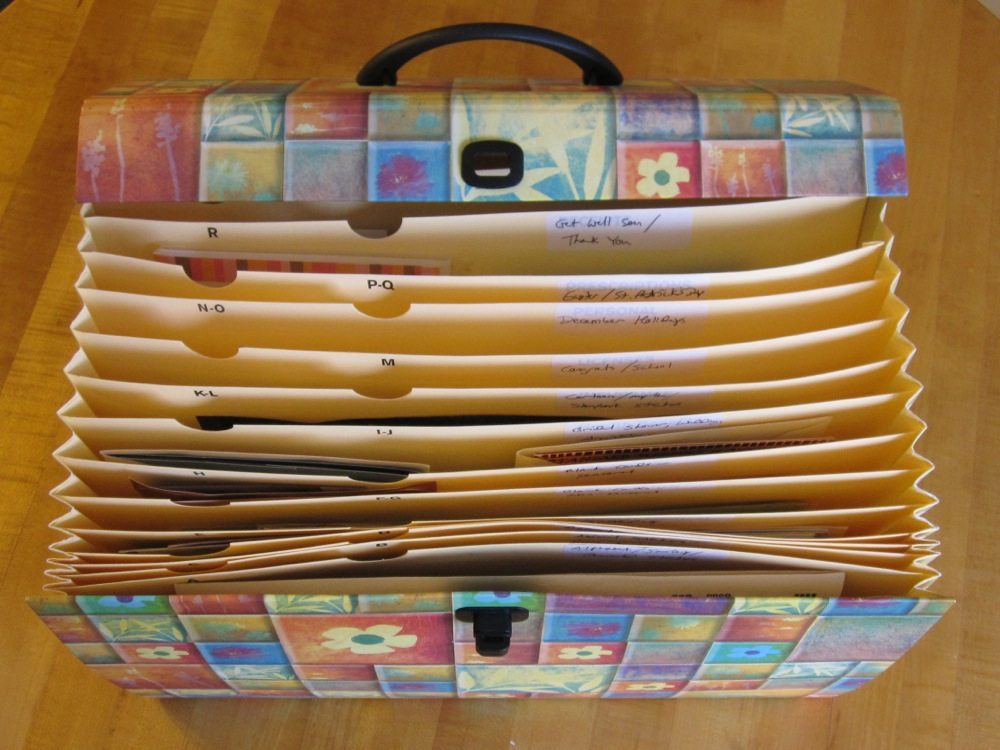
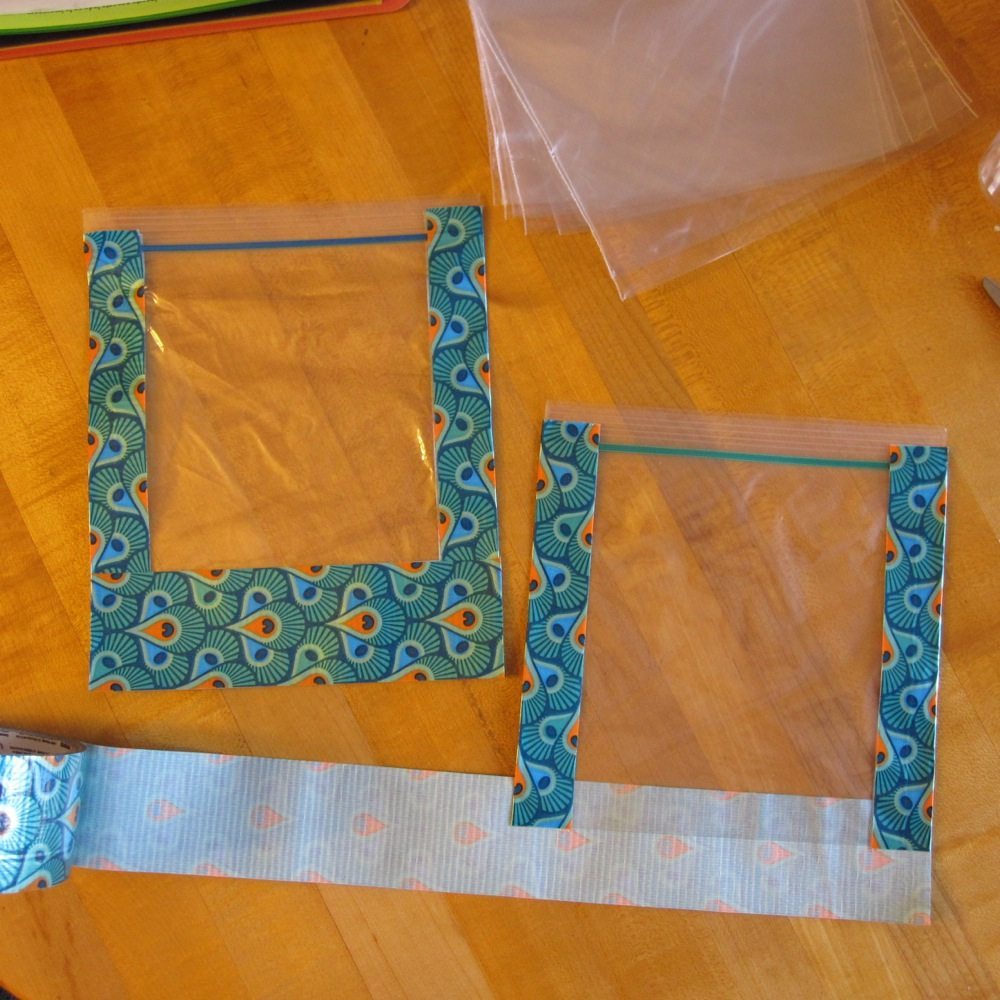
I decided to put the cards in their own box and keep the stickers and die cuts together in another container. I thought about some kind of plastic envelopes in a binder, but found they were priced above my pain point. There were kinds that were a bit cheaper but didn’t have the panel with hole punches for a binder. Finally, when looking for ideas on making things “binder-able,” I stumbled upon an Instructables about making a pencil pouch. Essentially, you cover a shortened gallon zip-top bag with duct tape. I wanted to be able to see what was in the pouch, though, at least a little, so I bought generic unprinted bags and applied duct tape just around the edges. That should improve the longevity and help avoid the bags getting crumpled up.
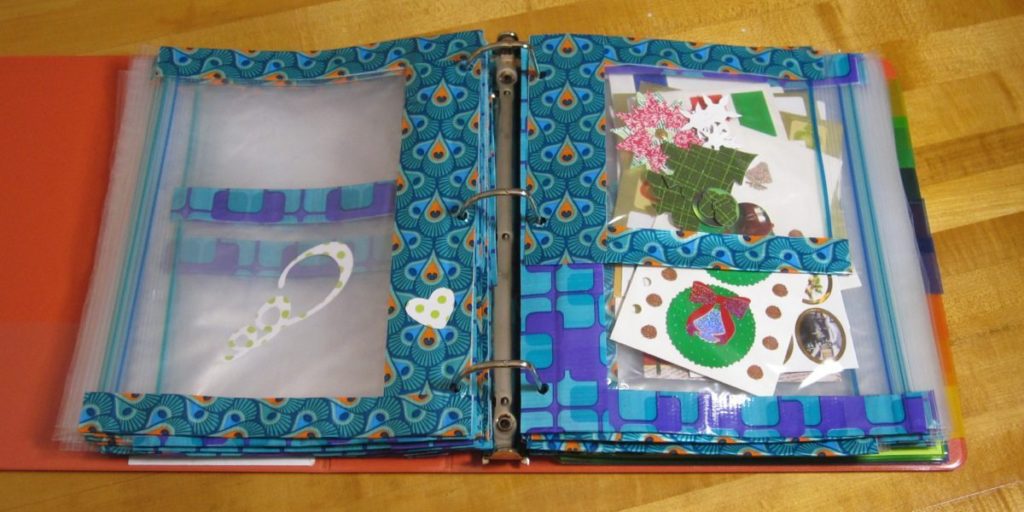
To make them the right size for a binder, instead of cutting off the bottom I folded it up: first to the top of the hole-punched panel, then that section in half, and then the whole folded section up again and taped near each end. That should keep any stickers or die cuts from getting pushed down into a sticky section. The small bags, of course, are just as-is, taped around the outside and with a duct tape extension at the bottom for the hole punches.
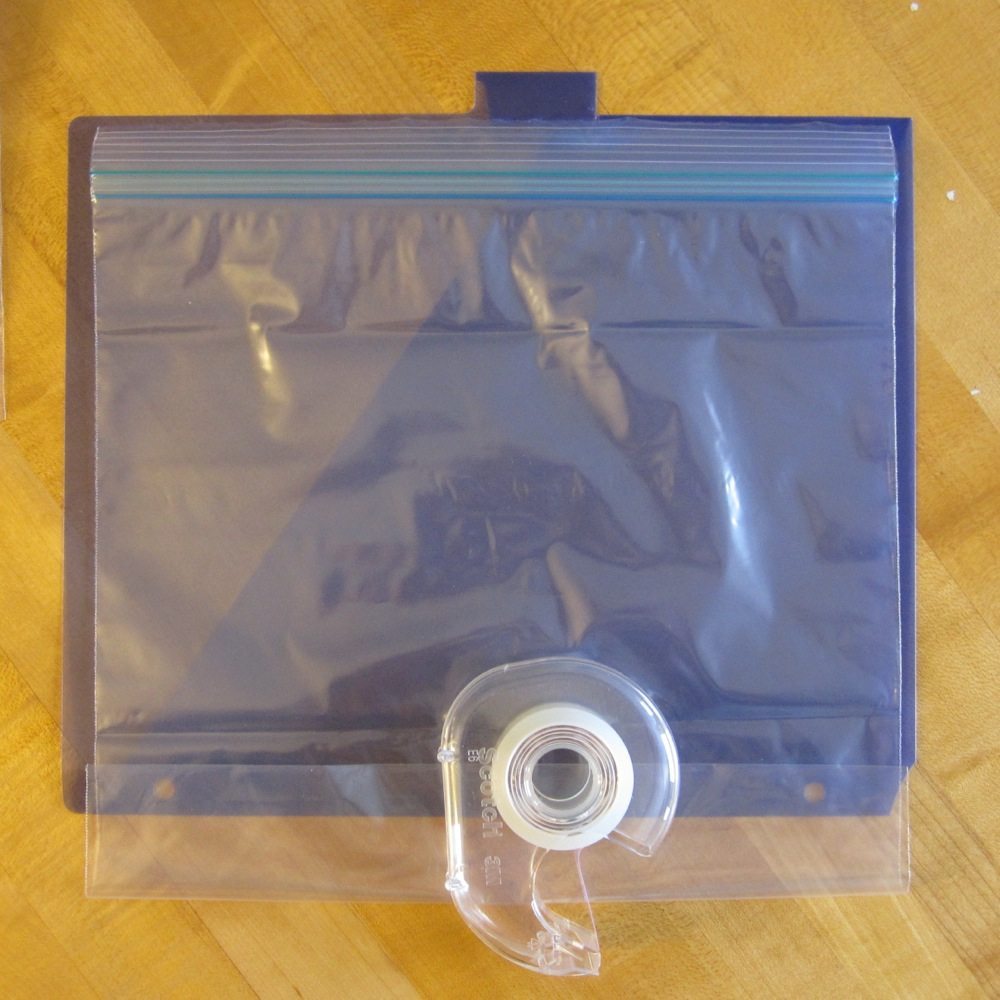
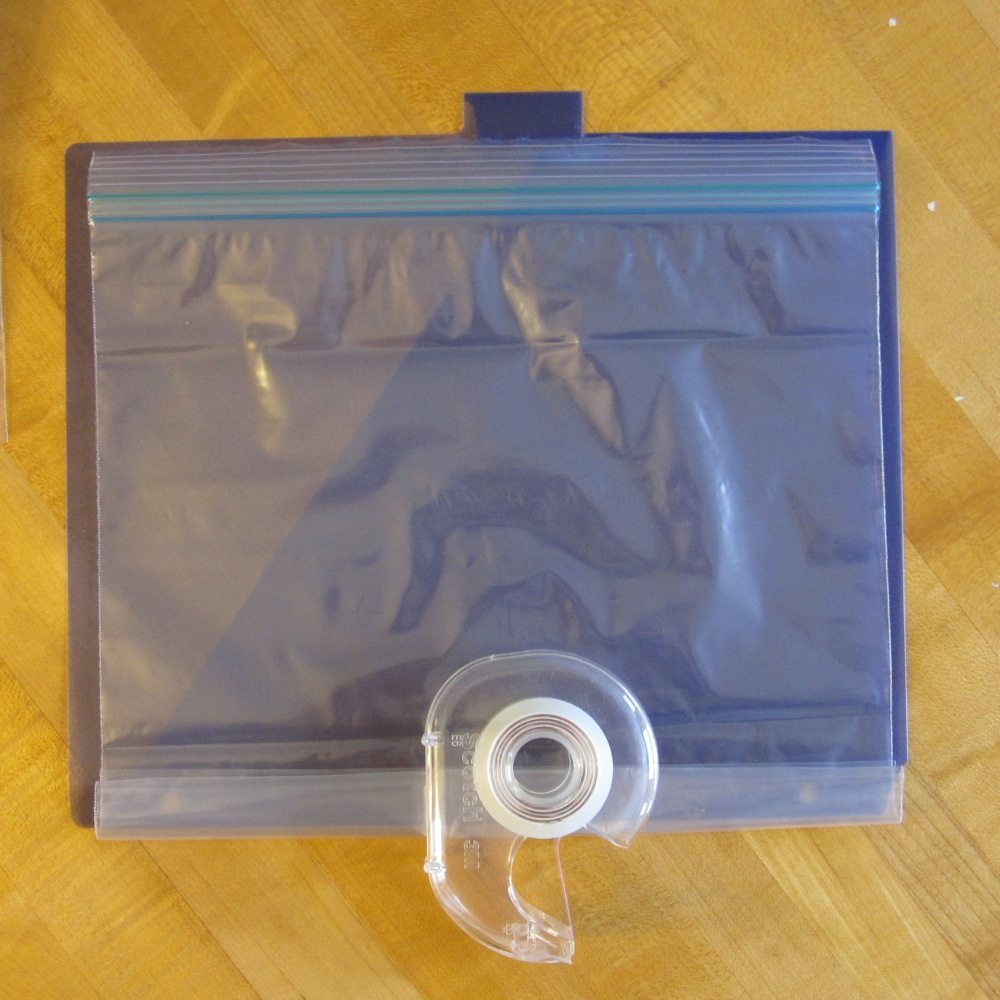
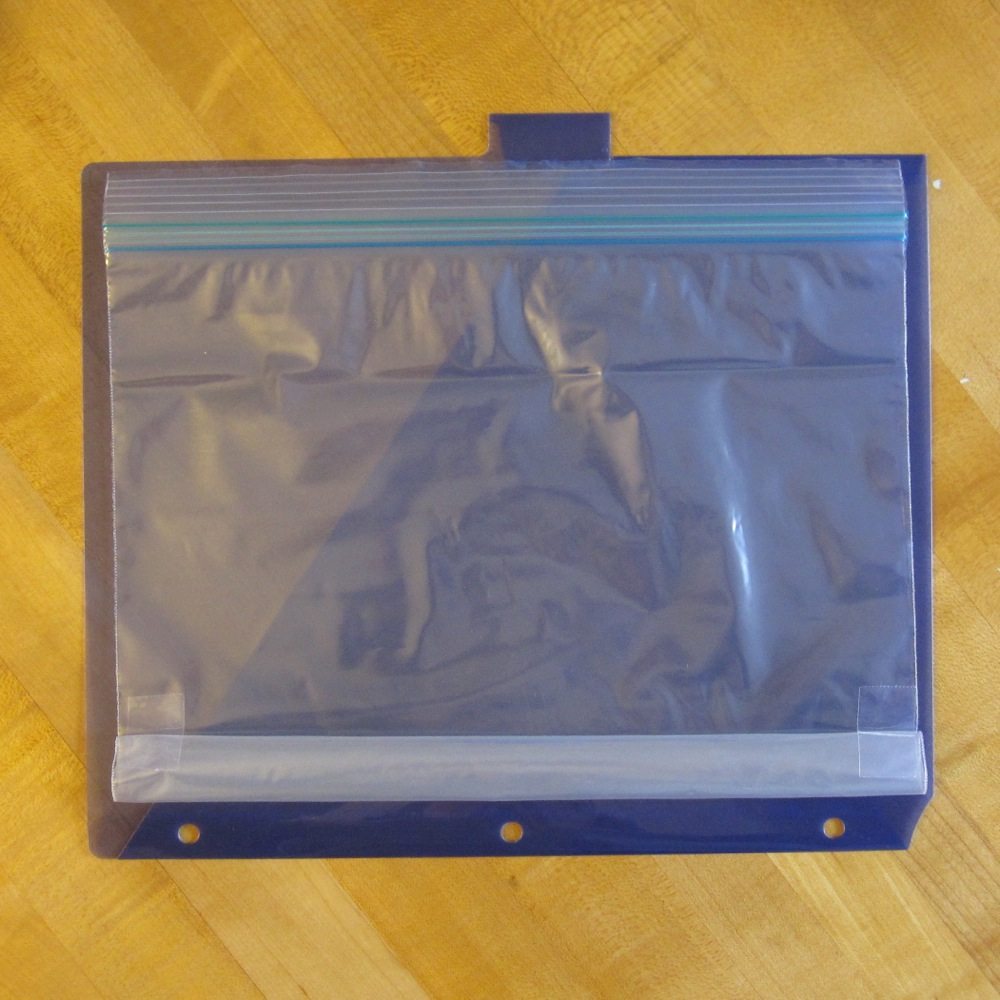
The tape along each side is a single length folded over, and the tape along the bottom is full width, two lengths stuck to each other. I didn’t take a photo of it, but when I duct-taped the gallon bags, I made sure the tape came up a little above the folded part.
Note that if you use scissors on your duct tape you’ll be saying goodbye to them for the duration of the project. In fact, if you make as many bags as I did (20 of each size), you’ll need to clean the scissors at least once during the project, because they’ll get too sticky to use. I used Citrasolv, which worked wonders, and then dish soap because the Citrasolv left them oily.
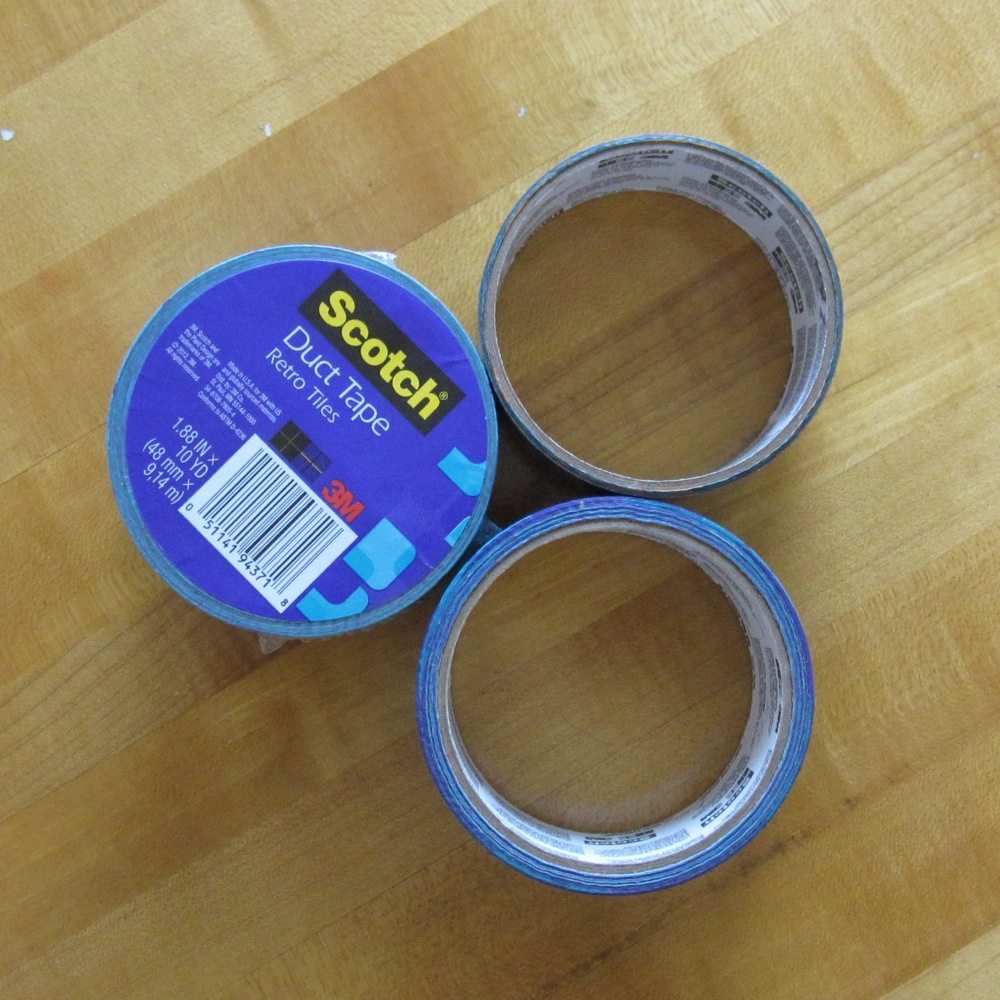
One roll of patterned duct tape will do just over 9 gallon bags, or (I estimate) at least a baker’s dozen sandwich bags. Ten gallon and ten sandwich bags took most of two rolls – the photo below shows what I had after finishing the first 20 bags, done with most of two rolls of duct tape.
Next up is my favorite part: reorganizing the contents. I also need to figure out a new storage system for my cards.
This is so brilliant. I need to do this with my stickers. And my ephemera. As much as I enjoy rooting through my plastic bins, this makes so much more sense.
Thanks! Of course I still haven’t gotten around to filling it, but I’ve thought about the organization. This will hold a lot less stuff than a box of the same size, but I was worried about my little diecuts getting bent. It does take a while to finish (though if you just did the bottoms it would be a lot faster, and take half the duct tape), but I got all 40 bags done in maybe 3 hours, including hole-punching.