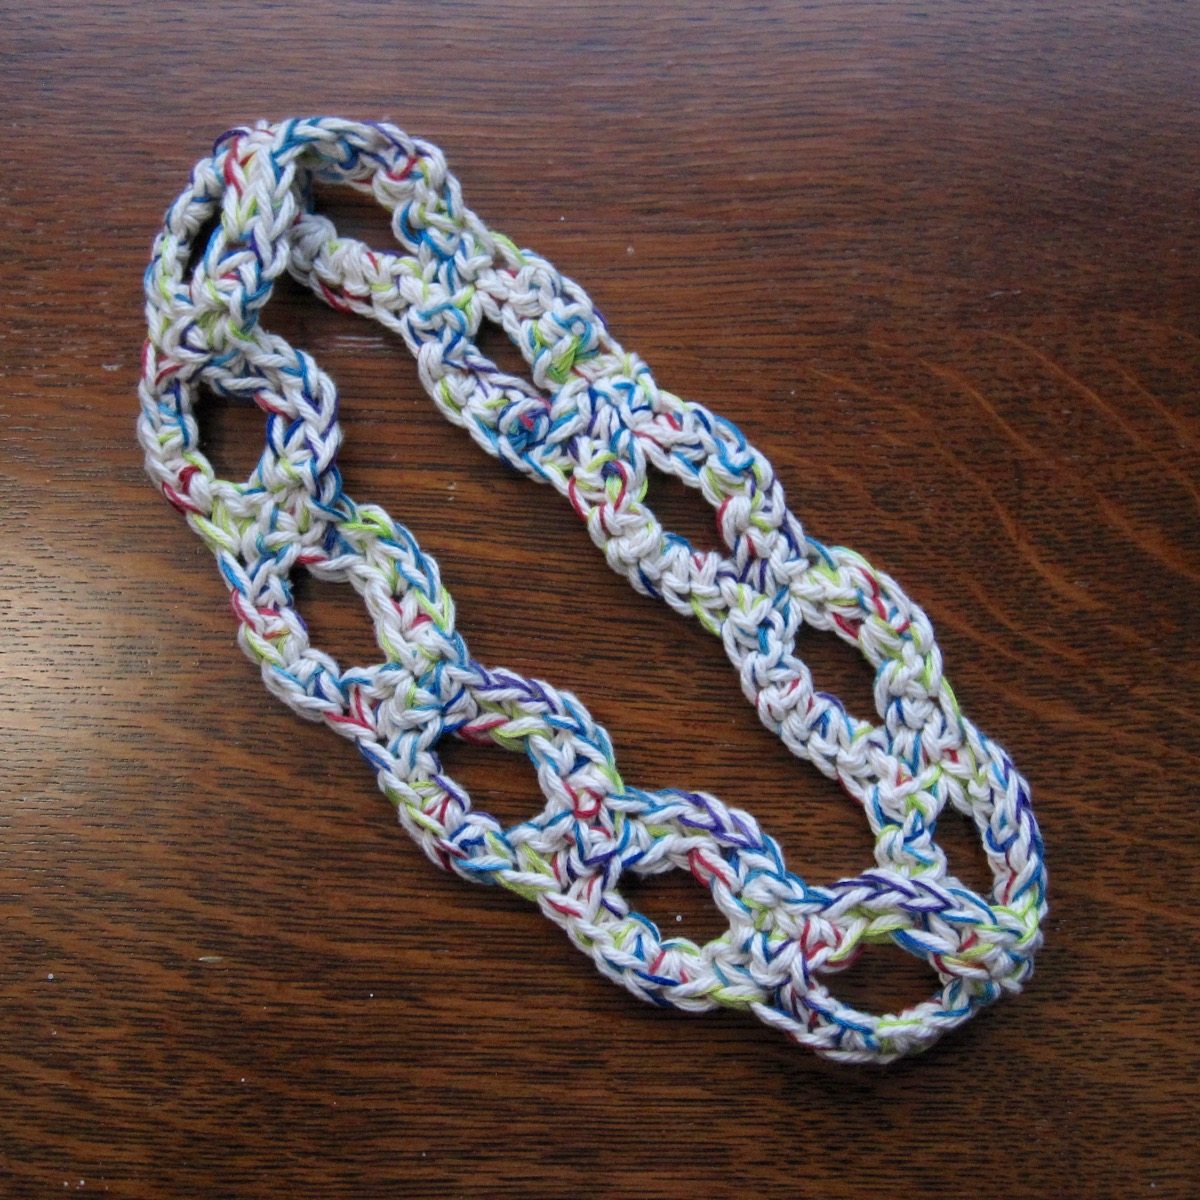
I was looking for a headband to keep my hair out of my face when I do yoga – something not too narrow, but not super-wide; something that would stay in place but have some give; something that looked nice and could be made with cotton yarn.
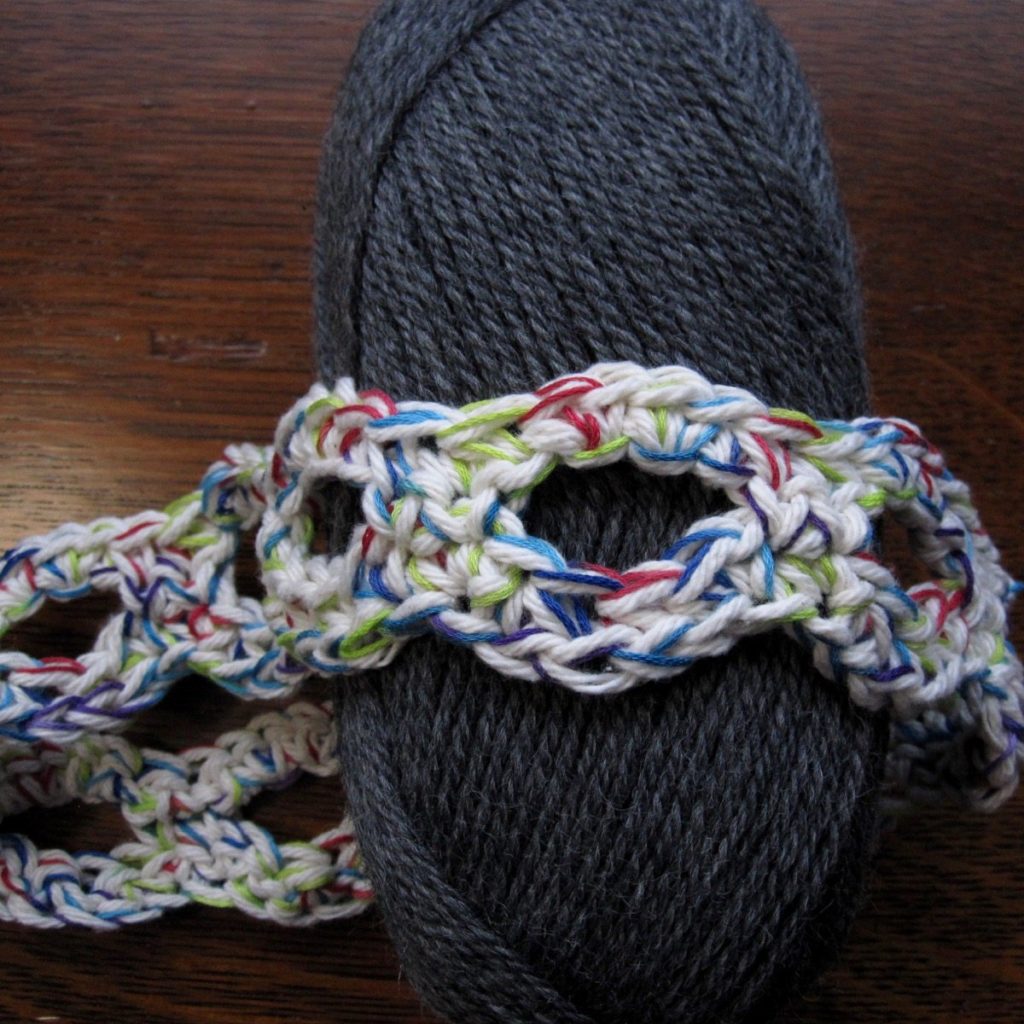
None of the options I found online were what I was looking for, so I designed my own. It’s made in three rows and then the ends are sewn together. I did it with some boring Lily Sugar ‘n’ Cream (I think the color is called “natural”) held together with variegated embroidery floss for a little color pop.
Here’s the pattern for my headband; modifications and additional information follow.
Chain Link Headband!
Worsted weight cotton yarn, I/9 (5.5mm) hook.
Chain 67.
1. Starting in the second chain from the hook, alternate 2 sc decreases and 2 sc increases across.
2. Chain 2 (turning chain + 1). Skip first stitch and then alternate 2 sc and 4 chains over 4 skipped stitches – your sc are made into the middle 2 sc of each pair of increases from row 1. You will end with a chain 4 that includes the turning chain for the next row and is over only 3 skipped stitches.
3. Alternate 2 sc increases and 2 sc decreases across, starting in the second chain from the hook. Make your stitches into the chains as opposed to around the chains so they shape the way they are intended to.
Your finished flat piece should have a closed ring on the end with the starting slip knot, and two “fingers” on the opposite end. Sew those fingers to the starting end to close that “chain link” – it will be a bit wider than the ones mid-row but not very noticeable. Finish off all yarn/floss ends.
Or abbreviated:
Ch 67.
1. *Dec 2, inc 2* across (66).
2. Ch 2 (includes turning ch). Sk first st; *sc 2, sk 4 sts and ch 4* across. Will end with only 3 sk sts but still 4 chs (includes turning ch for next row) (22 sc, 44 ch + 2 turning ch).
3. *Inc 2, dec 2* across, stitching into ch instead of around ch (66).
Sew ends together and FO.
Fitting!
Headbands are very personal and crochet gauge is also very personal, so this is unlikely to work for you as written. Or perhaps you want to make it with a different weight of yarn. How should you adjust?
To determine your gauge:
Chain 13. Starting in second chain from hook, *sc dec, sc dec, sc inc, sc inc* twice.
It should make a gentle S shape. With your ruler against the two bumps of the S (so you are measuring straight along the overall direction of the work), measure from the first increase stitch to the last decrease stitch. If you follow the pattern as written, multiply that by 11 to get your finished size.
To determine your desired finished size:
Measure your head where the headband will lie and subtract 1-2 inches. I subtracted 1″ and the headband fits, but I could have gone a decent bit tighter. In fact at first I worried it was too loose to be used, but I’ve tried it in some workouts and it’s stable enough to forget it’s there. I do, however, have a large head, so 1″ is proportionally not so much; for a child’s head a 1″ subtraction might be just right. This is quite a stretchy pattern so you’re safe to go a bit smaller than you would normally.
To adjust the pattern:
Is there a multiple of your gauge measurement that is in your good finished size range? If so, that same multiple of 6, plus 1, is your starting chain length. For instance, if you were working larger than I did and had a gauge of 2 1/4″, your finished size for the pattern as written would be 24 3/4″ – probably way too big. If your head measurement is 22″, so you want a 20″-21″ headband, use a starting chain of 55: since 9 * 2 1/4″ = 20 1/4″, compute 9*6 + 1 = 55.
Adding or subtracting multiples of 6 chains ought to be possible given how much leeway you have for size; if it seems impossible go up or down a hook size and recalculate your gauge. That keeps you from having to alter the pattern itself. At the end, however, I’ll give adjustments for any multiple of 2 in case you really want them.
Using embroidery floss!
If you add embroidery floss like I did you’ll be starting a new length of it every row. There is enough floss in a skein to do both the starting chain and row 2, but there is not enough to do both row 1 or 3 and anything else. So: 3 skeins of embroidery floss. Hold skein 1 together with the yarn for the starting chain. Switch to skein 2 (cutting skein 1) for row 1. Switch back to skein 1 for row 2, and then start skein 3 for row 3. I quite liked the effect.
More modifications!
If you alter by a non-multiple-of-6 number of chains, the ends will no longer match up pattern-wise, but it can be done. You do have to have a starting chain that is (even number) + 1. Take that even number and divide by 6. What is the remainder?
0: Follow pattern as written.
2: Start row 1 with two increases; you will also end with two increases. Row 2 will begin as written and end with chain 2, skip 1 instead of 4, 3. Row 3 will begin and end with two decreases.
4: Start row 2 as written but end with 2 decreases. Row 2 will start with chain 4, skip 3 instead of 2, 1 and end as written. Row 3 will begin and end with two increases.
was looking for a headband where I can use a scarf and weave it in and out of the headband. this looks like what I have been wanting!
That sounds beautiful – I’d love to see a photo!