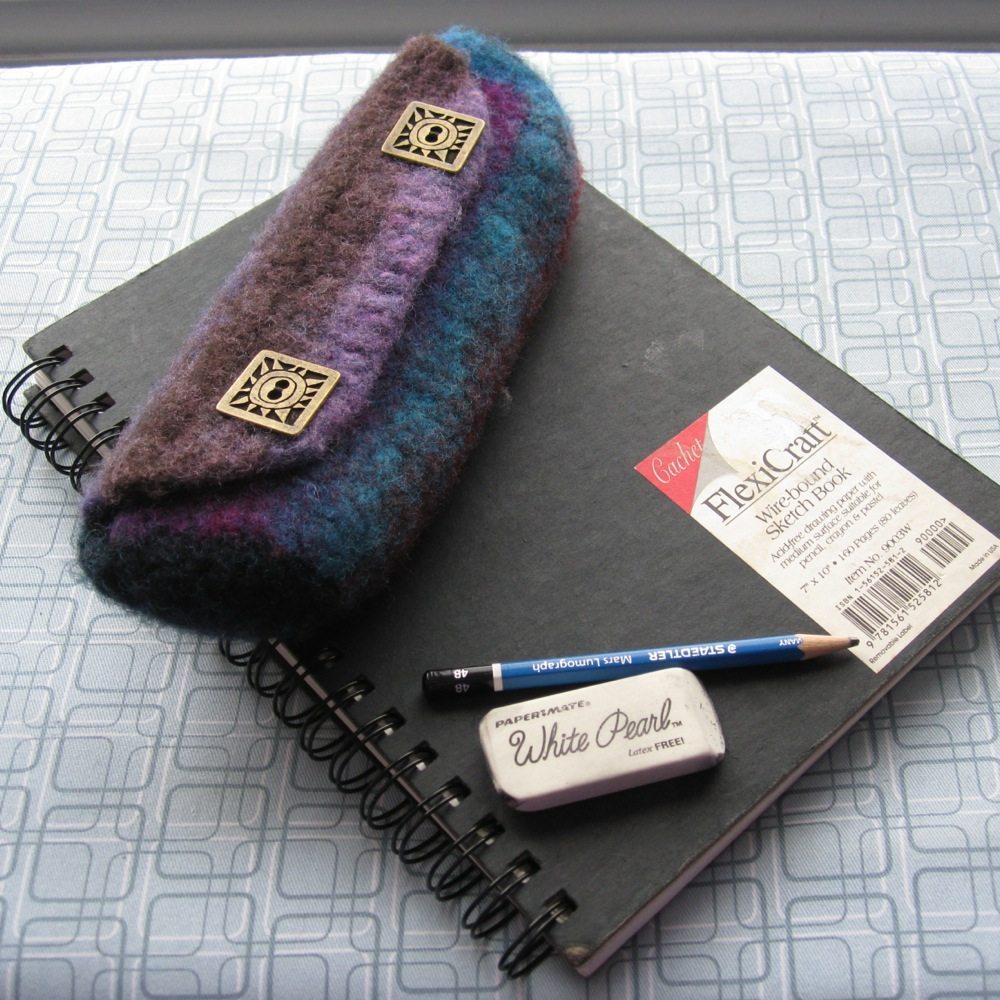
Just over a year ago, I bought a skein of Noro Kureyon, a scratchy wool yarn the yarn shop proprietor said was good for felting. I couldn’t decide what to make with it, so it sat for ages. Well, with my new drawing habit, I wanted something to keep my pencil and eraser in – mostly so they would be easier to hold on to when I wanted to move between the dining table and sewing room table.
The shape I decided on was a barrel with a flap in the long direction, buttoned down near each end. The pattern is at the bottom of this post (behind the cut, if you’re on my main blog page); before that are my experiences with the felting process.
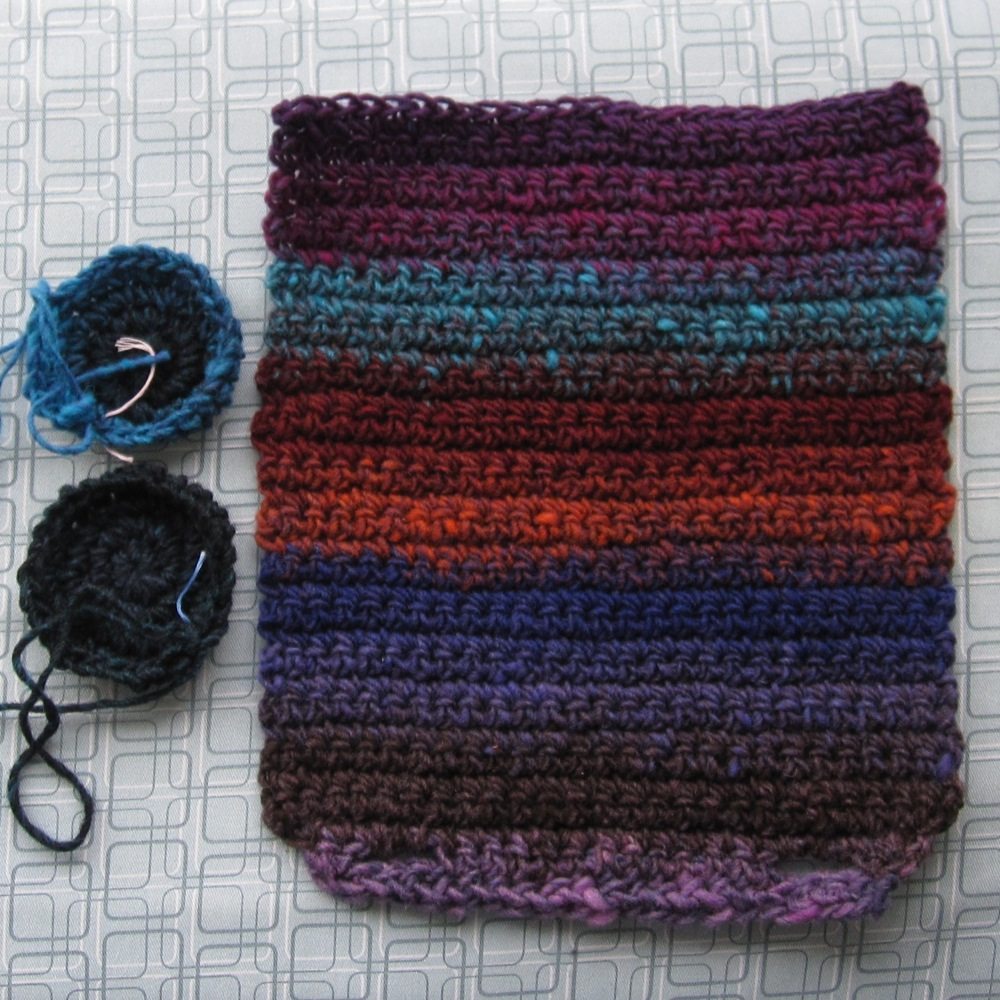
My pre-felting measurements:
Gauge: a bit over 11 stitches and a bit under 13 rows in 4″.
The rectangle is 10.75″ tall and just over 9″ wide.
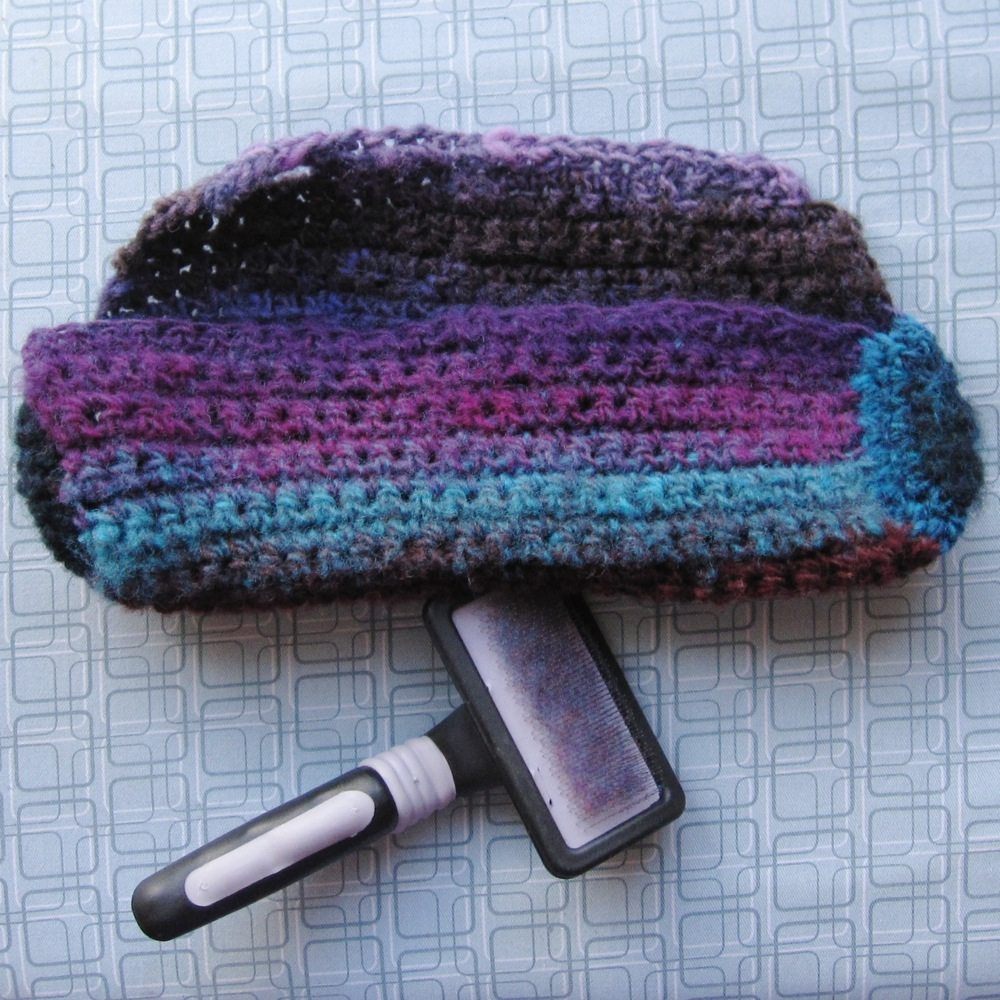
I read this was a good but slow felting yarn, and decided to help it along by brushing it with a cat brush before starting the felting process. I don’t know whether it helped, but then I don’t have any comparison.
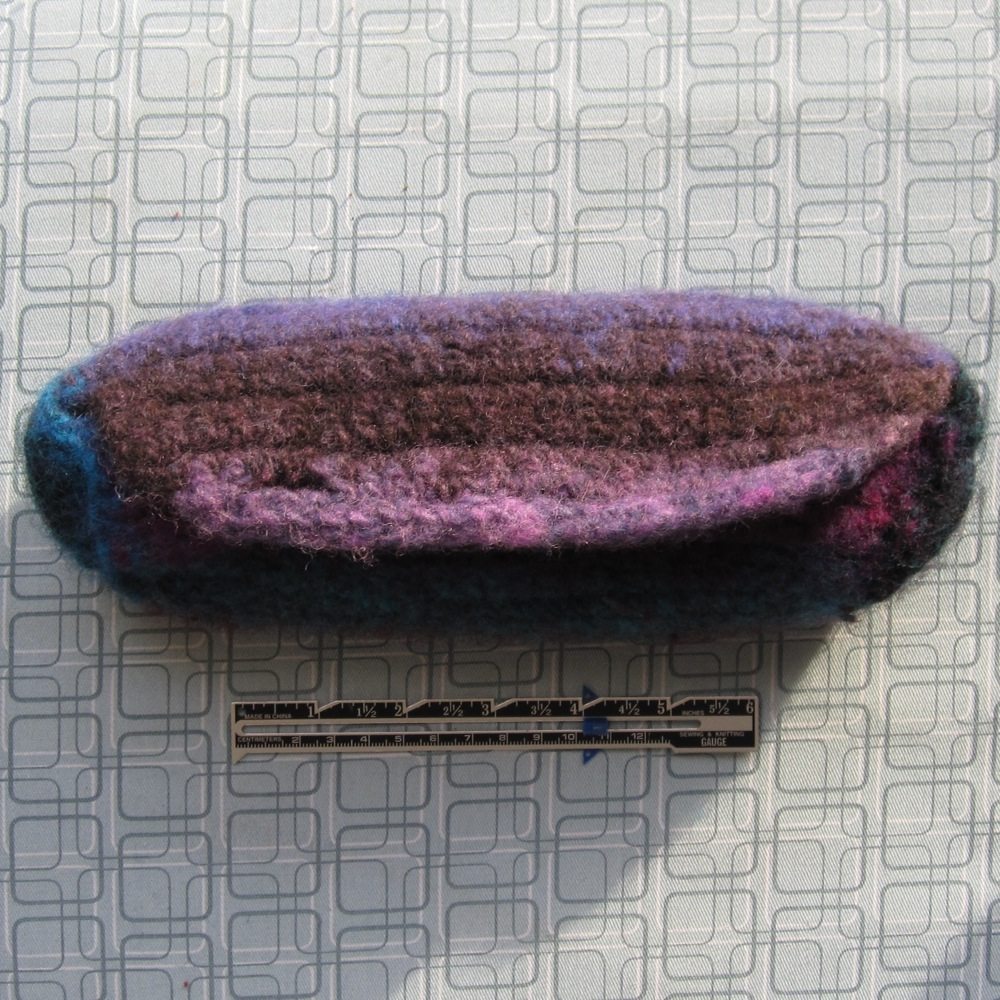
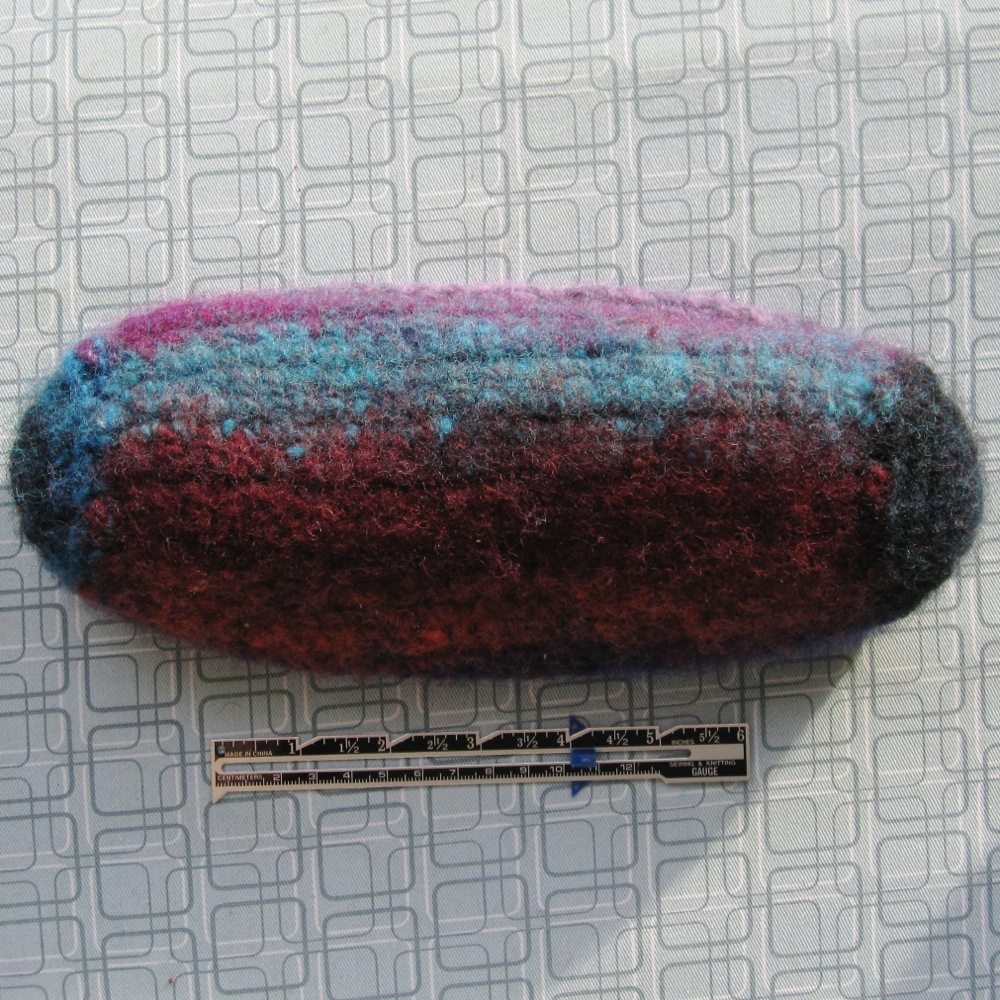
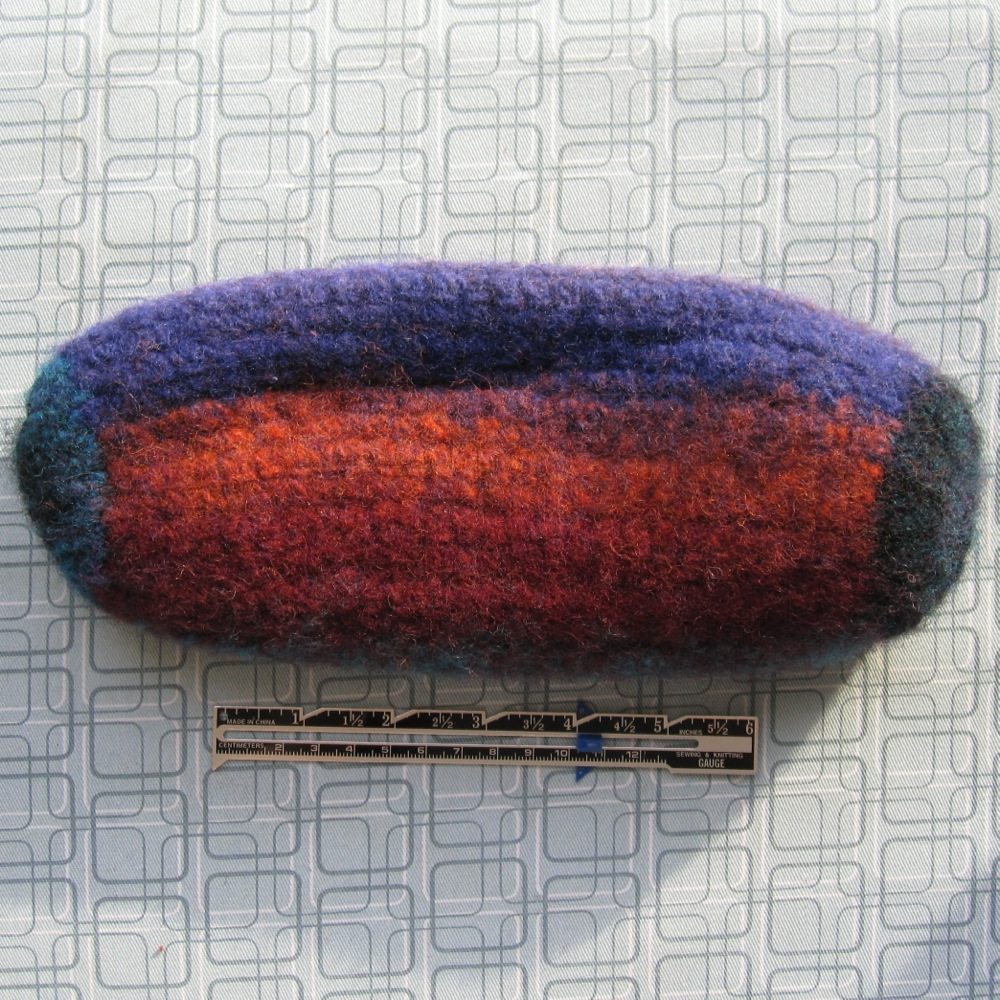
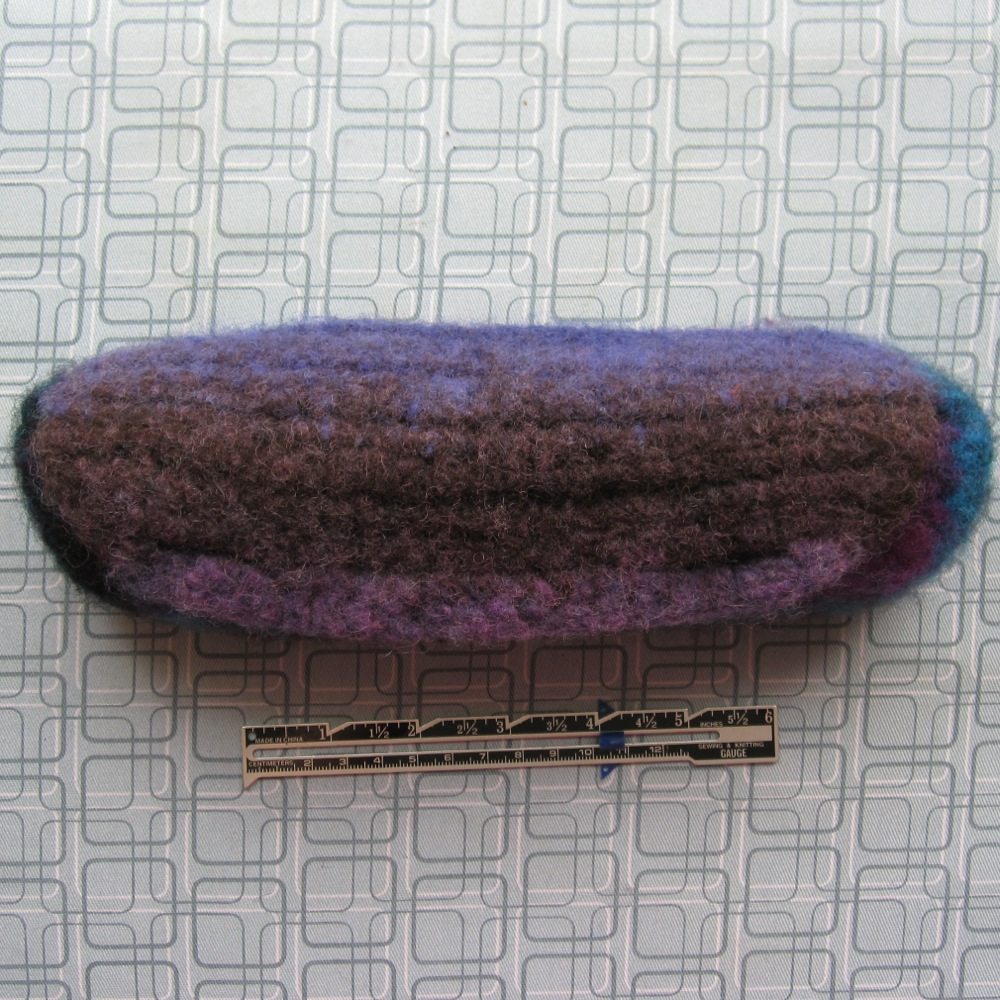
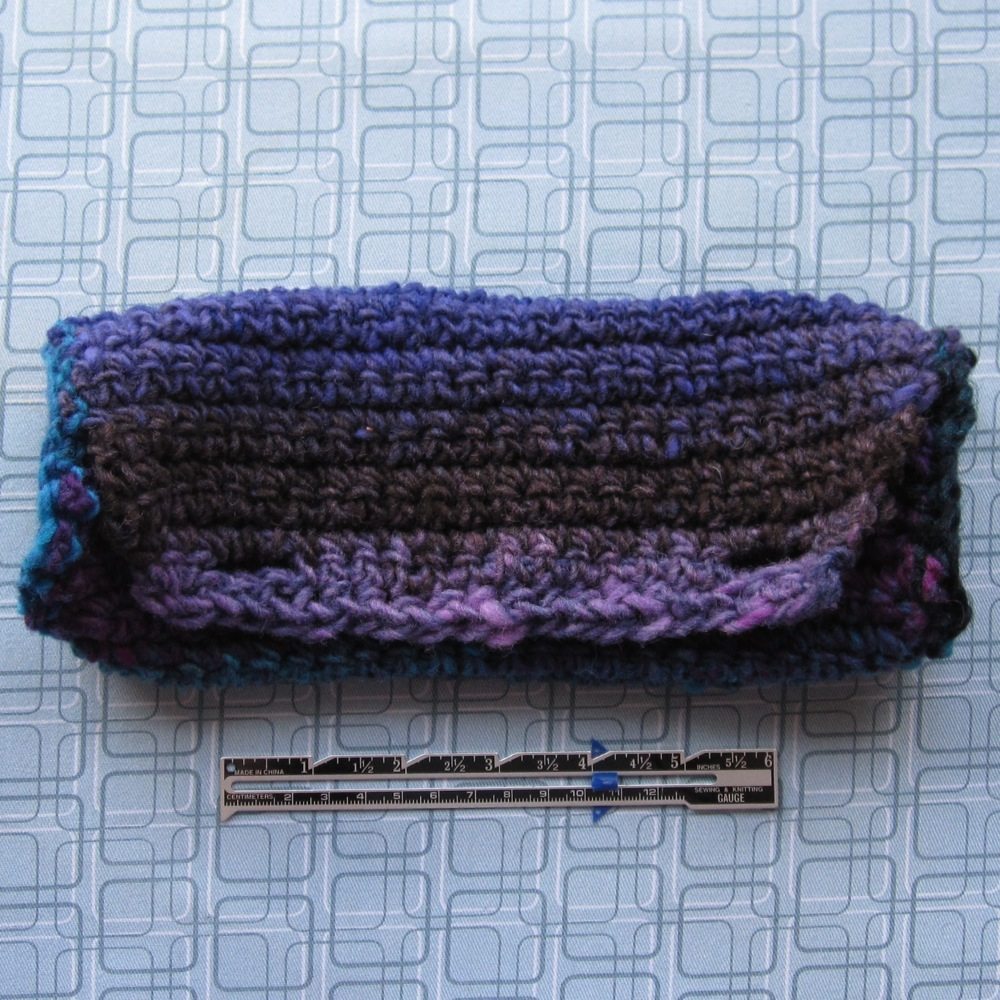
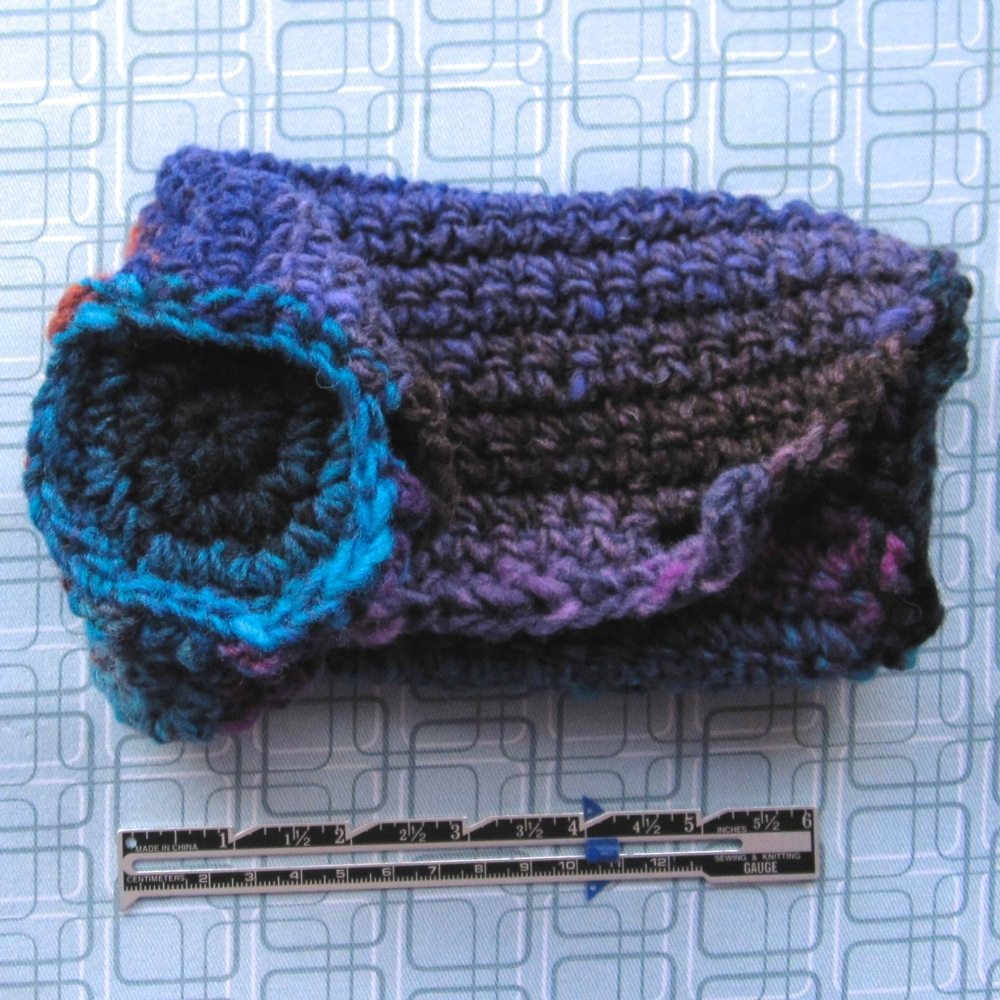
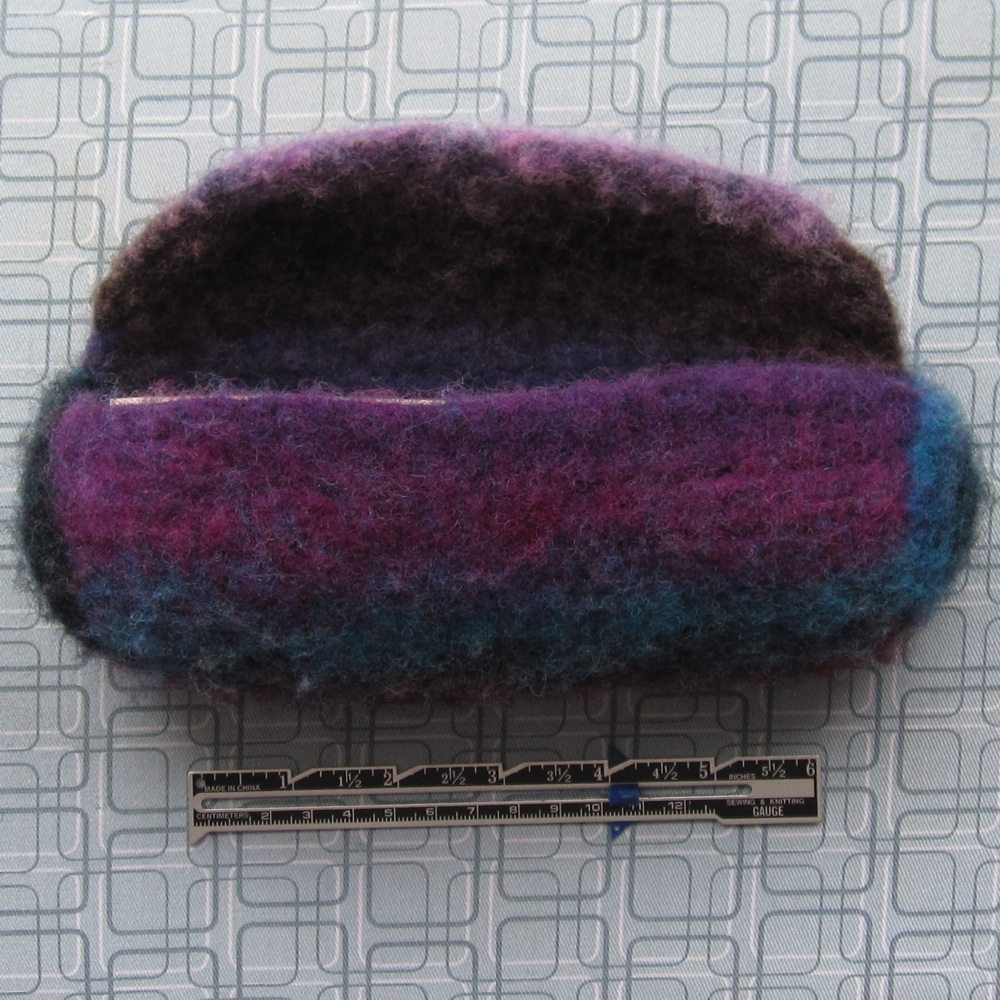
I started with two rounds of wash-wash-rinse in my giant washing machine, with two spiky plastic dryer balls for company and a little bit of soap. The machine was set on heavy soil, hot water, and the heavy duty cycle, and the pouch was in a mesh bag to keep in lint. Even after a run in the dryer, very little happened (the results are the first 3 pictures above). Afterward I did a round of hand-felting by shaking the pouch (without a mesh bag) with the dryer balls in a plastic canister, in two changes of water, each with a bit of dish soap and one also with baking soda. I read that hard water inhibits felting, and while I wouldn’t call ours hard, it’s far from soft. Another trip through the dryer, and still just about nothing (last picture above).
After a bit more research, I learned this “good for felting” yarn has a reputation online for being persnickety about felting. I went back to the washing machine, but more seriously. Same settings, with a round of wash-wash-rinse, but this time with two pairs of pants in addition to the dryer balls, a kettleful of nearly boiling water added to each wash, and a pretreatment of soaking the pouch in ice water before the first wash – the temperature change is supposed to help shock the fibers open. No mesh bag, either, because it didn’t seem to be shedding badly.

That is when the magic happened. So much smaller, so little stitch definition. I don’t know how much was the particular method I used last and how much was the fibers finally being ready to give up their original shape, but I can say I’ll start with this method next time. A shave (see notes on razors in an earlier post) and some buttons and it was ready for use!
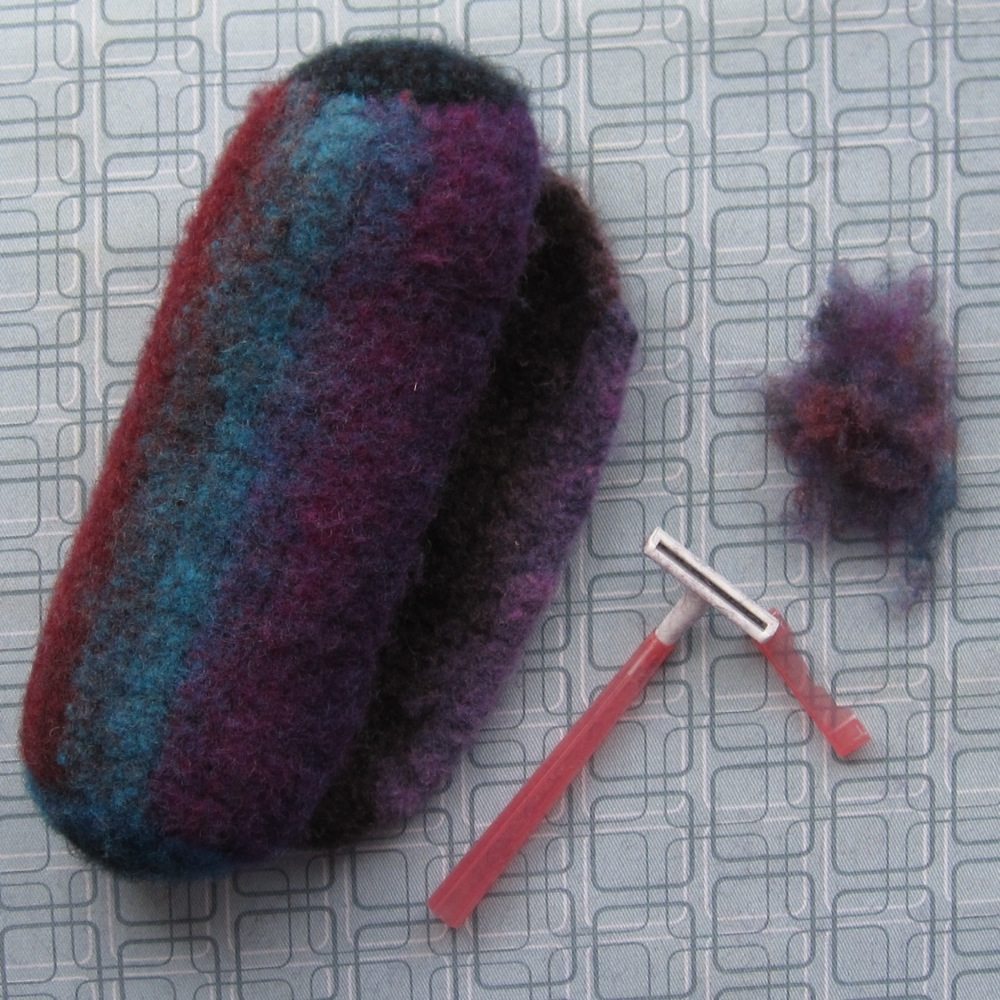
Final measurements: 7″ seam to seam and 8.5″ end to end, since the ends are poofed out. Not quite 9″ around from opening to end of flap (what would be the height of the original rectangle); 2.5″ diameter. The rectangle lost almost 2″ in each direction.
Felted Pencil Bag Pattern
See Crochet Reference for abbreviations, my pattern conventions, and links to stitch instructions. See above for gauge. I used an H hook (5mm).
Body:
1. Fsc 20.
2. 2sc, ch 3/sk 3 sts, sc 12, ch 3/sk 3 sts, 2sc (6 ch, 16 sc).
3. 2sc, sc, sc 3 in ch sp, sc 12, sc 3 in ch sp, sc, 2sc (24).
4. 2sc, sc 22, 2sc (26).
5-33. Sc across (26 sc; 29 rows).
FO.
Ends:
1. Ch 2, sc 7 in 2nd ch from hk.
2. 2sc around (14).
3. *2sc, sc* around (21).
Provided your body rectangle is finished, keep your yarn on your hook and proceed to assembly.
[If you make these first, place a stitch marker and make a round of 28: *2sc, sc 2* around. Loosen your last loop and cut the yarn, but don’t pull the end through. This will ensure you have enough yarn to attach the pieces without having way too much.]
Assembly:
If you made the ends first, pull out the last round of one and place the loop at the end of the final round-3 stitch on your hook.
Attach the disks to the body however you desire, by sewing or slip stitching or single crocheting. I did it in a slightly nonstandard way, trusting that the felting process would seal up any gaps:
** *Pull up a loop in the next disk st, insert hk in last row of body, YO and pull through body + 2 lps on hk.*
Sl st in next row of body.
Repeat *…* twice. 3 sts of disk, 4 rows of body accounted for.**
Repeat **…** around the disk (7 times total). On the last stitch I made my sc in the disk stitch only (to leave a little gap for the opening), but that gap stayed at least as large as originally upon felting, so I wouldn’t do so again.
(Essentially what I did there was to sc the pieces together, but not attach the rectangle until the second YO of the sc. In lieu of making every third stitch an increase, as I would have to make a fourth round on the disk, I slip stitched into just the body. Those are the gaps I hoped would seal up in washing.)
Attach the second disk however you attached the first, but you’ll need to start at the body row where you finished with the first disk.
After felting, mark button locations and sew on buttons – include a good shank! I decided to make the side with the attaching round of sc the inside, because the line between rectangle and disk was cleaner on the other side.