I’m teaching a crochet refresher class on Wednesday, and for it I designed a simple pattern that would allow us to practice the basic stitches without taking forever but while still making something. I thought I’d share the pattern in case you’re helping someone with crochet, or are just a fan of this type of pattern. It starts with a block made in the round so you don’t have to fiddle with a starting chain until you’re back in the rhythm a bit.
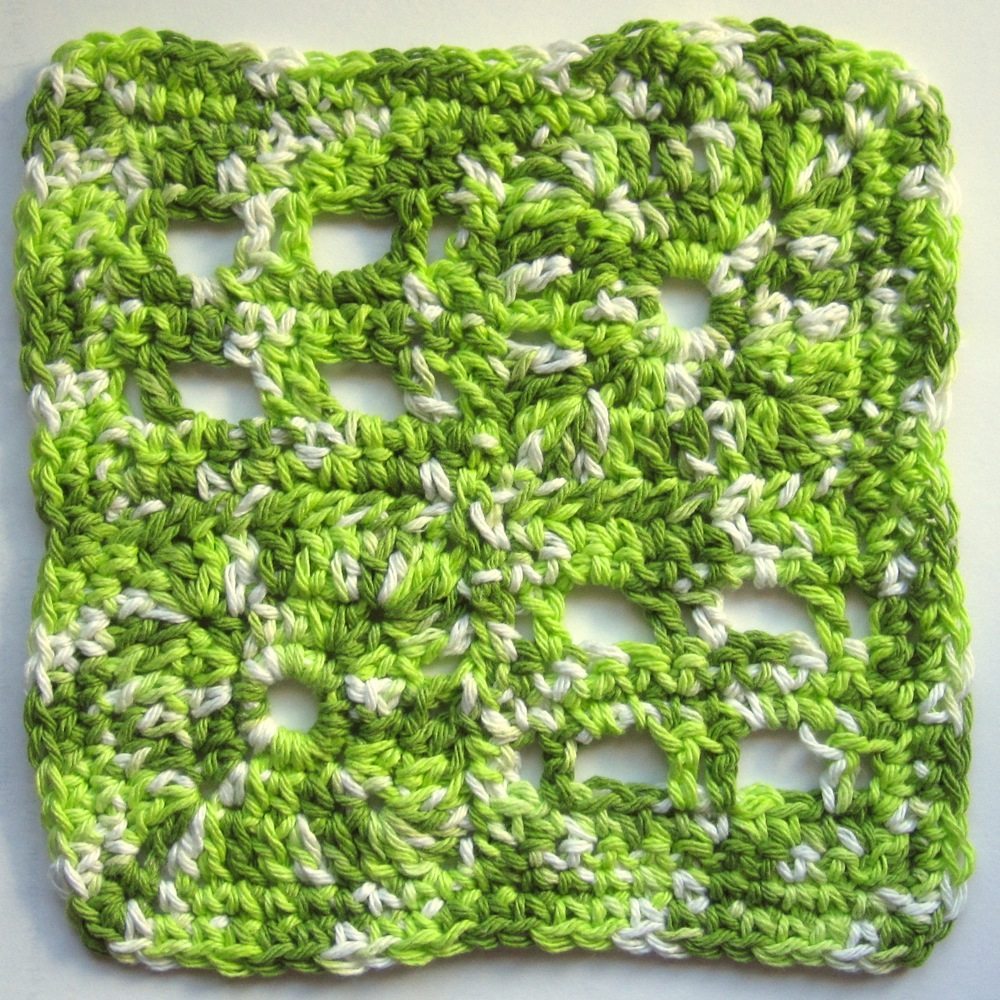
Stitch Sampler Washrag Pattern
Use cotton worsted weight yarn and an H or larger hook (5mm).
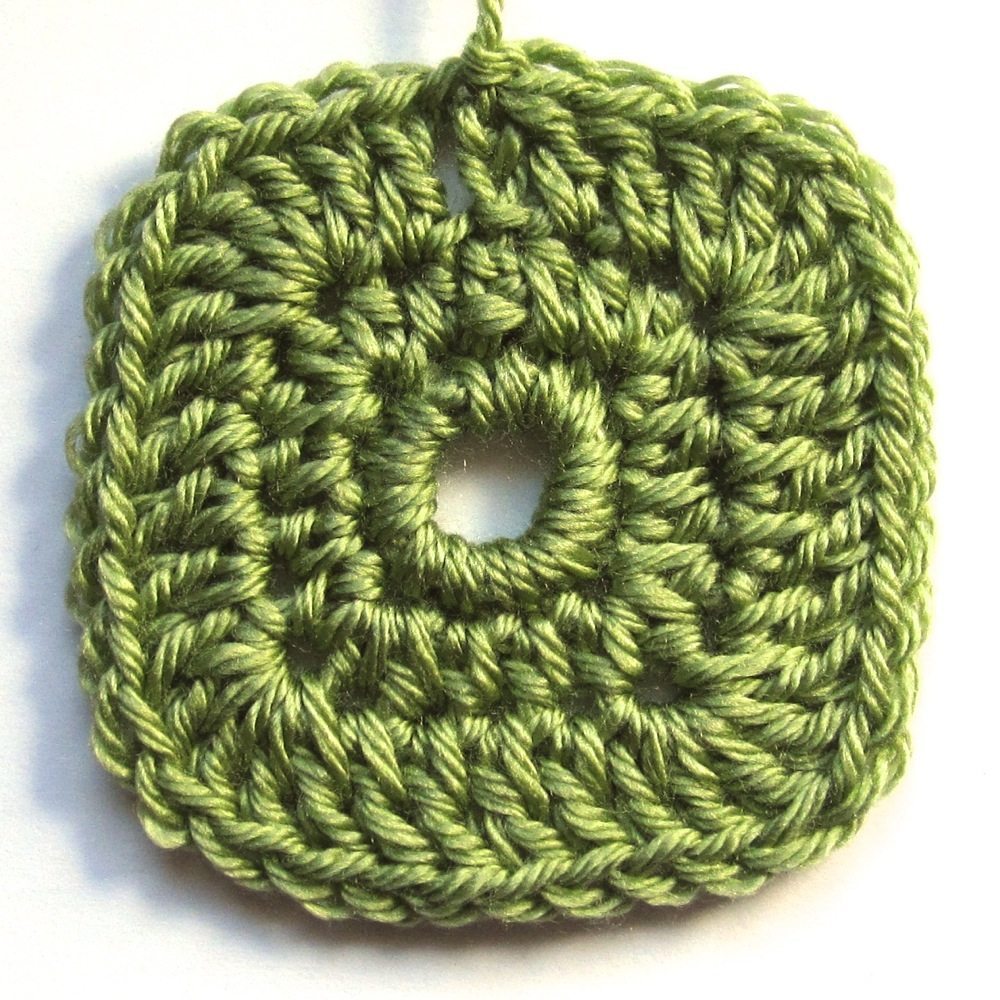
Square 1: rounds (make 2)
1. Ch 6 and sl st to form a ring.
2. Ch 1. Sc 12 into ring; sl st to 1st sc made (12 sts).
3. Ch 2. Hdc in same st as sl st. *Hdc 3 in next st, hdc, hdc* three times. Hdc 3 in next st, hdc, sl st to 1st hdc made (20 sts).
4. Ch 3. Dc in next st. *Dc 5 in next st, dc in each of next 4 sts* three times. Dc 5 in next st, dc, dc, sl st to top of ch-3 (36 sts).
Cut yarn, leaving a nice long tail to sew with, and pull cut end through last stitch. Weave in the starting tail.
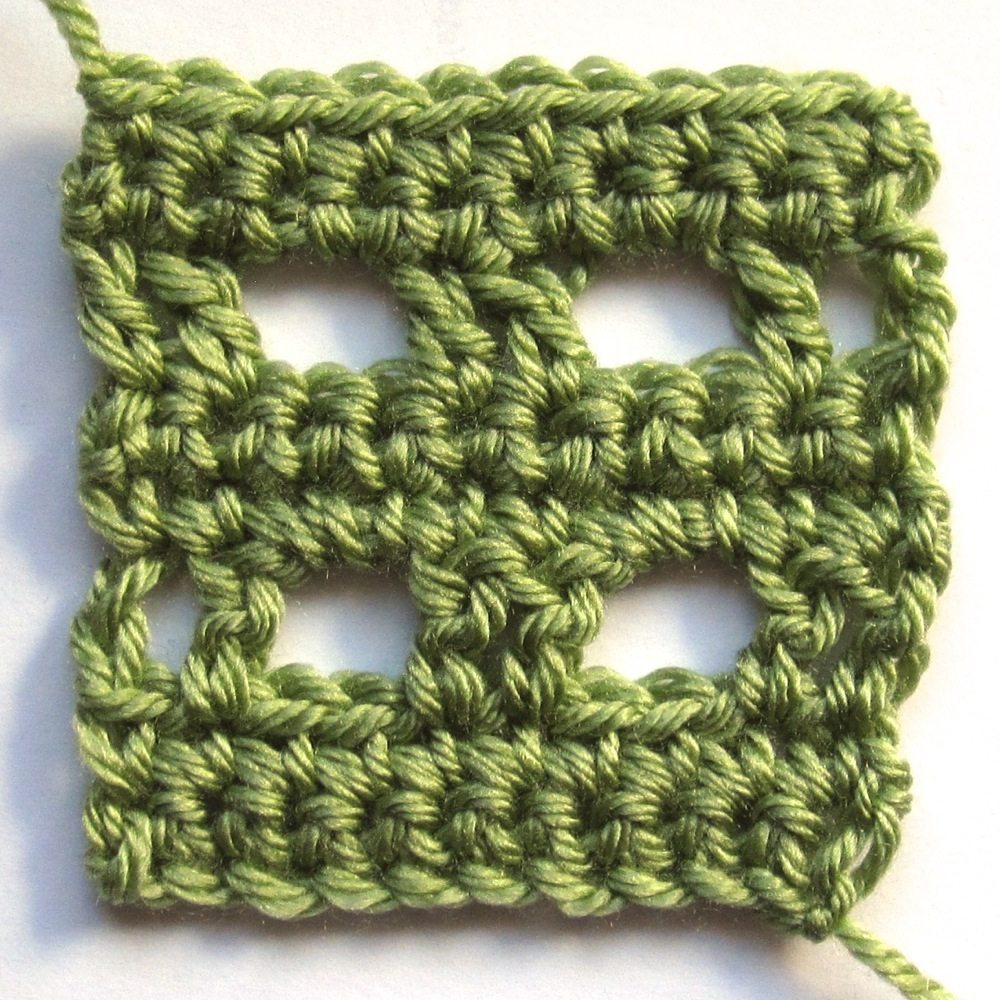
Square 2: rows (make 2)
1. Ch 11. Starting in 2nd ch from hk, sc across (10 sts).
2. Ch 1, turn. Sc across (10 sts).
3. Ch 3, turn. Dc in next st. Ch 2 and sk 2 sts; dc in next 2 sts. Ch 2 and sk 2 sts; dc in last 2 sts (6 dc and 2 ch-2 sps).
4. Ch 1, turn. Sc in first 2 sts; sc 2 around ch. Sc in next 2 sts; sc 2 around ch. Sc in last 2 sts (10 sts).
5. Ch 1, turn. Sc across (10 sts).
6-8. Repeat rows 3-5.
Cut yarn, leaving a tail to sew with, and pull cut end through last stitch. Weave in the starting tail.
Sewing
Use the long tails to sew the squares together. To line them up, set each rows square with its last row/sewing tail at the top. Place a rounds square above each rows square with its tail off to the left. Match the near edges of the vertical pairs, placing the squares back to back with those edges up, and use the tail to whipstitch them together, stitch to stitch. Sew in the remaining tail afterward.
Next line up the two pairs so the squares make a checkerboard and the remaining sewing tails are on the edges to be joined. With each tail, stitch straight through one square edge to get to the outer end of the seam and whipstitch back to the center; secure the end. Before securing the second end you may wish to open out the full washrag and sew up any gap in the center.
Bordering
You can make a simple but sturdy border for the washrag with single crochet. Tie a slip knot and place it on your hook, and then insert your hook into a stitch on the edge of the washrag and make a slip stitch. Chain 1 and sc around; where you have stitches or leftover starting chain strands this will be straightforward, but on the sides of rows you’ll want 1 stitch per single crochet row and 2 per double crochet row. Just do it by eye. Stitch through the stitches or completely around the end stitch of the row as desired. Put 3 sc into the same stitch to turn a corner. I would make 2 rounds, and of course the second will be easier because there’s no figuring out where to put stitches. Don’t forget your 3 sc to turn corners!