I’ve recently started making terrycloth bibs for friends having babies. They have gotten good reviews, and are very easy, so I thought I’d post a tutorial for them.
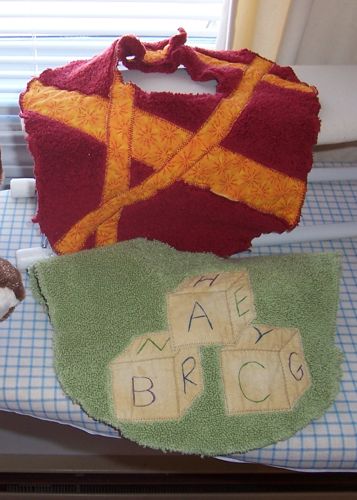
Materials: towels or terrycloth remnants, fabric pens, commercial bib pattern (or well-fitting bib, used as pattern), coordinating cotton calicos, 3 big snaps per 2 bibs.
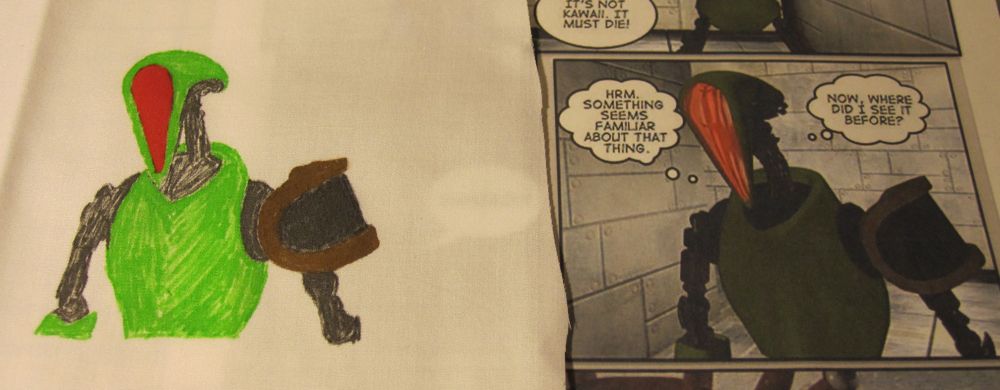
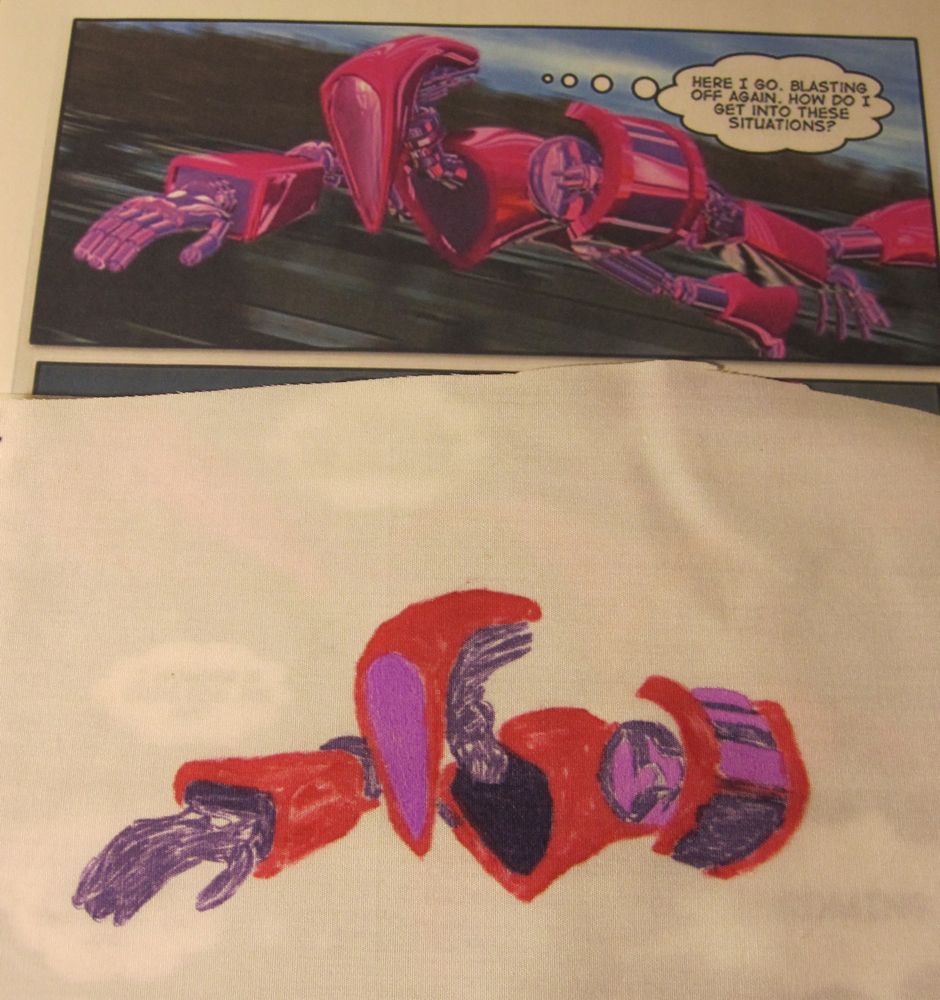
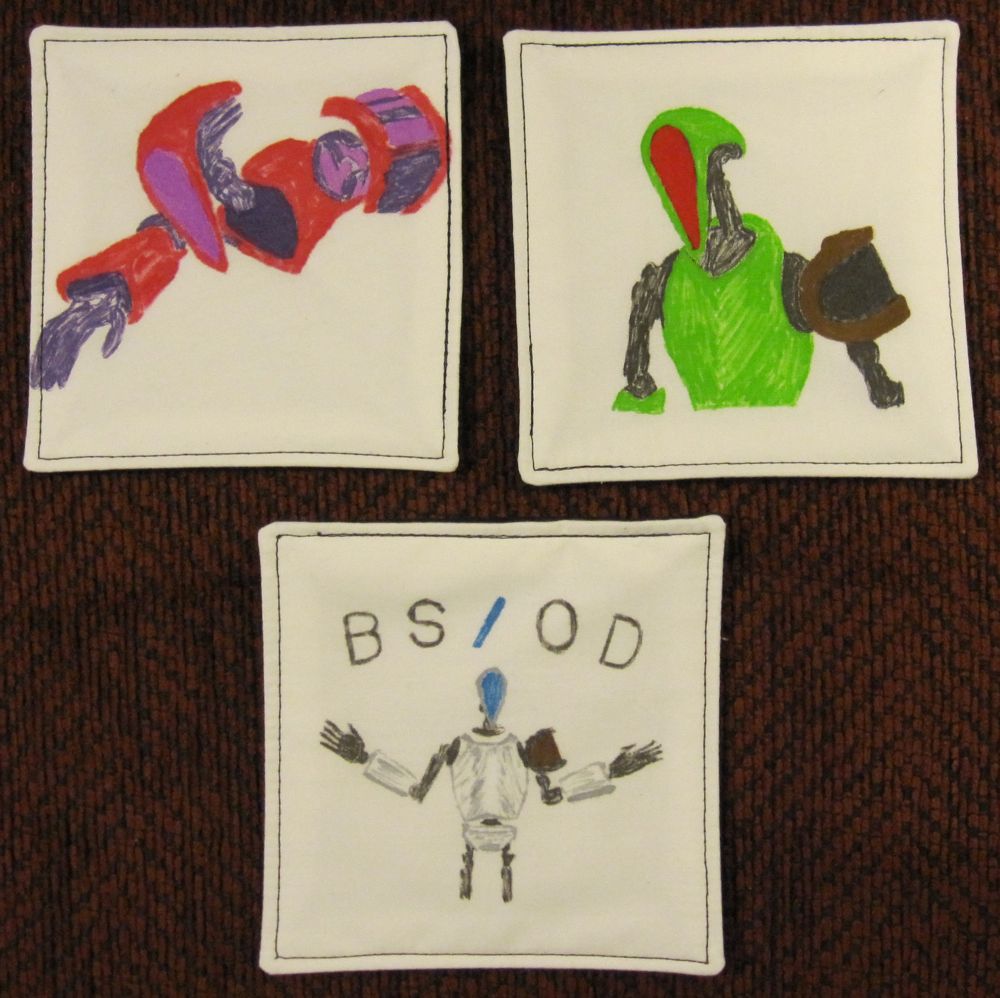
Cut out the pattern piece. For a bib like the red one, use the pattern as a guide to arrange strips of calico on the towel; use a short, wide zigzag to edgestitch them down. After that, pin the pattern to the towel and cut it out; zigzag the edge to keep it from fraying (you’ll probably need to go around twice). For a bib like the green one, cut out the bib and zigzag the edge. Make a template for the blocks and cut them from calico; use fabric pens to draw letters on the blocks. Let them dry flat for 24 hours and iron to heat-set the ink. Use a wide, short zigzag to edgestitch them to the bib and then a narrower zigzag to “draw” the edges of the block (work from inside to edge to prevent bubbling). To finish both bibs, split the snaps into 2 piles, each 1 of one half and 2 of the other. Sew the 2 matching halves to one strap end and the mismatch to the other. This allows it to be adjustable, which may or may not really be necessary but seems like a good idea. Make sure the ends lap over each other! I put the two matched halves facing out and the other facing in, so the unused half won’t be cold on baby’s neck. You could also use velcro, in which case make any unused scratchy side face out.
A few technical notes: I have found that tension matters a lot more than I’m used to – I use the bib fabric color in my bobbin, and the applique fabric color on top, so if the bobbin thread pulls through at all it is very noticeable. My tension runs from 0 to 9 and is usually set about 4; for these, even a 2 causes pull-through. 1-1.5 is the appropriate setting. I also decrease the pressure of the presser foot to avoid puckering of the top fabric as the foot smooshes it along in front.