Halloween!

I made a Halloween costume this year for the first time in a while. About a week and a half ago I was driving to pick up our farmshare, and I thought, “I should be a sheep for Halloween.”

Me in my complete lamb costume

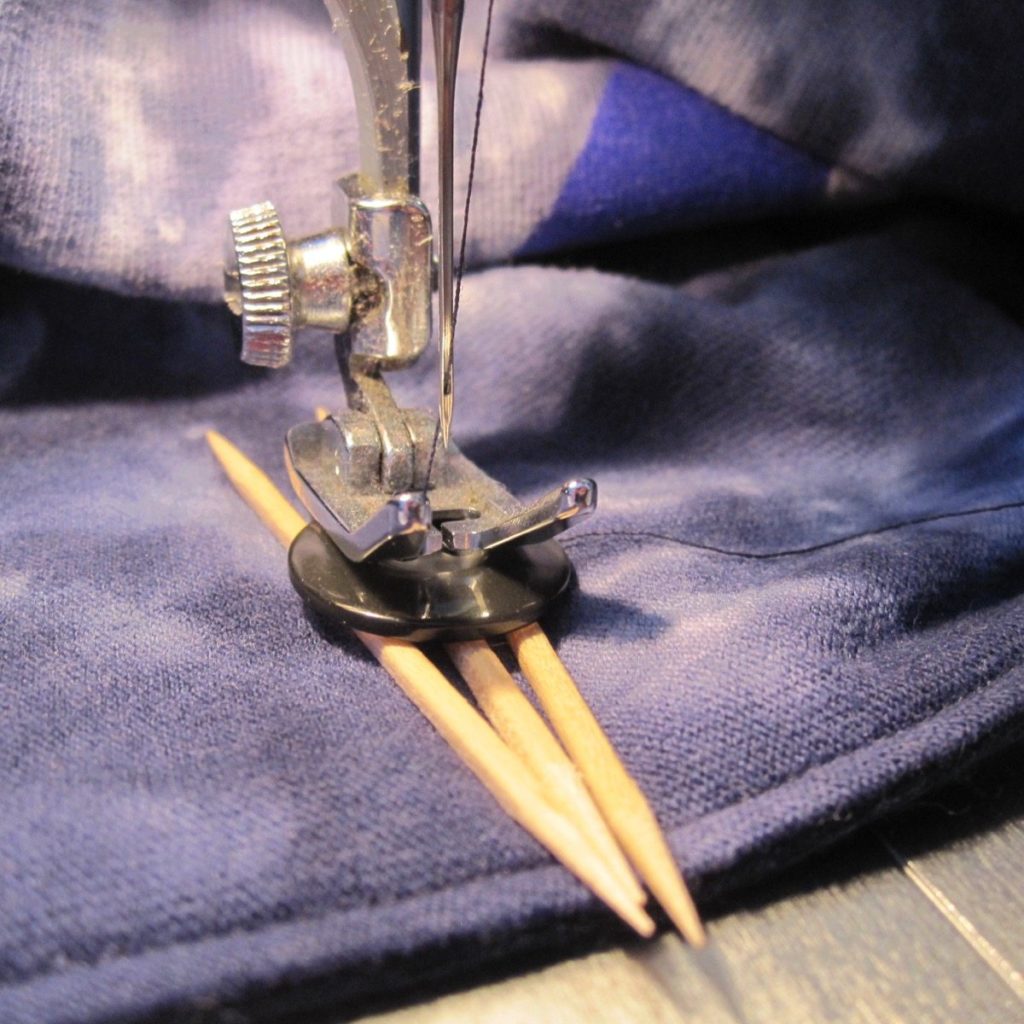
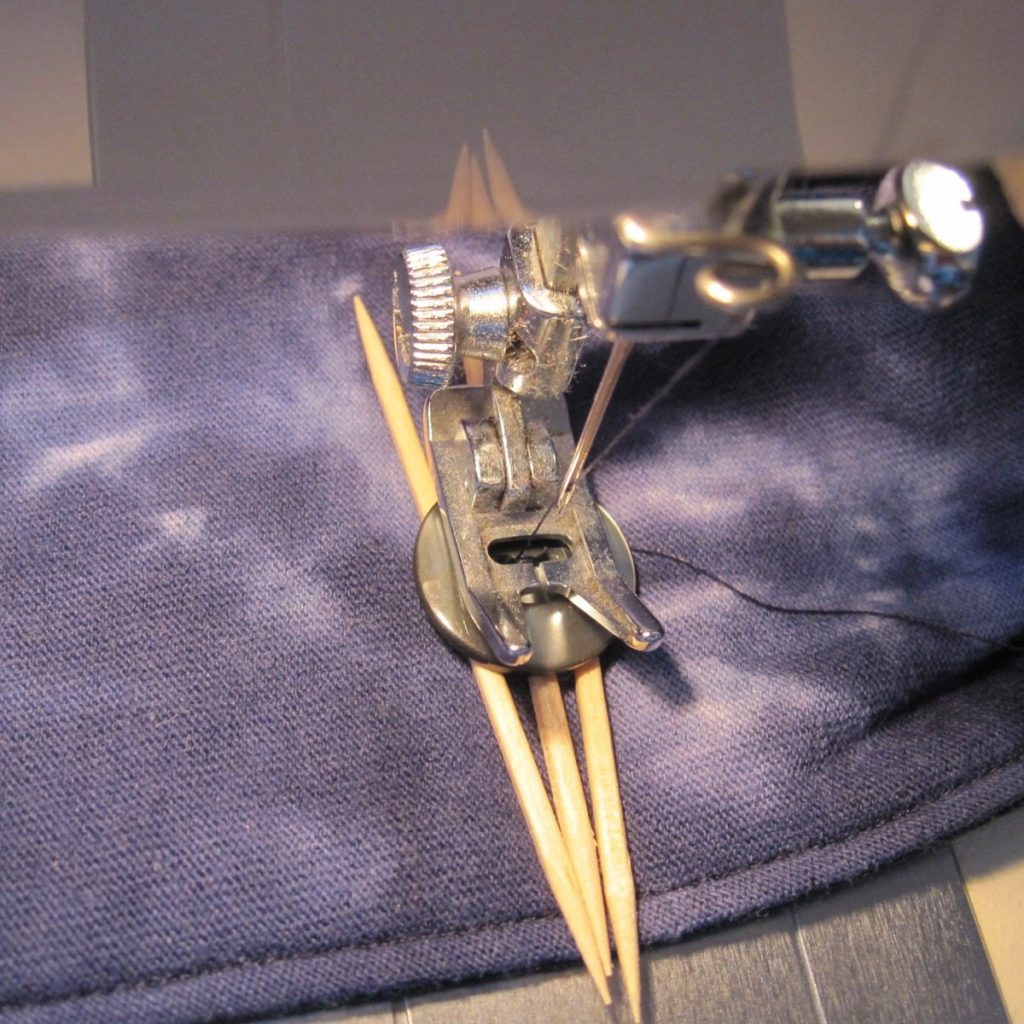
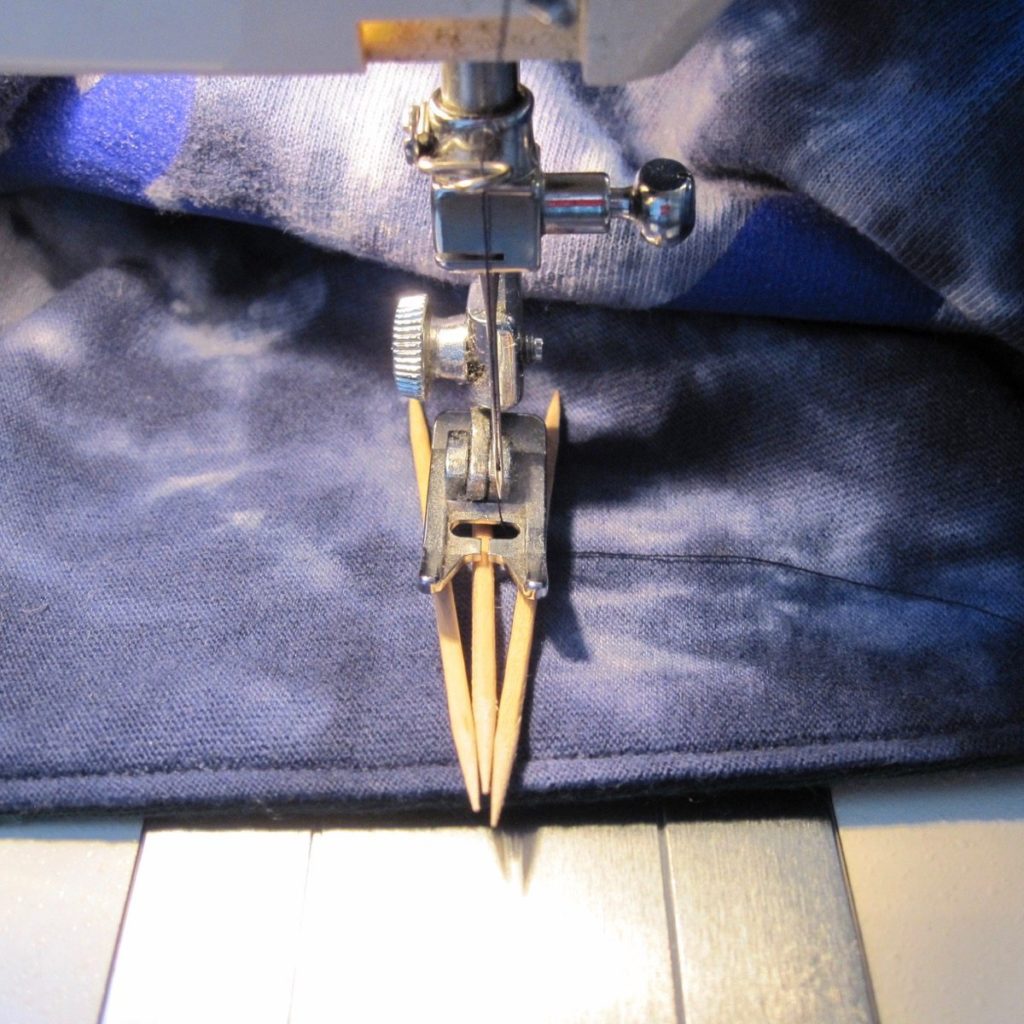
The original plan was a shearling coat, a hat with lamb ears, mittens, and face paint for my nose. I was lucky enough to find a remnant of faux shearling that matched the lining of an on-sale coat – though not so lucky that the coat had lined sleeves. I had to create and attach sleeves, which was simple but somewhat time-consuming: cut sleeve-shaped pieces and make them into tubes, then pin and sew by hand to the coat (by hand partially because it seemed easier and less visible, and partially because once I’m through with this costume I’ll take them back off and wear the coat for real!). Not my tidiest sewing job, but… it’s a Halloween costume.

Lamb costume hat

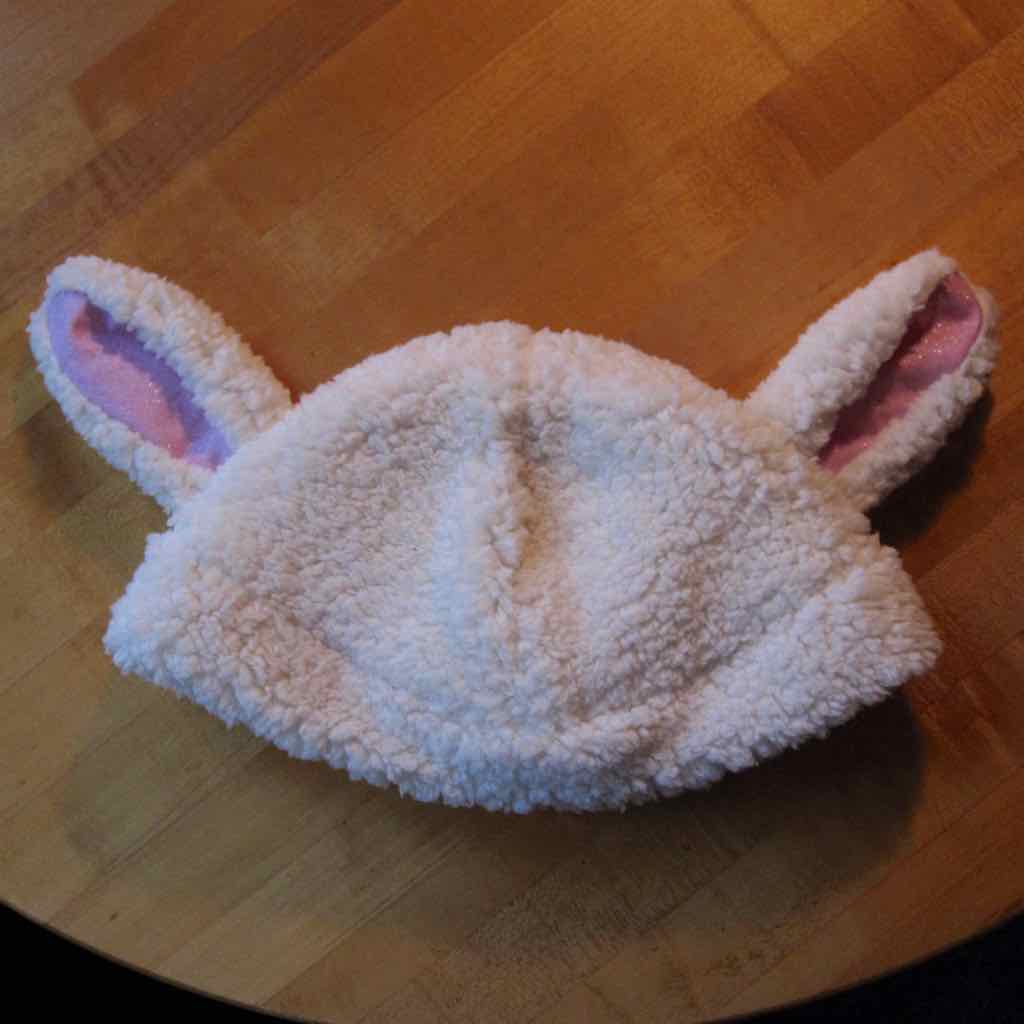
For the hat, I took the general game plan from a dinosaur hat tutorial by Stitched by Crystal and a reversible fleece hat video tutorial by The Crafty Gemini: four rounded triangles and a band below. I decided to make a folded band instead of two pieces since my material was already thicker than theirs, and created ears to insert as low in the side seams as possible. The final hat is bigger around than necessary and a bit shallow for a real winter hat, but if I want to make myself a real hat it will be a good starting point.

Lamb costume hat and ear muslins

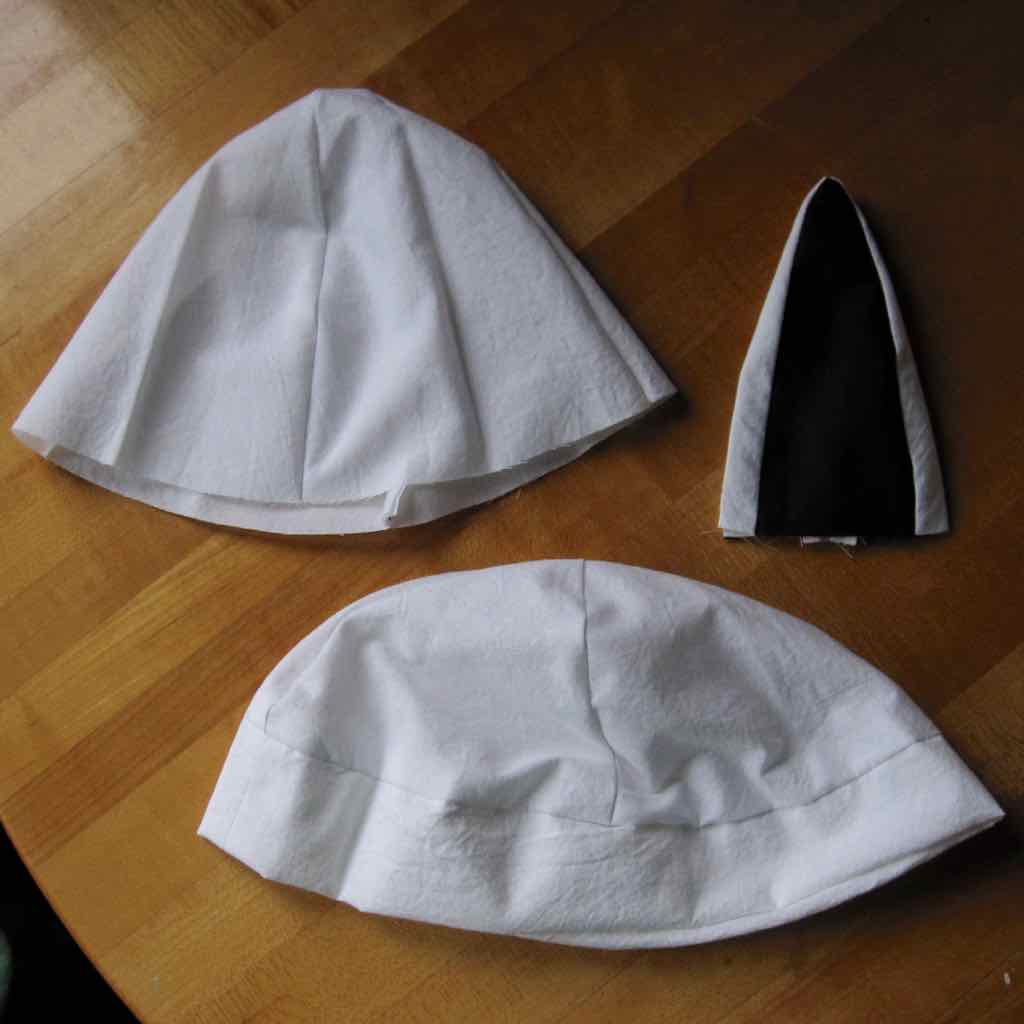
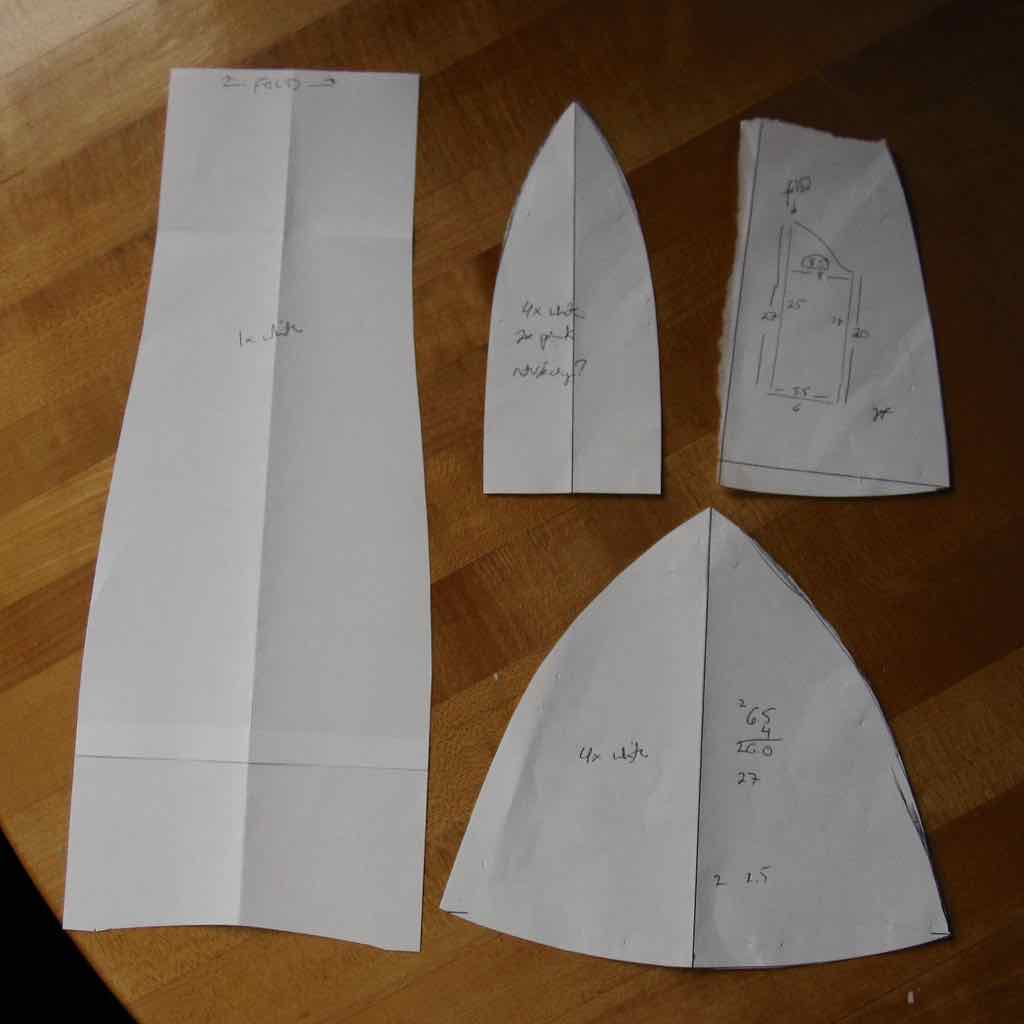
I made an incomplete muslin and a complete muslin, plus one muslin ear. In my pattern piece photo below, the ear isn’t quite the final version – I rounded out the middle, so it not only tapered toward the point, but a bit toward the base as well.

Lamb costume pattern pieces

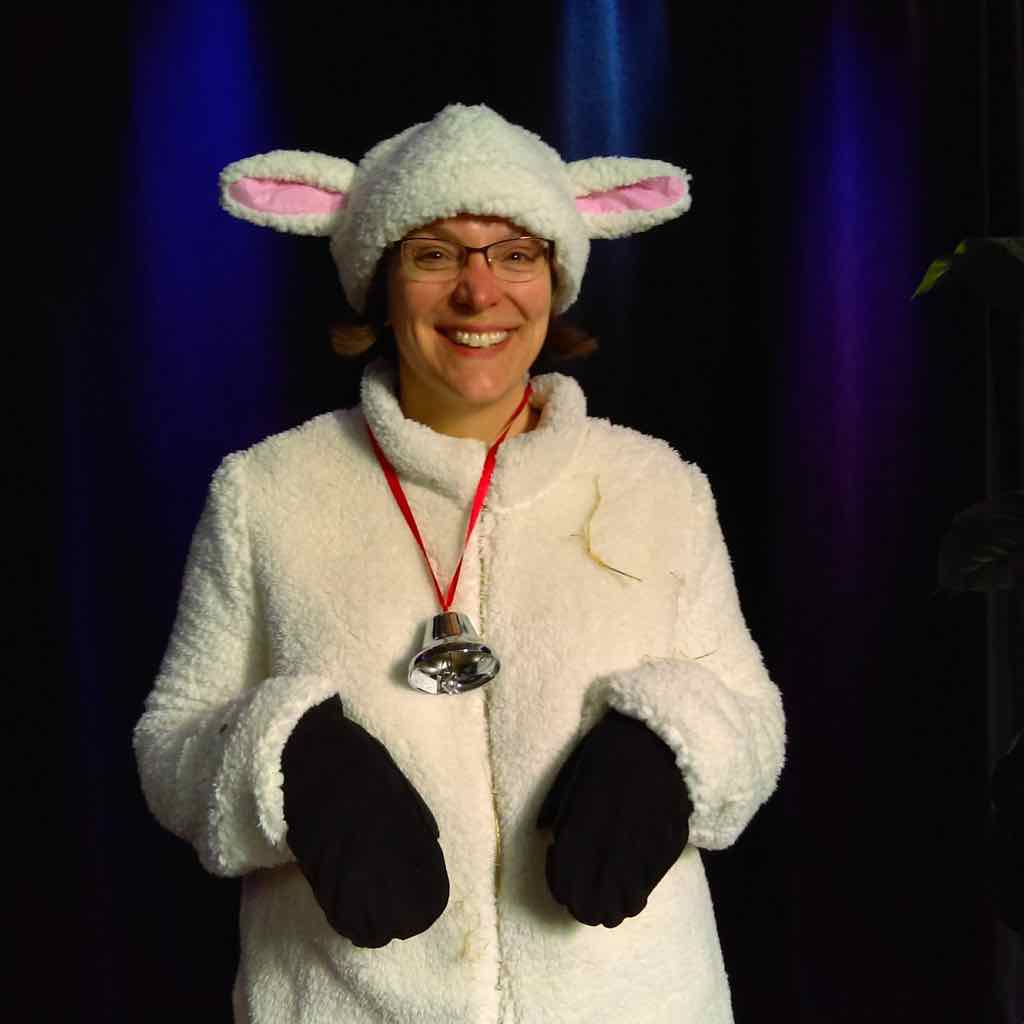
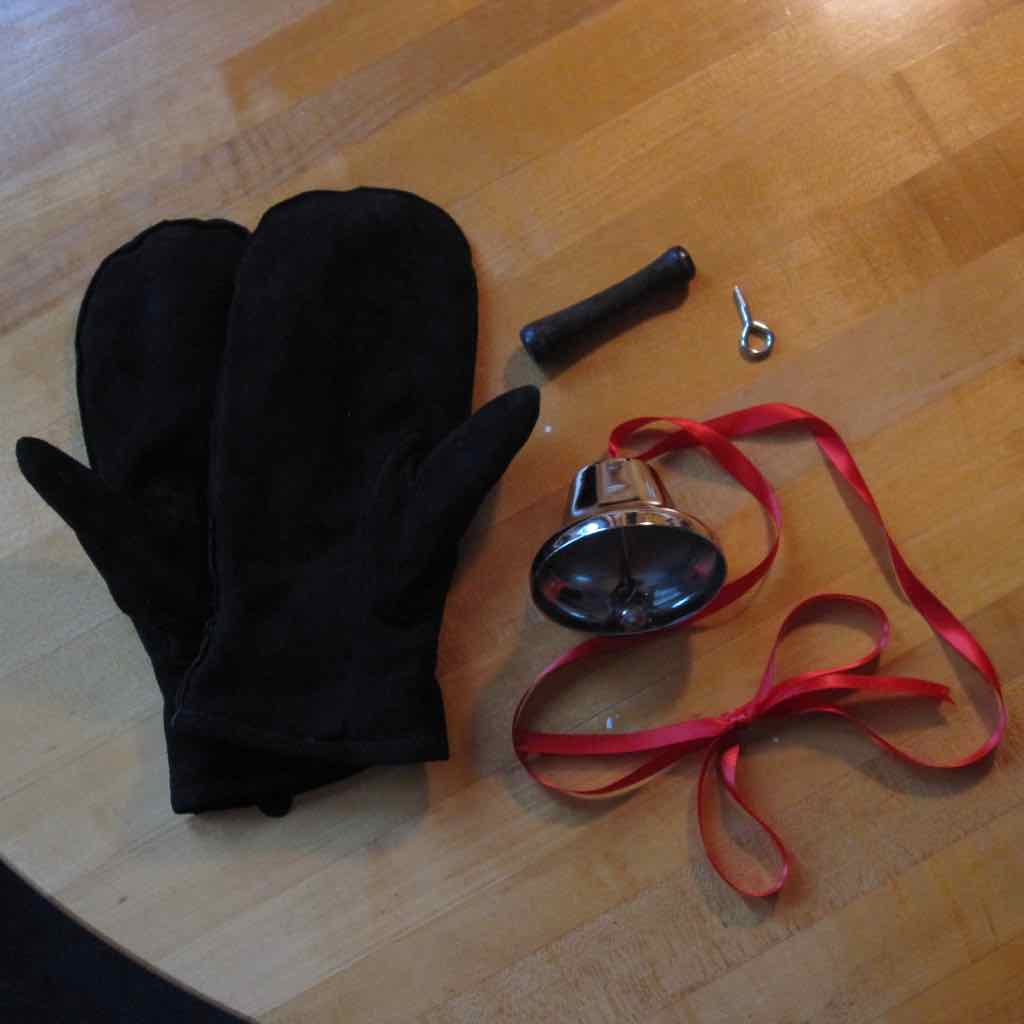
The mittens were a lucky find that I expect to get a lot of use out of. The bell was a late addition when I worried (based on my hat muslin) that people might think I was a bunny. The bell was originally a Christmas bell with a handle, which unscrewed easily. The internet agreed that lambs wear their bells on red ribbons, so that’s what I used. It rang lightly with every step I took and really added to the costume. Though I had to move it out of the way when hugging people lest someone end up with a bruised sternum.

Mittens and bell for lamb costume, with original bell handle

The lack of nose paint was a completely last minute change – I had applied it, and wiped it off with a napkin in the car on the way to the party because it just didn’t look right. Perhaps it just accentuated that my face was otherwise completely human?

In the photo at top, the straw caught in my fleece (so authentic!) was from a hayride I took at the party. (Though I may have patted some onto spots where it didn’t get naturally…)

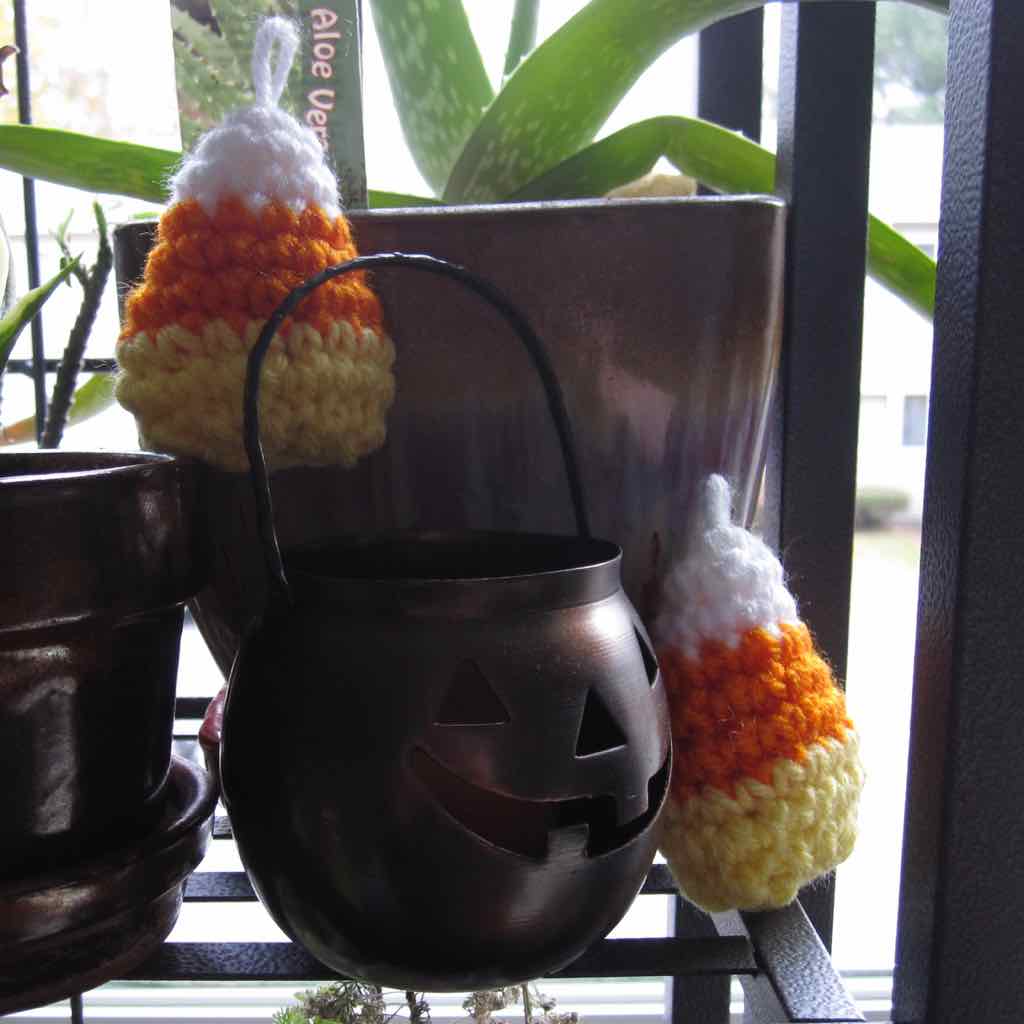
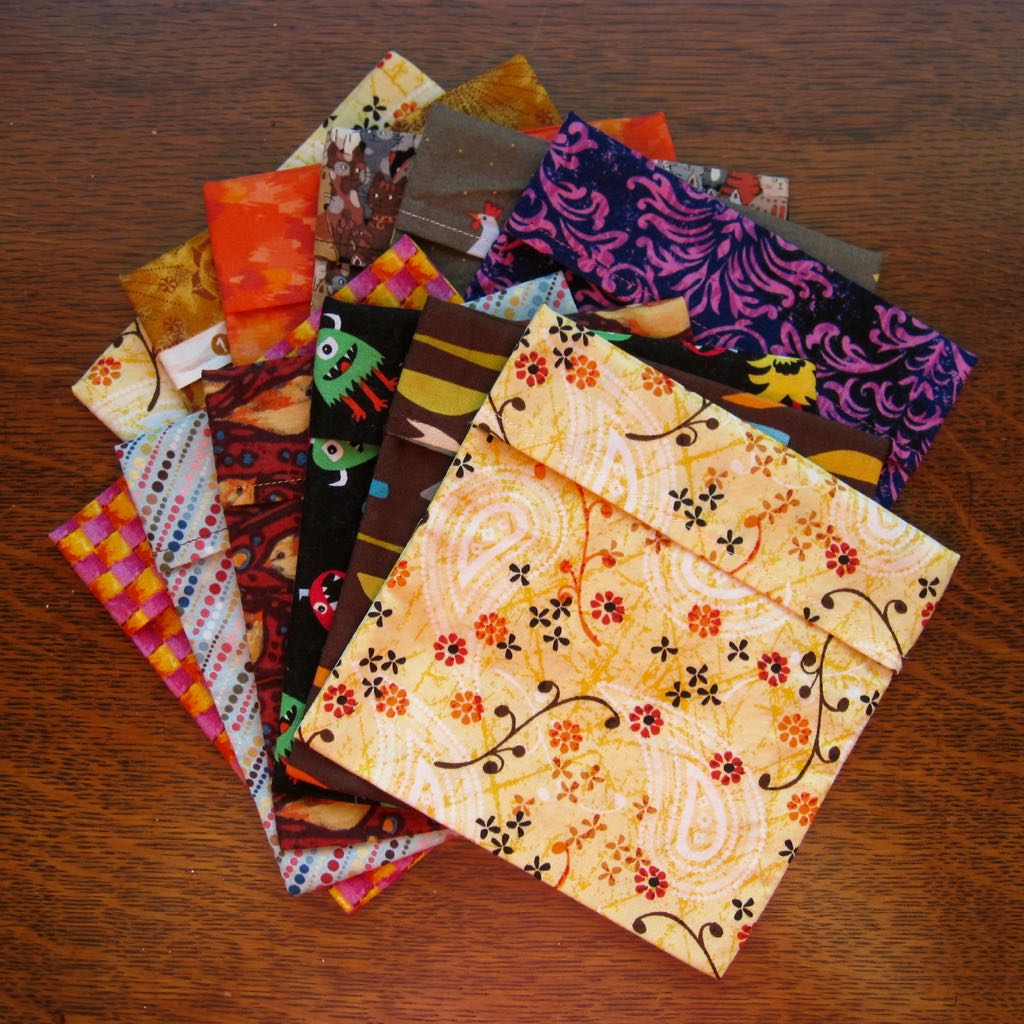
One bonus shot: Earlier this month I made a couple of candy corns out of Petals to Picots’ crochet candy corn pattern. Easy and good! For the hanging loop, I folded a separate length of yarn in half, tied a bulky knot, and slid it into the magic ring before tightening. The knot keeps it from coming out, and if I decide I don’t want it I can push it inside or cut it off.

Crocheted candy corn

Hand-Sewn Fleece Stuffies

Spring of last year, I developed a design-your-own stuffed animal pattern, with the help of my artist husband, as an aid to teach basic hand-sewing skills. It is not looking like I’ll be teaching that class again, so I thought I’d share the pattern and instructions.

stuffed animals in a row

The animals are all basically snowman-shaped, with an optional front pocket (for treasures or lost teeth) and features designed by the creator. They require fleece and felt and a knowledge of whipstitch, running stitch, mattress stitch, and beginning and ending knots for hand sewing.

You can download my pdf stuffy pattern which includes the front/back, pocket, round- and square-end limbs, dragon wings/horns/ears, dog nose/ears, owl wings/face, and panda eyepatch. The simplicity of the overall shape lends itself to designing your own stuffy, though, or making variations on the ideas included – one of my students made a much cooler robot than mine, and another made an adorable panda, exaggerated like an animated character.

I’m putting this behind a cut because it got quite long. All photos can be clicked to bring up a larger version. Continue reading Hand-Sewn Fleece Stuffies

Machine-Sewn Buttons

When I teach sewing and students ask about hand vs. machine sewing, I tell them that I machine-sew what I can and hand-sew what I must. There are times you have to hand-sew because you just can’t get the machine where it would need to be, or you need to carefully avoid sewing through all layers of something, but I’m working on reducing the rest of my hand-sewing. I showed you machine-sewn snaps years ago, and now I’ve got machine-sewn buttons.

With snaps the complication was unevenness: the presser foot was too hard to get in position, so I took it off entirely. With buttons, at least in this case (I was sewing a thick pillowcase), the complication was that they needed to have shanks. Toothpicks to the rescue!

machine-sewing a button machine-sewing a button

Pardon my lint!

machine-sewing a button: toothpicks only

There are three toothpicks under the button in this case; for a smaller button you could omit the center toothpick (this may give a shorter shank if the fabric pulls up between the two outside toothpicks, but the smaller the button the less likely you are to need a shank at all). I lined the needle up where it needed to be, placed the toothpicks, and then slid the button in between the toothpicks and presser foot.

It’s quick and easy, though I did secure the thread ends by stitching them all to the back, tying a square knot, and running them between the layers of fabric before snipping them.

a dozen sewn fabric baggies
Side note:
I made a batch of fabric baggies recently, and with the experience of using my original set for a long time I adjusted the flap size to improve them. I’ve updated the post with baggie sewing instructions accordingly.