First Steps into Art Journaling

I have been drawn to the idea of art journaling for a long time. It was always a combination of overwhelming and frustrating, though, until recently, when I found I had sort of taken it up by accident. It started with the decoupaged notebook craft night – I ended up with a lot of inspirational clippings that didn’t fit onto the covers of my notebooks (physically, or thematically), and decided to glue them into the smallest of my notebooks, making it a sort of “mood board for life.”

I’ve kept adding roughly a page a week to the notebook. Here are some materials and techniques that I’ve used:

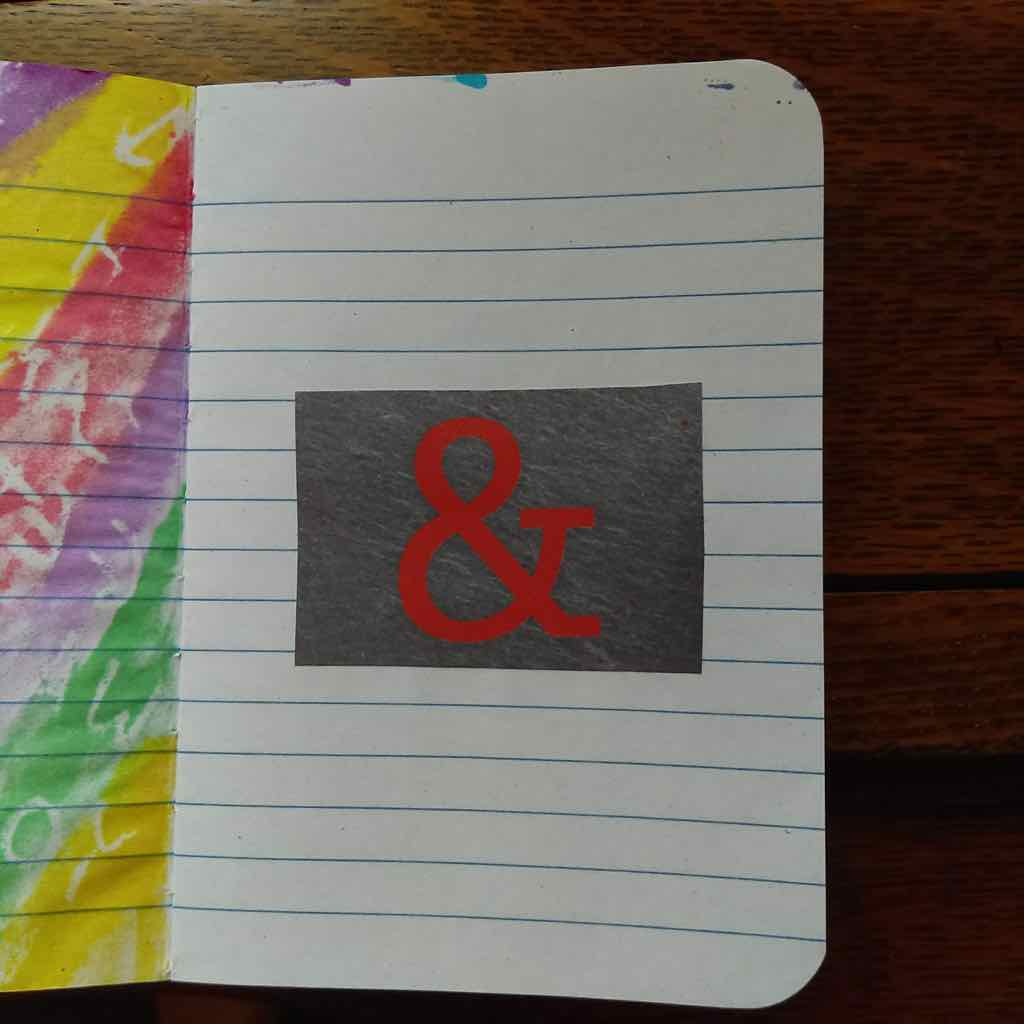
  1. Magazine, catalog, and other clippings – the cover of my tiny notebook is actually out of a credit card offer, and the ampersand in the photo below is out of a newsletter from my health insurance company. art journal page: magazine clipping of ampersand
  2. Printouts from the internet – sometimes I look up a specific image that I want (since I’m unlikely to draw it to my satisfaction!), and sometimes an image crosses my path that’s worth hanging on to.
  3. Stickers – I especially like letter stickers because I have limited skills with hand-lettering, but any stickers with suitable symbols or messages are welcome.
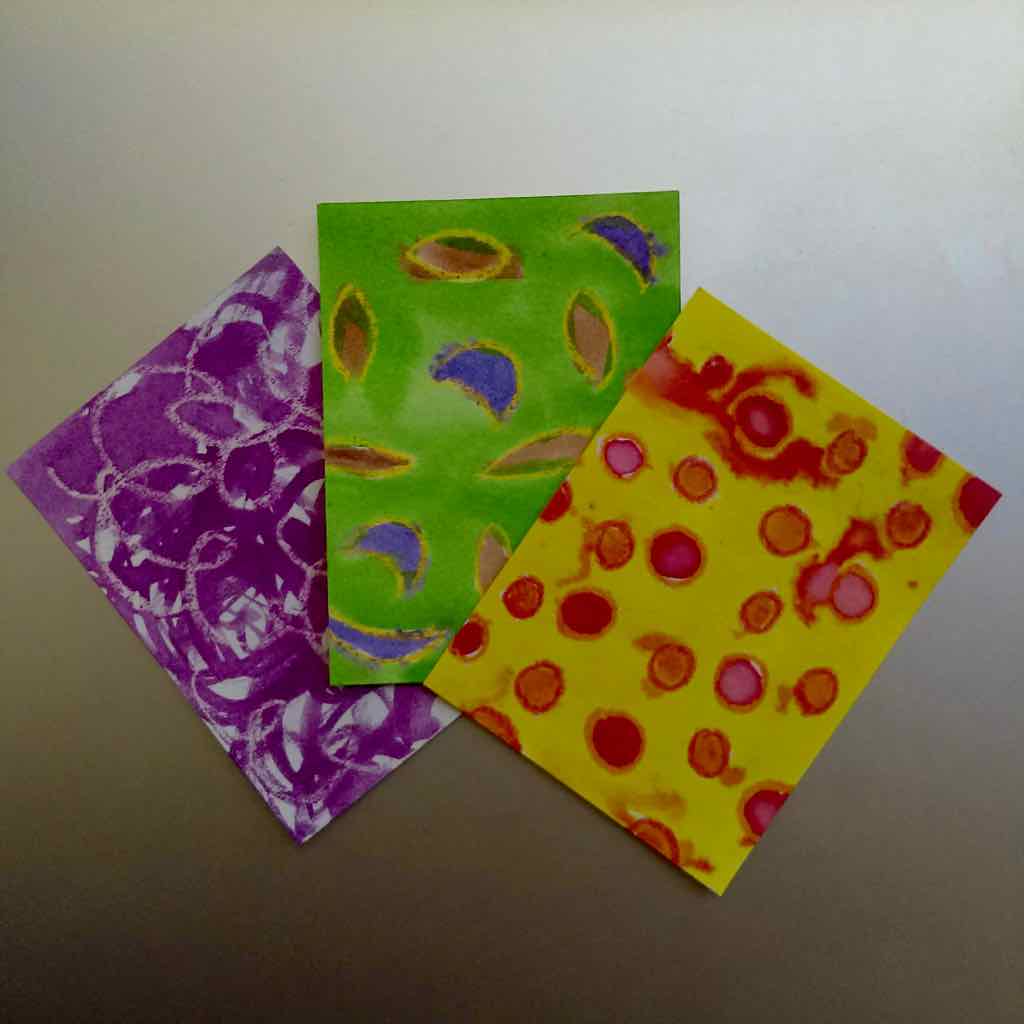
  4. Crayon resist watercolor – write a message in light-colored crayon (assuming you’re using white paper), and then paint over it with very wet watercolor. Makes a mess of neighboring pages but a really nice effect; slide waxed paper underneath the page you’re painting to protect the next ones down. If you can go really wet, put drops of paint onto wet paper and the crayon marks will (imperfectly) contain them as they spread. The photo below is that effect, done on index cards. watercolor crayon resist on index cards
  5. Sharpie with colored pencil background – the permanent marker will lay down enough color that you can color in the background afterward with just about any colors and still be able to read it.
  6. “Crayon resist markers” – this doesn’t really work the same way as with paint, but you can write with crayon and color over it with markers and get a somewhat similar effect.
  7. Just writing, but with colorful pens – I have a set of gel pens I’m mildly obsessed with (Pilot G-2 Metallics), so sometimes I just write whatever it is I’m recording with them.
  8. Marked-up writing – however your message is recorded, you can underline, circle, put arrows to, or otherwise highlight the key words with doodling.

my simple art supplies 
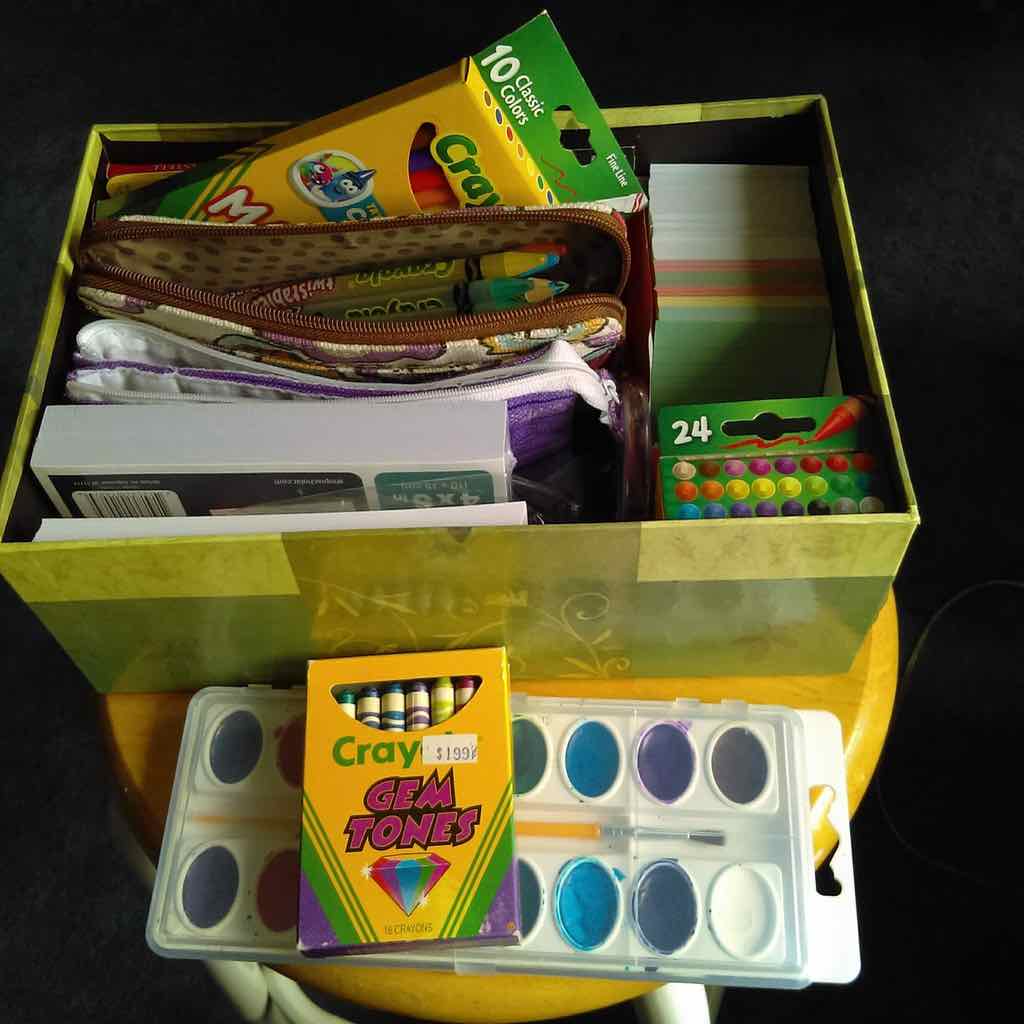
I keep some newspaper and waxed paper with my art supplies to protect neighboring pages and my desk from my various experiments. None of my art supplies are “artist quality”; most are Crayola products aimed at grade schoolers.

I think my problem before was two pieces: overly high expectations for what I could/should produce, and expecting to just know what to put into the art journal. You see pictures online of people who art journal extensively and they appear to fill two facing pages of a large sketchbook every day with renditions of the thoughts and events of their lives — that’s not going to be me, and I should recognize that! Two-dimensional art has never been my medium, and I’m not going to suddenly know how to draw or paint by magic; I’ve also never maintained a diary for more than two months at a time, so why would it suddenly be easier to maintain one that requires a lot more effort?

For me, art journaling is more about making things that stand out in my mind also stand out on paper – and I don’t have two pages a day of that kind of content.

In fact, for a long time I had very little of that content. I have found, however, that adding “non-art” journaling to my life – which is still not diary-style, and about which more in future posts – has created the contents to put into the art journal. Funny, that – taking time specifically to think about my life has allowed me to articulate the things I want to remind myself of. Kind of a big duh but it was only clear to me in hindsight!

Rubber stamps from fabric paint

Every once in a while you come across a tutorial that is truly different from the herd and makes you think “What an interesting idea!” Such was my reaction when I came across a post on Mel’s Own Place about making rubber stamps with puffy paint and plastic bottlecaps. Amazing! I’d been wanting some custom stamps but didn’t think cutting them out of erasers with X-Acto knives was going to go well.

Making stamps from bottlecaps and 3D paint.

The stamps I wanted were planner stamps: a recycle symbol to mark recycling pick-up days, and an envelope back to make occasions for which I want to send cards. That way they could be large and visible without really taking up space, because I could write over them easily. I indentured my husband to play with paint with me.

I had two kinds of 3D paint in my stash: Tulip dimensional fabric paint and Scribbles 3-dimensional paint. The taller bottle of the Tulip was easier to control (more in squeezing than aiming), but the Scribbles seemed to keep its shape better while drying – Tulip flattened out a bit. We found we needed 3 rounds to get truly good images. The papers in the picture below show the images after 2 rounds (rectangular) and 3 rounds (hexagonal) of painting – the third round was really just local touch-ups.

Stamps made from bottlecaps and three rounds of 3D paint; impressions after 2 and 3 rounds of paint shown.

As you can see from the Oh You stamp on the hexagonal paper, you still have to be careful and press on all areas of the cap to get a good impression. If you catch the paint at the right moment you may be able to flatten it down a bit while it’s dry enough not to stick but still soft in the middle; I was able to do that to some extent with the recycling symbol.

All in all, though, it’s a great idea – quick, easy to correct errors (more than just heightening low spots: you can see the giant smear of paint in the first image, and there were others on different sheets of newspaper), and fun.

Fiddleheads and fabric paint

As promised, I made another fiddlehead project for the Upper Valley Fiber Crafts’ April craft challenge (still time to get in on it should you wish!) — or at least, I am making one.

I thought I’d show you the steps so far. I started with a large piece of yellow fabric and some pieces of green that I cut out into fiddlehead shapes. I sewed the spirals on with a straight stitch down the middle of the strip of fabric and zigzagged the outer edge of the background.

fiddlehead fabric project

Then it was time for paint. I wanted a darker green than the fiddleheads at the bottom, and for whatever reason was completely attached to a rosy pink at the top. I also wanted an irregular gradient, so I diluted fabric paint (green with a little black) in a fairly tall, narrow jar, rolled up the fabric, and dunked it in. I happened to have a rolled-up piece of light cardboard — originally the center of a roll of wrapping paper — that could hold the fabric tube upright during the dunking. My hope was that the fluid would wick up the fabric, but gravity would keep it most concentrated at the bottom. I also expected the white design on the yellow fabric to resist the paint.

fiddlehead fabric project

And it did! There is the green, still wet, not as dark as I imagined but just fine as is. I left the fabric in the jar overnight, and it crawled much further up than I expected (especially given the amount of fluid left in the jar the next morning). I love how much further up it extends on the right, which was on the inside of the roll, than the left.

For the rosy pink I mixed pink with a little red and gold, and decided not to repeat the capillary action method, lest I get a muddy mess where the colors met. Instead, I mixed up less-dilute paint, scattered it across the top of the fabric, and used my hand (and water in a spray bottle) to distribute it to be unbroken across the top, with an irregular bottom margin. There was some drippage, which was perfect, although I did have to rescue one fiddlehead from a pink splotch with a judicious spray of the water bottle. Here’s a very sunny picture of the wet pink paint.

fiddlehead fabric project

The next step will involve heat-setting and washing the fabric, but the paint has to set for 72 hours first. This project will see you again next week.