Oracle Cards

An oracle deck is a set of cards with a symbolic meaning or message attached to each, with no limitations as to structure or design – essentially, a generalization of Tarot cards. You will find plenty of oracle decks where each card depicts an animal, and the meanings are what that animal might teach us about our own lives; decks exist with all kinds of themes: trees, goddesses, crystals, angels, dragons, flowers, and plenty more. You will also find oracle decks where each card is a scene or illustrated abstract concept, and the meanings are about the represented state of being, or what the universe is telling you through the card.

Cards from Wilder's Animal Kin Oracle and Fairchild's Journey of Love Oracle There is a dizzying array available – if you run out of options in the bookstores, check Etsy. You can also buy decks of affirmation cards, inspiration cards, insight cards, and blessing cards, the extended family of oracle cards.

In June, I started the habit of drawing an oracle card each evening, reading its description in the book that generally comes with the deck, and thinking about it while going through a basic stretching routine. Sometimes that leads to a journal entry or an addition to my mini art journal; more often it does not, but even the least-applicable card gives me enough to think about that I stretch a bit longer than I would otherwise.

You can, of course, use oracle cards as journal prompts explicitly. Draw a card, and answer any or all of these questions:

  1. Before you read the description, what does the card make you think of?
  2. How well does the description correspond to the card? Where do you see the two especially well matched or especially discordant from each other?
  3. Where could the message of the card apply to your life? How can you maneuver it into fitting some aspect of your life, if it doesn’t seem to as written?
  4. In your life, is there an abundance of or a need for the elements outlined in the card? If the message is one of advice or divination, can you argue both in support of the message and against the message?

Cards from Well-Stein's Oracle of Mystical Moments and Marchetti's Oracle of Visions For a few weeks after getting into using oracle cards, I came up with a flood of card and deck ideas of my own. For a while I thought “This is my medium!” It slowed, though, and completing a good oracle deck is a lot of work – a lot of cards must be chosen and designed, and the descriptions must be drafted and reworked. However, you can make test cards or simple decks really quickly and easily. (And I am still working toward some completed oracle decks of my own.)

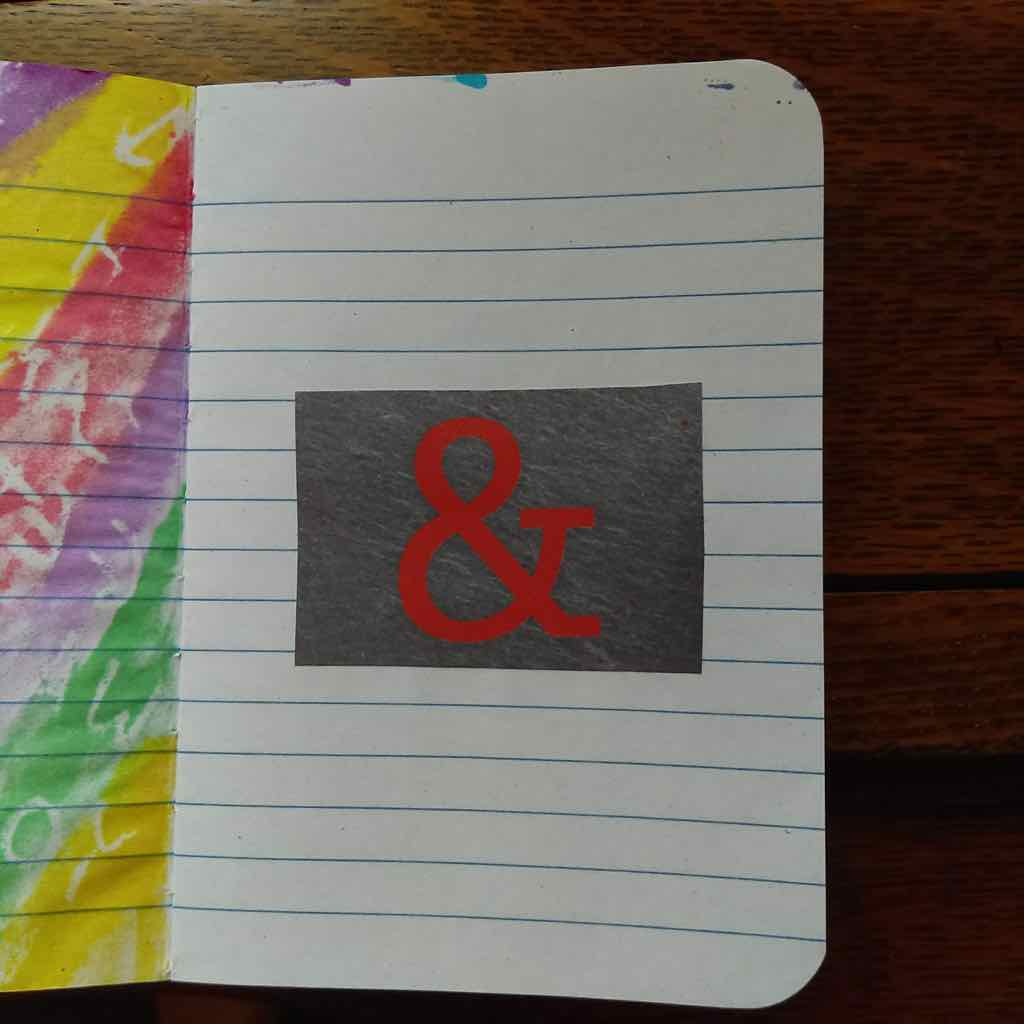
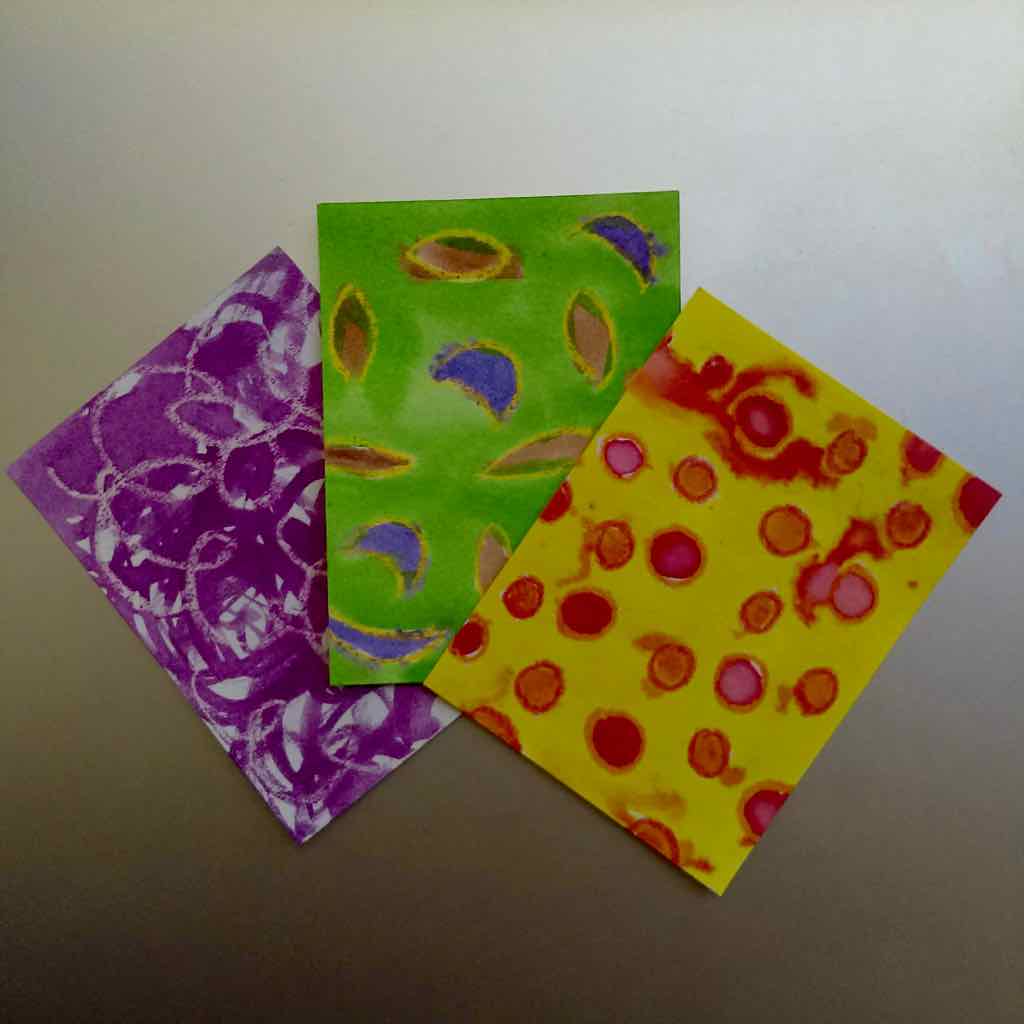
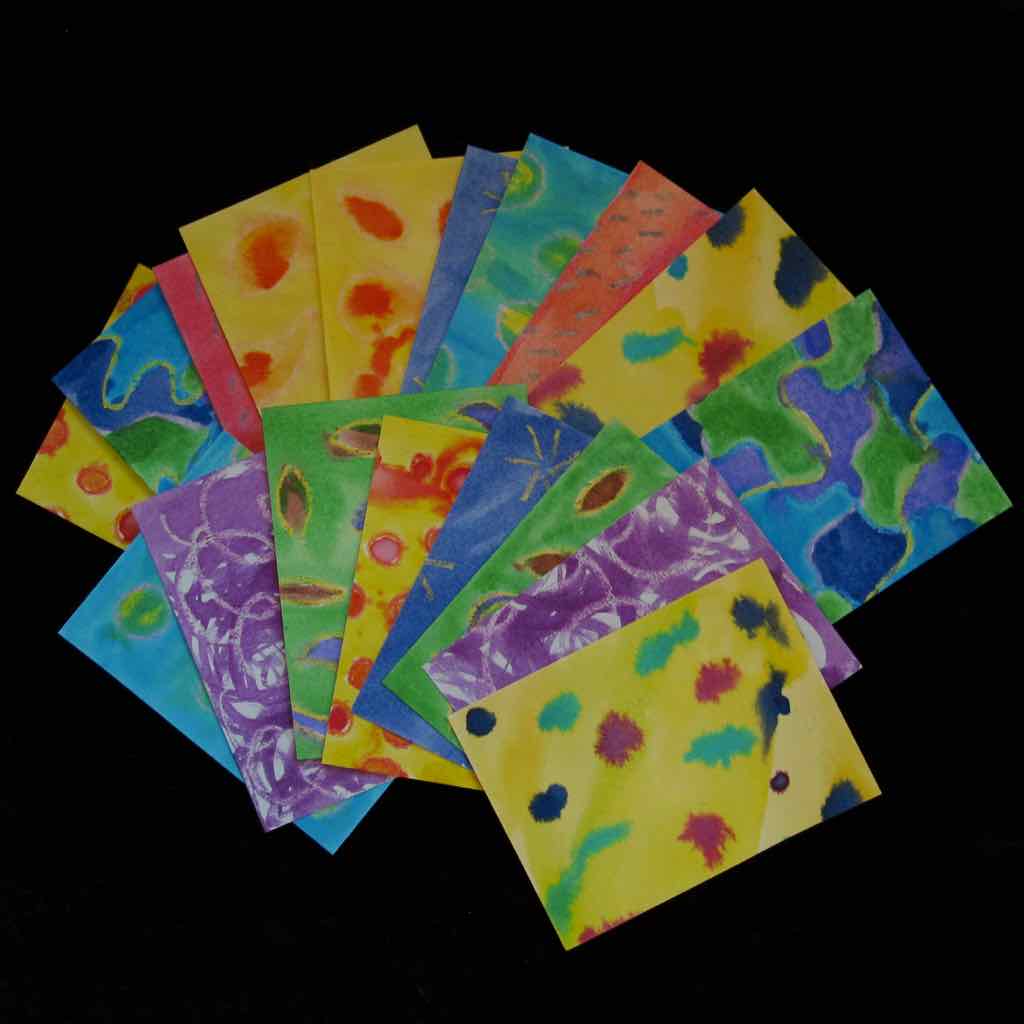
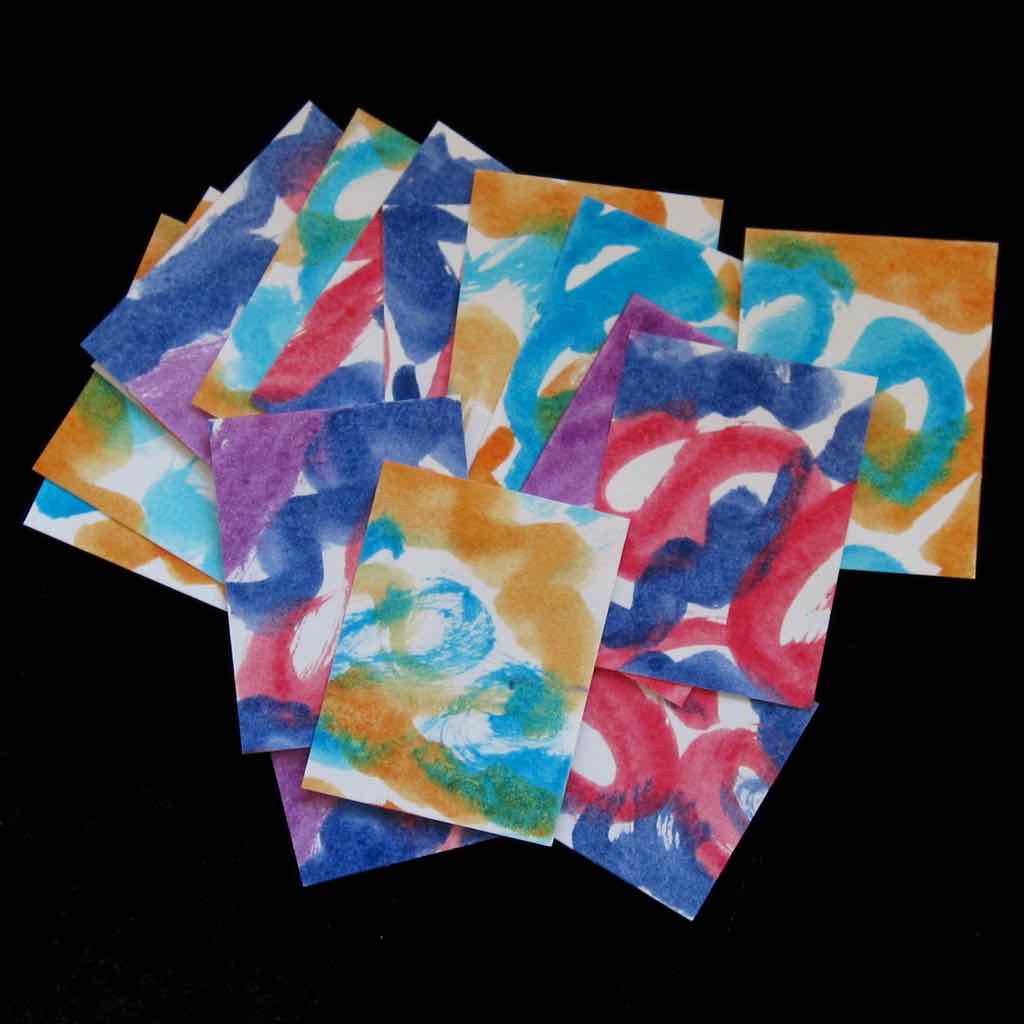
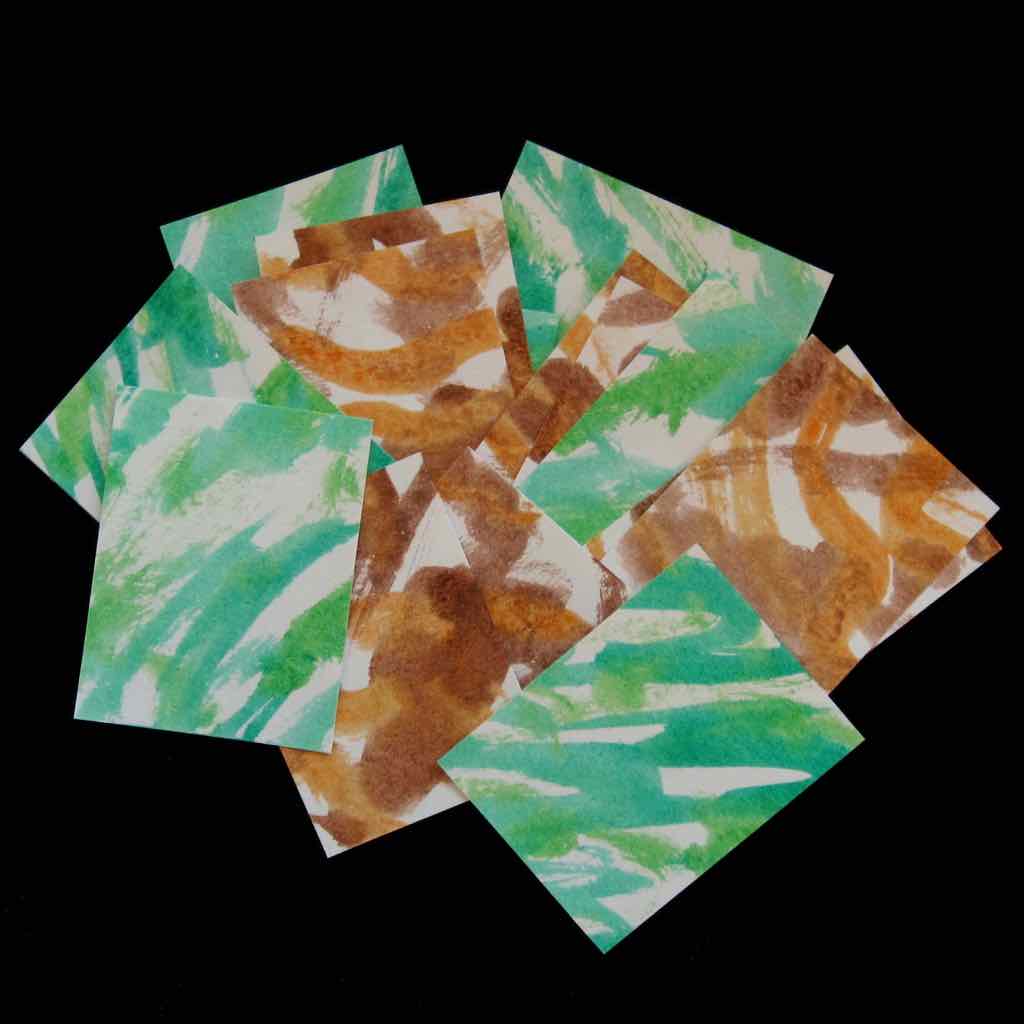
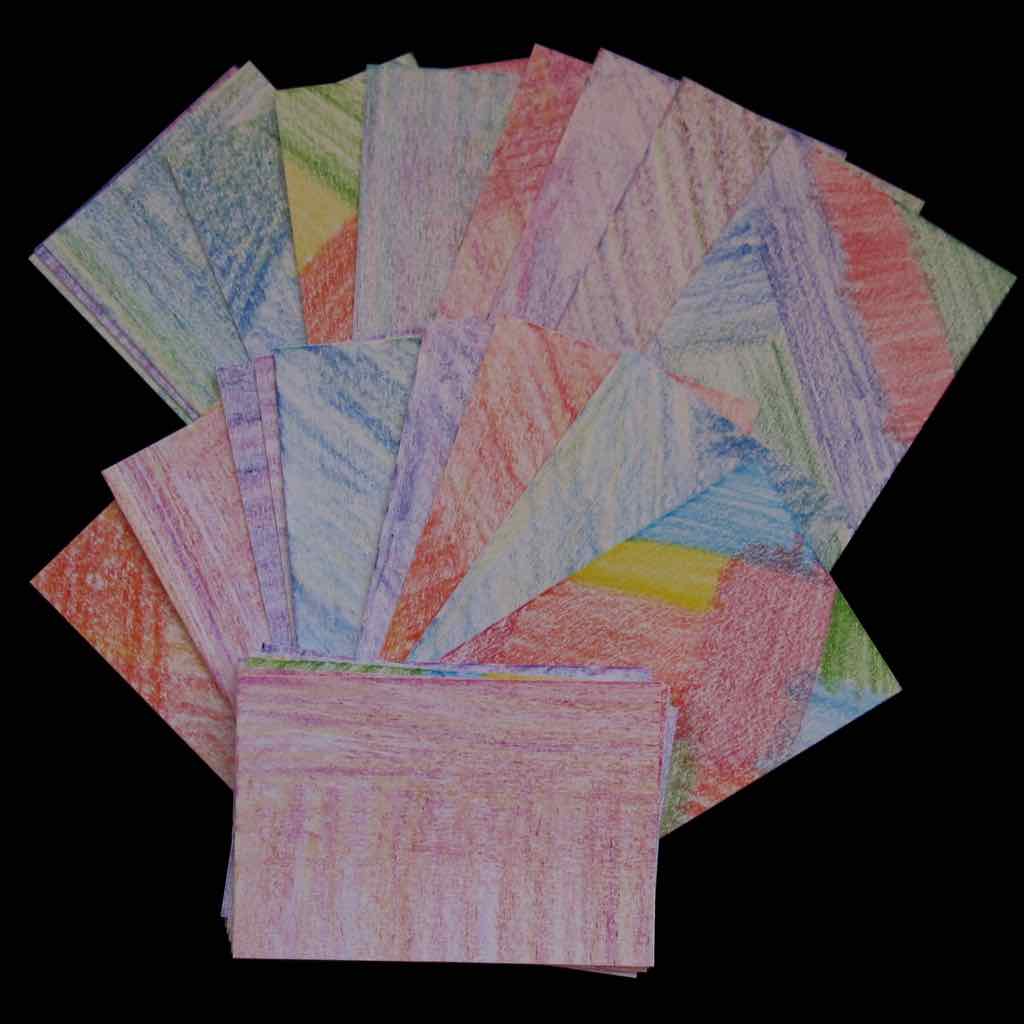
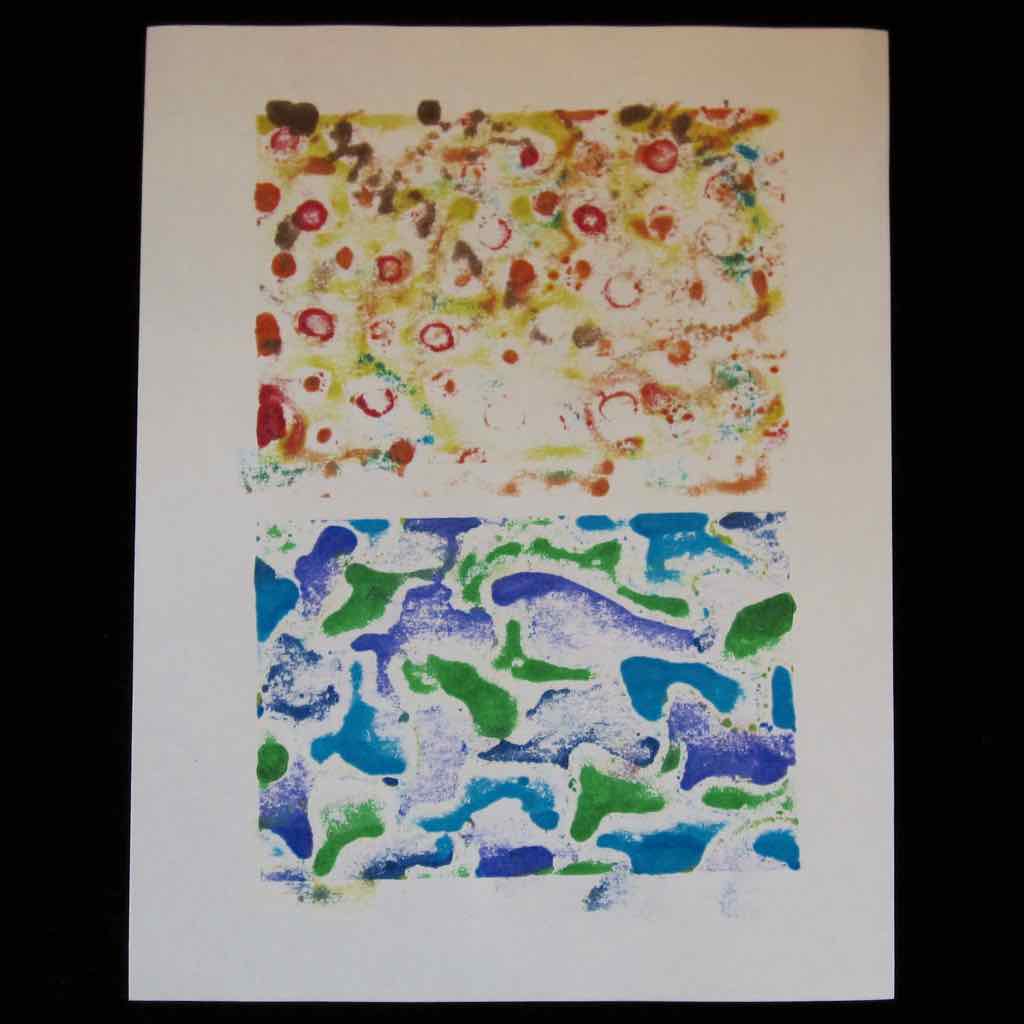
The easiest way to make your own cards is with blank index cards. You can use 4″ x 6″ cards for a large deck (though with index cards this size feels a little flimsy), cut the cards down – I’ve cut them into halves, quarters, even eighths! – or use cards that are already smaller. 3″ x 5″ index cards would be a reasonable size for a deck of oracle cards. Decorate one side of the cards to be the back – the techniques I listed for simple art journaling could all apply here. Typically you would want the backs to all match, but for test cards I have only been making them match thematically. I have a set that are (almost) all watercolor crayon resist, and a set that are all just filled in with colored pencil, and two sets that are watercolor-only. If you’re cutting apart large index cards, you can decorate a lot of backs in a short amount of time.

If you paint, the paper will probably get a little bumpy. Let it dry for 24 hours and then iron it, no steam, with a piece of blank paper between the paint and the iron. I found that even 24 hours later there was still a good amount of wet paint hiding in there to come off on the paper! I’m going to reuse my pressing sheets until I think of some way to use them as art in their own right.

So far I have handwritten the fronts of the cards, but my printer can print onto 4″ x 6″ paper, so I’ve got the option to print them. I have ideas for sturdier cards once my decks are more finished – the heaviest cardstock my printer can manage, and then cut it down into cards. I believe you could get 4 “full-sized” cards out of one sheet of letter-sized cardstock, or 6 small-but-not-mini cards (oracle decks are usually significantly larger than playing cards, but not always and it’s certainly not a requirement). I even have corner-rounding punches to make them nice and fancy. That process is a good while in the future, though!


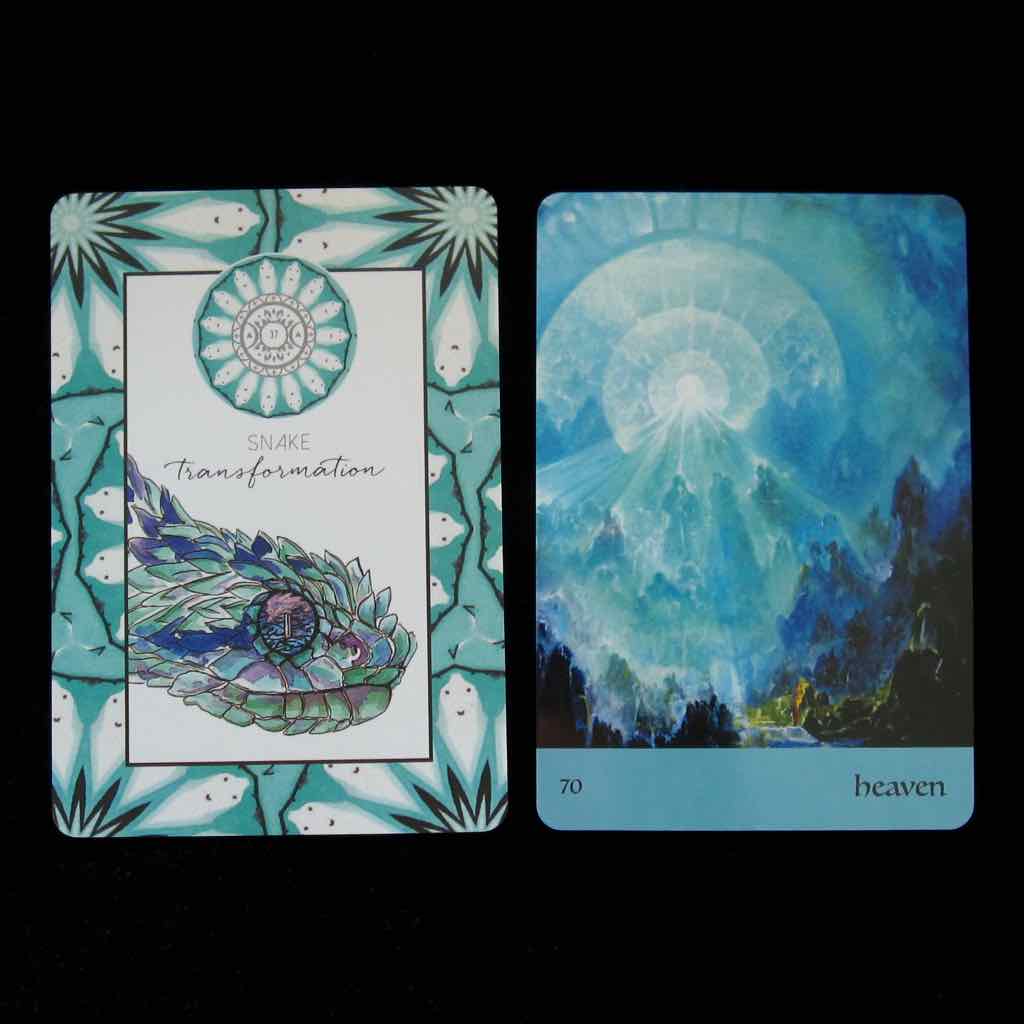
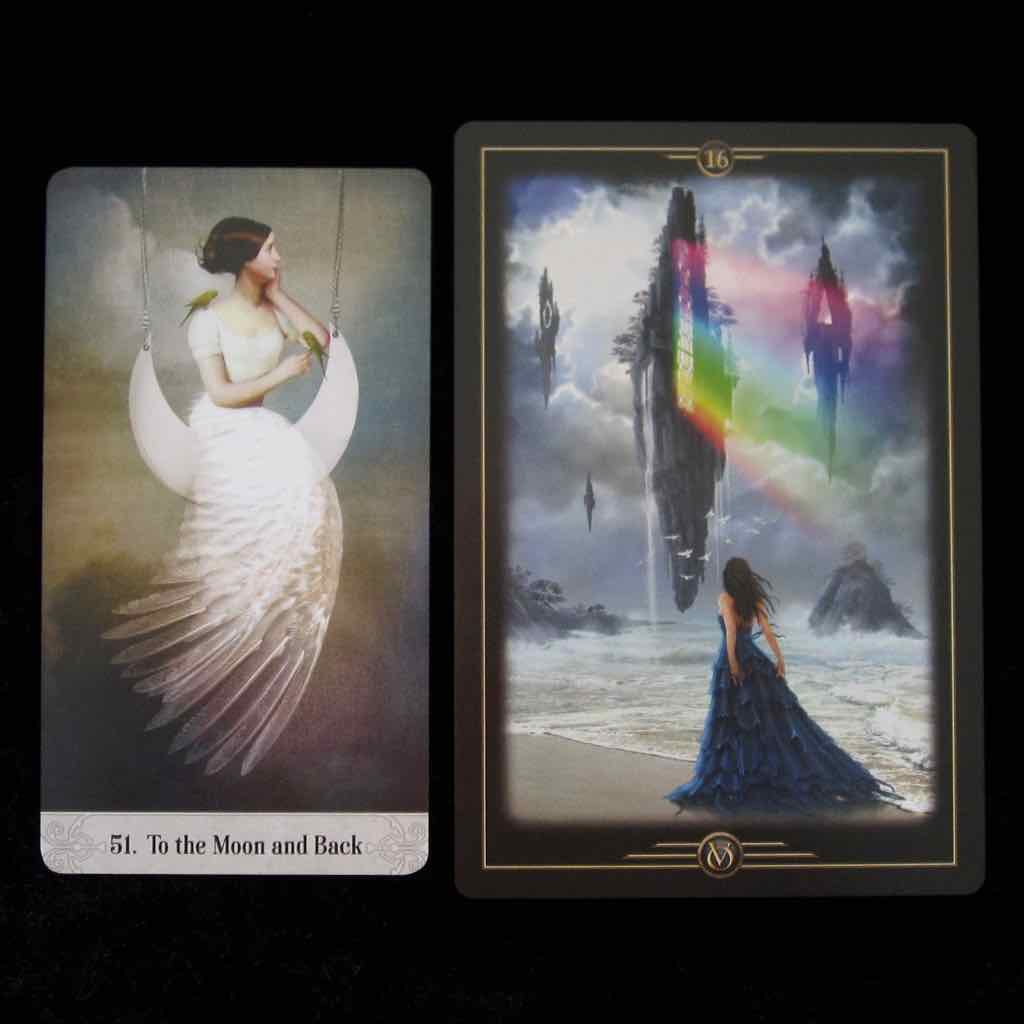
Decks shown in photos:
First photo, left: Animal Kin Oracle by Sarah Wilder
First photo, right: Journey of Love Oracle, by Alana Fairchild (card meanings), Rassouli (card art), and Richard Cohn (poetry included in guidebook)
Second photo, left: Oracle of Mystical Moments, by Catrin Well-Stein
Second photo, right: Oracle of Visions, by Ciro Marchetti

First Steps into Art Journaling

I have been drawn to the idea of art journaling for a long time. It was always a combination of overwhelming and frustrating, though, until recently, when I found I had sort of taken it up by accident. It started with the decoupaged notebook craft night – I ended up with a lot of inspirational clippings that didn’t fit onto the covers of my notebooks (physically, or thematically), and decided to glue them into the smallest of my notebooks, making it a sort of “mood board for life.”

I’ve kept adding roughly a page a week to the notebook. Here are some materials and techniques that I’ve used:

  1. Magazine, catalog, and other clippings – the cover of my tiny notebook is actually out of a credit card offer, and the ampersand in the photo below is out of a newsletter from my health insurance company. art journal page: magazine clipping of ampersand
  2. Printouts from the internet – sometimes I look up a specific image that I want (since I’m unlikely to draw it to my satisfaction!), and sometimes an image crosses my path that’s worth hanging on to.
  3. Stickers – I especially like letter stickers because I have limited skills with hand-lettering, but any stickers with suitable symbols or messages are welcome.
  4. Crayon resist watercolor – write a message in light-colored crayon (assuming you’re using white paper), and then paint over it with very wet watercolor. Makes a mess of neighboring pages but a really nice effect; slide waxed paper underneath the page you’re painting to protect the next ones down. If you can go really wet, put drops of paint onto wet paper and the crayon marks will (imperfectly) contain them as they spread. The photo below is that effect, done on index cards. watercolor crayon resist on index cards
  5. Sharpie with colored pencil background – the permanent marker will lay down enough color that you can color in the background afterward with just about any colors and still be able to read it.
  6. “Crayon resist markers” – this doesn’t really work the same way as with paint, but you can write with crayon and color over it with markers and get a somewhat similar effect.
  7. Just writing, but with colorful pens – I have a set of gel pens I’m mildly obsessed with (Pilot G-2 Metallics), so sometimes I just write whatever it is I’m recording with them.
  8. Marked-up writing – however your message is recorded, you can underline, circle, put arrows to, or otherwise highlight the key words with doodling.

my simple art supplies I keep some newspaper and waxed paper with my art supplies to protect neighboring pages and my desk from my various experiments. None of my art supplies are “artist quality”; most are Crayola products aimed at grade schoolers.

I think my problem before was two pieces: overly high expectations for what I could/should produce, and expecting to just know what to put into the art journal. You see pictures online of people who art journal extensively and they appear to fill two facing pages of a large sketchbook every day with renditions of the thoughts and events of their lives — that’s not going to be me, and I should recognize that! Two-dimensional art has never been my medium, and I’m not going to suddenly know how to draw or paint by magic; I’ve also never maintained a diary for more than two months at a time, so why would it suddenly be easier to maintain one that requires a lot more effort?

For me, art journaling is more about making things that stand out in my mind also stand out on paper – and I don’t have two pages a day of that kind of content.

In fact, for a long time I had very little of that content. I have found, however, that adding “non-art” journaling to my life – which is still not diary-style, and about which more in future posts – has created the contents to put into the art journal. Funny, that – taking time specifically to think about my life has allowed me to articulate the things I want to remind myself of. Kind of a big duh but it was only clear to me in hindsight!

Homemade Air Dry Clay

I went a little overboard some time ago and tested six different air dry clay recipes, plus a second variation on two of the recipes. I never posted about it then, but I’ve come back to it recently and wanted to share my findings.

Sources for recipes (immediate sources – none of them indicate they are the originators) are listed with links; it’s been long enough since I saved these originally that several links have died and now point to the Internet Archive.

A little English-to-English translation: “cornstarch” = “cornflour” and “white glue” = “PVA glue” (= “school glue”).

Clay Recipes: The Winners

There were two recipes that came out head and shoulders above the rest. They are the only two on this list I will ever make again.

First Place: Cold Porcelain

(Puffy Little Things, Mashia Crafts)

This is the best homemade crafting clay of all the recipes I tried. It allows fairly intricate shaping, is resistant to cracking while drying, and doesn’t leave residue on your hands. You pay for those qualities with the amount of work to make it, the fact that includes non-edible (though still non-toxic) ingredients, and that it dries to a yellowish color.

Ingredients: 1 cup each white glue and cornstarch, 1 tbsp each lemon juice and baby oil; may substitute lime juice or vinegar for lemon juice and cooking or mineral oil for baby oil.

Instructions: Mix glue and cornstarch, then mix in oil and lemon juice. Microwave in 15-30 second intervals, stirring thoroughly in between, until there are no wet areas anywhere. It is possible to overcook this, so shorten the microwave times as you go along. Knead smooth and leave overnight in a sealed bag. Both sites recommend wearing hand lotion to make the clay easier to work, both for kneading and when you sculpt with it, but if it’s sufficiently cooked that’s not strictly necessary.

cold porcelain objects Testing Notes: I’ve made this recipe four times now, and the instructions above are the result of my testing, not directly from either of the sites. The mixing instructions are to avoid lumps, and the real restriction is: don’t mix the lemon juice directly into the dry cornstarch. This recipe also does not reduce well – I made it successfully with 3/4 cup each of glue and cornstarch, but if you get down to 1/3 cup each it is nearly impossible to cook it enough without overcooking it into yellow rubberiness.

The two sites give different proportions for the oil and lemon juice – one of them says 2 tablespoons apiece when using a cup each of glue and cornstarch. In my testing I found that made it more difficult to cook it thoroughly, though I must admit I didn’t give it a completely fair trial. When I reduced to 3/4 cup I did not bother reducing the oil and lemon juice.

The blog instructions say to cook for 3 rounds, but my clay was never finished in that little time. The version with 3/4 cup of glue took a good 8 rounds or so; I never did it for more than 20 seconds, though, and if I’d begun with a couple of 30 second rounds it might have taken fewer total. I was concerned about overcooking it, but when you’re using a larger volume that is not as big of a risk.

Stir your hands off in between cooking rounds! This will avoid overcooking some parts while other parts are still wet, and will mean you need little to no kneading at the end.

My 3/4 cup version was the most successful of any, and although it may have been slightly on the soft side, it was workable, and didn’t stick (much). I made a few items, wrapped up some leftovers, and left them for a little over two weeks, and it was still completely usable.

Items made with cold porcelain dry very smooth and rigid, and paint easily with acrylics. The photo above is all from the earlier testing rounds; there are photos below of the final batch, including of unpainted clay. The dry items are quite sturdy – long thin pieces can be broken, but even thin flat pieces are resilient. I tried hard to break the oval-shaped “love” item in the photo above and was unable to.

Cleanup: I used a cheap plastic storage container to make this, because I didn’t want to be microwaving glue in something I would then prepare food in. I was pleased at how clean it came, though – once it dried I was able to flake most of the clay residue off, and the rest washed away easily. I also used plastic knives to mix, and broke two in the process, so the next time I make it I will find something metal or wood to mix with and just designate it a crafting implement.

Other Notes: The recipes below are given in parts, but I gave this in measurements instead for simplicity – it would be 1 part each lemon juice and baby oil, 16 or 8 parts each white glue and cornstarch, depending on the version. The Puffy Little Things tutorial has a section on troubleshooting at its end. Etsy New York has a variation they call homemade polymer clay with different proportions but the same ingredients, cooked on the stove; I did not test that one.

Second Place: Cornstarch and Baking Soda

(found all over: Southern As Biscuits, Growing a Jeweled Rose, Show Tell Share (with reduced water), De Tout Et De Rien)

This is the best play clay. Compared to cold porcelain it is far quicker and easier to make, all ingredients are edible and very inexpensive, and it dries very white. What kept it out of first? I was unable to find a way to prevent many items from cracking as they dried. The clay also leaves a powdery residue on your hands when you sculpt with it, and has a baking soda smell that I find unpleasant.

Ingredients: 2 parts cornstarch, 3 parts water, 4 parts baking soda.

Instructions: Cook and stir till the consistency of mashed potatoes, cool under damp towel, knead smooth on a cornstarch-dusted surface.

cornstarch and baking soda clay objects Testing Notes: This clay’s popularity is understandable: it’s easy to make and to work with. I have made it three times now. Use medium-low heat and stir frequently, scraping the sides and bottom of your pot. You want it fairly dry – not on the softer side of the mashed-potato spectrum. If you leave it softer it will be stickier to work with and curl more in the drying process.

If you cook it a little drier you can actually skip the cornstarch-dusted surface for the kneading step (in fact the kneading can be postponed until it’s fully cooled and you’re ready to work with it).

If I were really being careful with this I would throw the dry ingredients into a sifter and sift them into the pot – there are generally some little lumps when I make it, and sifting (and pre-mixing) the cornstarch and baking soda would probably help with that.

Items made with this clay dry with a white, powdery surface. Powdery in texture, that is – nothing comes off on your fingers when you handle dry items. It paints just about as well as cold porcelain; you can see items from my first two batches above and from the last batch below, unpainted. Items with this clay are slightly less sturdy than cold porcelain – I was able to break all of the “love” items in the photo – but still pretty resilient. Undercooked (wetter) clay seems to lead to more brittle results.

Cleanup: I used a stainless-steel pot and had trouble cleaning the residue off until I filled it with water and added a generous helping of white vinegar; after a little soak, it still needed the sponge but came right off.

Other Notes: Sand clay is a variation on this (these ingredients plus sand, with proportionally more cornstarch) that I have not tried.


What follows is general notes on air dry clay – specifically the two above but likely to translate to others as well – and a rundown of the other four recipes I tried and heartlessly rejected. Continue reading Homemade Air Dry Clay