Fleecy Felty

I made half a dozen little patches of felt this week, plus one larger one (and one failed even larger one). Turns out it’s super-quick to make felt if it’s small enough to fit on your palm.

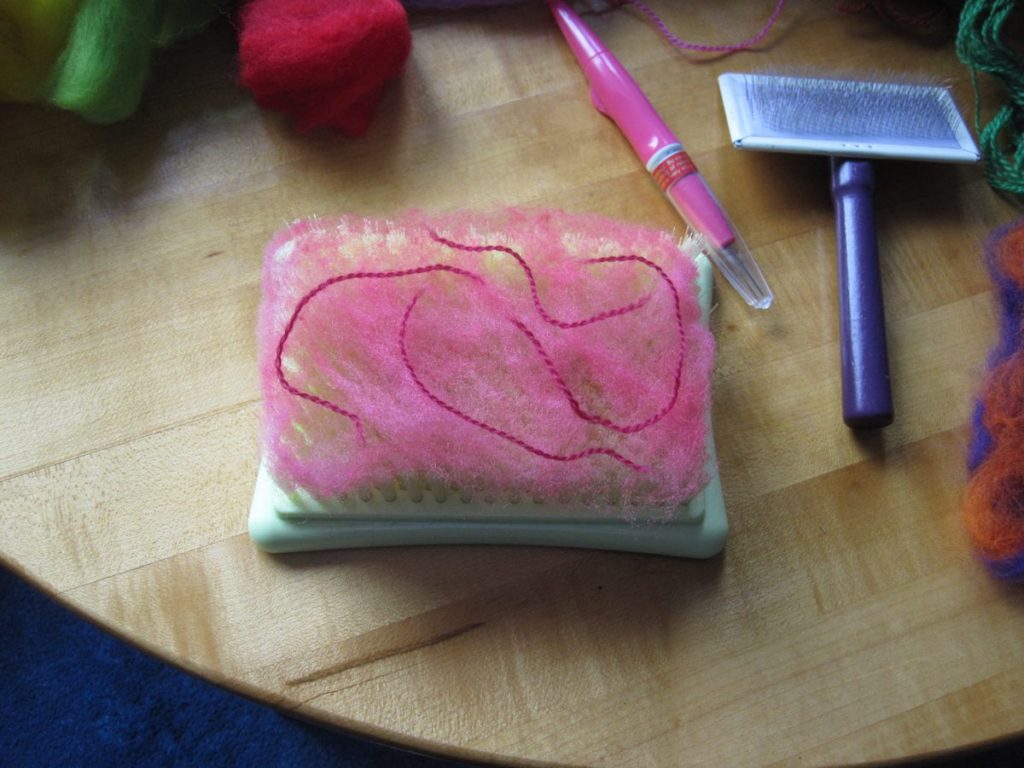
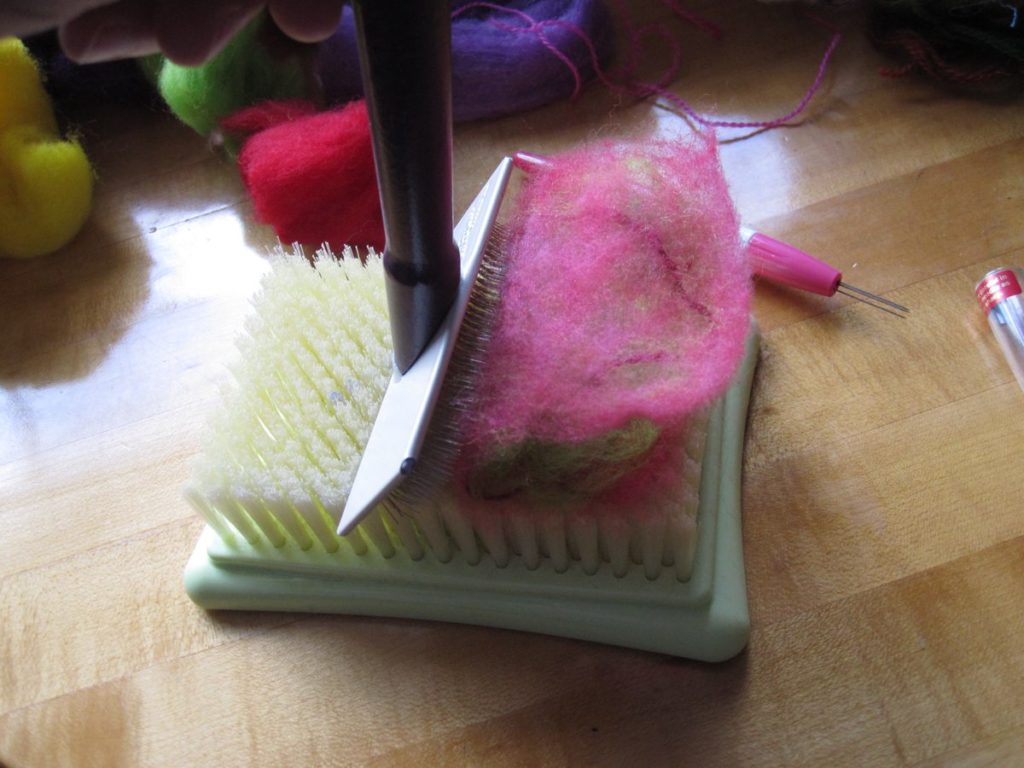
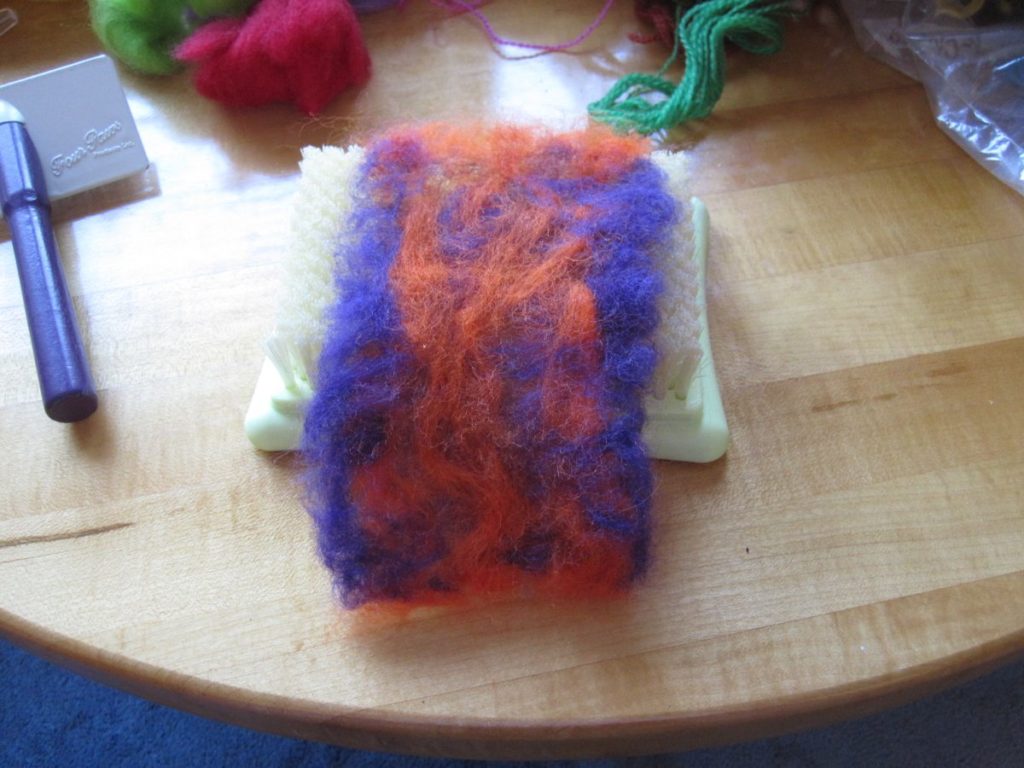
The idea: Lay some fleece out on a needle-felting brush, needle it until it can be transported without coming apart (5 minutes if you’re being careful, with flips), take it to the sink, soak it, rub it between your soapy hands for another 5 minutes (also with flips) and rinse – done.

finished small felt patches

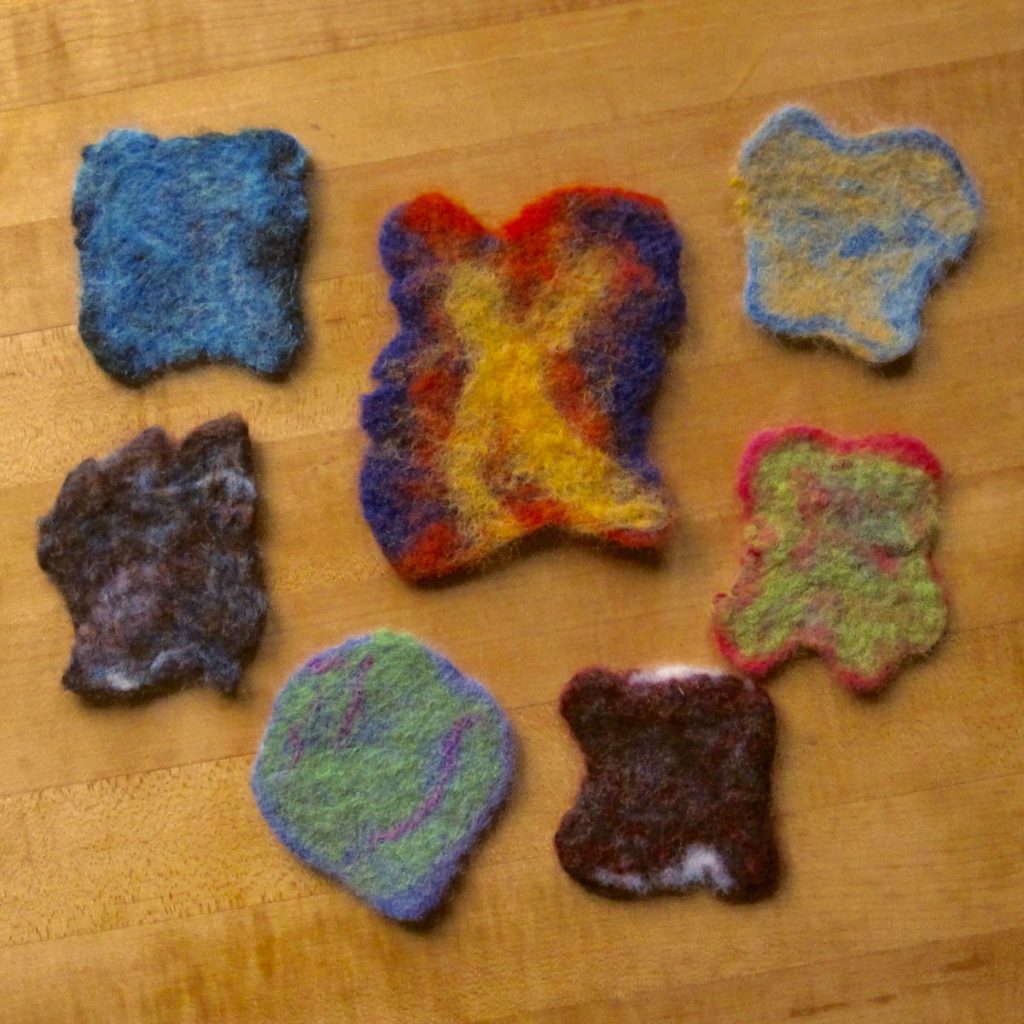
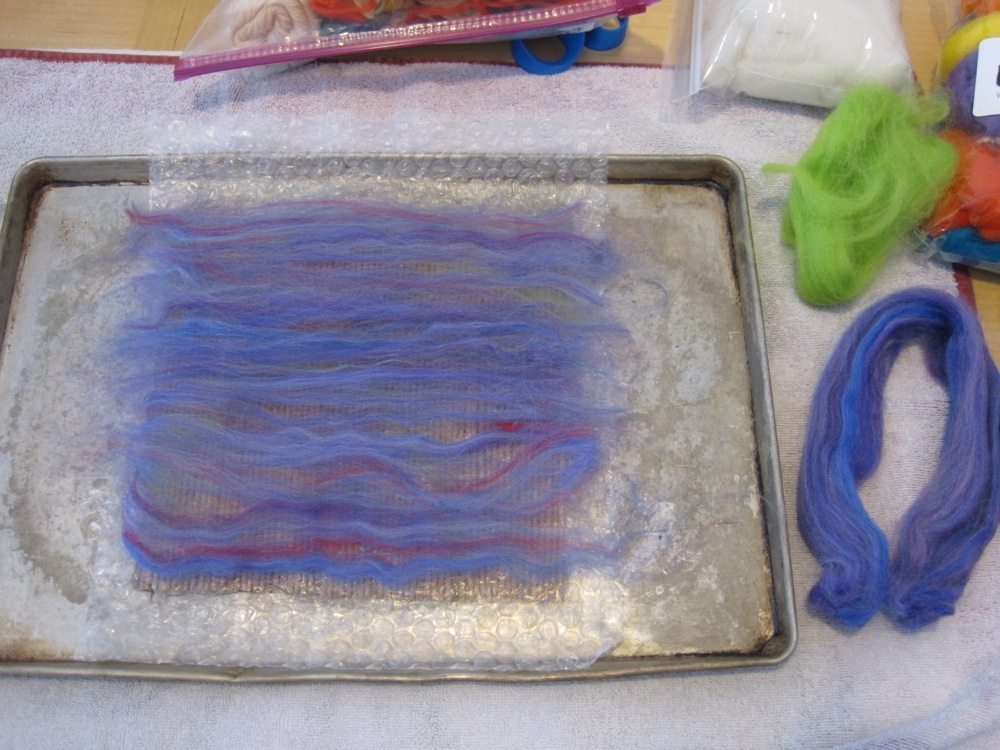
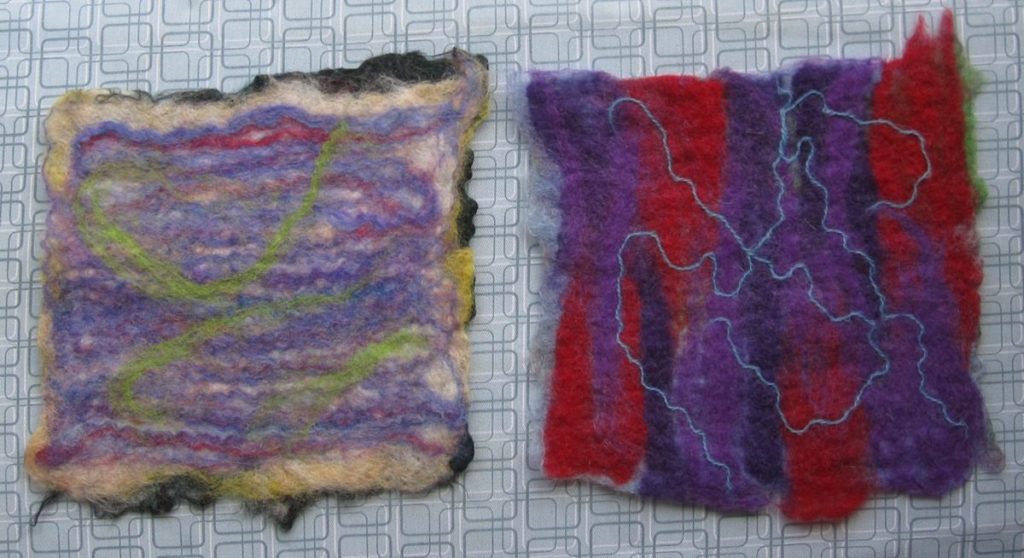
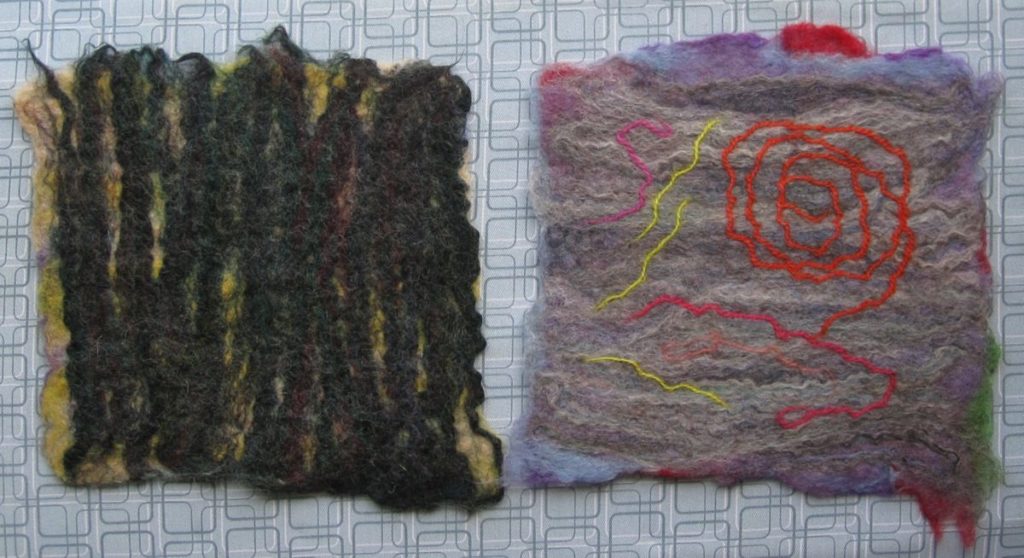
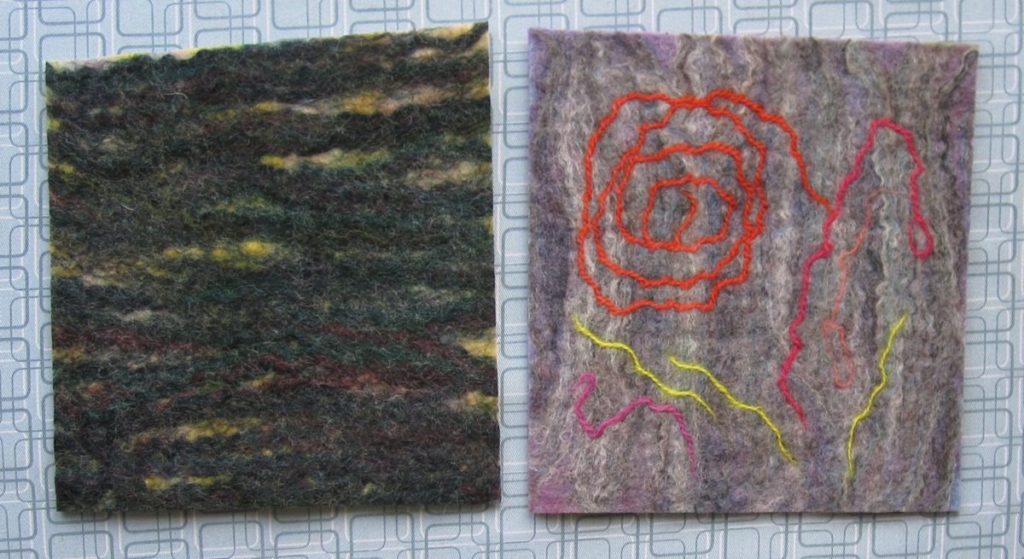
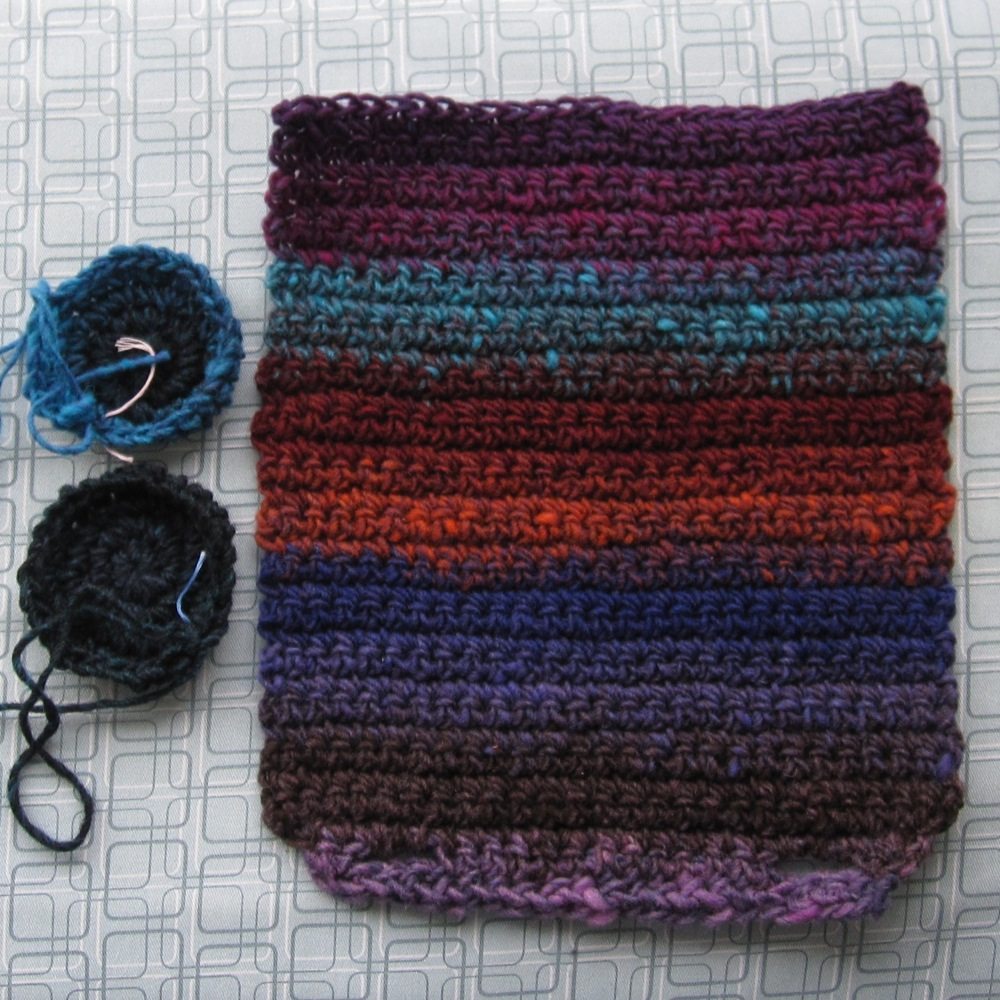
For all of the smaller patches the fleece barely overhung the felting brush. My goal was thinner pieces of felt than the last time I made felt; those were too thick to expect to keep needles in. To that end I used thinner layers of fleece, which also meant they were somewhat irregular. I stuck some crewel yarn in several of them; in the photos it’s between layers but it can also be on top – just hold the ends down with your fingers while you needle-felt the middle until it’s stuck, and then needle-felt the ends until they’re stuck too. It takes a little more care than just fleece but it isn’t fussy. If you put it in between it may or may not show well.

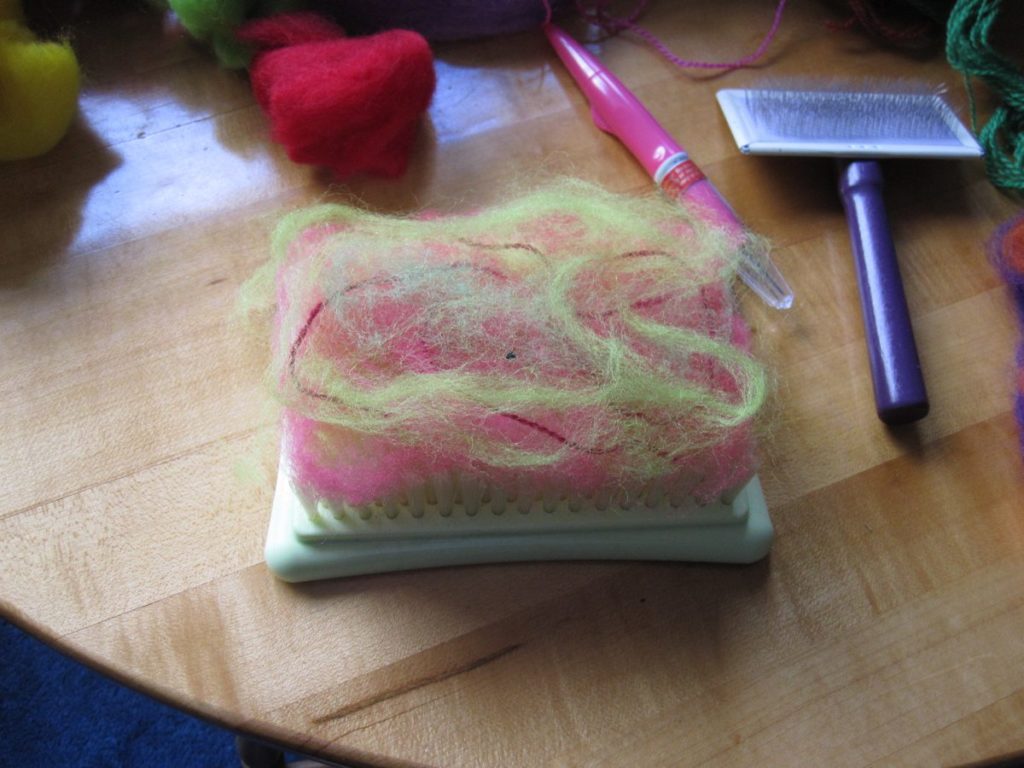
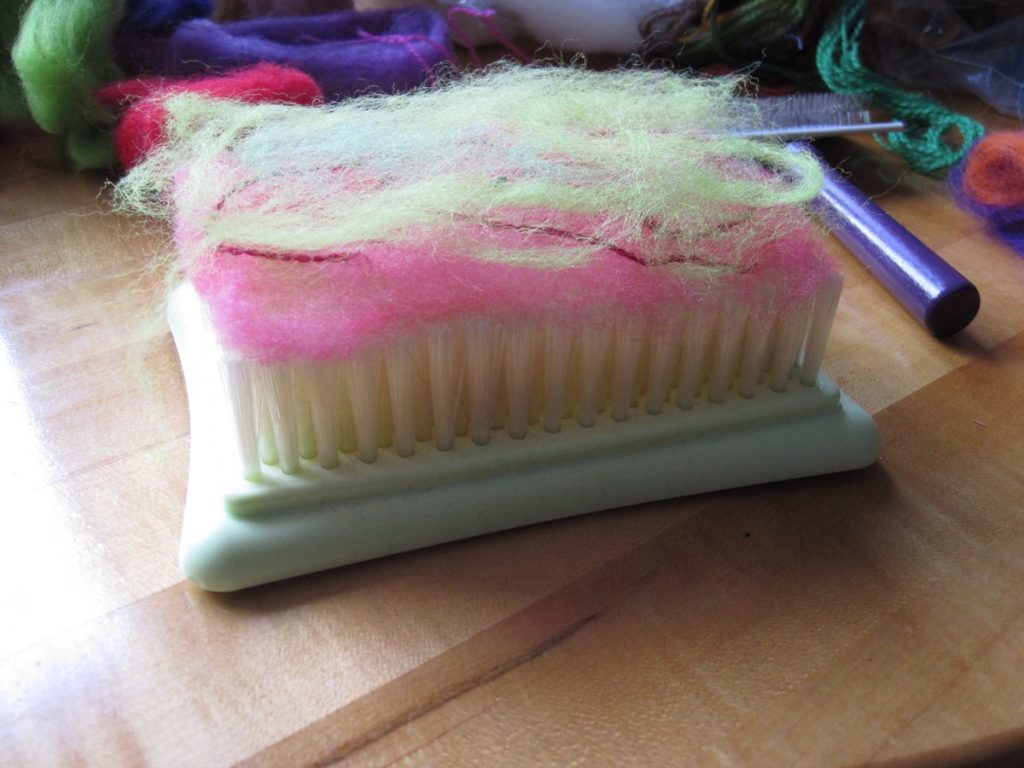
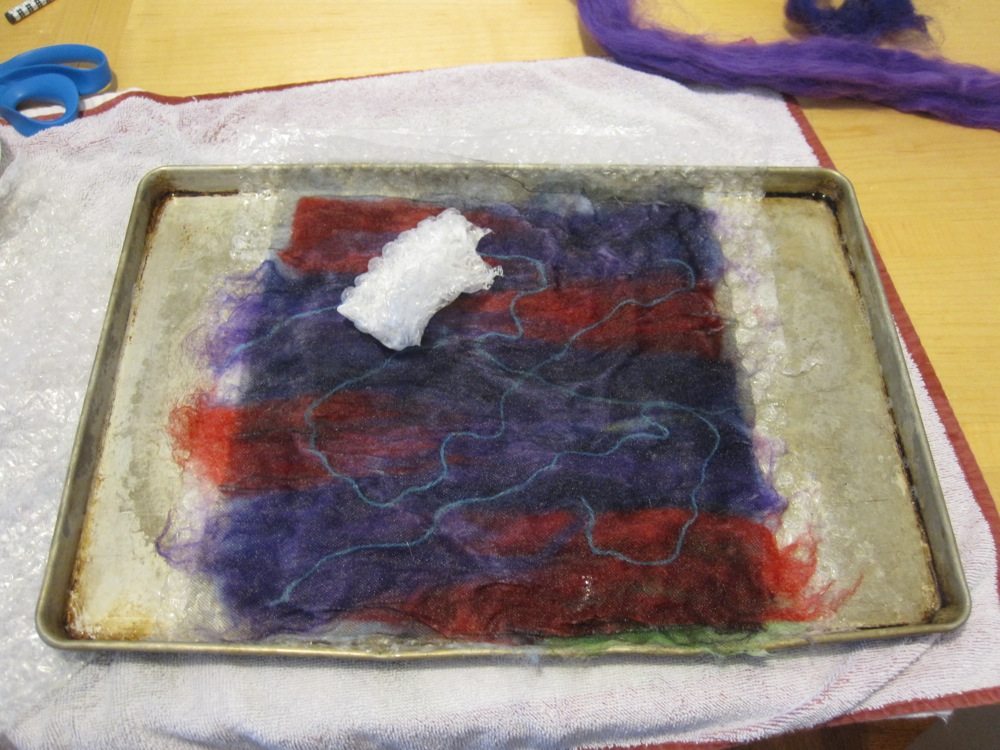
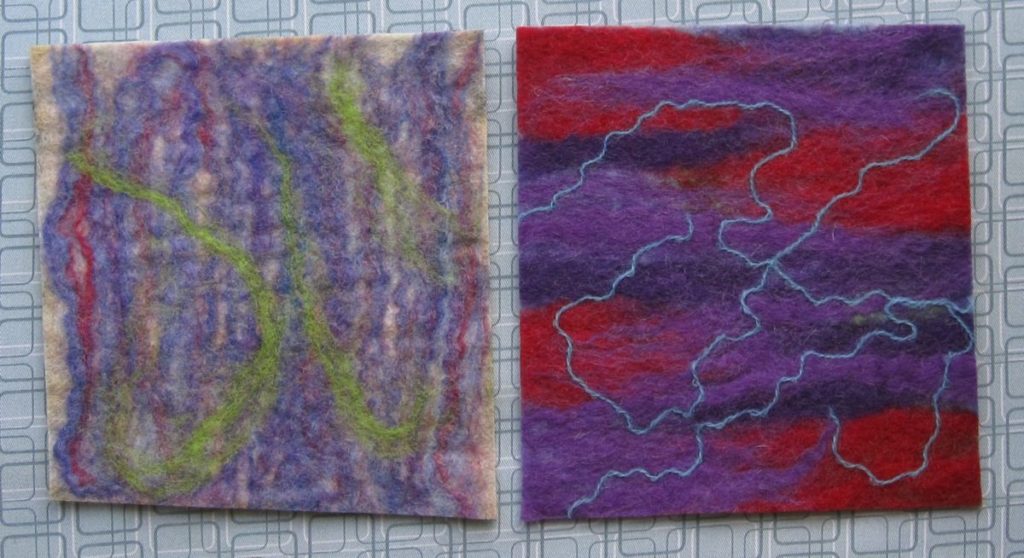
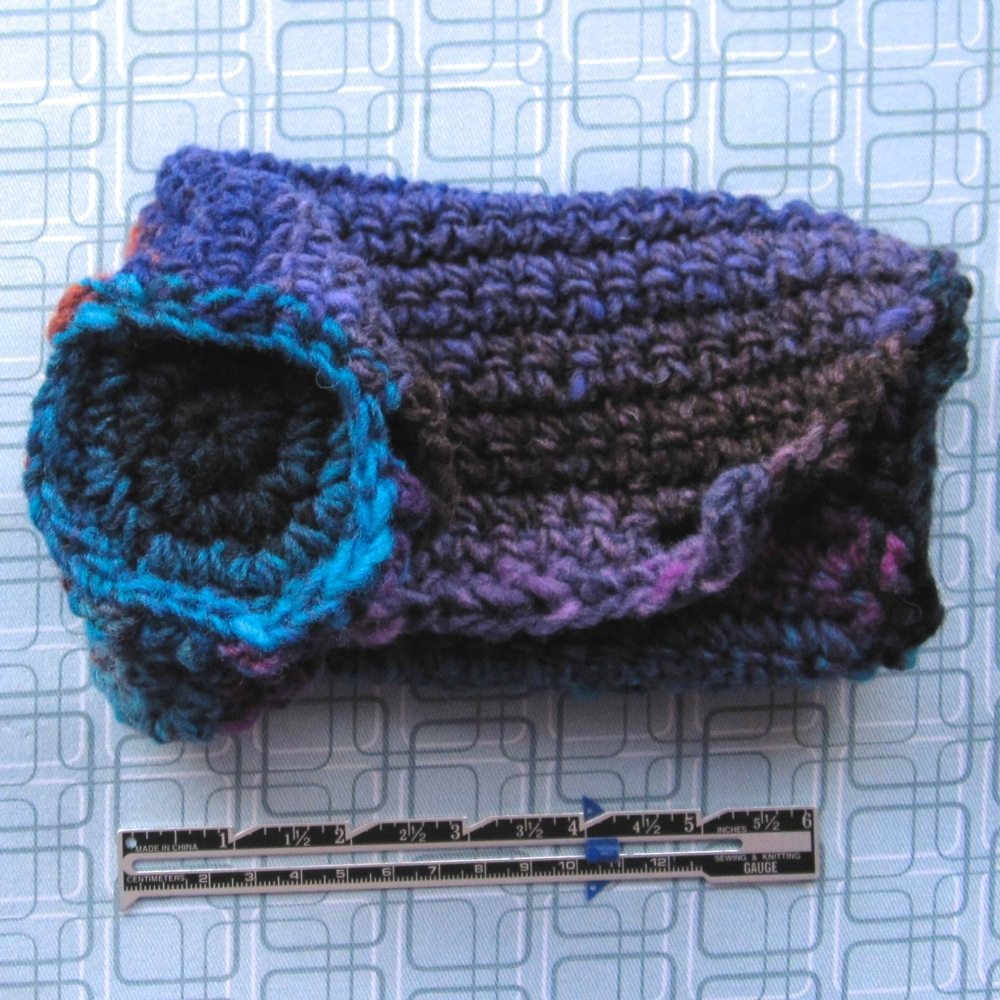
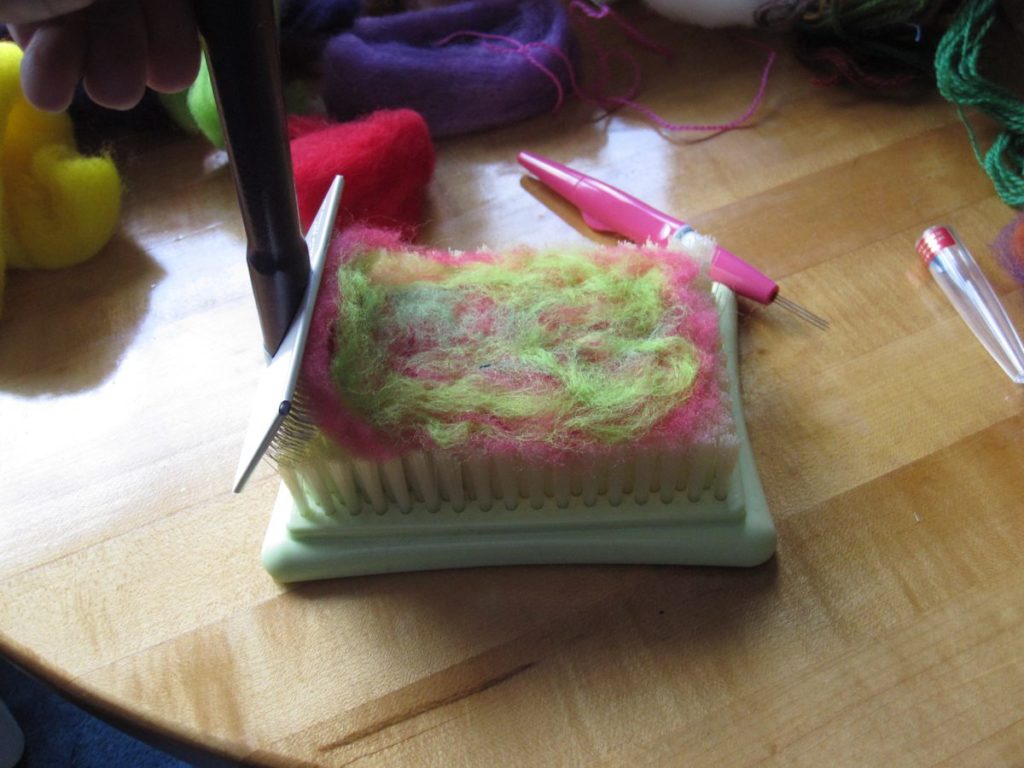
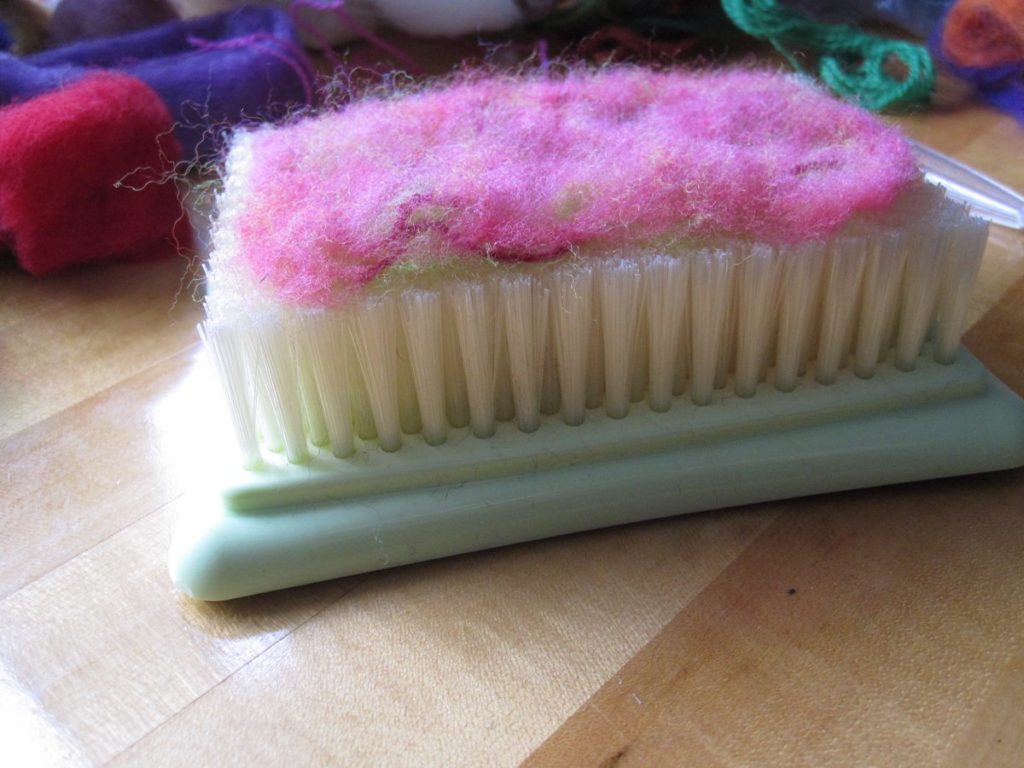
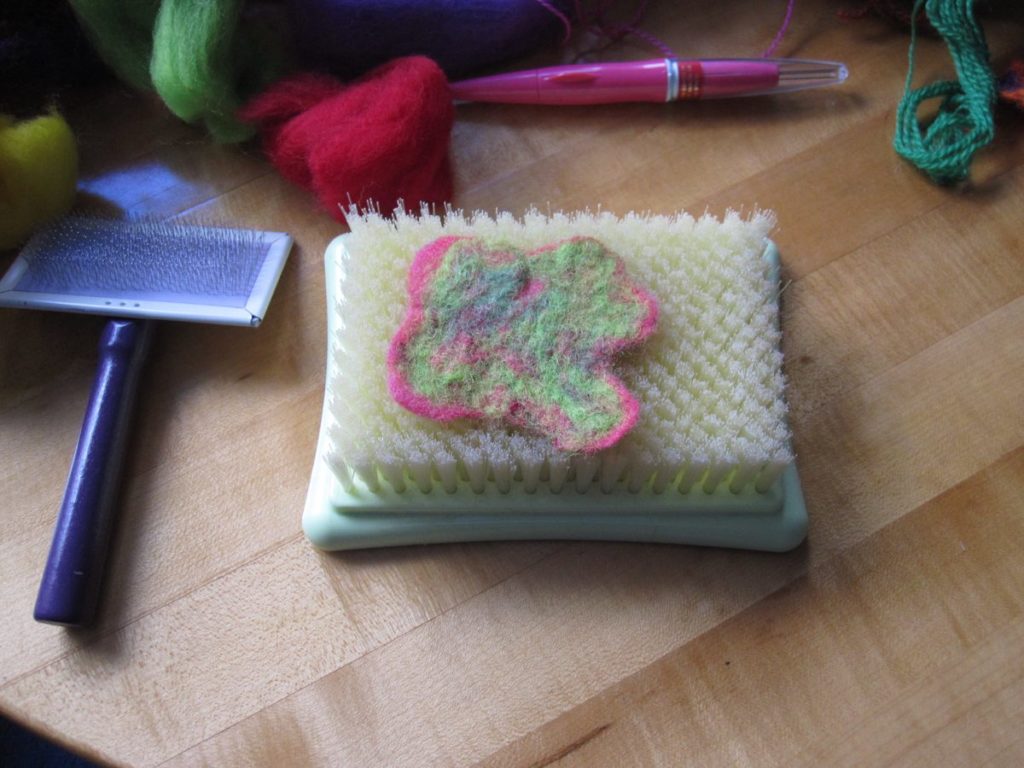
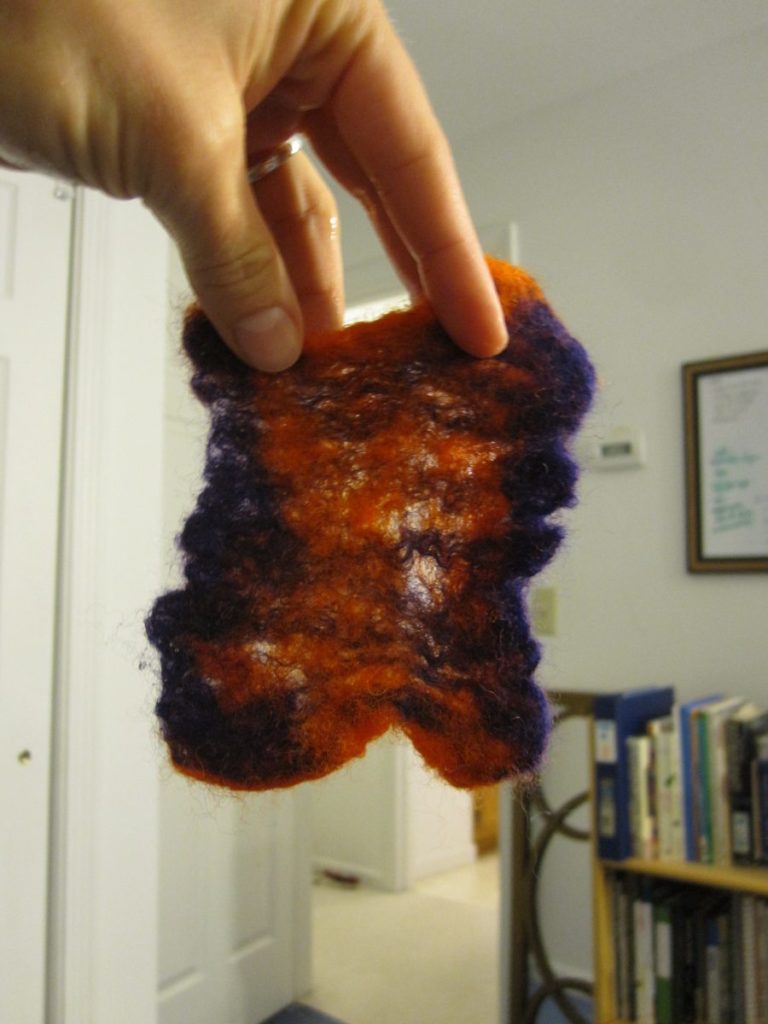
To flip it helps to have a cat brush that you can get underneath the fleece through the felting brush bristles. I also tried to needle in the edges in particular so they wouldn’t get thin in the wet-felting step. You can see in the third picture below that the size has already decreased quite a bit.

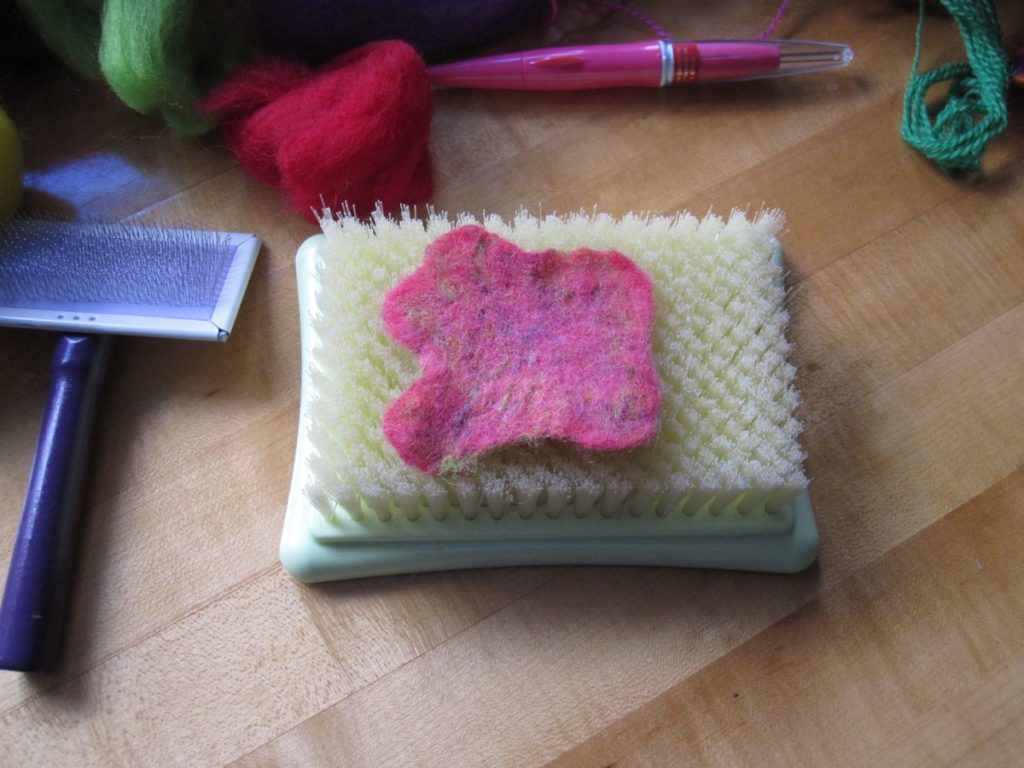
I don’t have photos of the wet-felting step, but it’s straightforward: run warm water, soap up your hands (I tried glycerin hand soap and liquid dish soap and would recommend the dish soap), wet the fleece, and rub it between your hands – gently at first and then more vigorously when the patch shrinks enough to fit entirely between your hands. Flip and rotate it so you hit it from multiple angles. The patch will not be a regular square and I saw no way to influence the shape – it probably depends on what parts of the fleece patch were thicker to begin with.

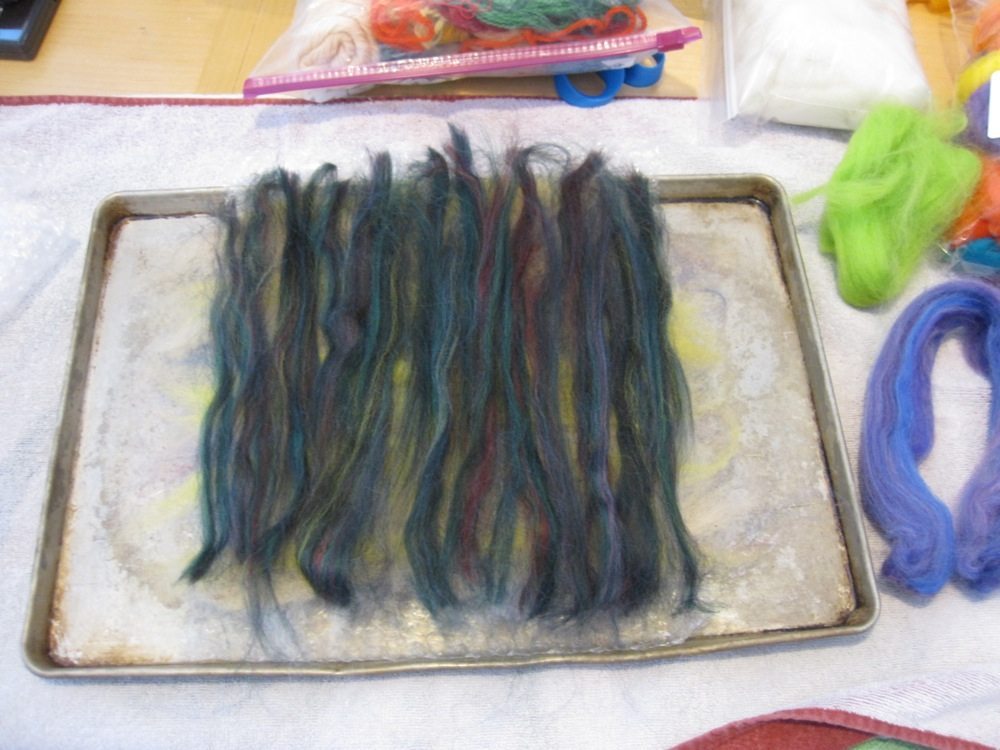
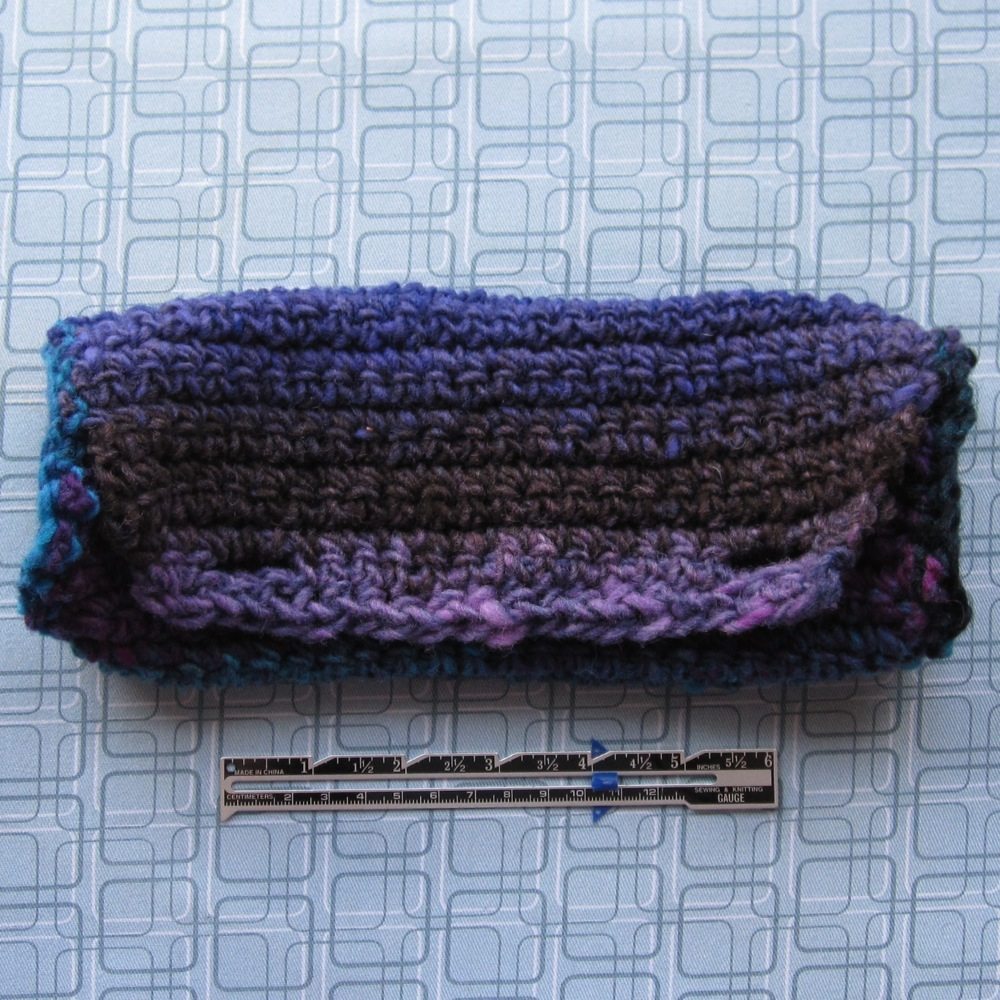
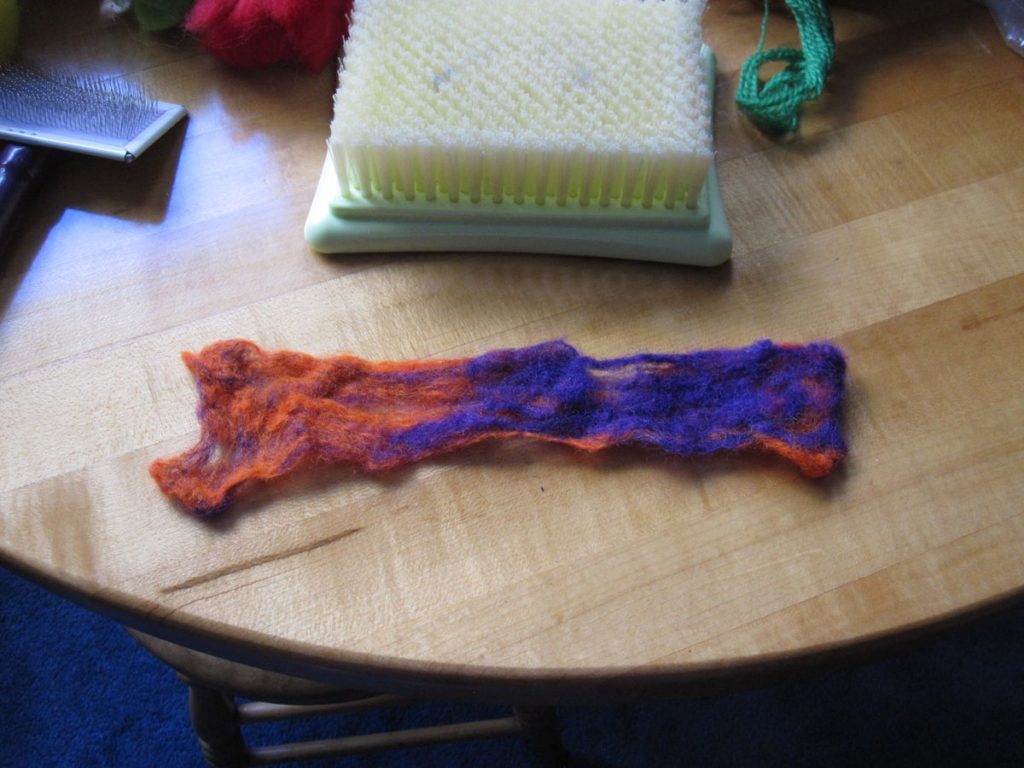
The first time I tried to make a larger patch it was simply long – and not just that, long in what was already the long direction of the brush. I believe I did not make the fleece thick enough, but it was also quite difficult to wet felt because of how much larger than my hands it was. You can see in the photo below that it really didn’t come together at all.

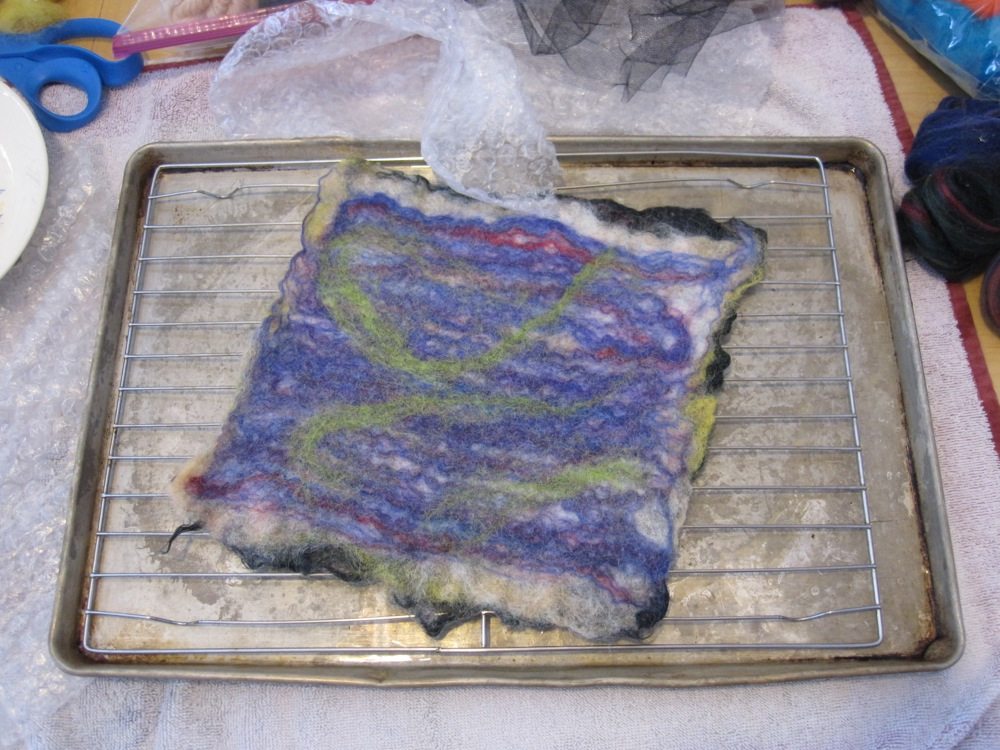
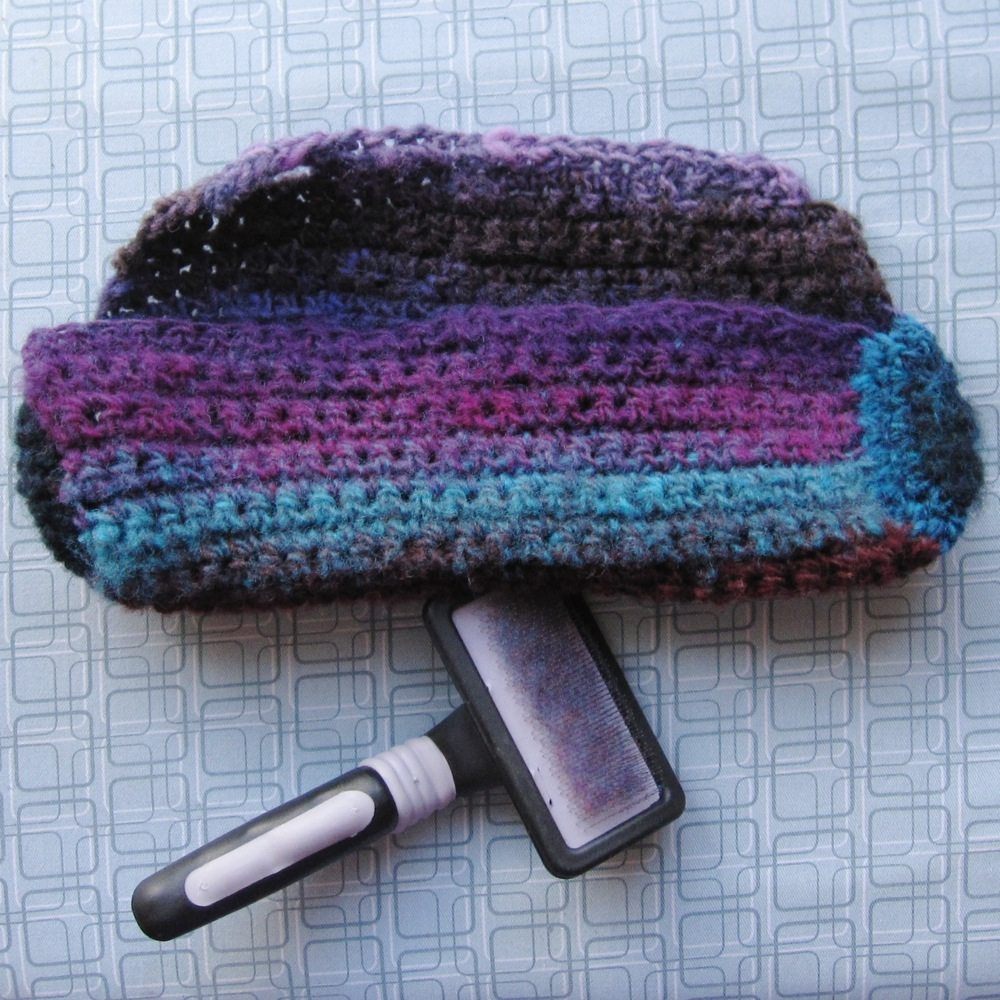
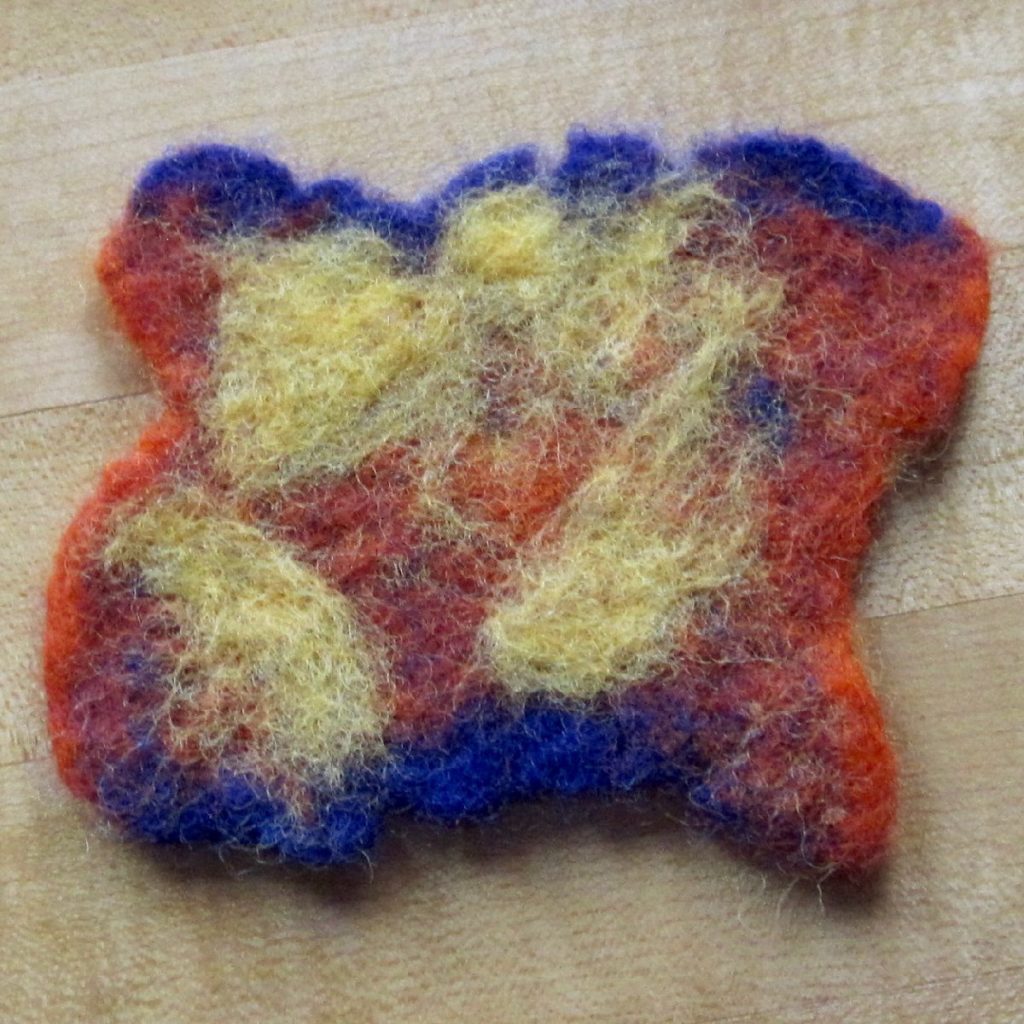
The more successful larger patch overhung the felting brush some on all sides, for a total that was a bit smaller than the failed one. It had to be needled in sections: first the middle, then in thirds from end to end. The wet-felting was slower but the same idea. Unfortunately I ended up with some gaps in the finished felt (this happened to a much lesser extent with a couple of the smaller patches), so I needled some additional fleece over them and performed a second wet-felting.

You’ll see most of these patches again in upcoming projects. I’ve been crafting steadily; it’s mostly been on things that wouldn’t be interesting blog posts, but there are a couple more photogenic projects in the pipeline!

Flat felt

I’d like to make a needlebook to keep my specialty needles, since right now they are insecurely occupying their original package. Needlebooks typically have wool felt pages, and I thought to make it particularly special I could make the felt and cut it into the pages. I found a straightforward tutorial on rosiepink, and I already had the materials.

It went fine, but definitely not as planned. I didn’t realize my bamboo sushi mat was comically tiny, and as it happened my netting wasn’t much better and I didn’t have a spray bottle to sacrifice to the cause like I thought I did. After I finished the first one I decided to try to make another, and be more tidy about it – the first one grew as I layered, giving it a large messy perimeter, and the middle layers of wool show through the outer ones quite a lot.

making flat felt making flat felt

Tutorial modifications: I wanted to decorate the lower side, so I laid netting over the bubble wrap before starting to layer fleece, but in retrospect I’m not sure that was necessary. The netting is definitely desirable for the rubbing step, but you can always move it if you flip the piece (which I did, at least the second one). My needle felting stash has both smoother and coarser wool, so I sandwiched two layers of coarser wool between two layers of smoother wool. It seemed like a great use for some beautiful variegated fleece I’d been hanging on to – three of the sides use that. I only decorated one side of the first piece, with contrasting fleece at different angles, but I put strands of crewel wool on both sides of the second piece. They may need a bit of needle felting to fully stay put. Fortunately this felt won’t see rough handling.

making flat felt making flat felt

My whole sheaf was a lot larger than both the piece of netting and the bamboo mat, so while I did the rubbing with bubble wrap step (though I dipped it in soapy water rather than rubbing it on a bar of soap), after that I couldn’t make the original tutorial work for my setup. Instead, I laid the non-netted side of the wool against a piece of bubble wrap, laid both pieces of netting on top, rolled it up, and squeezed and turned it all along its length, with a hand motion similar to rolling up a sheet of gift wrap. I did make sure to rotate the felt 90 degrees occasionally and flip it at least once, and it worked! Here they are all nice and dry, after a touch of the iron while they were still wet. I know these pictures are somewhat small but you can click them into larger versions.

finished, untrimmed felt finished, untrimmed felt

You can’t get the real effect, though, until you trim off the raggedy edges, so here’s that view:

finished, trimmed felt finished, trimmed felt

I got a little bit of dust from the dark green wool when I cut the edges off. Hopefully they are actually stable. I am not sure I have the necessary patience for hand-felting. Of course, I can always whipstitch the edges once I cut them down into squares, after I decide how large my needlebook will be. I plan to give it a fancy cover as well, so you’ll see this again.

First time wet-felting

Just over a year ago, I bought a skein of Noro Kureyon, a scratchy wool yarn the yarn shop proprietor said was good for felting. I couldn’t decide what to make with it, so it sat for ages. Well, with my new drawing habit, I wanted something to keep my pencil and eraser in – mostly so they would be easier to hold on to when I wanted to move between the dining table and sewing room table.

The shape I decided on was a barrel with a flap in the long direction, buttoned down near each end. The pattern is at the bottom of this post (behind the cut, if you’re on my main blog page); before that are my experiences with the felting process.

pencil pouch, preassembly assembled pouch pre-felting

My pre-felting measurements:
Gauge: a bit over 11 stitches and a bit under 13 rows in 4″.
The rectangle is 10.75″ tall and just over 9″ wide.

assembled pouch pre-felting, showing end pouch brushed, pre-felting

I read this was a good but slow felting yarn, and decided to help it along by brushing it with a cat brush before starting the felting process. I don’t know whether it helped, but then I don’t have any comparison.

slightly felted pencil pouch slightly felted pencil pouch

slightly felted pencil pouch partially felted pencil pouch

I started with two rounds of wash-wash-rinse in my giant washing machine, with two spiky plastic dryer balls for company and a little bit of soap. The machine was set on heavy soil, hot water, and the heavy duty cycle, and the pouch was in a mesh bag to keep in lint. Even after a run in the dryer, very little happened (the results are the first 3 pictures above). Afterward I did a round of hand-felting by shaking the pouch (without a mesh bag) with the dryer balls in a plastic canister, in two changes of water, each with a bit of dish soap and one also with baking soda. I read that hard water inhibits felting, and while I wouldn’t call ours hard, it’s far from soft. Another trip through the dryer, and still just about nothing (last picture above).

After a bit more research, I learned this “good for felting” yarn has a reputation online for being persnickety about felting. I went back to the washing machine, but more seriously. Same settings, with a round of wash-wash-rinse, but this time with two pairs of pants in addition to the dryer balls, a kettleful of nearly boiling water added to each wash, and a pretreatment of soaking the pouch in ice water before the first wash – the temperature change is supposed to help shock the fibers open. No mesh bag, either, because it didn’t seem to be shedding badly.

fully felted pencil pouch - front fully felted pencil pouch - back

That is when the magic happened. So much smaller, so little stitch definition. I don’t know how much was the particular method I used last and how much was the fibers finally being ready to give up their original shape, but I can say I’ll start with this method next time. A shave (see notes on razors in an earlier post) and some buttons and it was ready for use!

shaved pencil pouch pencil pouch on sketchbook

Final measurements: 7″ seam to seam and 8.5″ end to end, since the ends are poofed out. Not quite 9″ around from opening to end of flap (what would be the height of the original rectangle); 2.5″ diameter. The rectangle lost almost 2″ in each direction.

Continue reading First time wet-felting