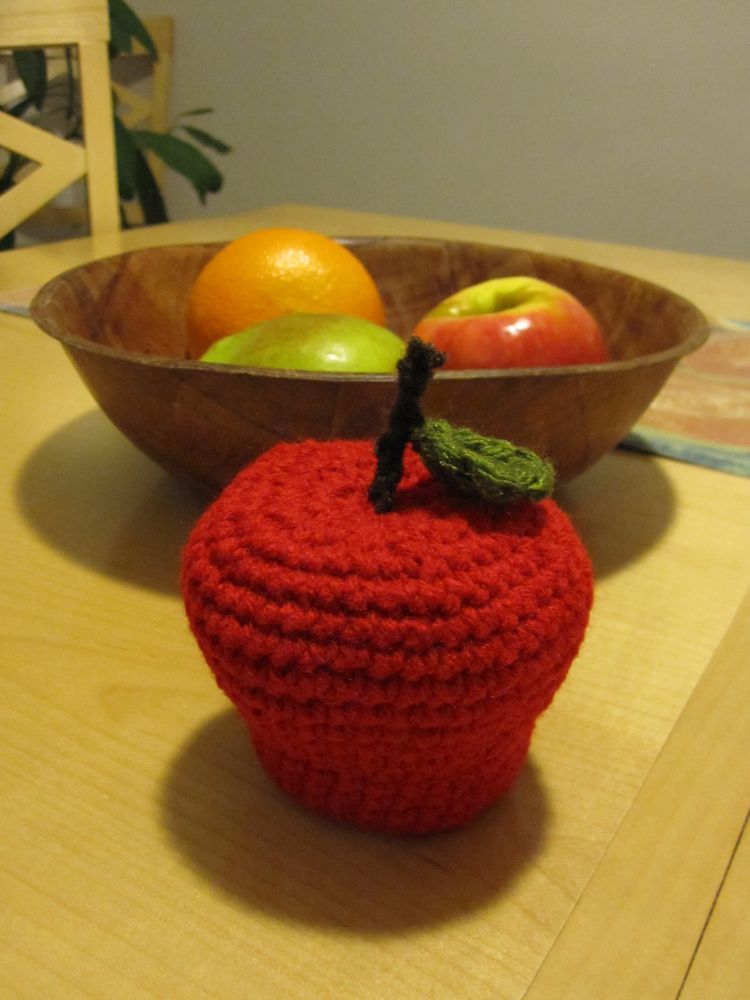
I am involved in the Upper Valley Sew-Op, a project of the Upper Valley Food Co-Op in White River Junction, VT. The logo of the Co-Op is a red apple with one leaf.
One night at the drop-in open hours, I started making one of the Lion Brand apple patterns (registration required to see the pattern). I got bored and started at the other end of my skein of red yarn to design a small flat apple pattern, finishing the large apple later. I had recently made a dozen or so of PlanetJune’s Love Hearts, the smallest of which is done as one round on a magic circle, shaping coming entirely from stitch height. I followed that model; the pattern is below. All pictures link to larger versions, and if any of them look odd it’s probably because I tweaked them to try to make the stitches clearer.
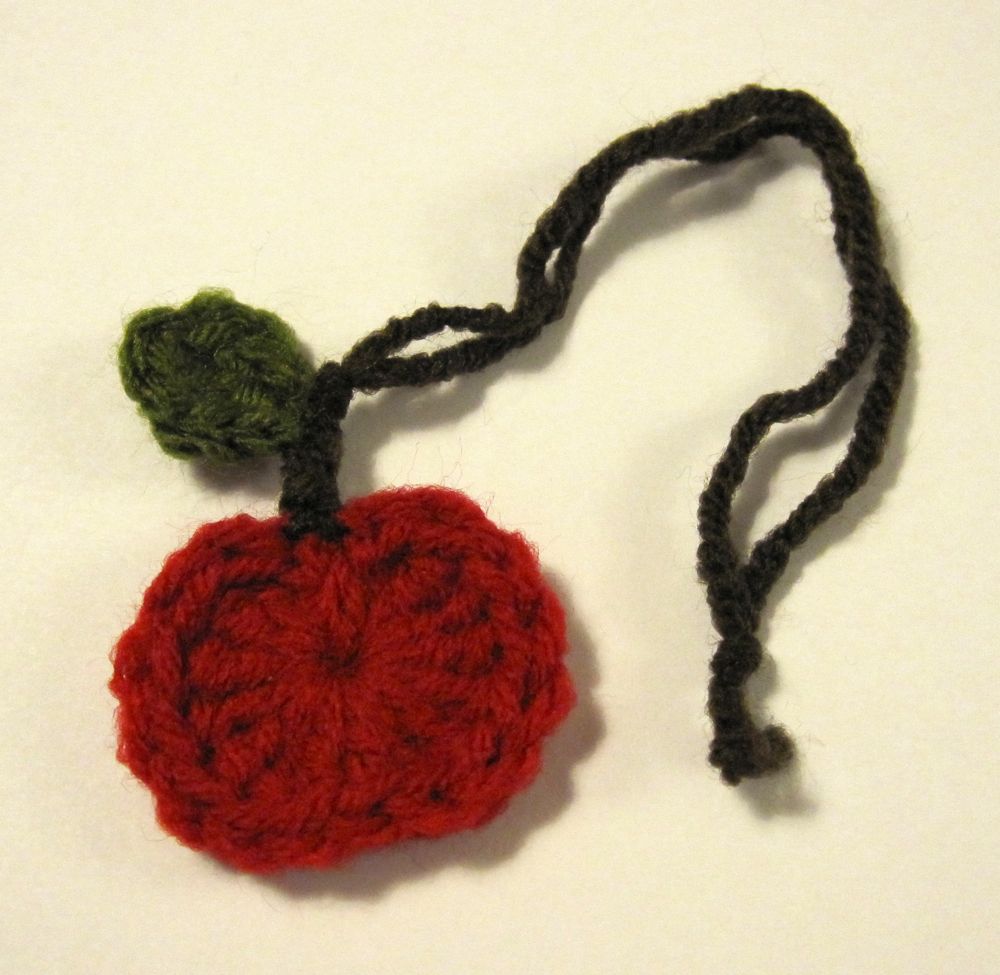
Small Apple Ornament
Abbreviations explained here.
Materials:
Small amounts of red, green, and brown worsted weight yarn
Size G/6 (4.0mm) hook
Yarn needle
Apple:
- With red, make a magic circle, pull a yarn loop through, and ch 1.
- Into circle: dc, 6 tr, 2 dc, 6 tr, dc.
- Ch 1 and sl st into circle.
- Pull circle tightly closed, sew yarn ends into apple to hide, and trim.
You may find that you need to scrunch the stitches together as you go along to make room for all of them, but hold on to both strands of the magic circle when you do so it doesn’t tighten up.
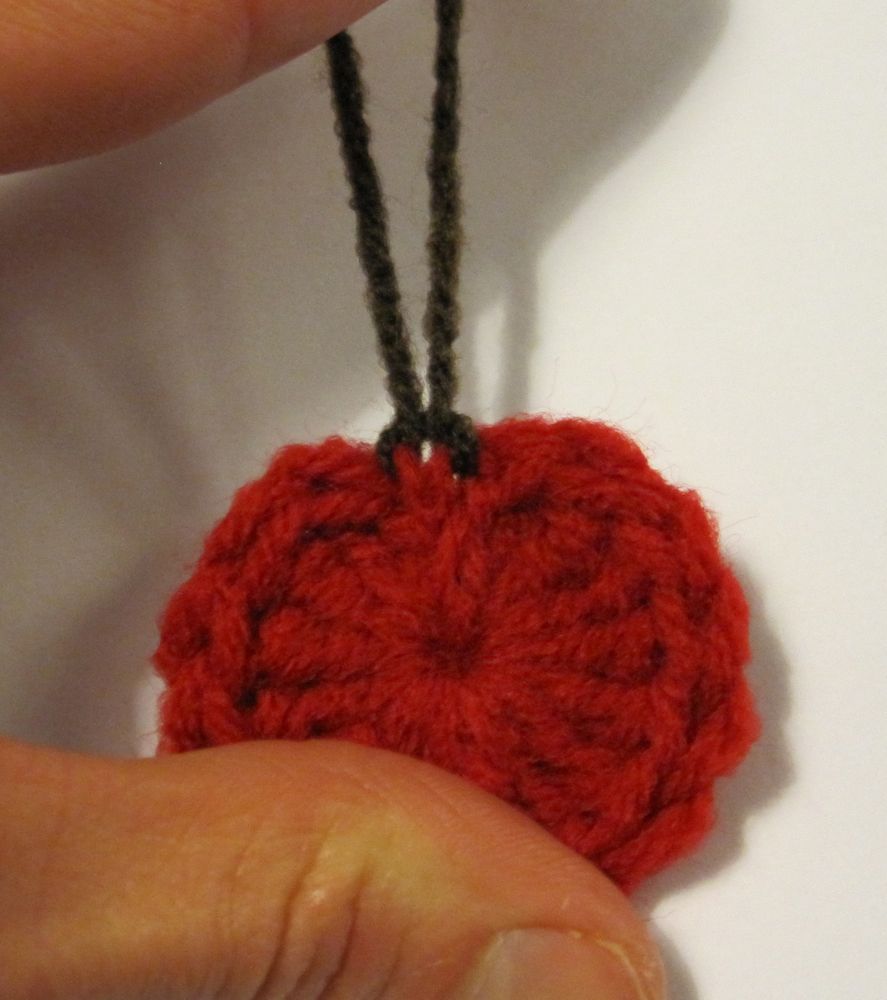
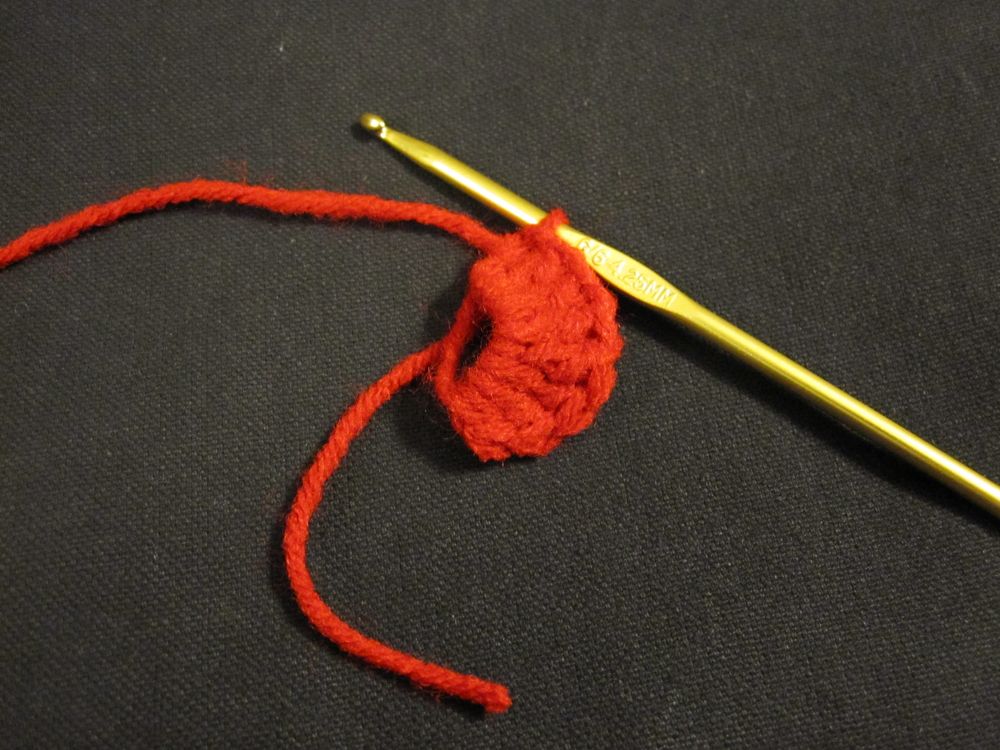
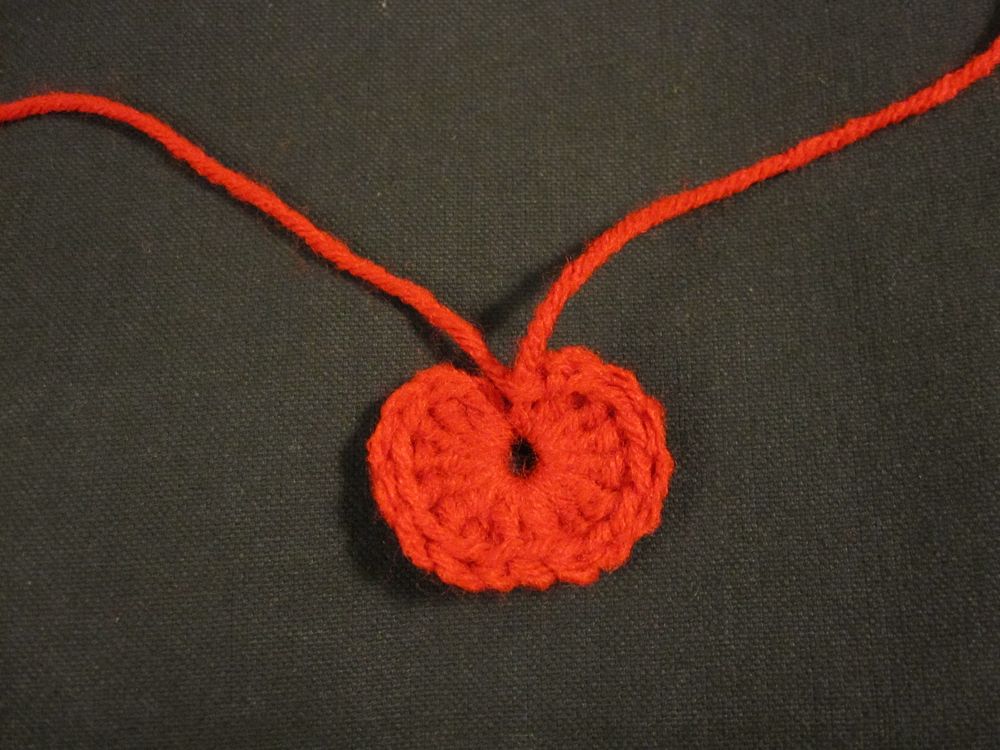
Pictures: apple halfway finished (one of the 2 dc done), complete and mostly tightened.
Leaf:
- With green, make a slipknot, leaving about a 4″ tail.
- Ch 4. Starting with second ch from hook, one st per ch, work sl st, sc, sl st.
- Ch 1. Proceeding on the opposite side of the ch, sl st, sc, sl st again.
- Sl st in first st to join; cut about a 3″ tail and pull through.
- Sew slipknot end of yarn through leaf to emerge at about the same point as the other end of the yarn.
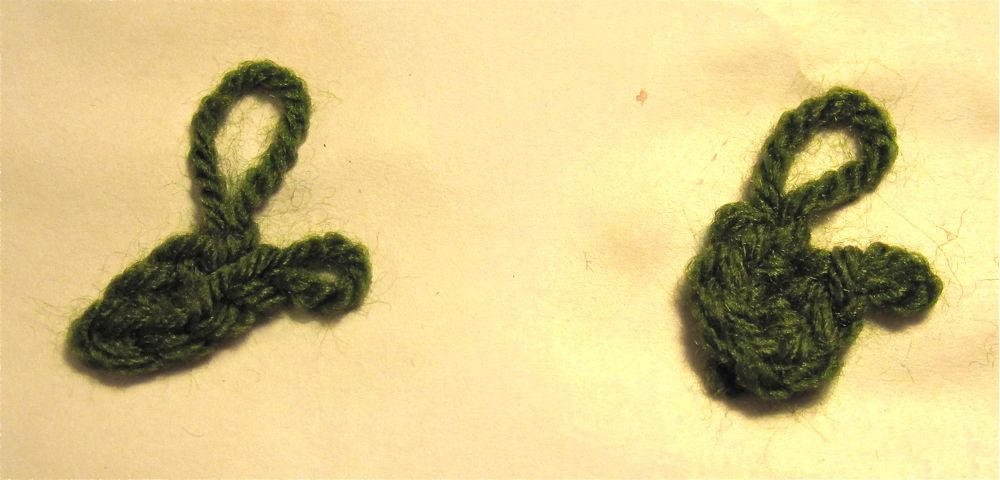
Picture: ready to make first slip stitch on second side of chain and final joining slip stitch. The larger loop is the second one (closer to the hook end) and the smaller is the final loop of the previous stitch.
Stem and finishing:
- For an ornament, cut about 15″ of brown yarn.
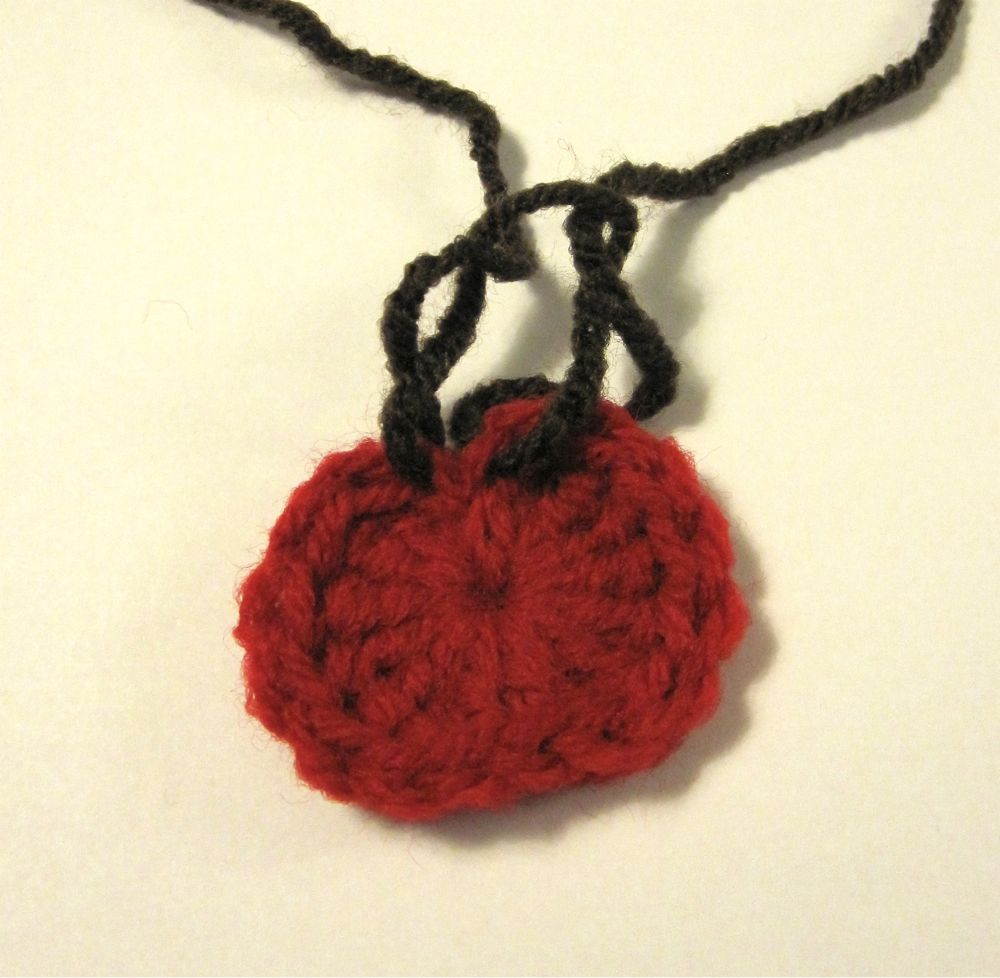
- Feed each end through a red loop near the top center of the apple, front to back, keeping the two yarn ends even length. Bring the ends toward you over the brown loop and then feed them front to back through the loop. Pull snug. You may also make a lark’s head knot (properly it will be a reverse lark’s head), but it will not look as much like a proper apple stem, as you will see two split brown marks at the bottom.
- Knot the brown yarns together about a half inch from the apple, and again a good ornament-hanging distance away from the first knot (I just use an overhand knot, treating the two strands as one).
- Tie the leaf to the stem by feeding one of the leaf’s yarn ends between the brown yarn strands, between the apple and the first knot. Tie the leaf yarn ends together (I use a square or granny knot) and sew them back through the leaf to hide. Tug the ends of the leaf to make them pointier.
- Trim the ends of the green yarn, and cut the brown yarn about a half inch above the second knot.
Pictures: What the lark’s head looks like, my attempt to show the knot I actually use, and that knot tightened down.