Hooks on parade

I crochet primarily in a recliner in my living room, with a small end table next to me and a lamp on each side. There’s not a lot of room, and the floor around the chair is covered with yarn, patterns, and notebooks. A rectangular tin that originally held fancy soap sits open on the end table, the body filled with reserved and leftover embroidery floss, the lid with current materials – including hooks. The steel ones disappear inside, and the aluminum ones stick out at one end. All of them catch on things and go missing periodically.

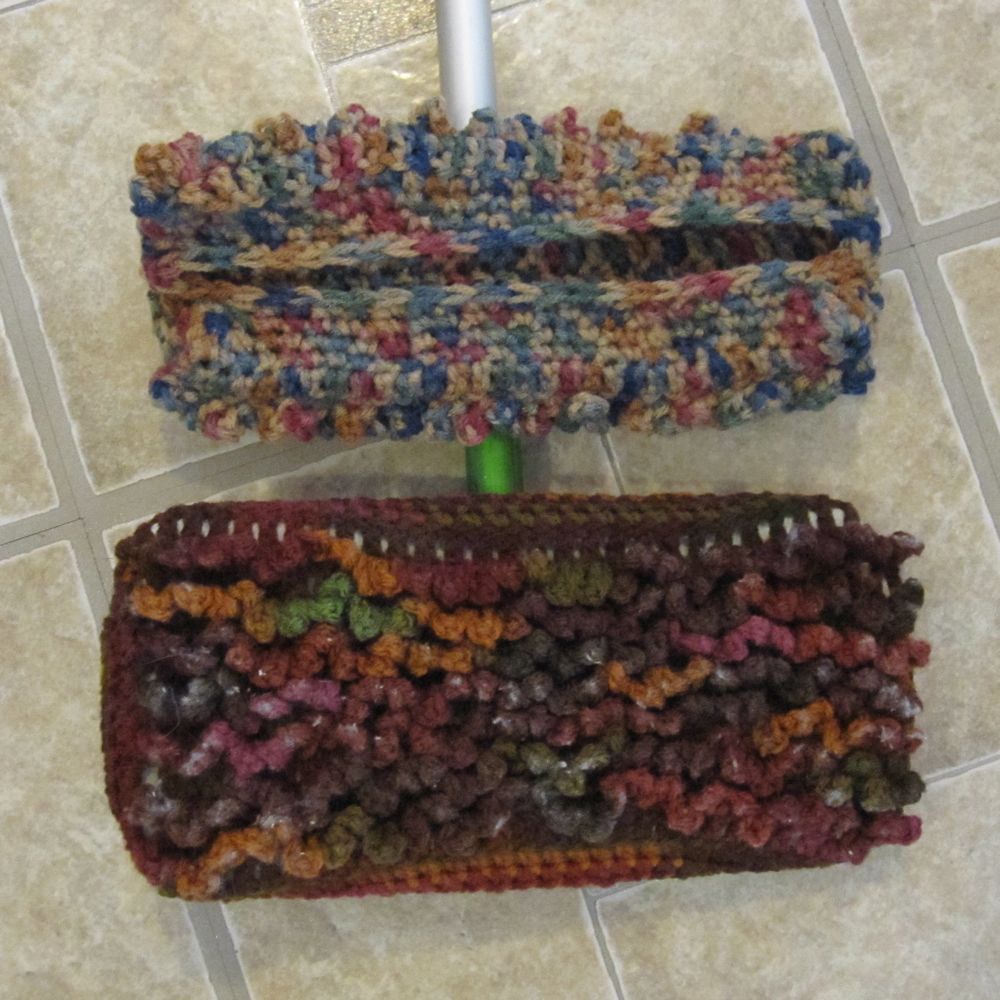
When I first learned how to knit, several years ago, I made needle and hook cases out of wool and calico. I still think they’re among the most attractive functional objects I’ve sewn:

cases, closed cases, open

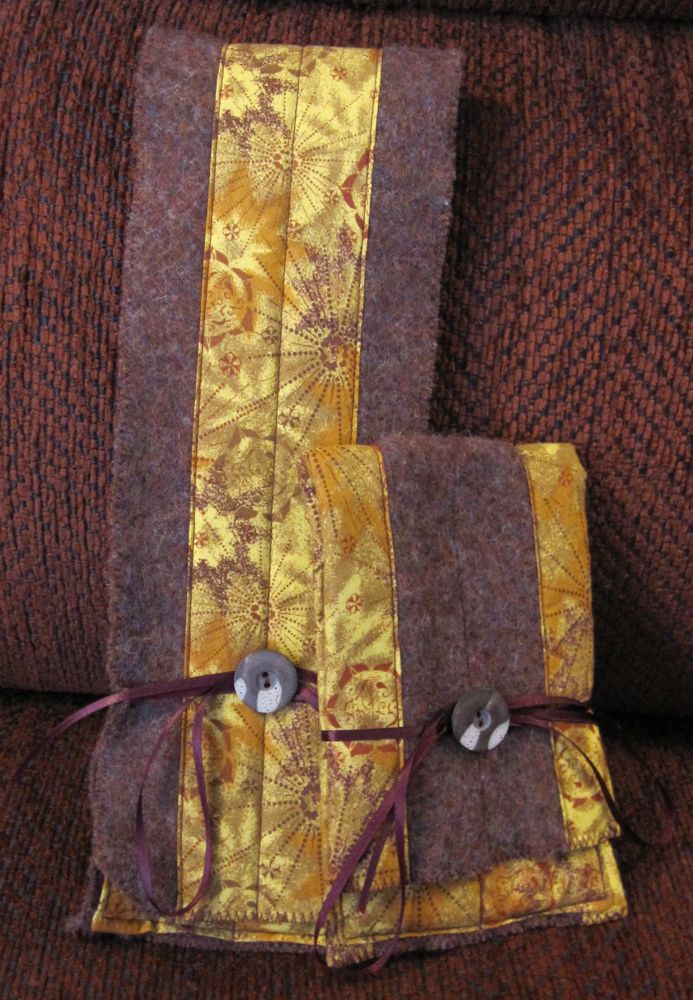
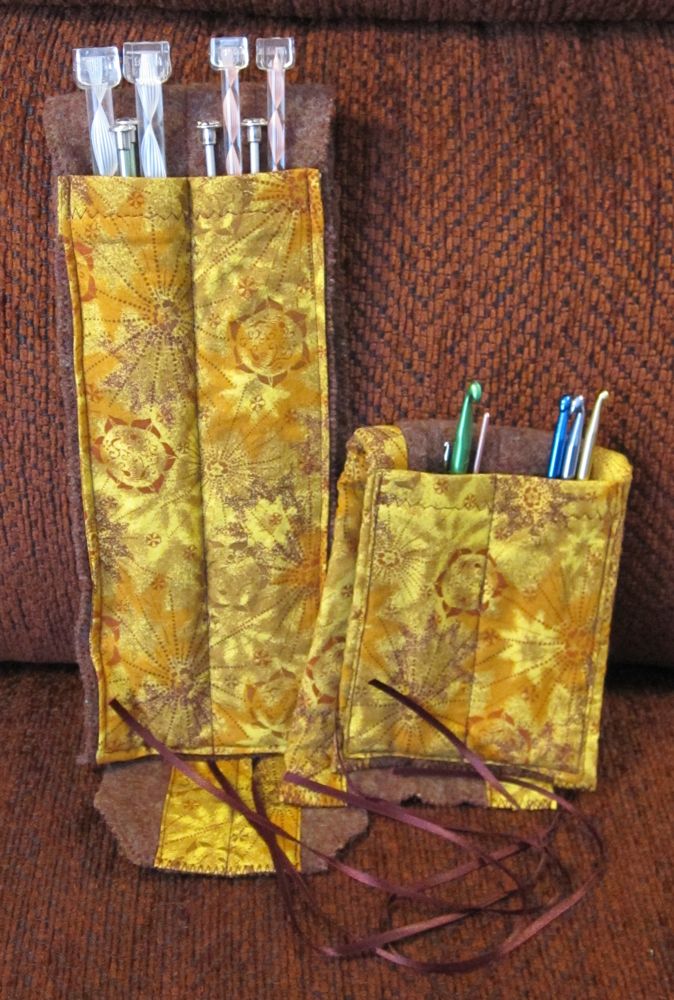
However, they leave a little to be desired when it comes to accessibility. I quit knitting because it always felt like a chore, but the hook case has stuck around (and will continue to indefinitely, for travel purposes). If I ever pick up Afghan/Tunisian crochet the needle case will be useful for those hooks.

More recently I crocheted a lemon and stuffed it firmly with yarn ends to use as a pincushion.

lemon pincushion

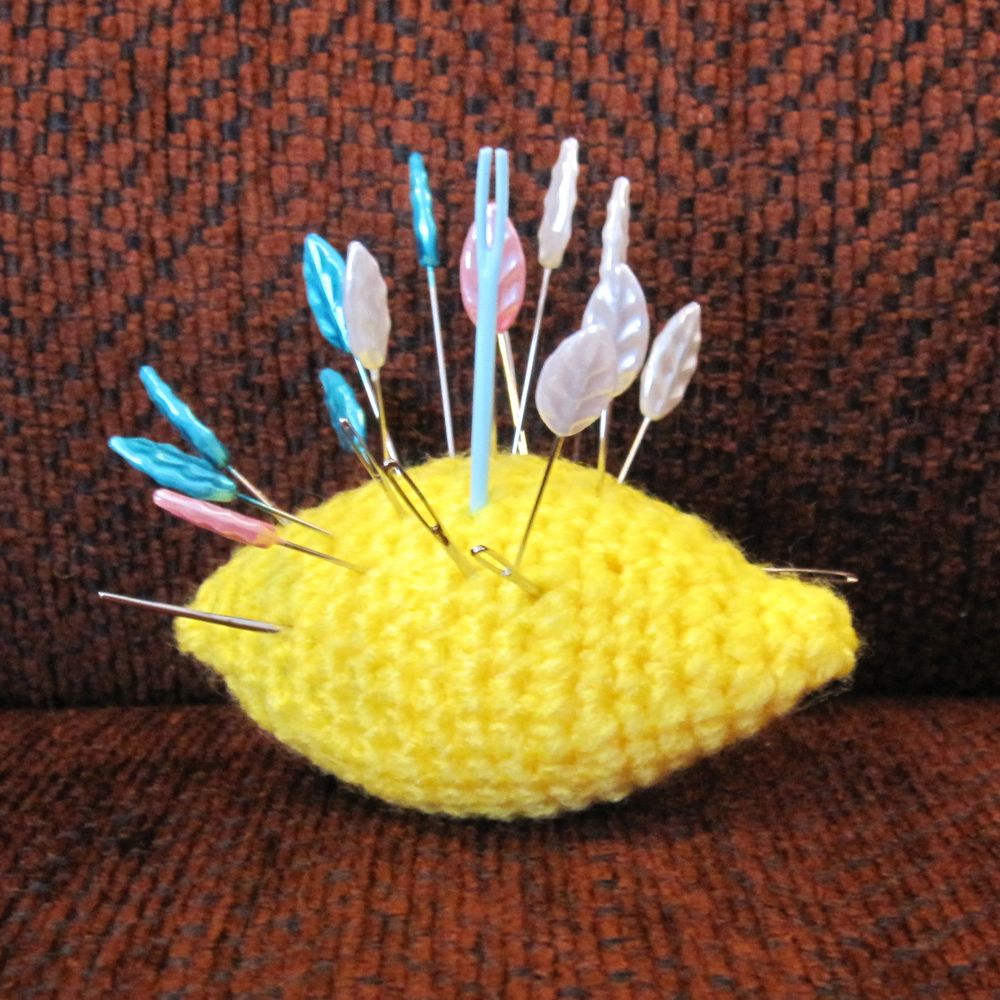
Unfortunately, blunt needles have quite a time with it, and even the sharp pins can’t be inserted just any which way.

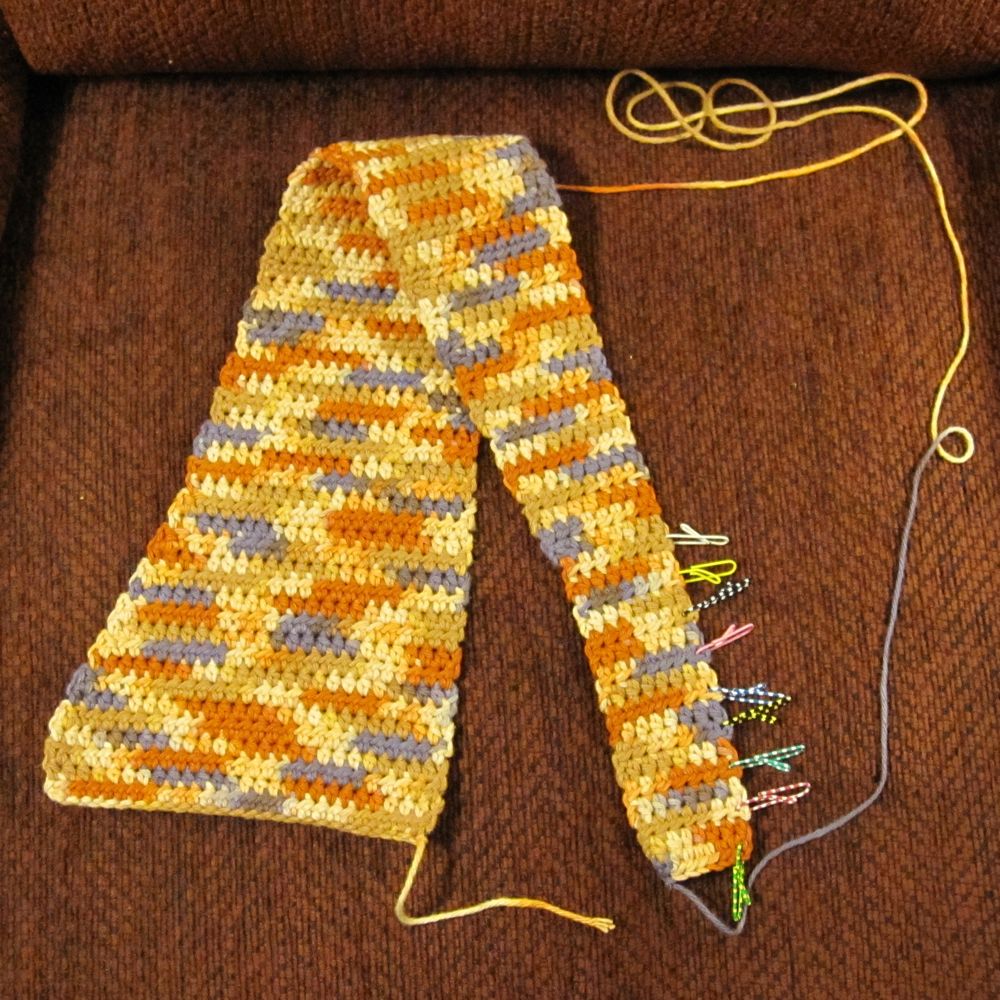
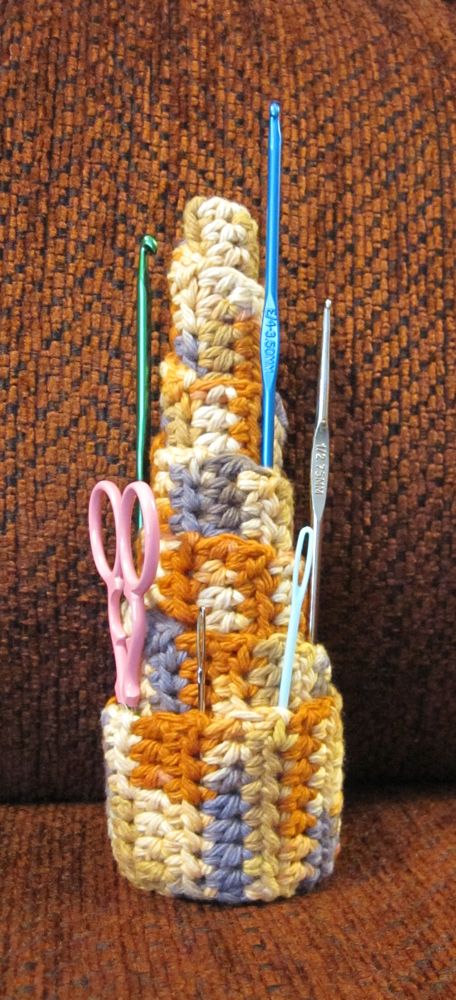
Then I found the Tower of Babel. This is the answer to my dreams: a long tapered strip, rolled into a tiered cylinder. Between the tiers you can insert hooks, needles, pins, even scissors, storing them visibly and at hand with a very small footprint. Certainly I still expect the current hook(s) to be lying around on the end table, but my most commonly-used hooks (E, F, and the 2.75mm steel) can live there. I made it in a day. As a bonus, I was able to use some wonderful cotton yarn whose colors haven’t worked for amigurumi.

tower, pre-rolling Tower of Babel

Yipig Yipig

April’s Amigurumi Army theme was “let’s pig out!” I had been wanting to try Kristie’s Kids’ pig pattern for a while, so that gave me the excuse to make it a priority.

At first, the pig was a little pink egg with ears:

egg pig

Then I found another skein of matching embroidery floss and made the legs.

front view side view

Finally, I put that pig to work.

sweatshop labor

Long ago, I began crocheting a Sesame Street yip yip alien, as explained by wikiHow. I made one false start well before the new year and according to my Ravelry records I started a second one on February 20th of this year. I altered the pattern a fair bit – I was skeptical of it when it said to chain 2.5 to 3 inches in order to make a loop an inch in diameter, an endeavor that requires over 3 inches of chain; but really I changed it so the decreases for the “head” were in the middle instead of at the edges. I was hoping that would make the mouth a better shape, though I am unsure of the quality of the results. My version is also a fair bit bigger than the pattern’s. Finally, I did long chains slip-stitched into loops around the base instead of the individual chains lark’s-head-knotted in pairs onto the base.

Instead of making the straw-piece eyes recommended by wikiHow I made – well, a bunch of eyes that are now in my “to use as stuffing” bin. I settled on: with black, start a magic ring, make one full sc and begin a second. For the final loop of that second sc change to white, and then make four more sc in the magic ring in white. Pull the ring tight. Continuing in white, still, continue around the circle making 4 more sc in back loops only. Tie the loose ends of the black and white yarn securely to the end of the black yarn still connected to the skein, and cut all three close to the knot. With the remaining white strand, make two invisible decreases, but use the back loops instead of the front loops. Slip stitch if desired, cut yarn leaving a long tail, and sew to close off back end of eyeball. Put loose end through side of eye for sewing to head.

I don’t think I can recommend that method.

Without further ado, though:

front view side view

Spring cleaning

Up here in northern New England, spring doesn’t really make its appearance until late April. That means I am not inspired to do spring cleaning until then, but hey, at least it happens eventually (← lying).

This year spring cleaning involved crochet. One of the earliest crochet patterns I downloaded was CRAFT magazine’s reversible Swiffer sock, by Linda Permann. I love the maneuverability of the Swiffer and its ability to get under furniture, but every time I throw out one of the covers I feel like I’m telling the Earth “today, I hate you a little.”

That’s overly dramatic, but I was happy to find a replacement. It cuts the maneuverability down a bit because of its thickness, but works surprisingly well for dusting.


Say hello to my kitchen floor.

The darker one is my first effort. It fits, but is very snug. The Ravelry page for this pattern tells me newer Swiffers are larger than older one, though I think the problem is more likely the fact that I crochet tightly. You can see I’ve already used it; I’m pleased to report it works very well. Both yarns are Red Heart Scratchy Super Saver Special, and I’m pretty sure the bottom color is Cherry Cola. The skein bands are long gone and I have no memory of the top color name. Incidentally, I have no idea why acrylic yarns of the same brand and line vary so much in texture. I have Red Heart Super Saver that’s quite nice to the touch, and other acrylics like Red Heart’s TLC Essentials line also run the gamut.

The pattern is easy, although slip stitching the end of a chain in splitty yarn is obnoxious. It didn’t take much brain, so I was able to do it while on the phone or listening to talk radio.

For my second sock, I switched from an H to an I hook. I haven’t tried it on the Swiffer yet, but it can’t help but fit better.

Finally, while trying to get a picture of the Swiffer in situ (i.e., hanging on the landing of my basement stairs), I knocked over my broom for the last time. I have two brooms now, as I realized my older one had been used outside so much it was no longer very good for indoor use. While the old one has a braided yarn loop for a hanger, the new one had nothing, and its built-in hole wouldn’t go on my hook (at least not easily). Yet a third color of Super Saver came out of the bag.

Instructions: ch 25. Pass ch through hole in broom handle and sl st in first ch to join. Sc around, including in sl st, and sl st in first sc; cut yarn, pull end through sl st, and tie ends of yarn together in a square knot. Trim.

Clearly, you don’t need to chain 25 stitches to get an adequately long loop. It looks like 15 would be ample.