Abundance, Scarcity, and Palette Design

A few years ago I wrote a post on my personal blog about creativity and ways to prompt it. The first two entries were “abundance” and “scarcity”. There is inspiration to be had from each: if materials are abundant you can experiment freely without worrying you’ll run out before you get to the “real” project; if materials are scarce – you’re limited to your existing stash – you’ll be forced to problem solve to make things work.

I was thinking about watercolor palettes one morning, as I often do, and realized the same principle applies there for me. A small set of paints is directive: mix everything you need out of these basics, or do without. It can get a little tedious to constantly mix everything, though, and uses up a lot of palette space to do so. On the other hand, a larger set of paints can be quick and easy, as you mostly use the paints directly without mixing. However, I find that sometimes I “forget” mixing is an option and feel stuck with exactly the paints I have, or alternatively, get bogged down trying to mix perfect colors in a way I wouldn’t if I had only a few paints to work from.

As with other instantiations of abundance and scarcity, the happy medium lies in alternating between them.

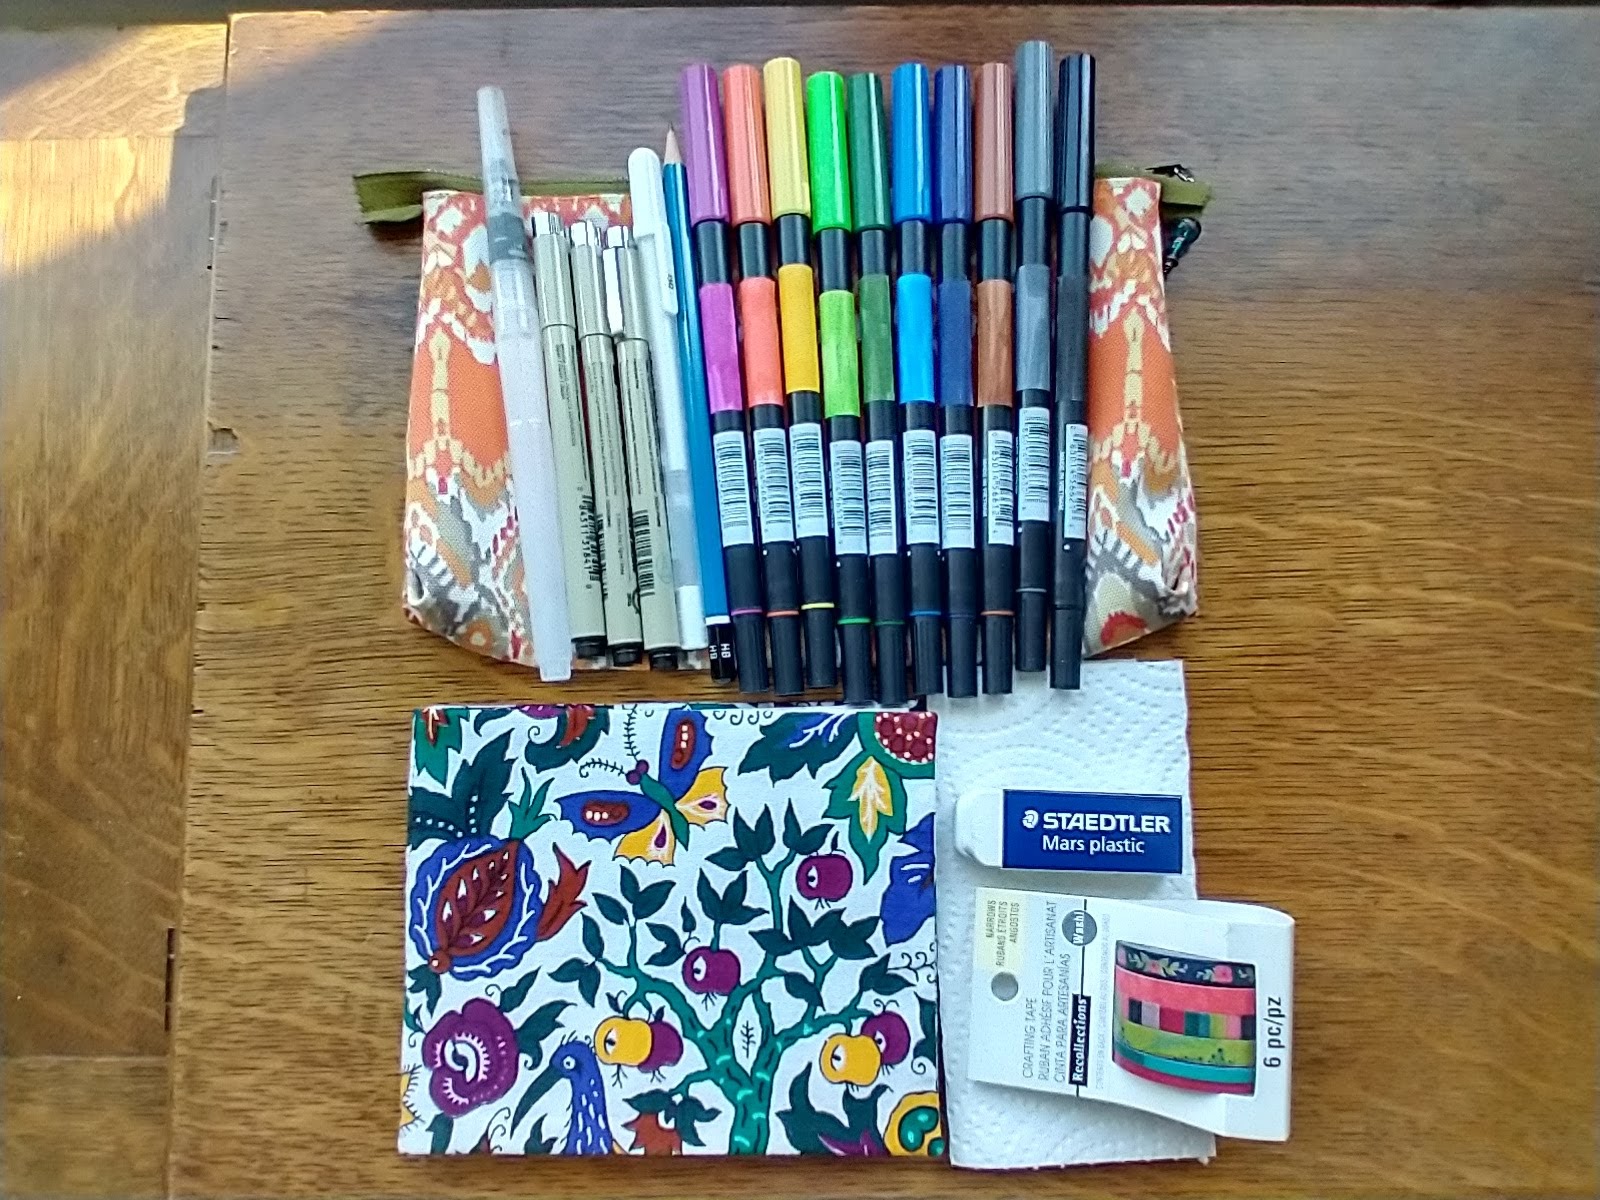
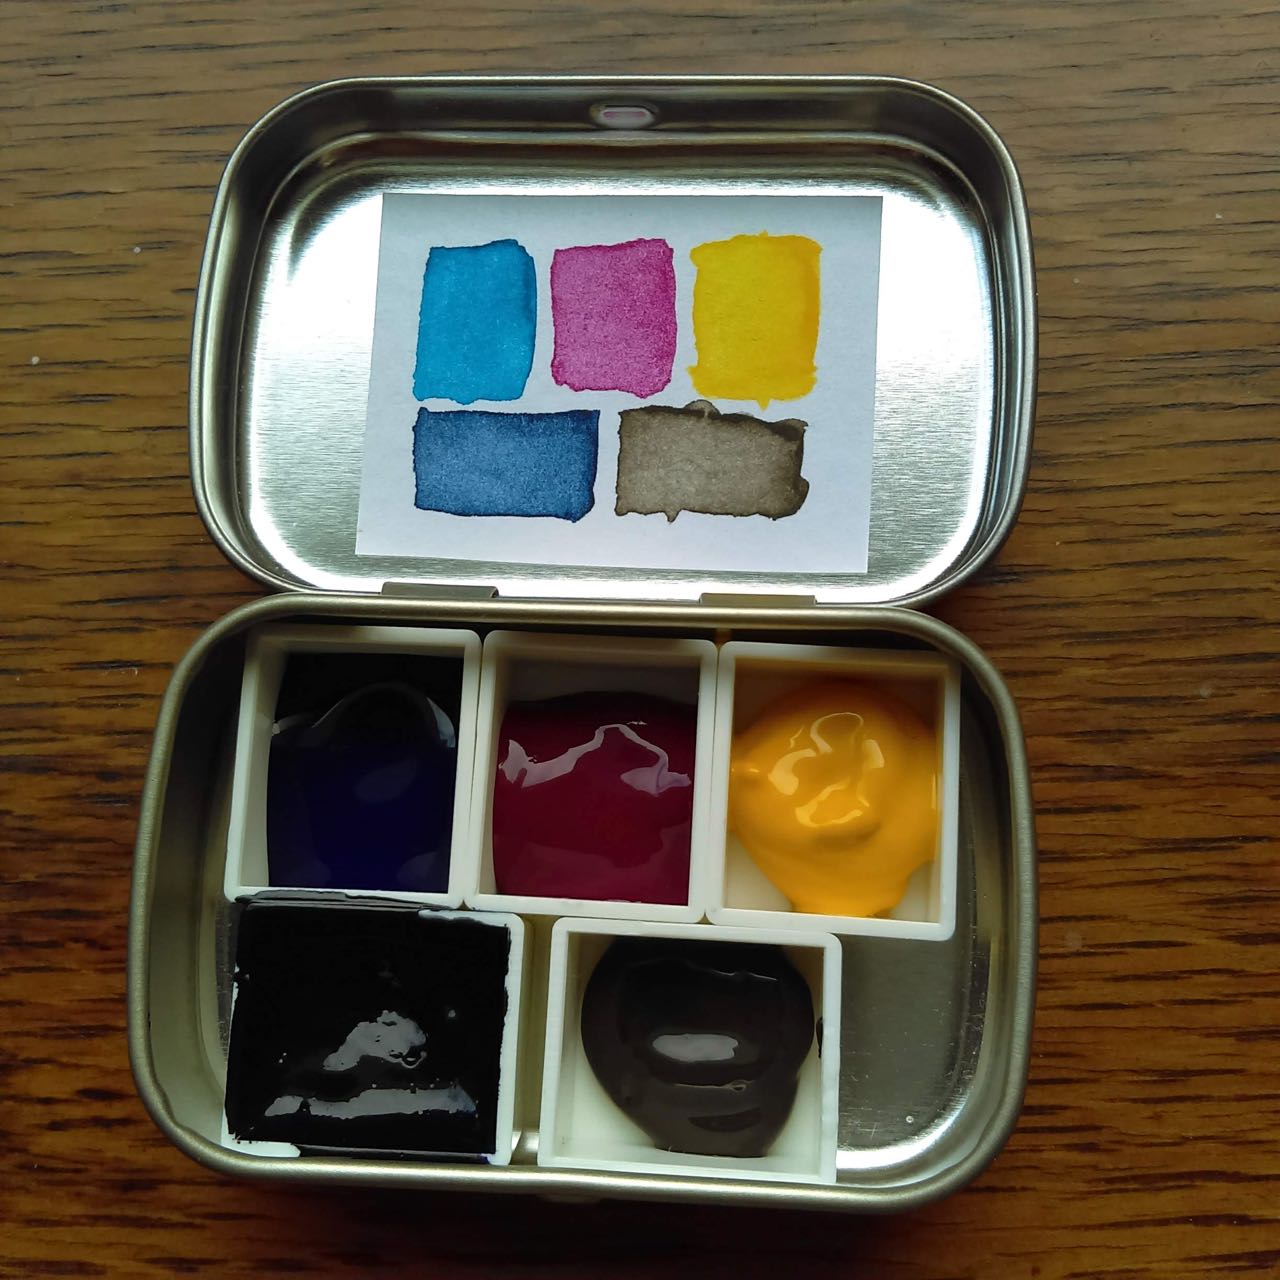
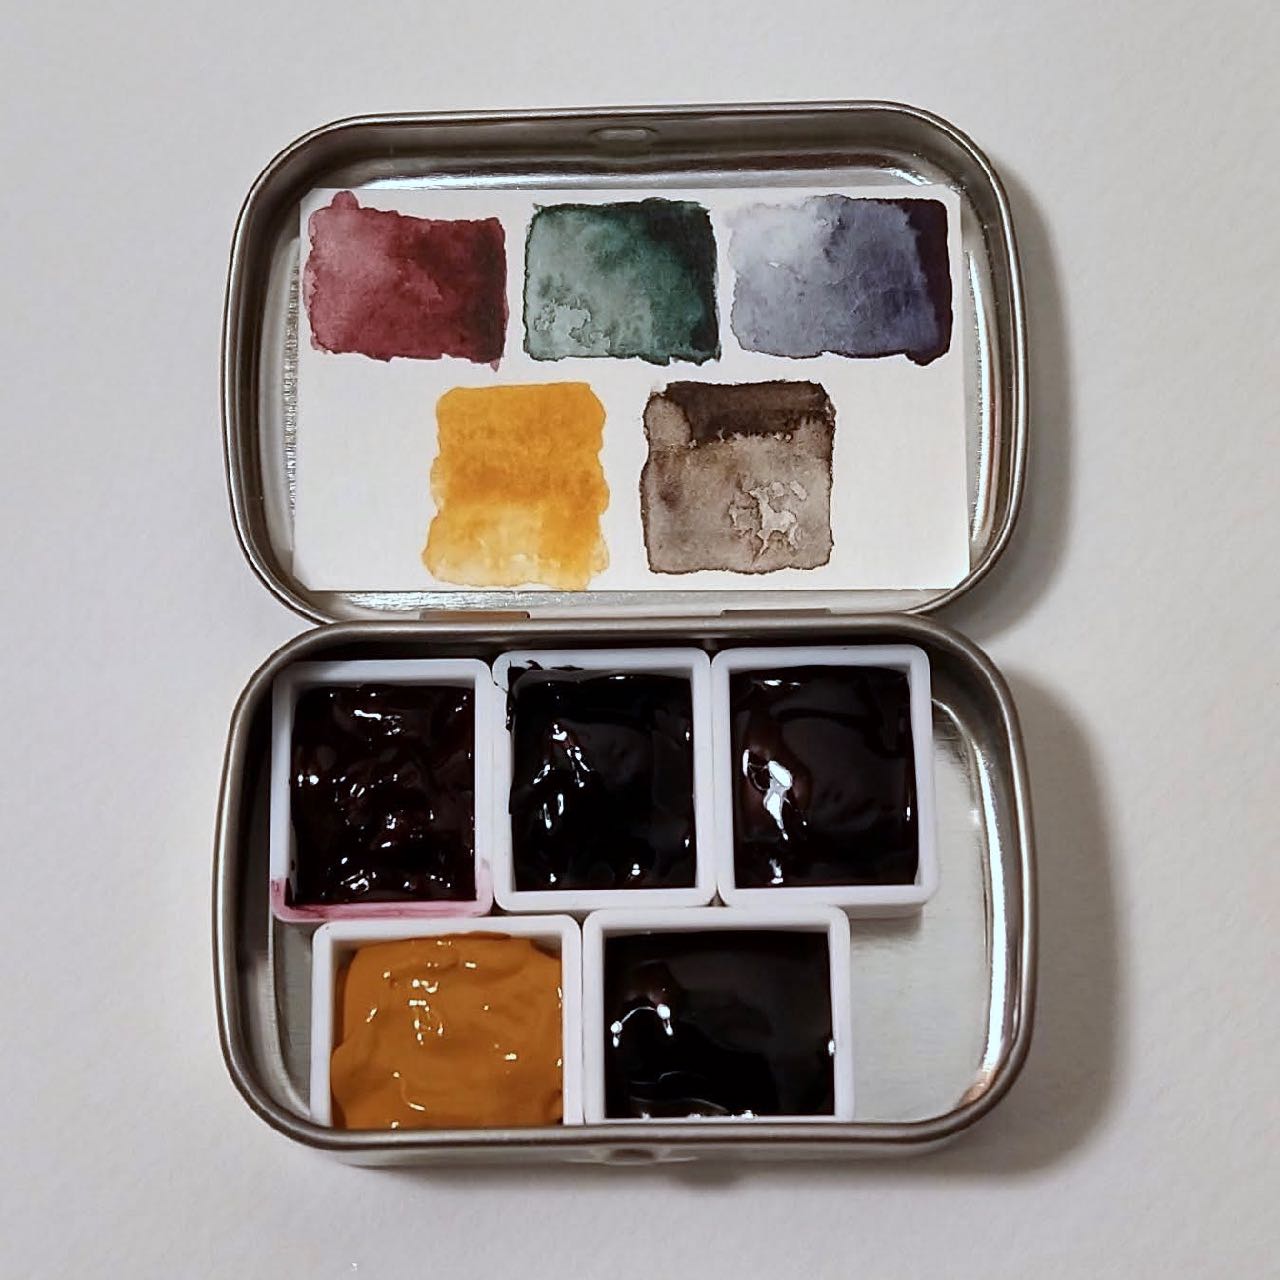
Currently I have one main palette and three mini palettes. You can fit 5 half pans in an Altoids Mini tin, and that’s what I use for mini palettes. The big palette is the kind that comes with 12 half pans but can easily fit 20, especially if you bend the insert a bit to widen the center area.

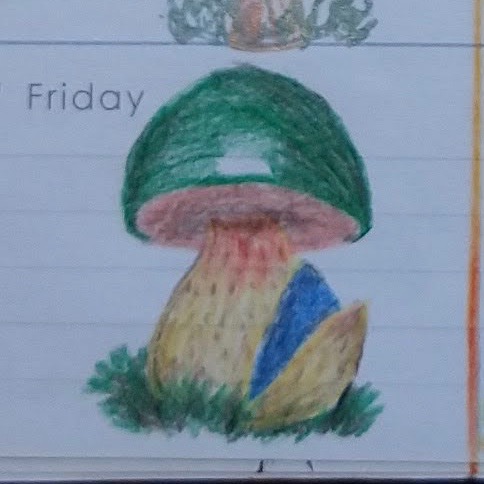
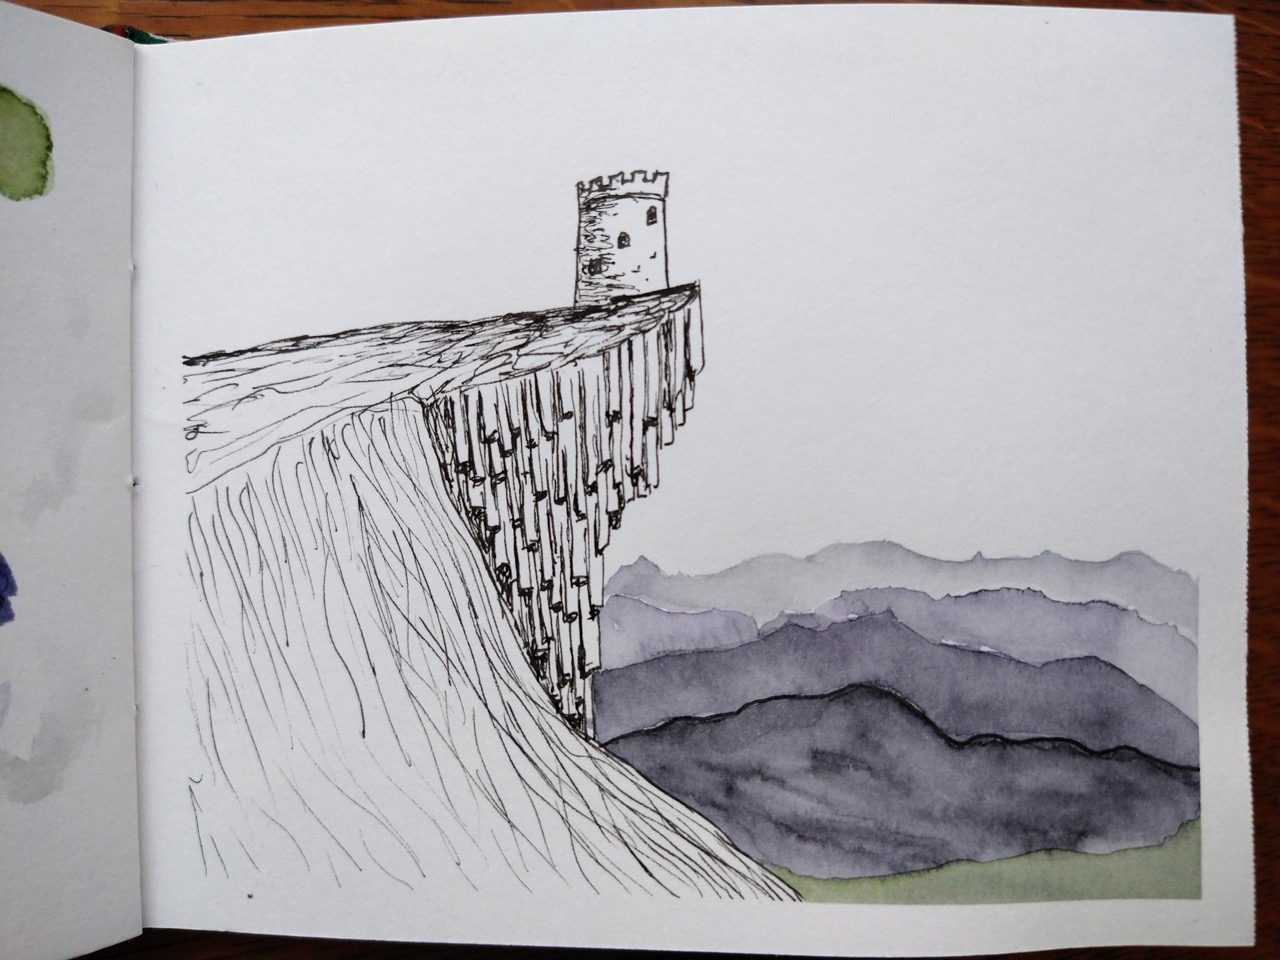
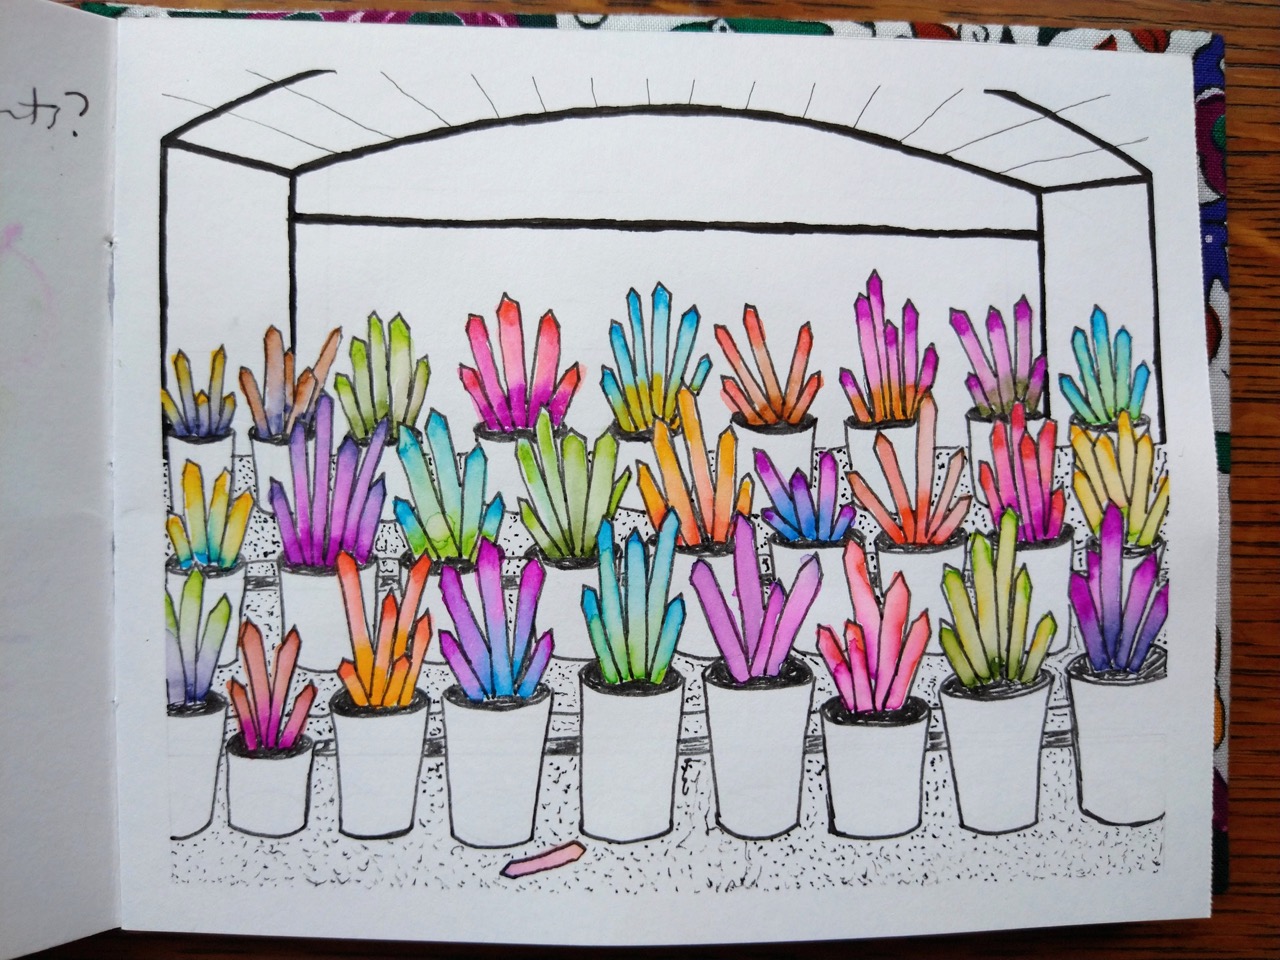
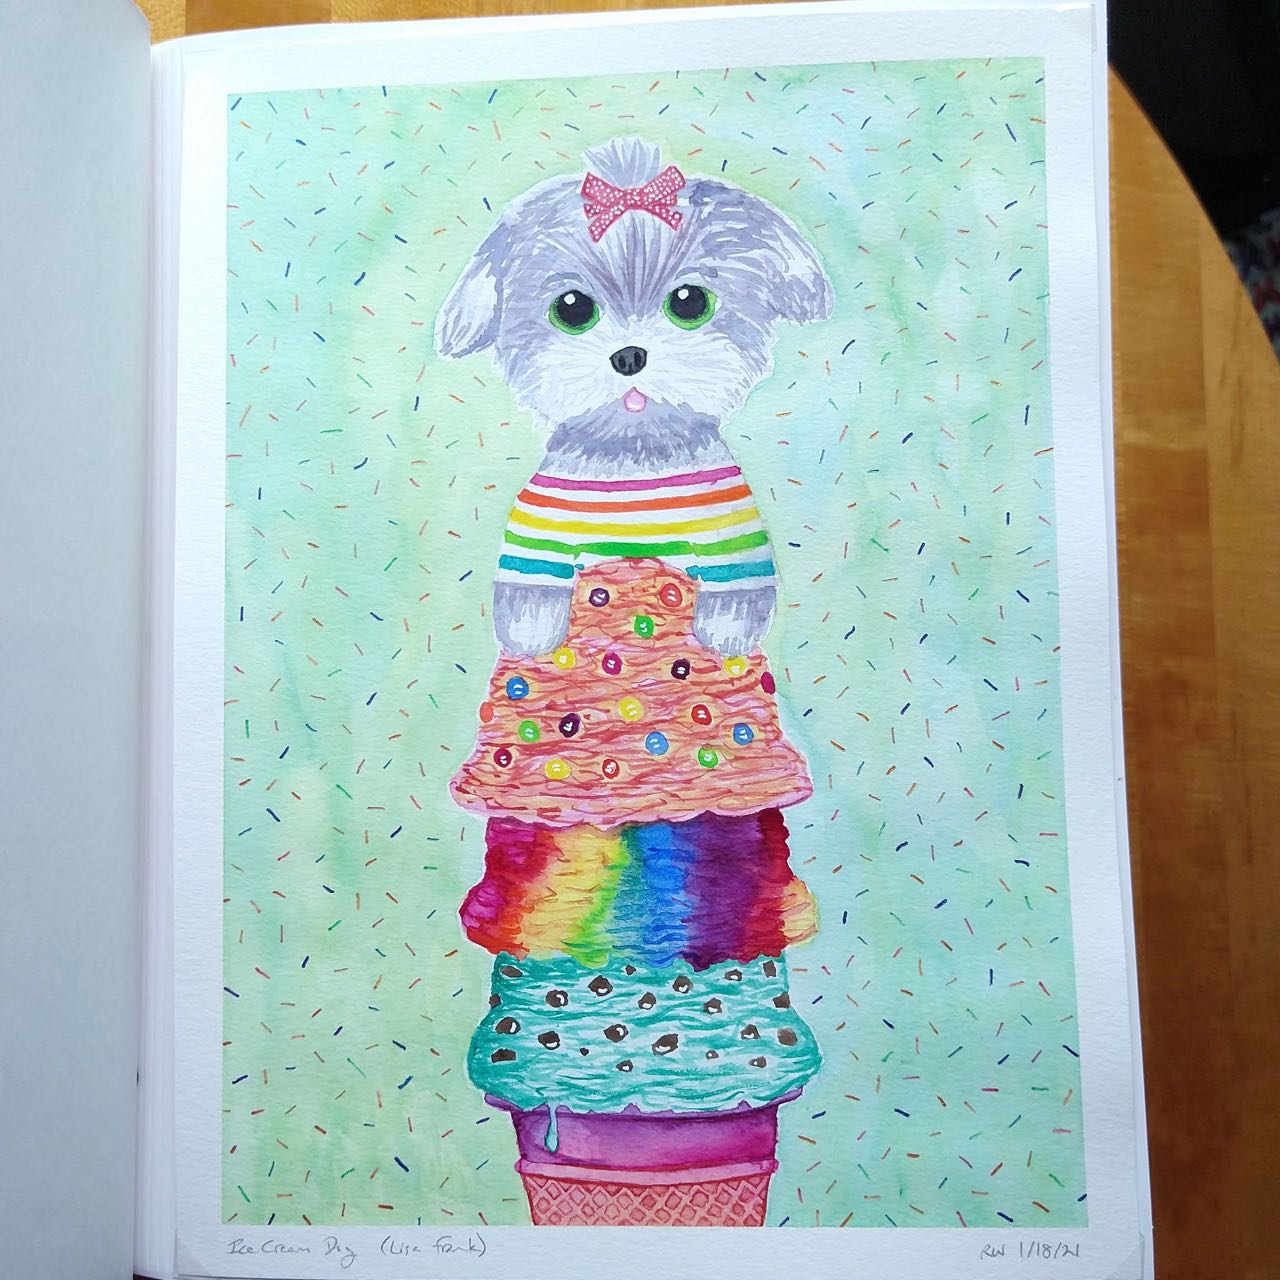
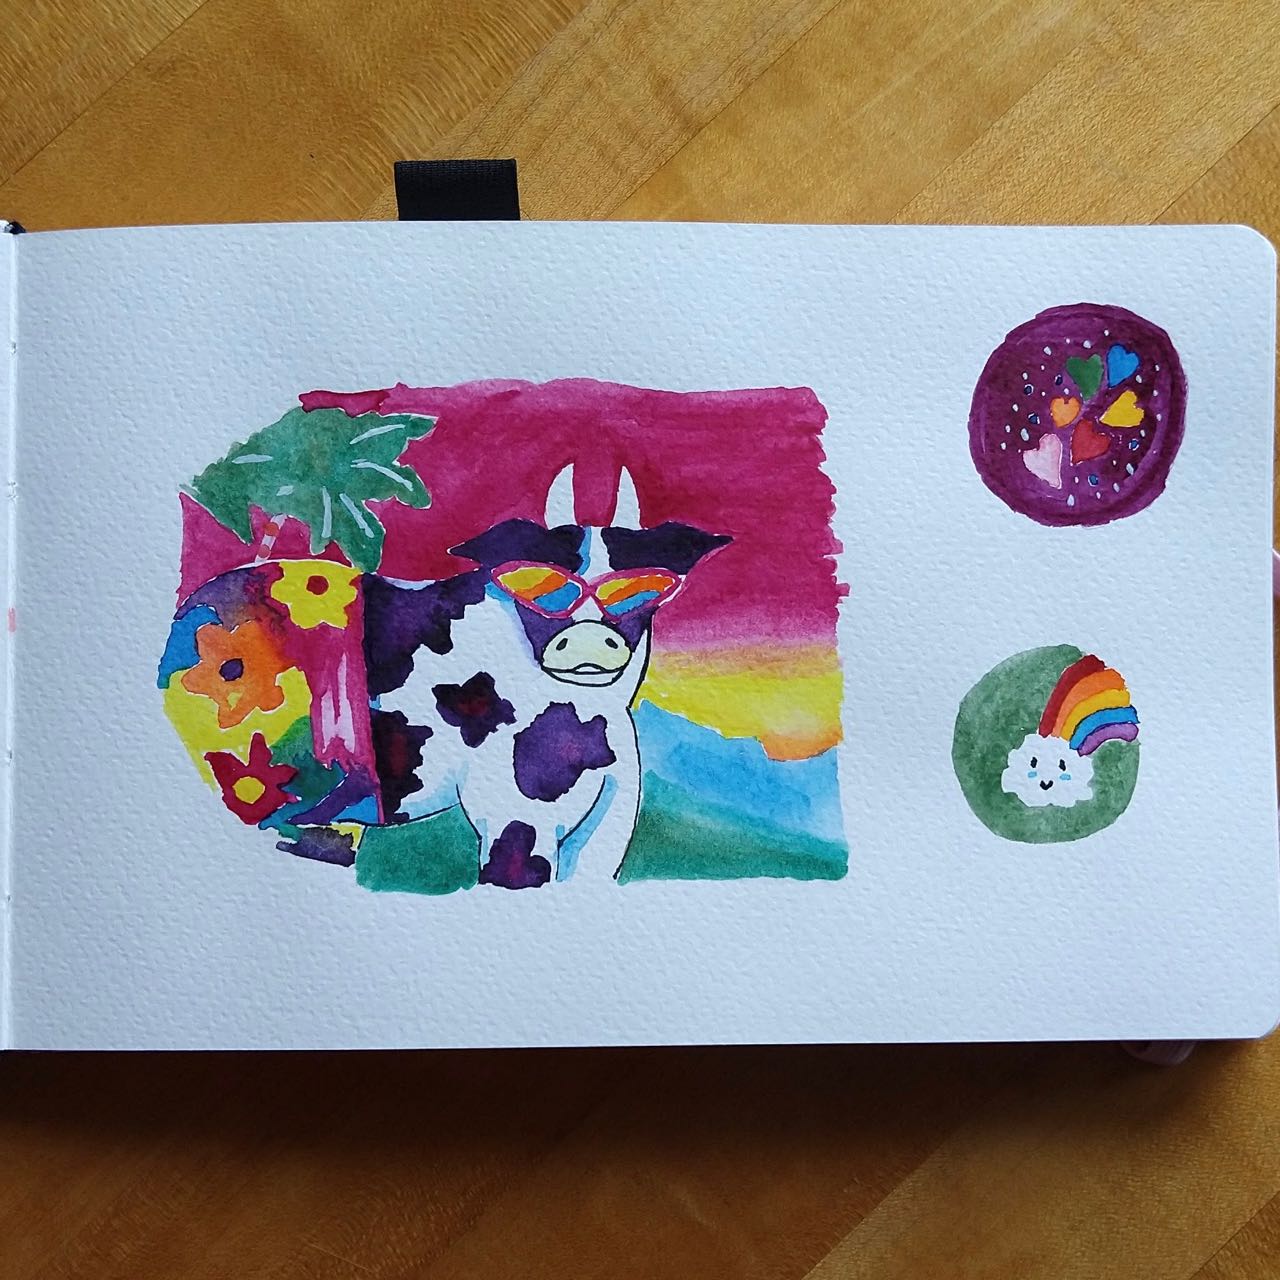
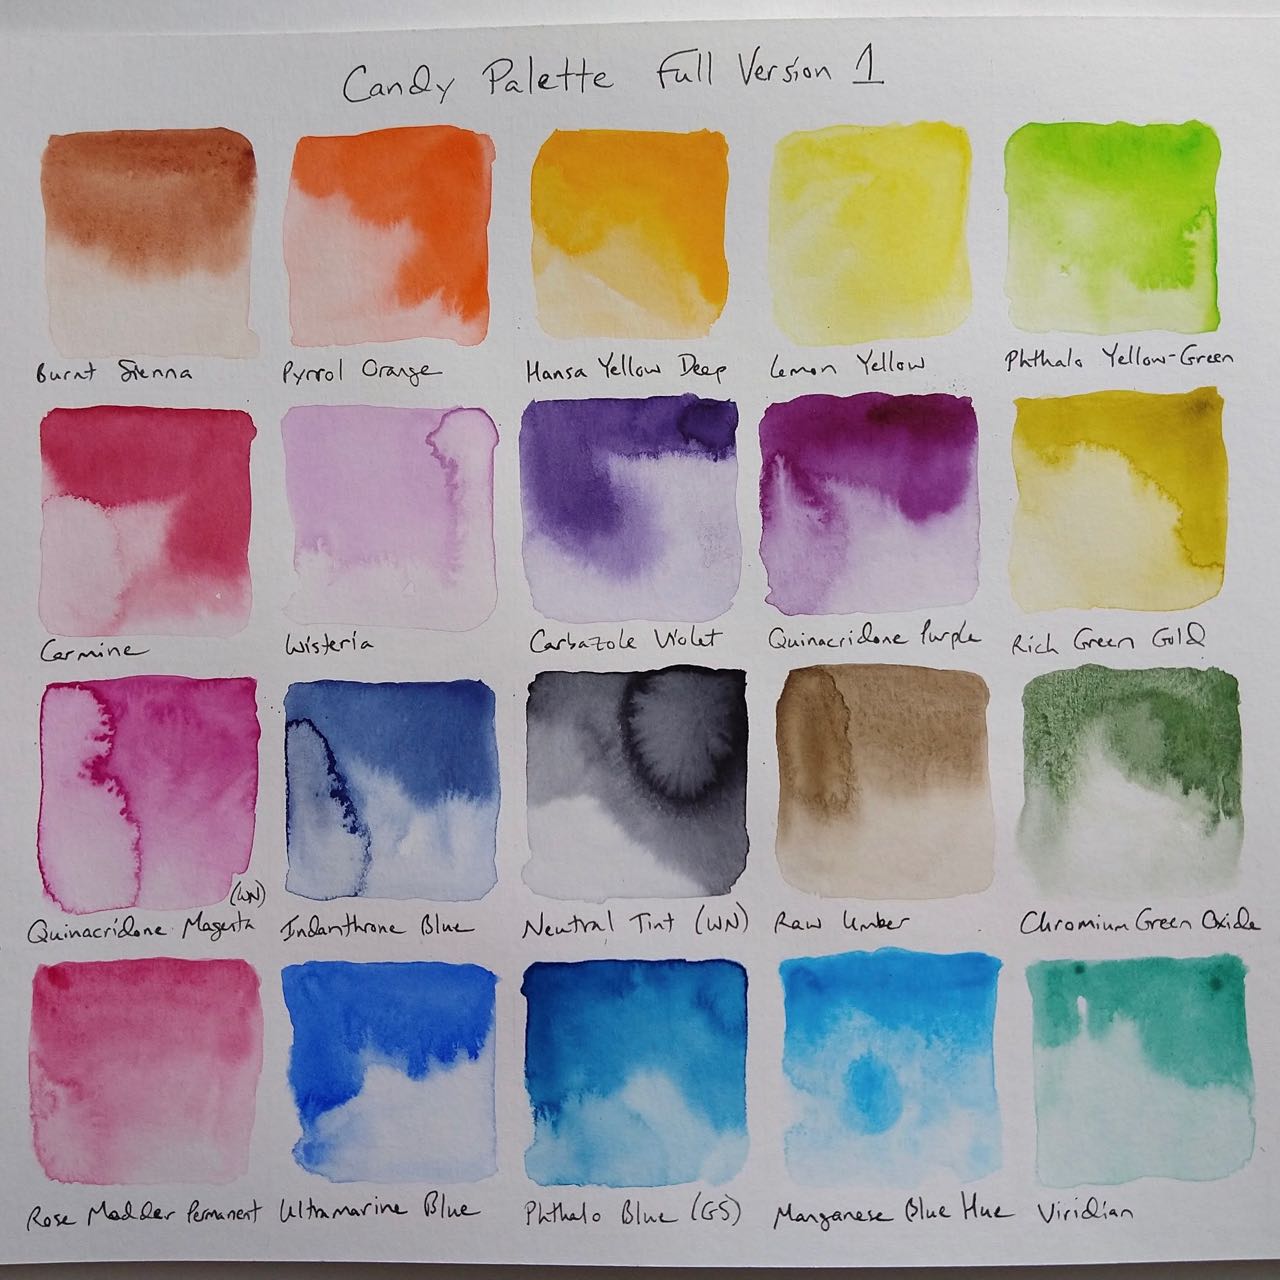
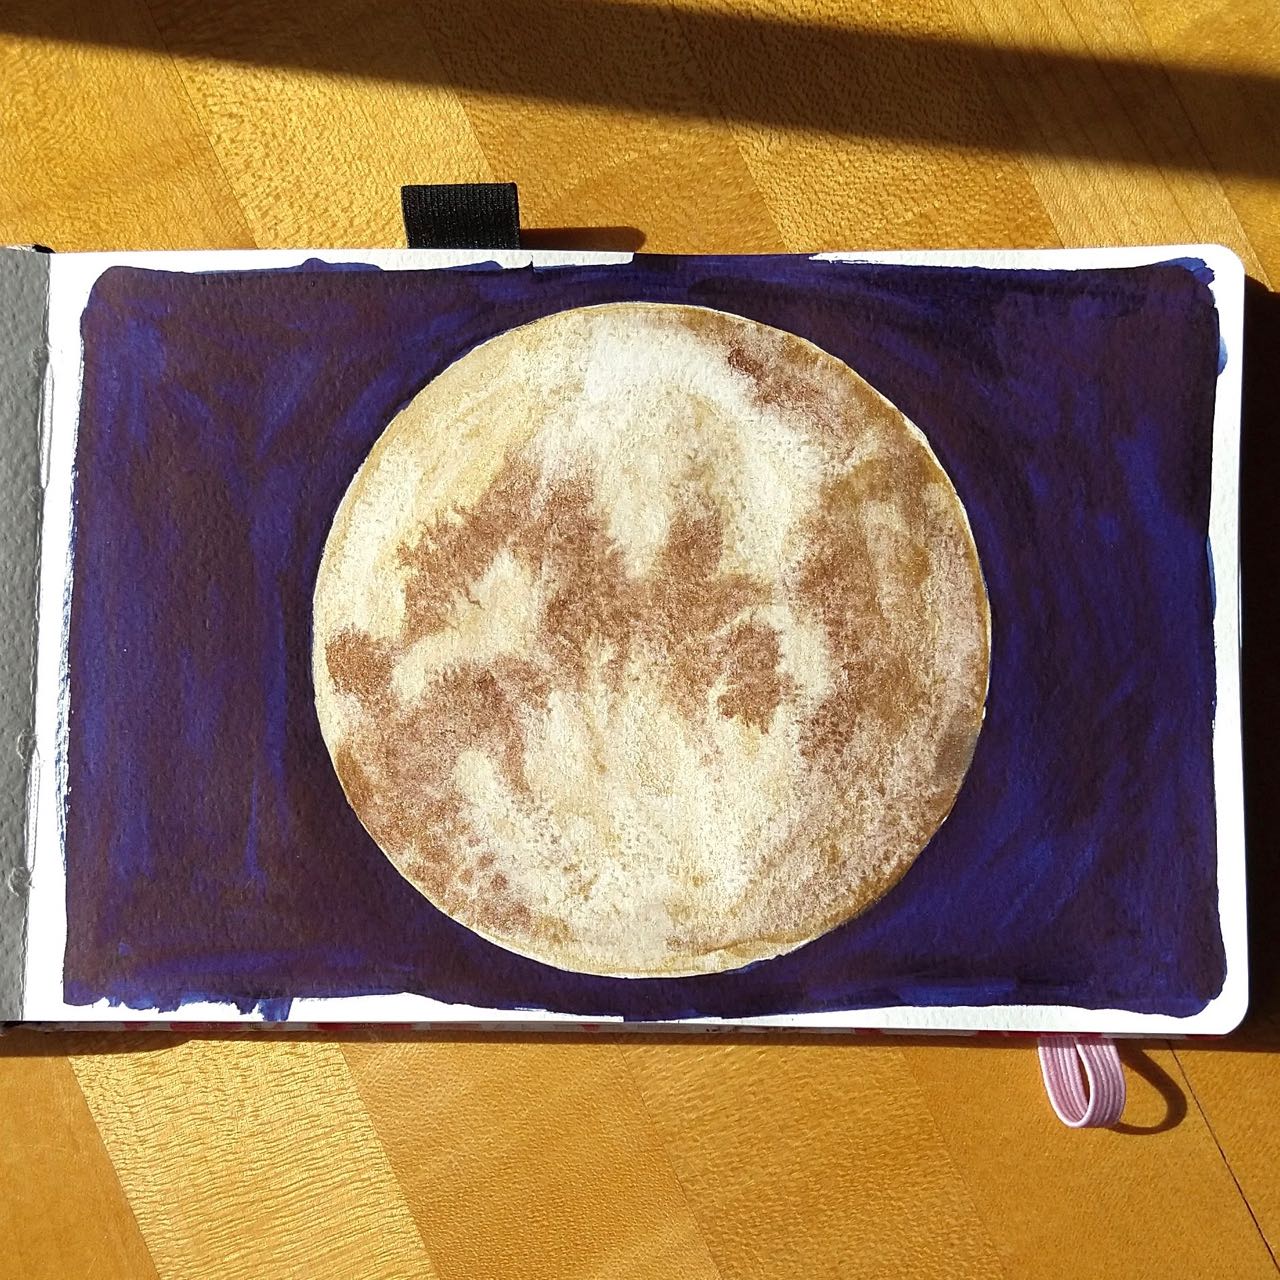
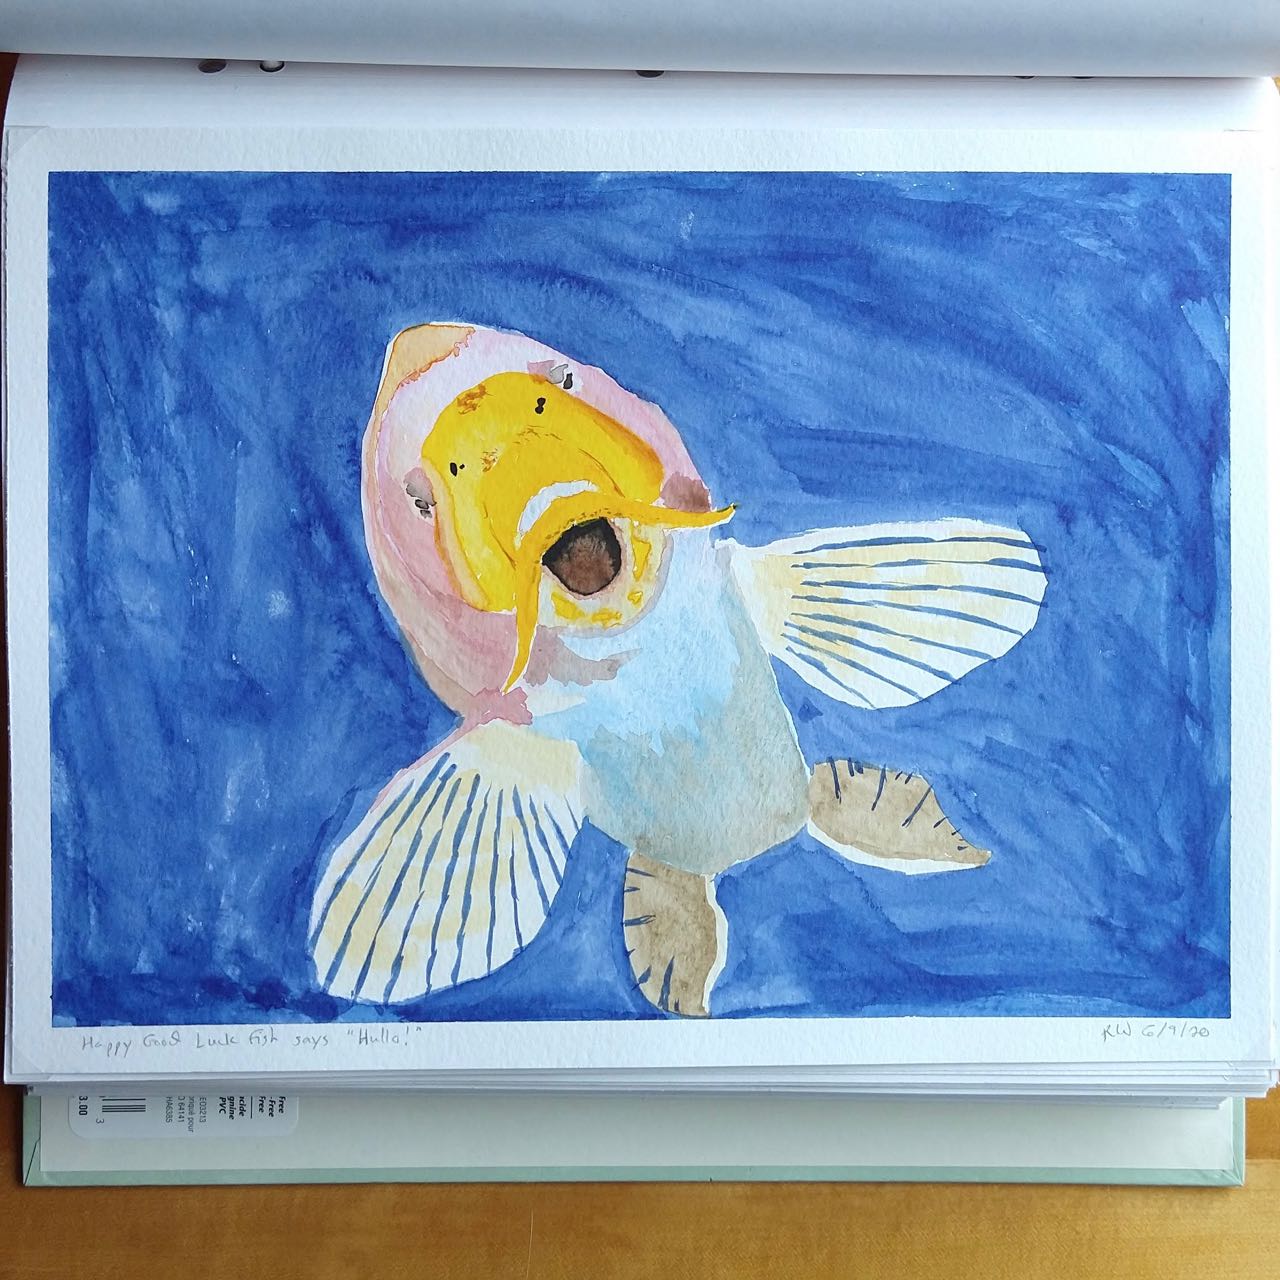
My main palette I call the Candy Palette. It is inspired primarily by 80s Memphis Design, neon graphics, and Lisa Frank, with some additional colors to give more mixing (in particular, neutralizing) options. It’s an evolving project; the Lisa Frank ice cream dog illustration was done with a “first draft” palette of only 11 colors. Twenty colors is its max size, but I do not anticipate it containing exactly the same 20 colors a year from now as it does now – and I look forward to finding out which colors will be replaced!

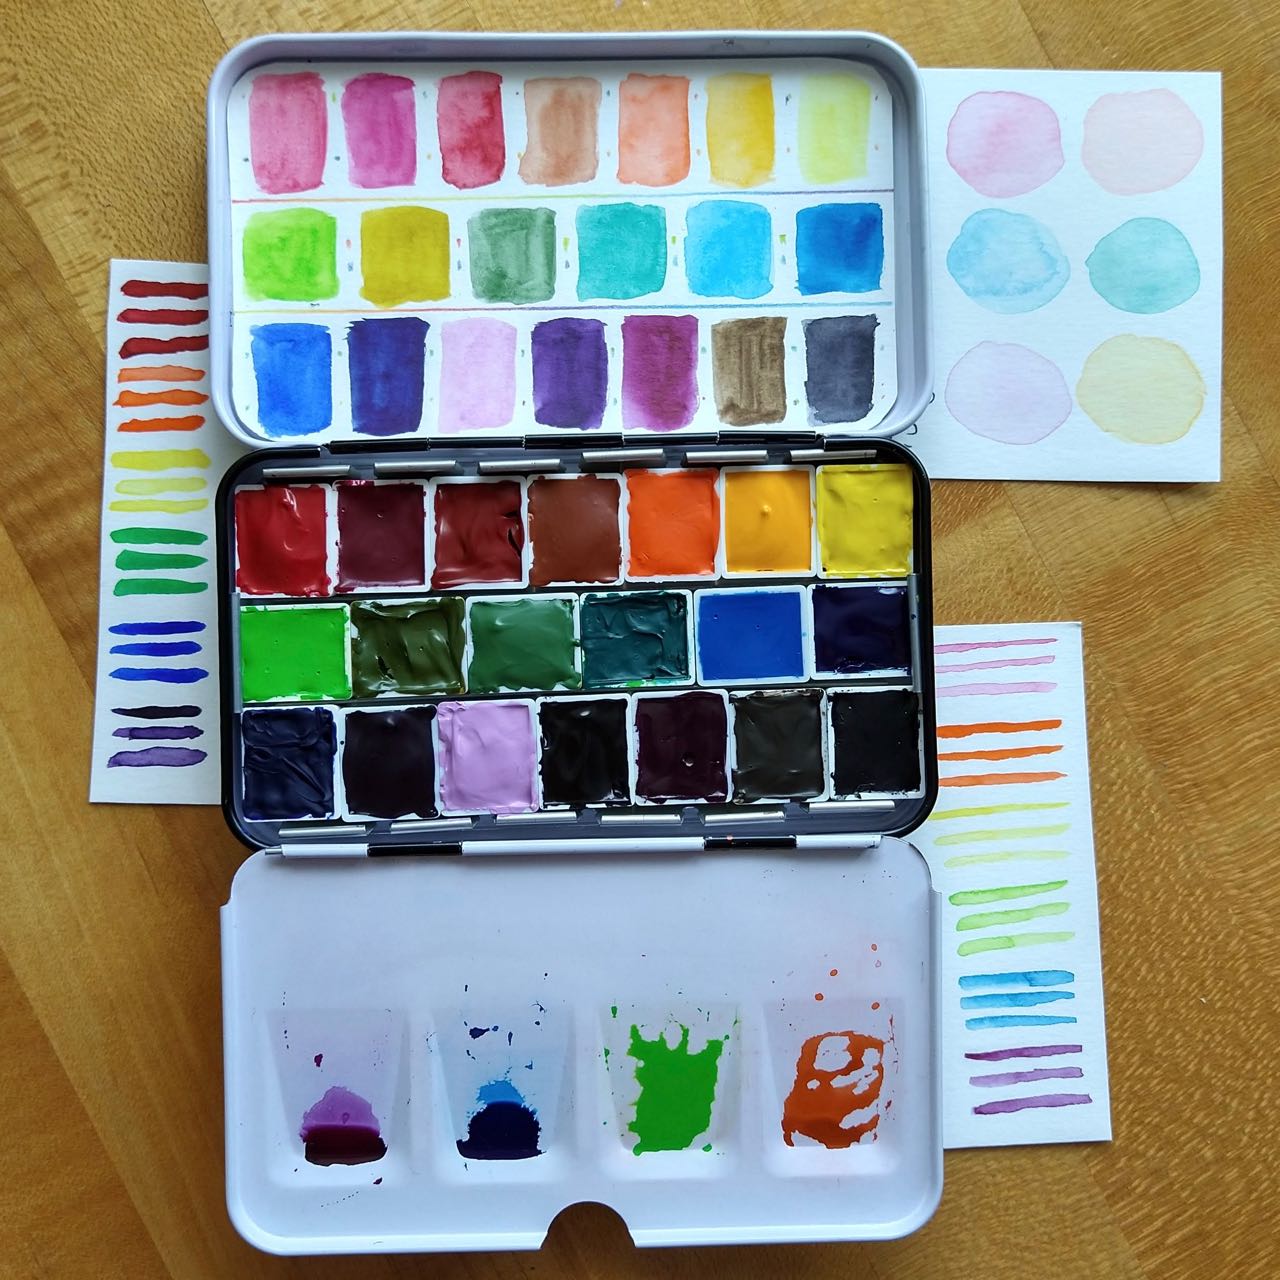
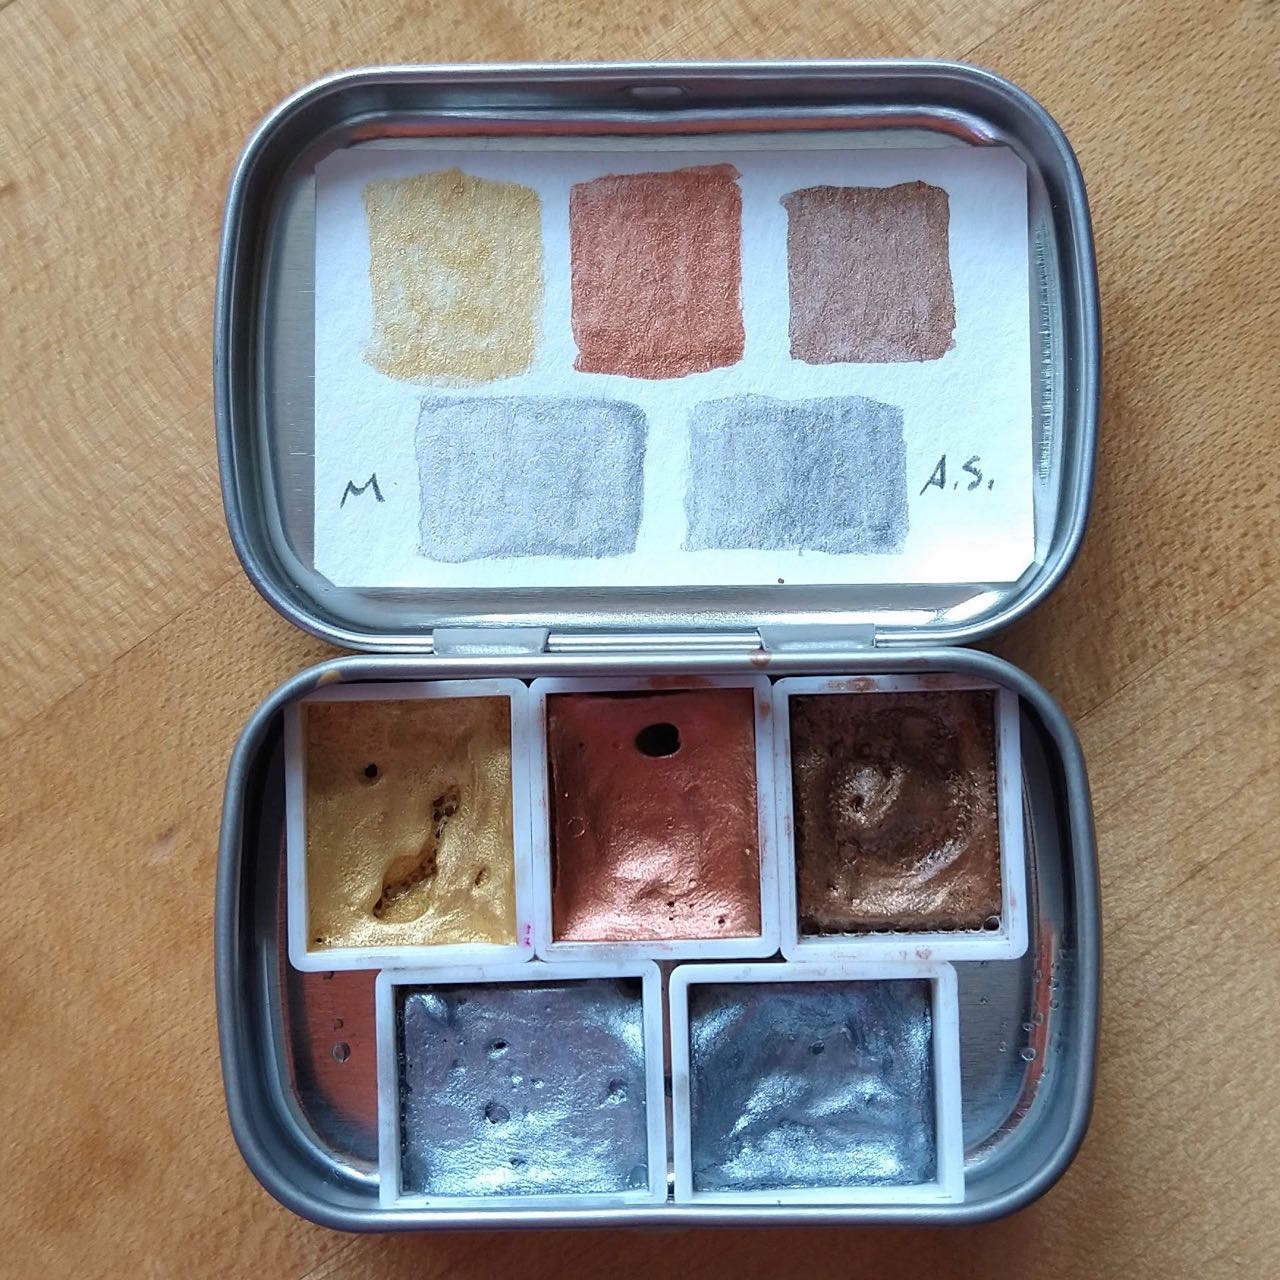
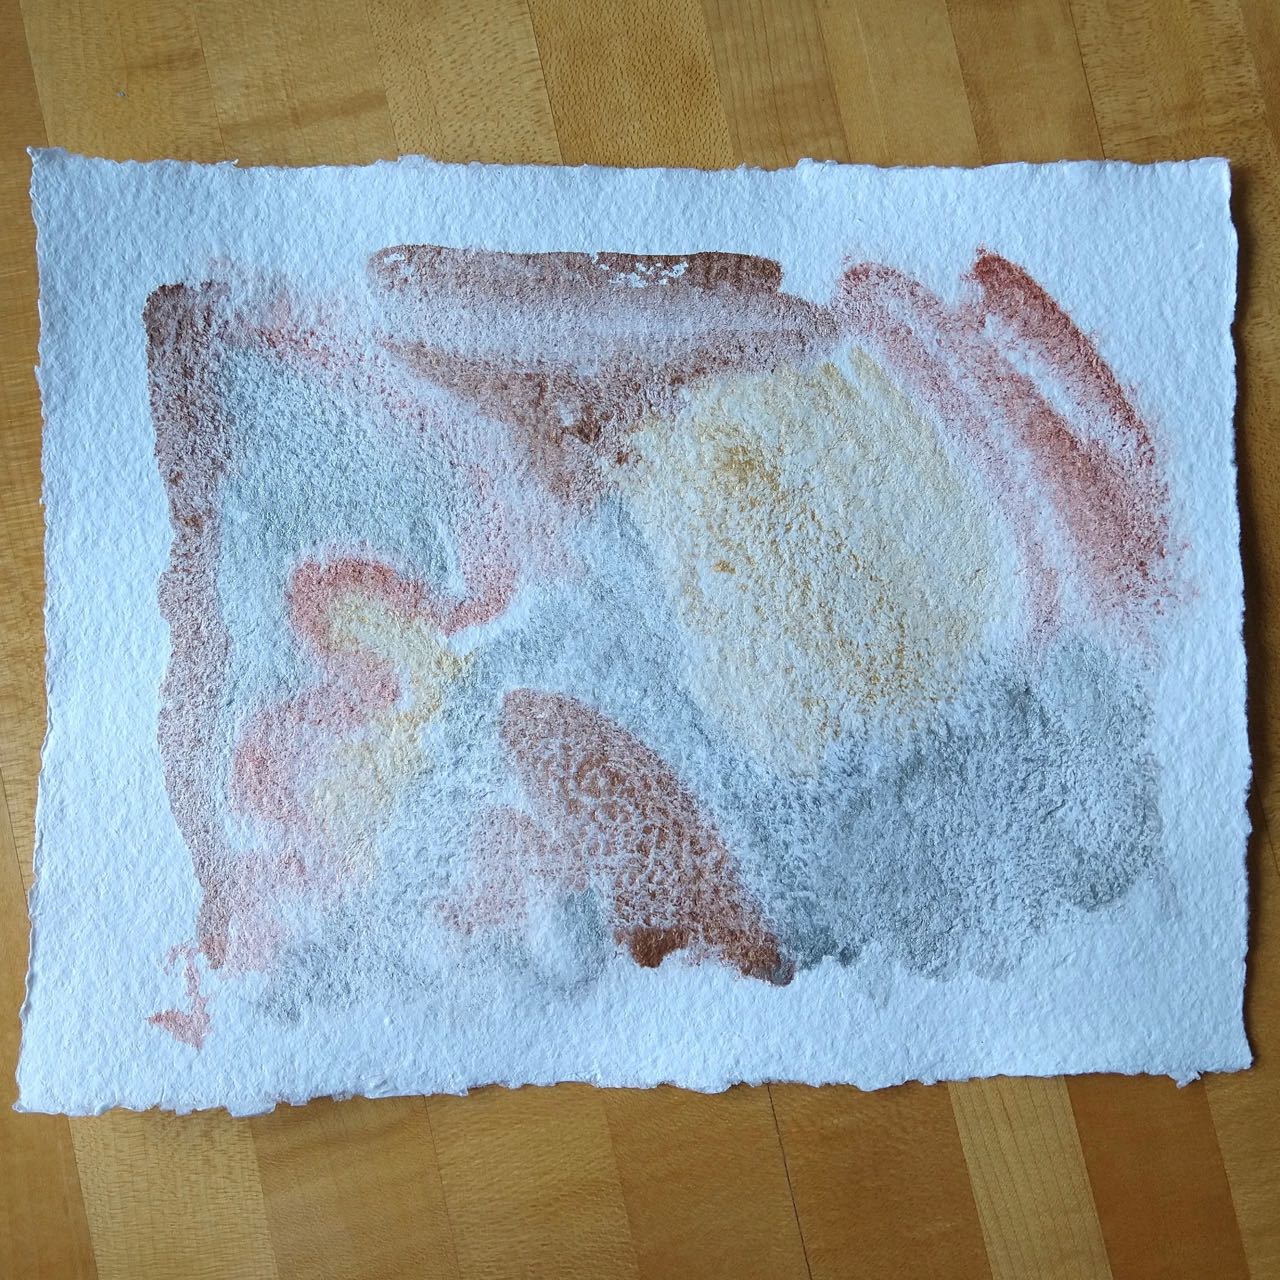
One of my mini-palettes is metallics. It’s available for adding accents to a project, but I’ve been less interested in it than I anticipated. If I get more into the hypersaturated graphic design idea it may come into play more, and in that case I’ll likely swap out one of the silvers – they are way too similar to coexist in a selection this small.

One mini-palette is a standalone general-purpose mixing palette that predates all of the other palettes. It holds watercolor [approximations of] cyan, magenta, and yellow, plus sepia and what was supposed to be a darker, truer blue but isn’t really because of materials limitations at the time I made it.

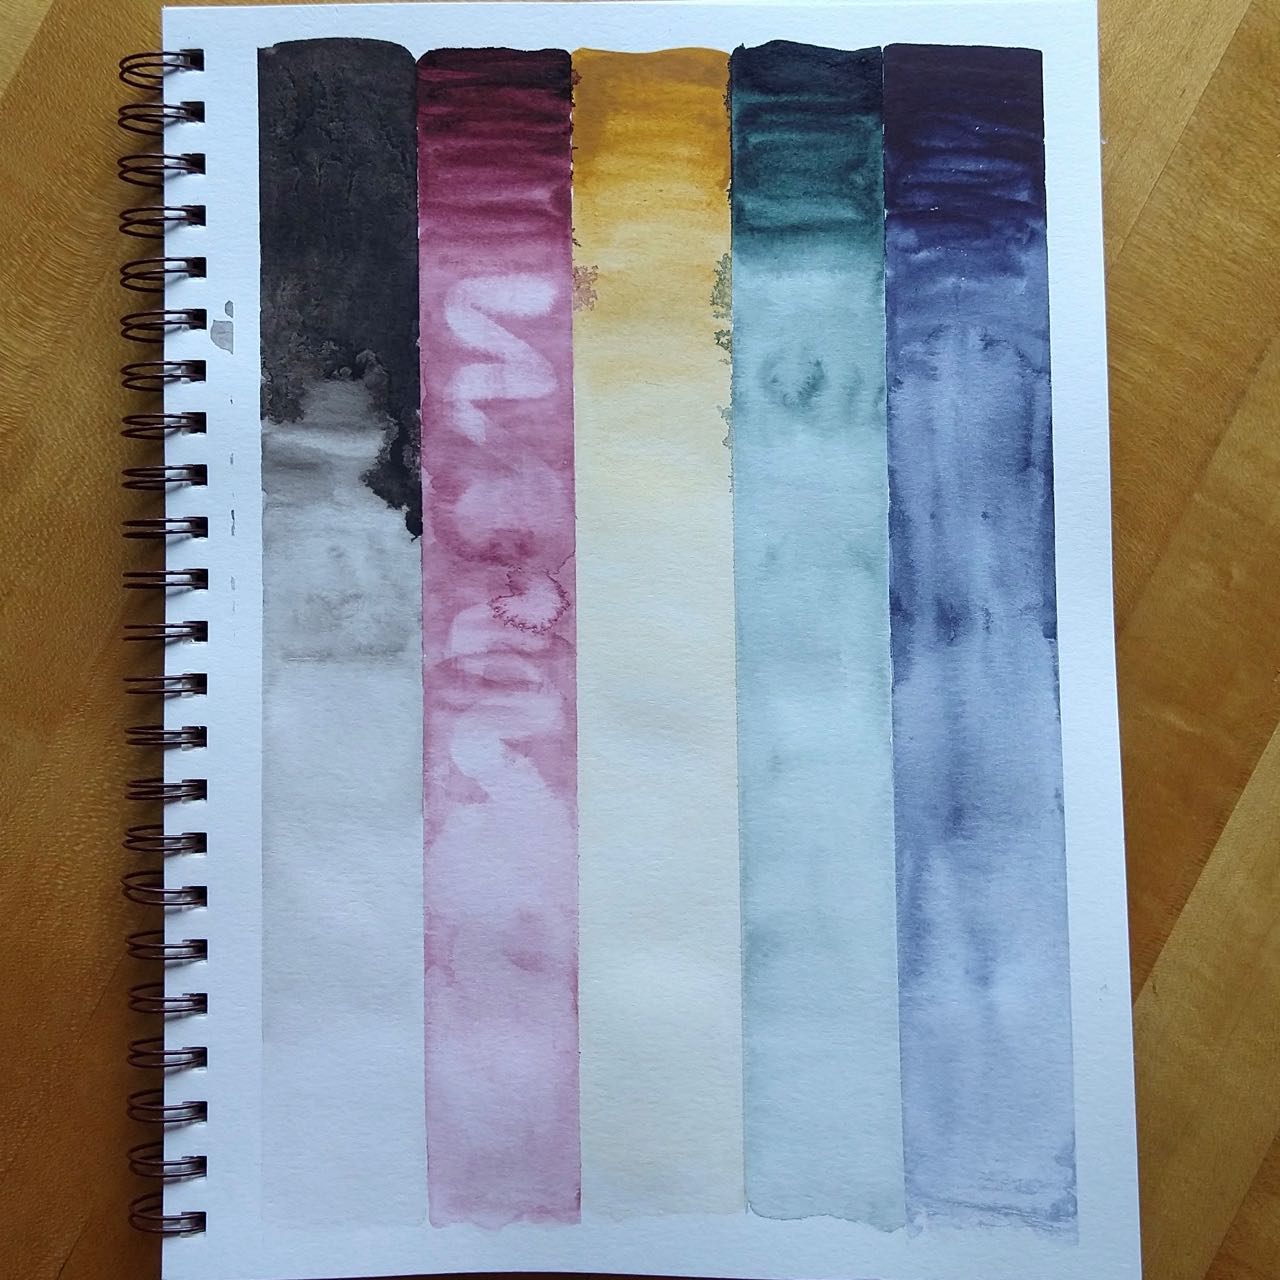
Finally, I have what I alternately refer to as the Dark Desaturated Palette and the Weird Desaturated Palette, my third mini-palette. It’s a standalone palette representing a twist on the CMY palette. It has Indigo, Naphthamide Maroon, and Yellow Ochre as “primaries”, plus Perylene Green because I love it and Van Dyck Brown as a sort of convenience color. White gouache is effectively a sixth color in this palette, as well. It is very…particular, but I quite like it.

The CMY palette has arguably been superseded by the Candy Palette, and I was thinking I’d replace it with a neutrals mini-palette. By which I meant, whatever neutrals I had on hand that weren’t in the Candy Palette, to add options for painting naturalistic images like birds. However, having thought about the abundance and scarcity idea again – and how cycling between them can be so beneficial to avoiding blocks – I’m interested in making another mini palette that stands alone.

But what? The experimentation has already begun.

Happy 10th Blogiversary, ReveDreams

Ten years ago today I made the first post on this blog. It was a brief Welcome post, with the first “real” post four days later: a bunch of animals I’d crocheted with embroidery floss.

Since then I’ve published something like 450 posts, with not quite 400 currently published after a cleanout a few years ago. Amigurumi crocheted from embroidery floss or yarn, with my own or others’ patterns; crochet outerwear and household items (including my basket fixation of a few years ago); a wide assortment of sewing projects including many pouches and bags; a surprising number of embroidery projects; and many one-off posts about other crafts I tried.

Of course, recently I haven’t published at all. My only post of 2020 was the inevitable mask-sewing post, and the majority of my 2019 posts were journal prompts rather than posts about things I’d made. I haven’t had the impulse to blog, probably in part because I can always share on Instagram, for far less effort.

However, I didn’t want my tenth blogiversary to go unmarked, so let me show you what I’ve been up to these past months…..

On New Year’s Day 2020 I started working on learning to draw. My previous attempt to learn to draw had been 5 years earlier, for the first few months of 2015. I don’t remember why I decided to make the new start – my journal is silent on the matter and my husband tells me I was admirably low-key about it – but this attempt has gone orders of magnitude better than the previous one. In particular, I am still doing it, and I’m pleased with my efforts.

Two drawing highlights of the last year-plus:

I started drawing a mushroom every day in my planner on Feb 4. This was inspired by a video by struthless, though my daily drawing subject was not nearly as specific as his. I’m continuing this year, with daily snails.

In October I did a daily drawing challenge, combining drawing prompts from Inktober, DoodleWash, and Creamtober with an overall theme of Fantasy Landscapes. It was a significant commitment but I was able to finish all 31 drawings within the month and I was really pleased with a number of them. My goal aesthetic was ink drawings with color accents, and while it took a while to get there I ended up with a few that were exactly what I envisioned.

On January 18, 2020, I started watercolor painting, a fact I know only because I wrote it in my planner – again my journal has no mention of it, and there’s no photographic record. This was a product of having been watching watercolor tutorial videos on YouTube just for fun (though who knows where that came from!), taking an art class in January that included Japanese ink brush painting, and seeing watercolor feature in some of the drawing tutorials I was watching. I’ve painted versions of a lot of photographs and other illustrations, and done many video tutorials.

Two watercolor highlights of the last year-plus:

I have been gradually filling a sketchbook with animal paintings, mostly animals whose faces appeal to me. There are many pages left!

Around the turn of the year I started painting overwrought planetscapes, the sort of thing you’d find on the cover of a science fiction paperback or prog rock album.

And of course I sewed and crocheted, and did random other crafts in 2020. Many fabric masks, several zippered pouches, crocheted Christmas ornaments, my first-ever candle wreath, a set of tea shelves made from tea boxes, and my 2021 planner!

I think have a few more posts in me this year; although I’m clearly not holding myself to any posting minimum, I’m also not ready to shutter this blog.

Thoughts on masks

Revised 5 April with some additional experience.

I have made two rounds of face masks now, using the face mask sewing instructions from Deaconess Health System.

Two completed 3-pleat fabric face masks.

The written instructions aren’t completely explicit – though the video fills in a lot of gaps – so I thought I’d write my experiences.

For the first round, each mask was made of two 6″ by 9″ pieces of fabric and two 7″ lengths of elastic. I pinned the elastics onto one piece of fabric before I started, just over 1/2″ in from the long edge, and sewed most of the way around with a half-inch seam allowance. That is more than the video shows, though the video says “one-quarter to three-eighths of an inch”, so my finished size could be as little as 1/4″ smaller than theirs in each direction.

After turning and pressing, I added pleats (more on that below) and sewed an eighth of an inch from the edge all the way around.

The finished masks were big enough for me, if a little snug on my ears (that extra seam allowance also shortened the elastics!), but not big enough for my husband. He could wear them, but they didn’t come over his chin at all if they were high enough on his nose.

Meanwhile I also received advice from someone using masks that making the two sides with different fabrics is desirable, because if the mask is removed it is quick and unambiguous to determine inside from outside when putting it back on.

Two completed 4-pleat face masks, one flipped over to show a plain muslin back.

My second round of masks was for my husband. I started with 7.5″ by 10″ fabric (1.5 inches taller and 1 inch wider), and for sturdiness, still sewed at a half-inch. I increased the elastics to 7.5″ apiece to accommodate the extra seam allowance. Really, the extra seam allowance is only needed at the sides, not the top and bottom, but it would bend my brain too much to keep track of changing seam allowances each time I turned a corner.

I had started with a prototype – quickly-sewn doubled fabric with pleats, elastic (that precious resource) safety-pinned on – and determined my original thought of increasing all the way to 8″ by 10″ was too much. It was making the fit more gappy.

For the pleats on the smaller masks, I made 3 on each end, trying to get them all even. I basically made it so that once you were within the elastic, all of the edge of the mask was part of a pleat, but pleats did not overlap. Each pleat ended up about 3/8″ wide, fold to fold.

On a larger mask I went up to 4 pleats, which are easier to do. You can mark the halfway point of the side of the mask with a pin, and the points halfway between that and the inside of the elastics, and make each pleat with the fabric between pairs of pins (or elastic and a pin).

I am curious to try out making a Ragmask, with more coverage and fit. From that page I found a good resource on the effectiveness of different homemade mask materials. The upshot: not as good as surgical (unsurprisingly), but still beneficial.

Good luck out there. I’m thinking of you!