Good morning!

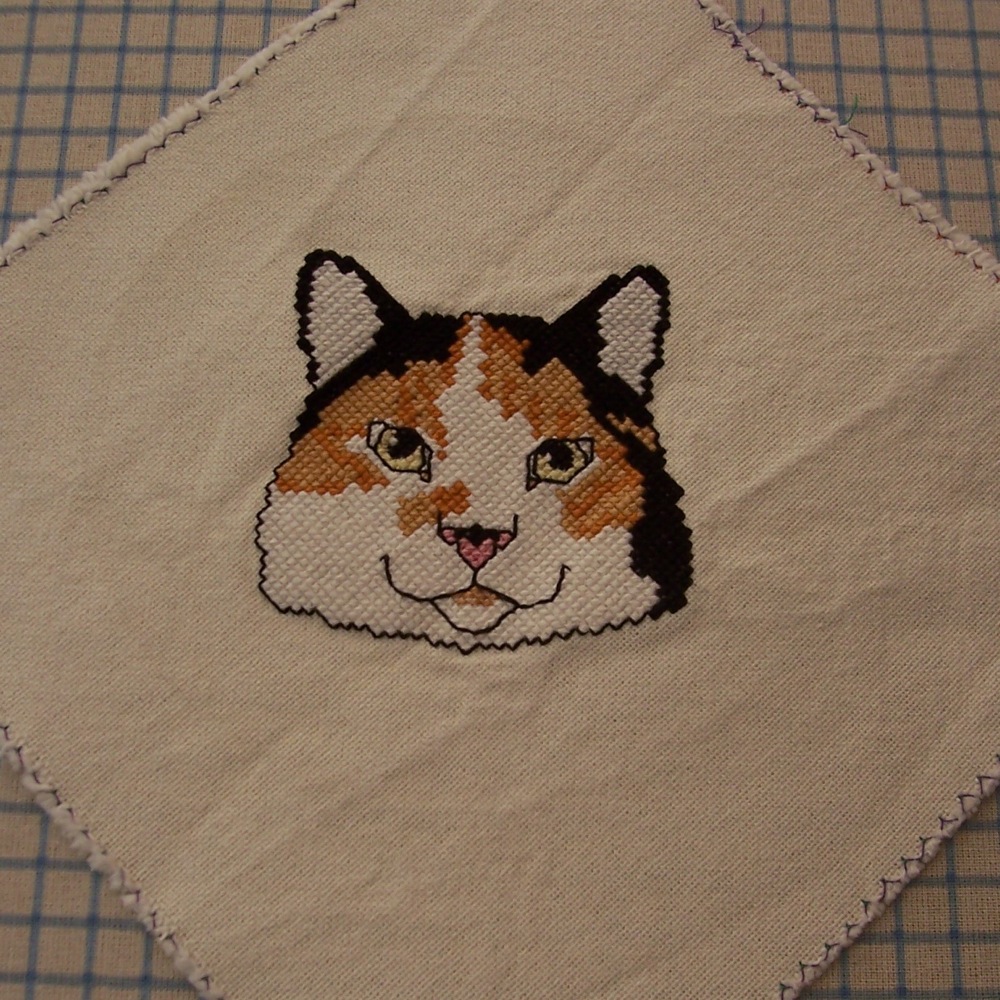
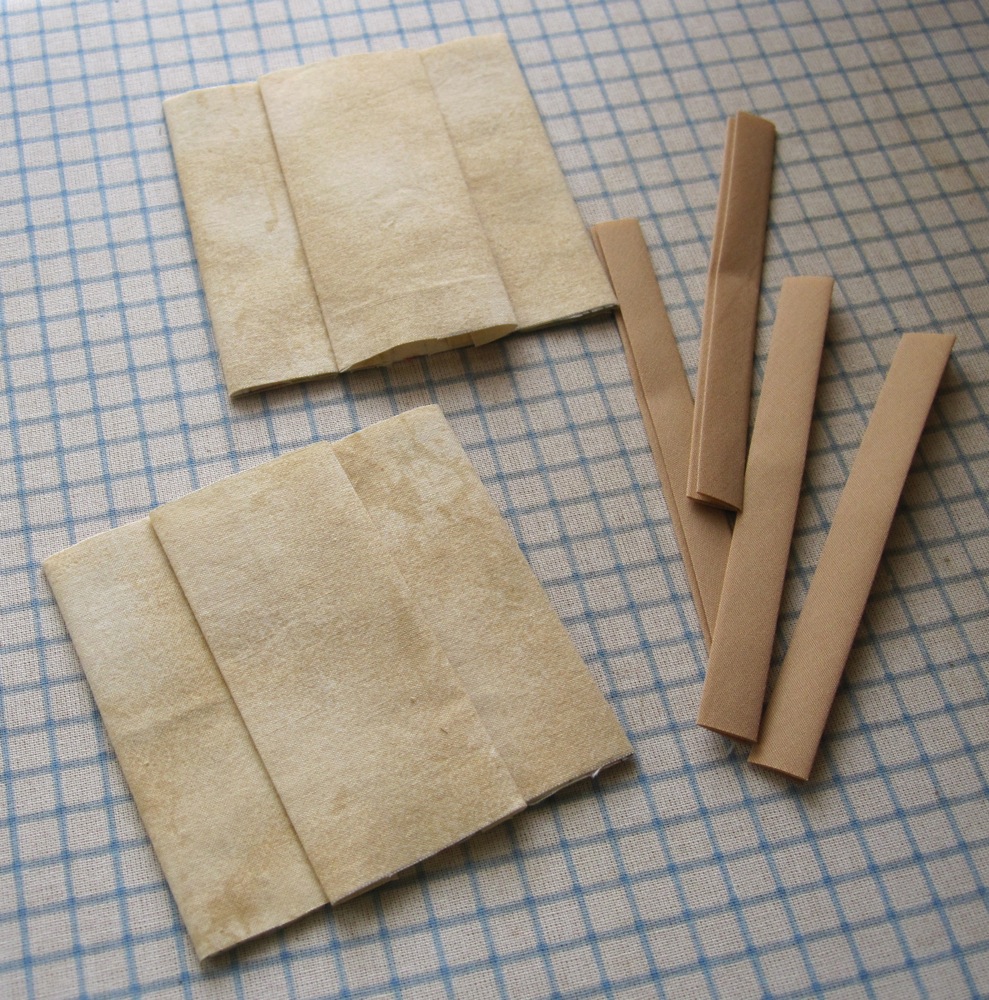
My sewing and crafting room is bursting at the seams – every available horizontal surface has baskets or bags or piles of stuff on it. I don’t like it that way, and as part of a more general downsizing and organizing push I am trying to make a dent in it. One aspect of that is to either complete or declare bankruptcy on all of my “current projects” (some of which have been in a large plastic storage bin labeled as such for several years). While going through piles I found some pieces of fabric that were earmarked to become coasters; some cutting and facing had been done. My first step in completing them was to cut interfacing of the full finished size (4 inches square) and use Wonder Under fusible web to affix it to the back of the fabric.

just fabric with interfacing

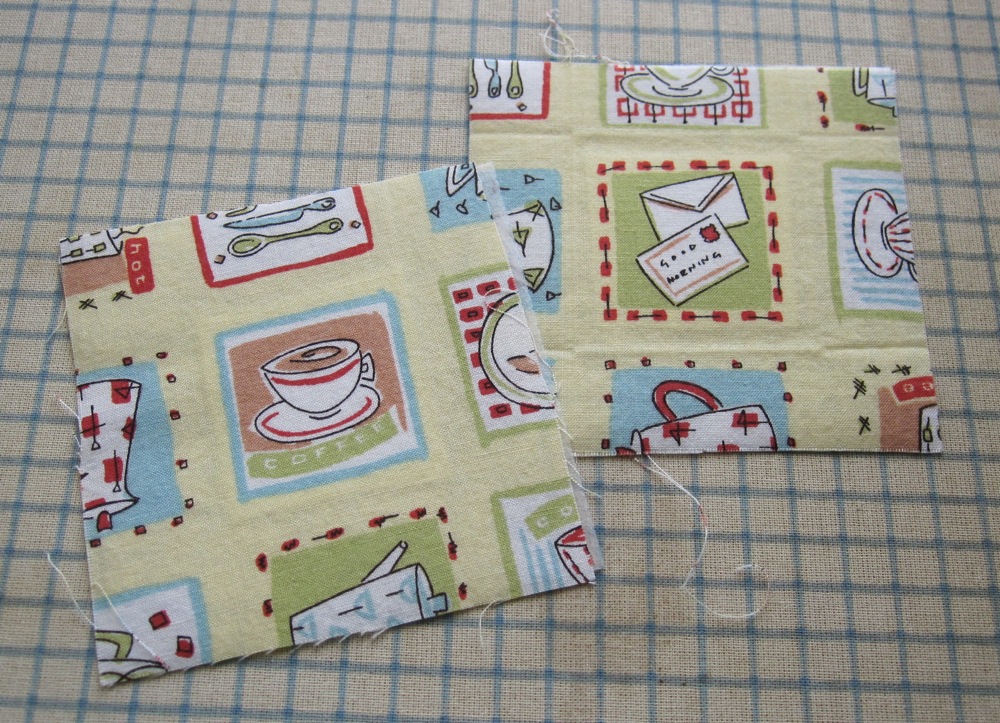
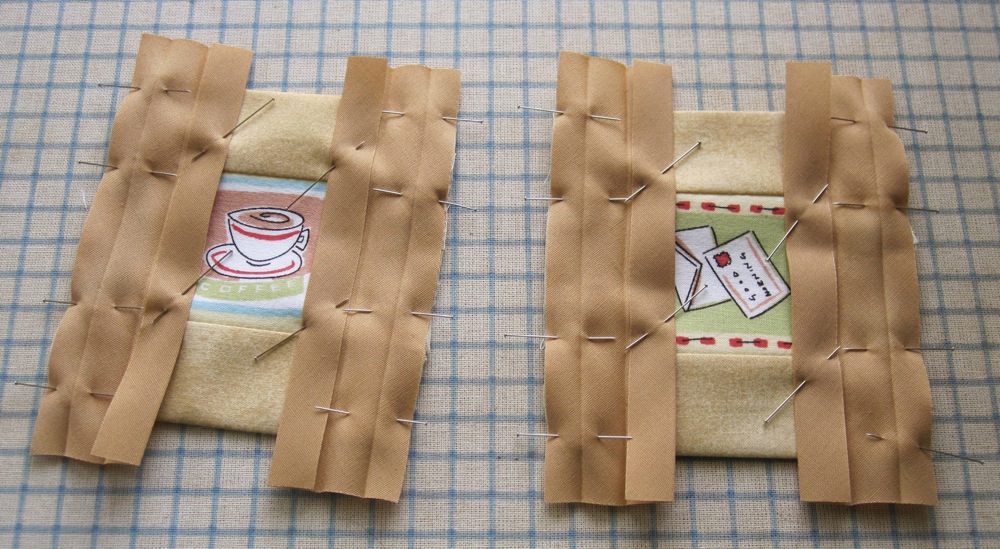
You can see the original bit of iron-on interfacing just under the image itself.

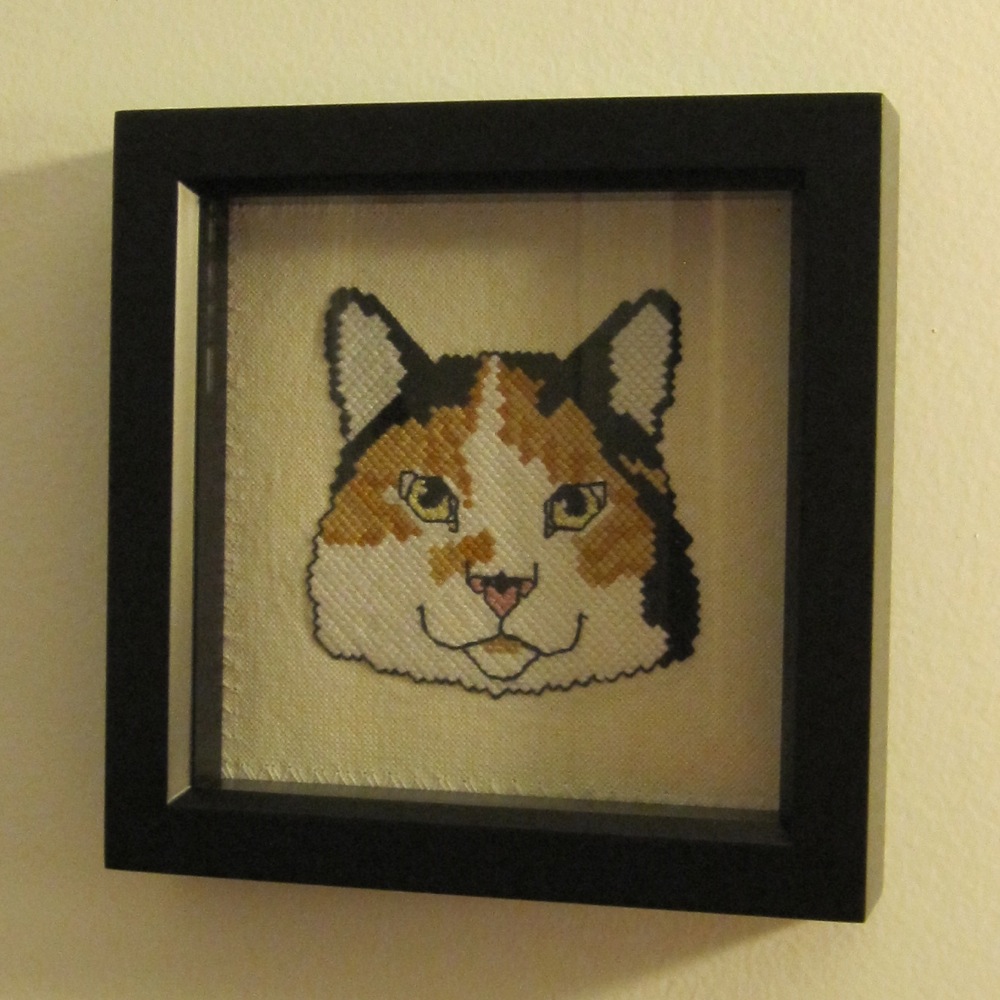
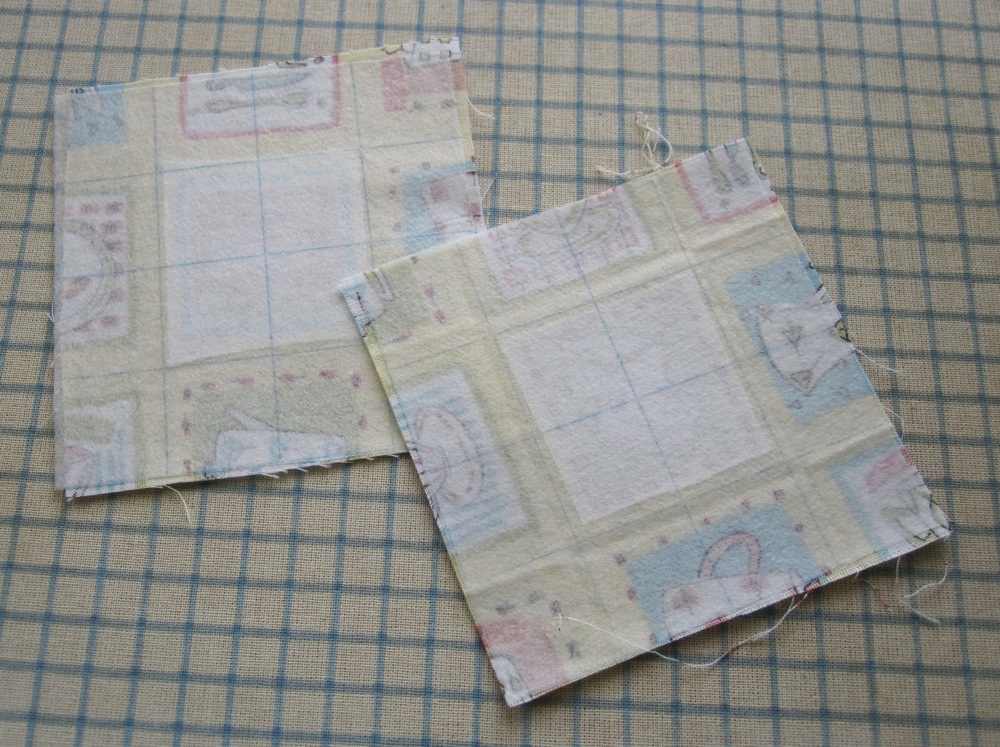
My original plan was to take the coordinating fabric and make a square frame around the center image, but I didn’t really put enough forethought into the process to do that. Instead, I sewed it to cover the partial images on two sides (sides on one coaster and top and bottom on the other), with pieces large enough that the raw edges were close to the center back, and folded another piece to match the uncovered image in front.

one layer sewn covering the raw edges in back

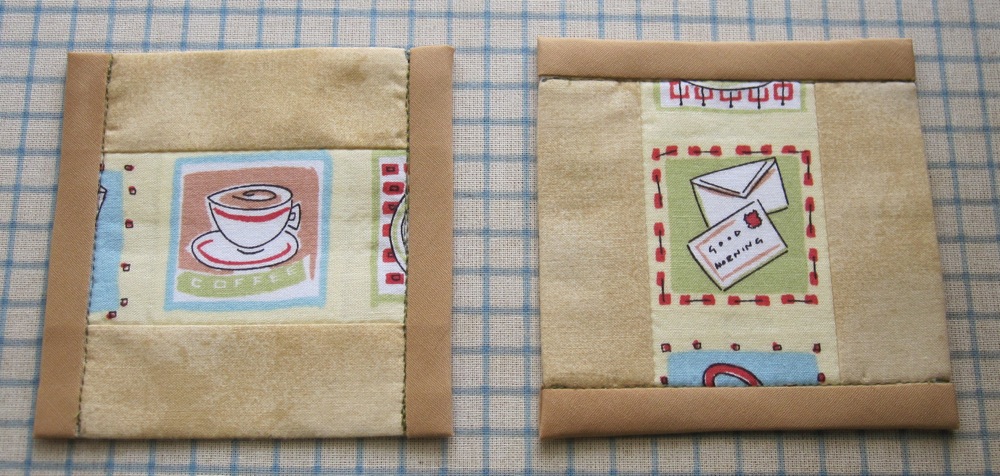
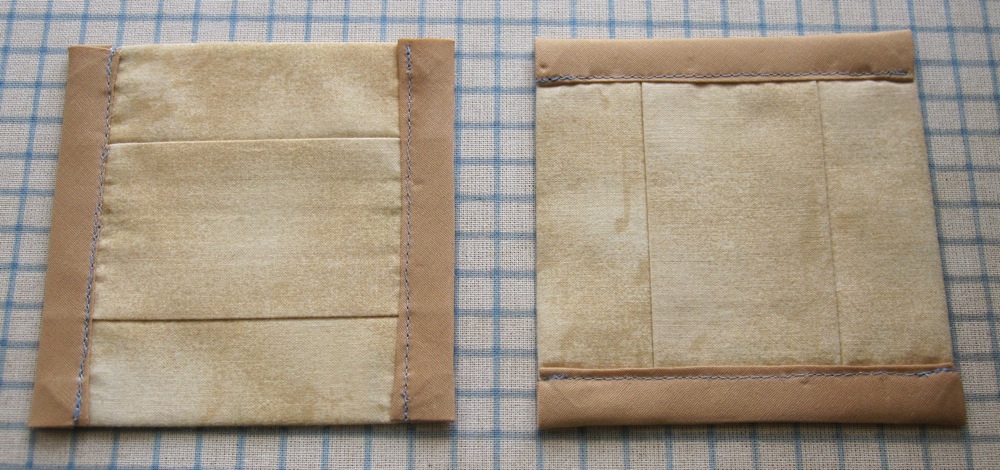
I think I may have swapped the two backings when I put them on, but that’s okay. They were attached with more Wonder Under. Then I found a coordinating color of bias tape (extra wide double fold, my standard kind) to cover the raw edge.

pinned

After sewing the hidden seam, I refolded the tape once, wrapped the ends around the edges of the coaster, folded the exposed corners so no raw tape edges would show, and stitched (somewhat sloppily) in the ditch with thread in two colors from the main images.

front back

Then I mailed them to my boyfriend, who was appreciative.

Catstitch

I was raised by cats. To commemorate that, long ago I decided to rework a four-cat cross-stitch pillow design to represent the four most longstanding feline figures in my history. I traced the original designs, sometimes altering the features a bit (to give Snowball her very round eyes, for instance), and changed out the colors almost completely. That latter involved a lot of staring at photos and my DMC thread card.

color check

Of course, although I begin all four of them, I ran into troubles with accurate colors for one cat (Tabitha was basically done in watercolor; hard to match the subtle variegation with thread) and ran out of steam on two others. The one I completed is my sister’s dearly departed O.D., originally our eldest brother‘s until he married a woman who is allergic to cats, then living in the family home, and finally sent to my sister in college in the Cat Diaspora when our father became allergic.

cat done!

Framing stitched pieces is kind of a trick. A double mat might keep the glass from flattening the stitches, but I went with a shadowbox frame – a half-inch spacer between the glass and the image. I think this is actually the first time I’ve ever framed a piece of stitching in a proper frame.

framed

Quick fixes

I’ve been trying to downsize at home, including in my closet. I hang my sweaters/sweatshirts up at one end of a row, so whatever is at the other end is the item that has gone unworn the longest. I was eyeing that end for possible elimination, and the item hanging there was a lightweight zip-up jacket, kind of a really heavy t-shirt or unfuzzy sweatshirt material, with nice embroidery on it. I like it, but it had migrated from the beginning end after being washed all the way to the far end, without being worn once.

It occurred to me the only reason I don’t wear it more is that the sleeves are way too long, and they don’t stay pushed up. Therefore, even if I just wash my hands quickly they are likely to get wet and annoying.

yikes

That’s an easy fix, though – I checked, and two inches would do the trick. The embroidery on one sleeve would still be completely above the new line of stitching, so it wouldn’t complicate things. I even happened to have a perfect spool of thread!

perfect

While I was at it, I thought I’d fix some damaged parts of the bottom hem in the back, as well. I took my sewing machine repairman’s advice and lowered the tension as well as shortening the stitch. Shortening the stitch was not the best plan, but I did note many fewer dropped stitches than last time I did this, so lowering the tension was a good move.

worn out could be better

Oh well. I think the rippled texture will come out in the wash, and it’s the bottom back, so hopefully no one will be looking too hard.

The sleeves worked like magic, though. I moved the stitch length back to my usual setting, folded them up and pressed, and stitched without trimming the extra.

back front

Trimming afterward meant I didn’t have to worry about failing to catch the raw edge while sewing. Nice and smooth and no dropped stitches!

back front

Best of all, when I put my hands out the jacket hits at my wrist instead of my thumb.

perfect

While I was in the mood to finish things, I fixed this problem:

oops

Oh noes! Underwire! It didn’t want to scootch back into the casing completely, so I pushed it as far as I could and covered it over with a double layer of ribbon.

fixed

This bra is nearing the end of its lifespan anyway, so I expect this fix will last as long as the rest of it does.