Tutorial! It’s been a while. I went with my favorite companion to a party this weekend, and had a bottle of champagne to bring. You will not be surprised to know I decided to sew a bag to adorn it, and perhaps also not surprised to learn I started the whole process a little too late to actually complete it before we had to leave. I was so close! I finished it yesterday.
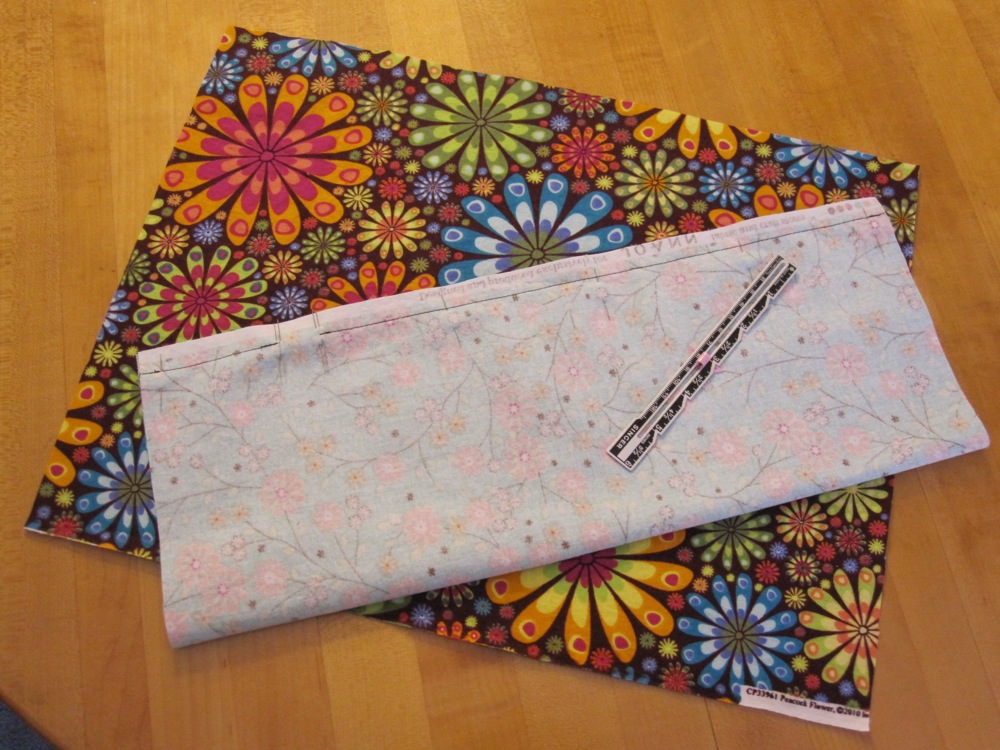
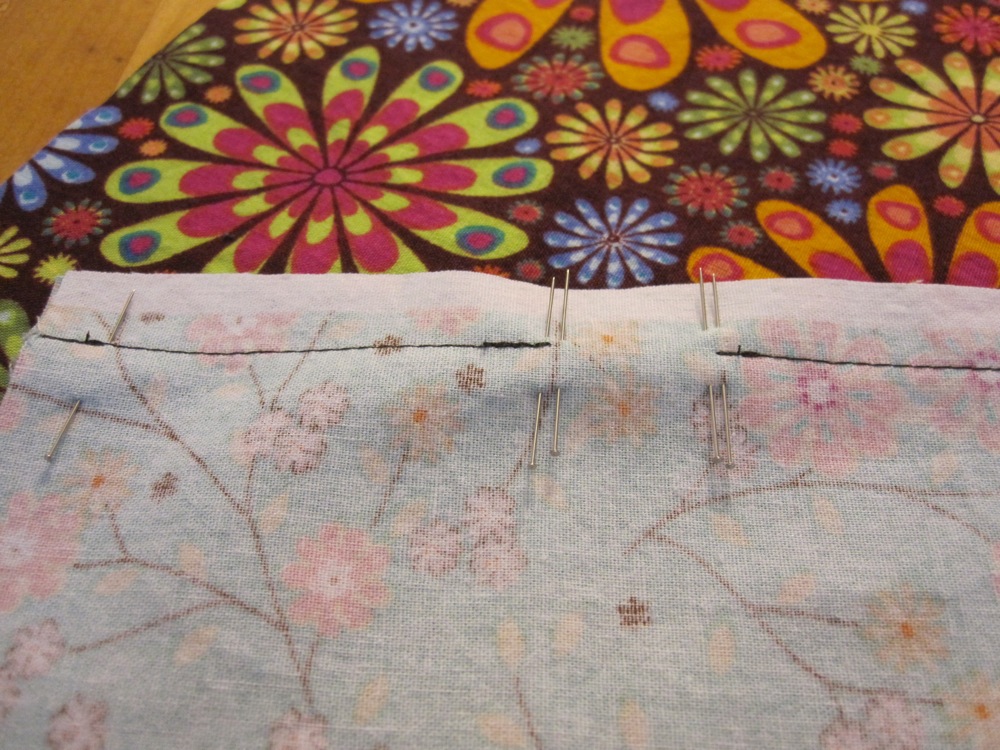
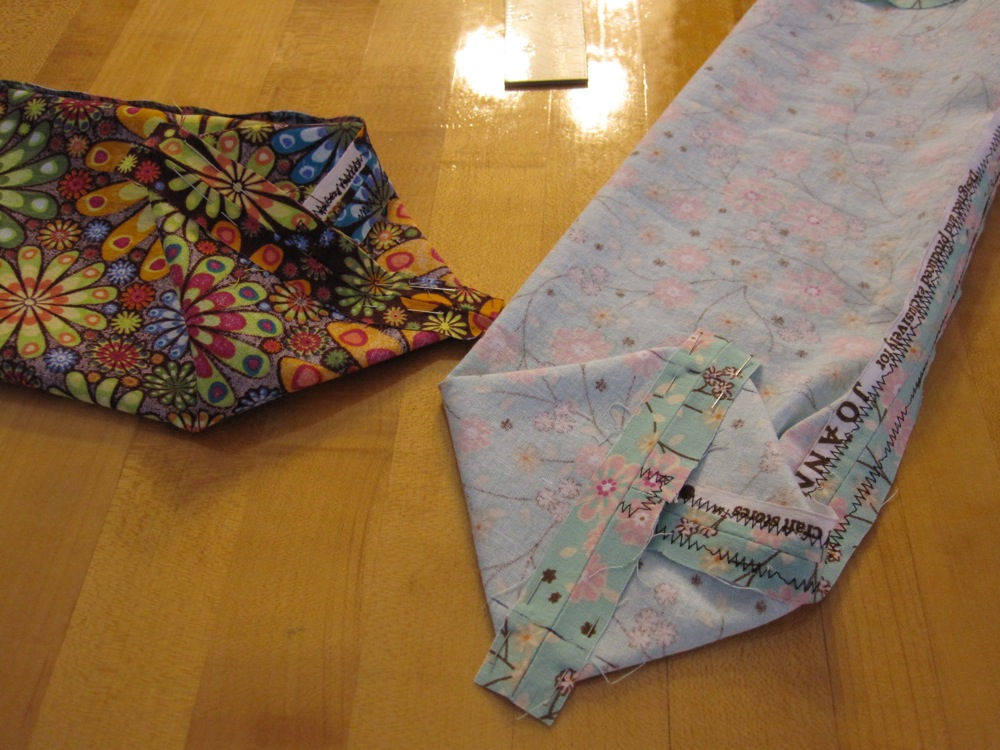
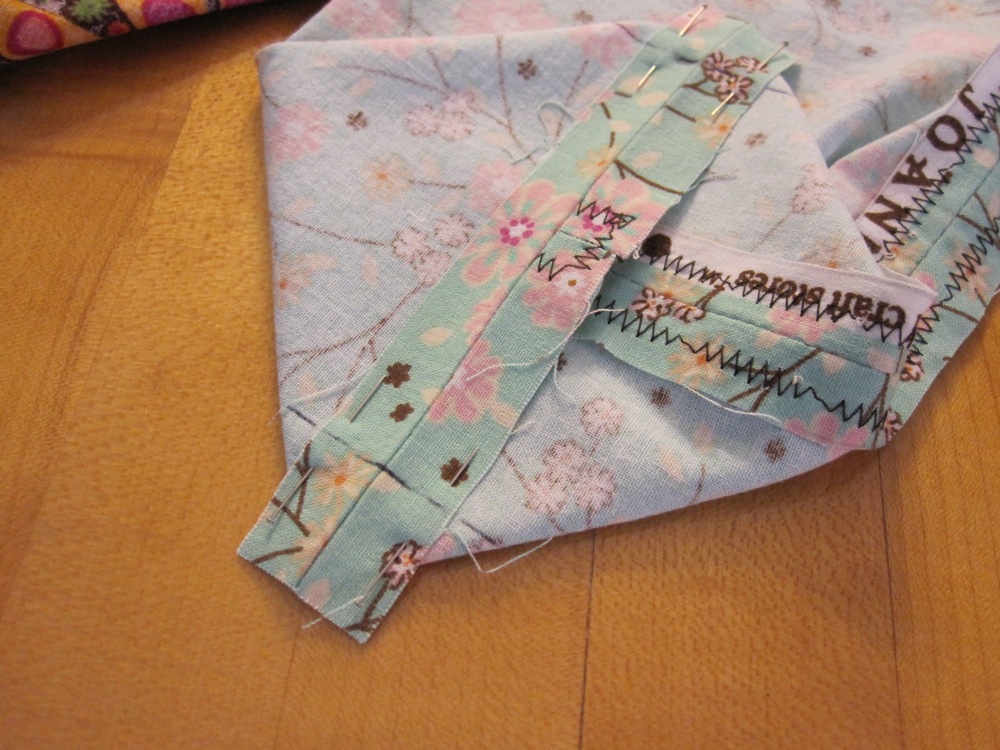
This bag is very similar to the half-hour reversible drawstring bag, though it has more detail and so will take a bit longer. Start with two pieces of fabric each 12.5″ by 16.5″, and fold them long edge to long edge, right sides together. Sew that edge with a 1/2″ seam allowance, leaving an opening between 3″ and 3.75″ away from one end, which will be the top end. Below you can see my technique of doubling my pins on each side of the opening; it’s my special self-signal for “something different happens here.”
Press your seams open and stitch the seam allowance down. This is only necessary at the opening, but unless your thread blends well with your fabric it may need to happen all the way down the bag to avoid looking out of place. I used one of my fancy zigzags for this. Afterward, press the top down a half inch (you do not need to turn the raw edge under as in the original bag because the drawstring opening is so far from the edge).
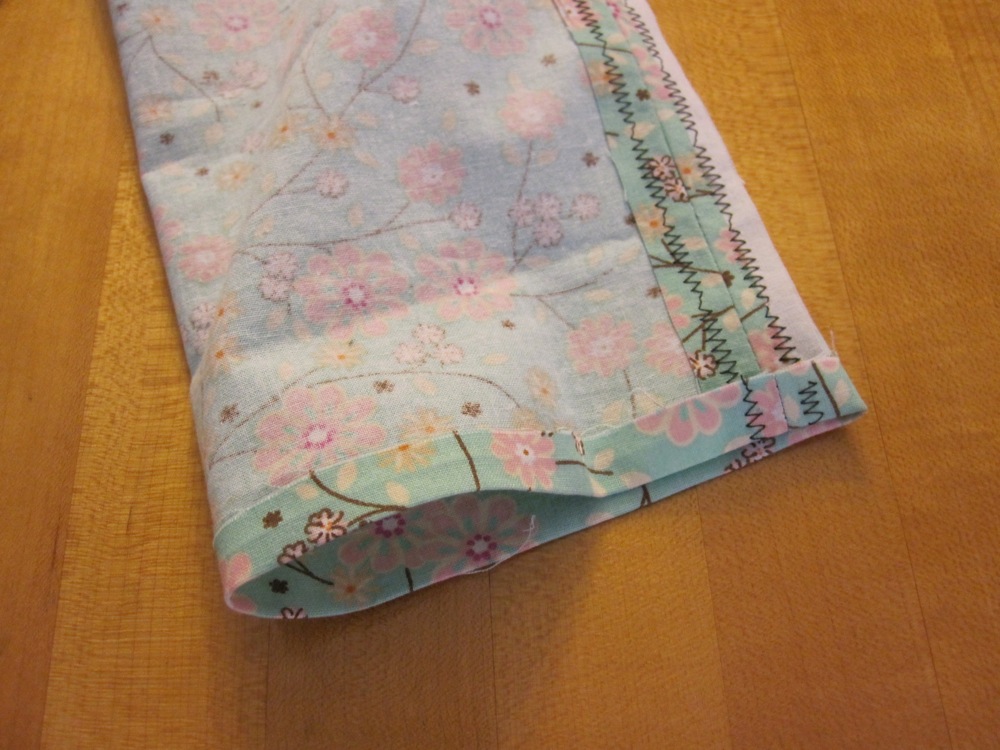
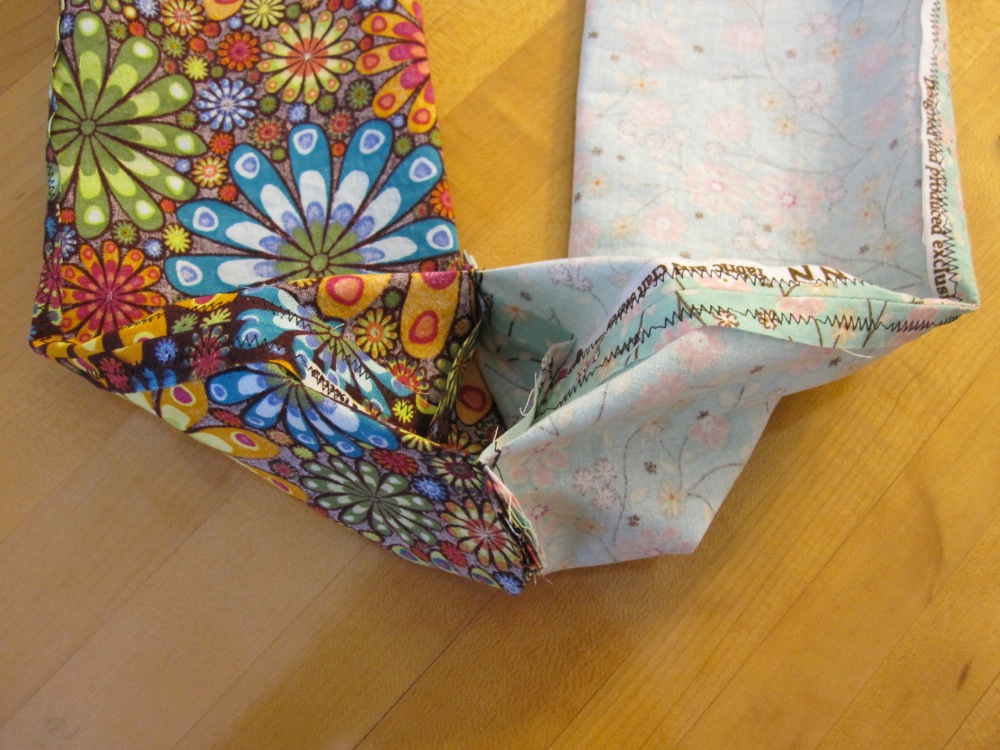
You may choose to sew the bottom as for the original drawstring bag, but I made adjustments to eliminate flapping corners when the champagne bottle was inserted. Flatten the bottom so the seam is centered and stitch across at a half inch. The pictures below show this, and also my method of centering the seam by first folding the bag so the seam is at one end, pinching the opposite end, and then lining up the pinch with the seam.
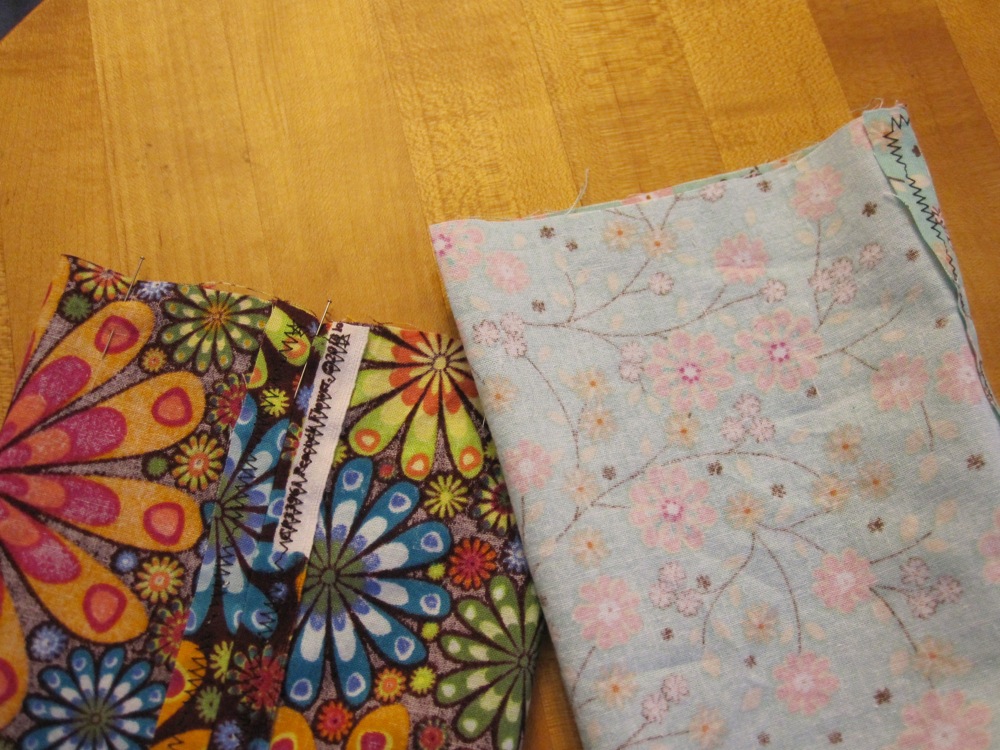
Snip the seam allowance at the ends so you can press it open. Don’t worry about creasing the sides of the bag; this is helpful in the next step, where those creases can be lined up with the bottom seam as you pinch the bottom sides of the bag out into triangles. To eliminate the flappy corners at the bottom we’ll sew them off. Mark in 1″ from each corner and then sew perpendicularly to the bottom seam, as shown below. It won’t be square but it will be better.
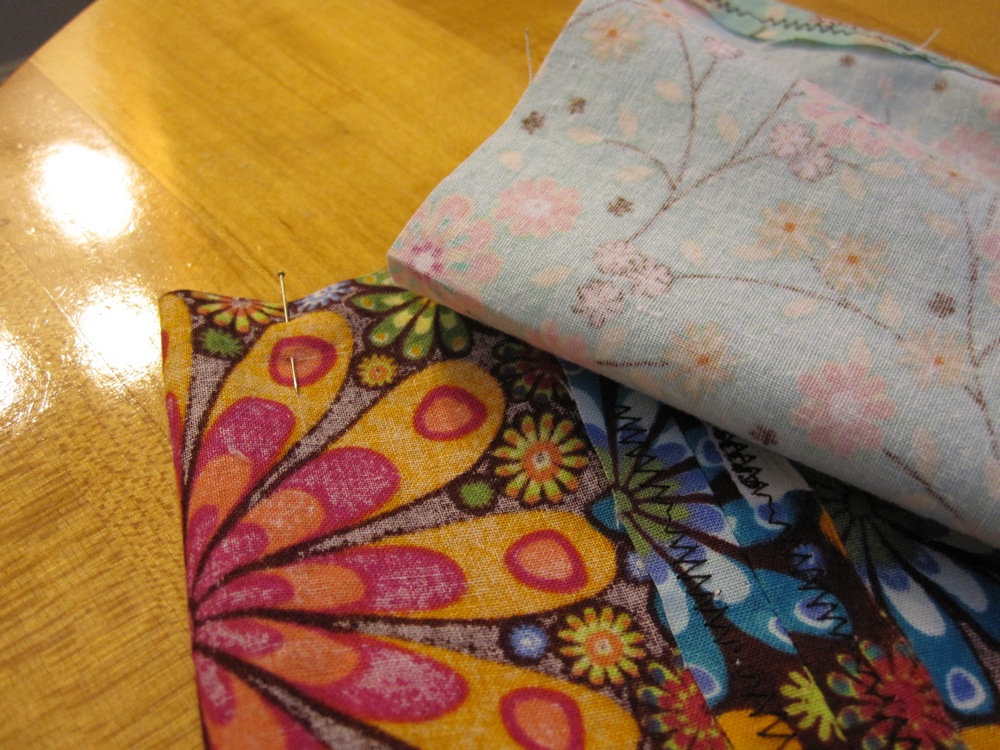
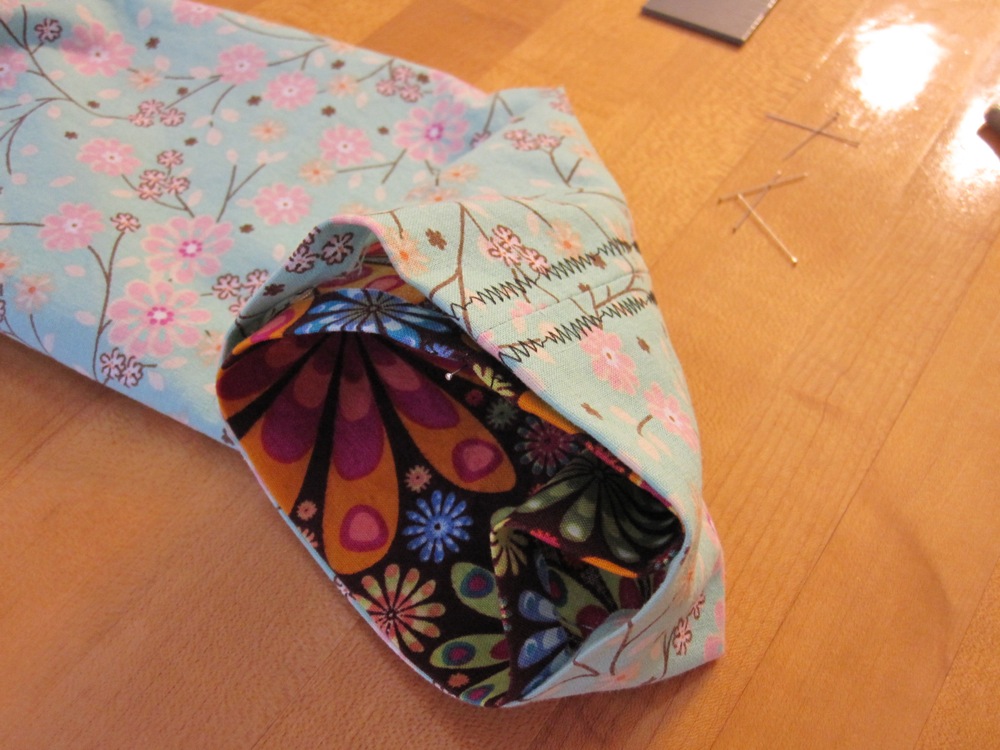
To make reversing the bag easier, put the two halves foot to foot – matching the long seams! – and stitch them together just outside the previous seam line. You can see I trimmed the corners to about a half inch after the previous stitching.
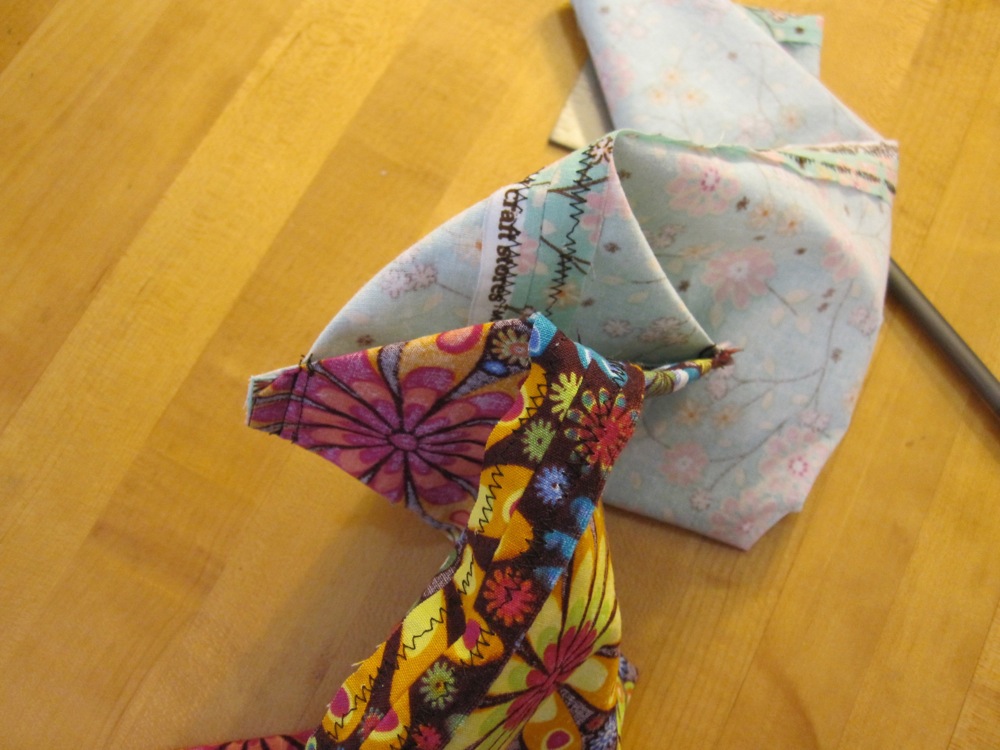
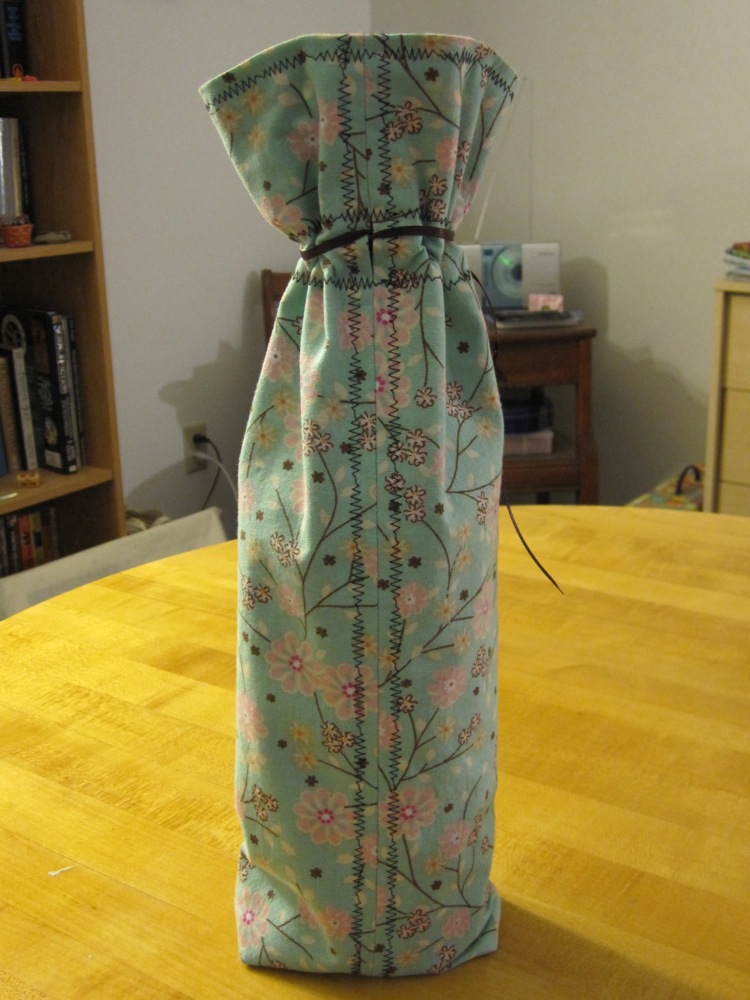
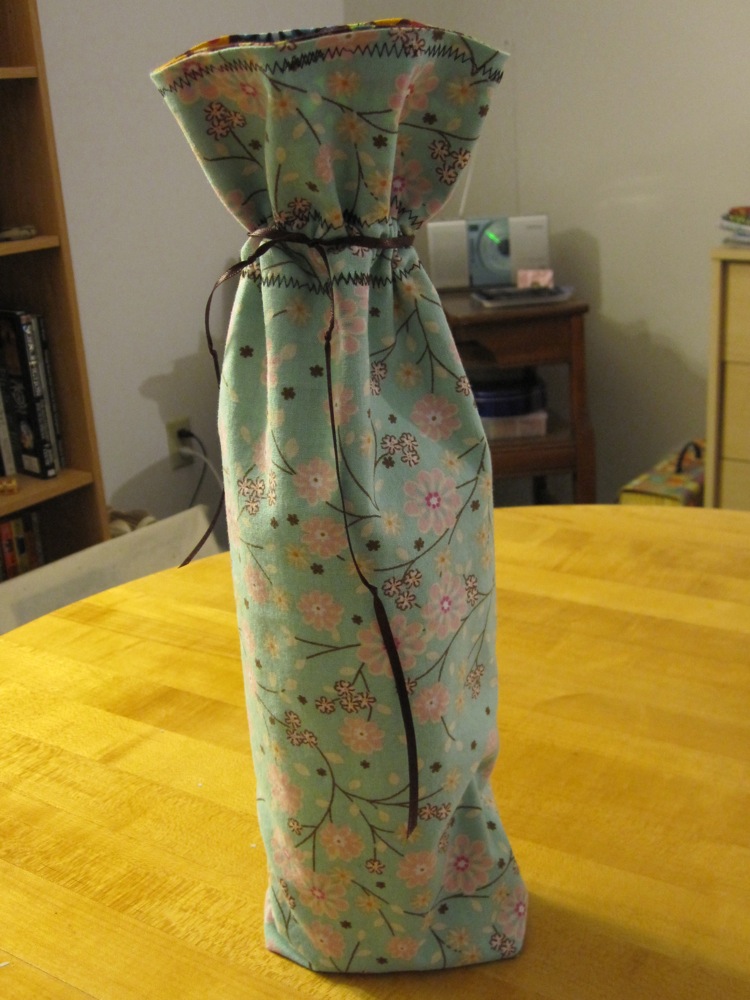
Finally, pull one layer around the outside of the other and line up the top fold, with the long seams matched. Sew around the top (this is how far I got when I had to leave!), and then mark horizontal lines around the bag at each end of the gap – to leave room for my decorative stitch I marked my lines 1/8″ up and down from the opening, but for a straight stitch you could mark exactly at the ends of the opening. Make sure the two layers of the bag are lined up perfectly at the opening, and the rest of the way around nothing is bunching, and stitch. Finally, thread a ribbon or piece of yarn through the casing your last two lines of stitching created, and tie it decoratively however you wish.
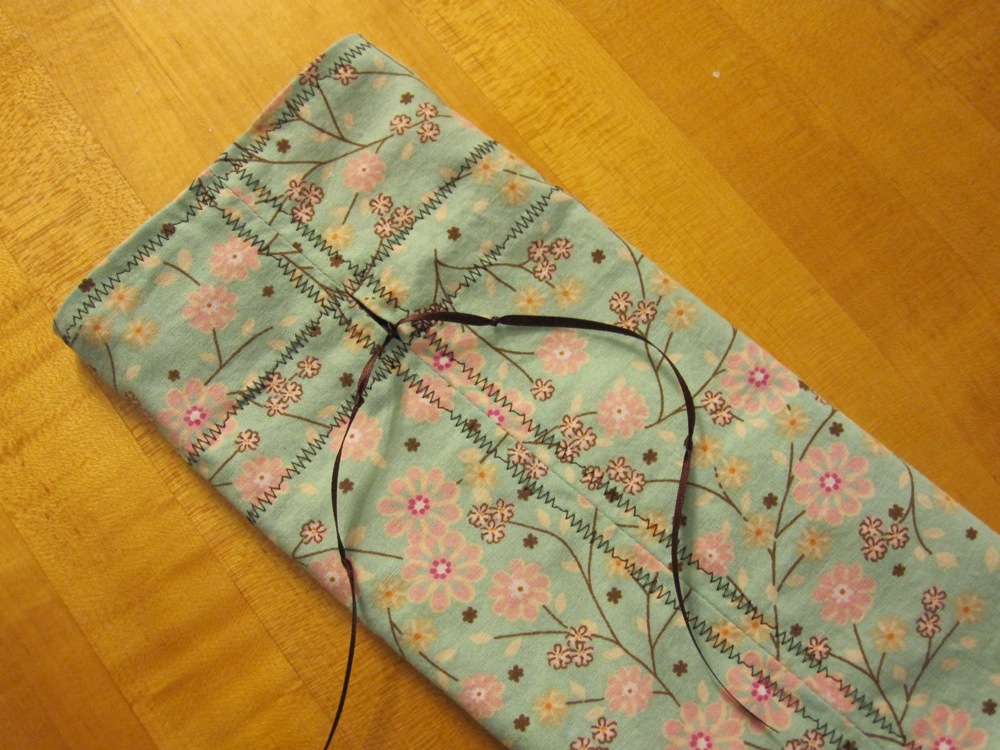
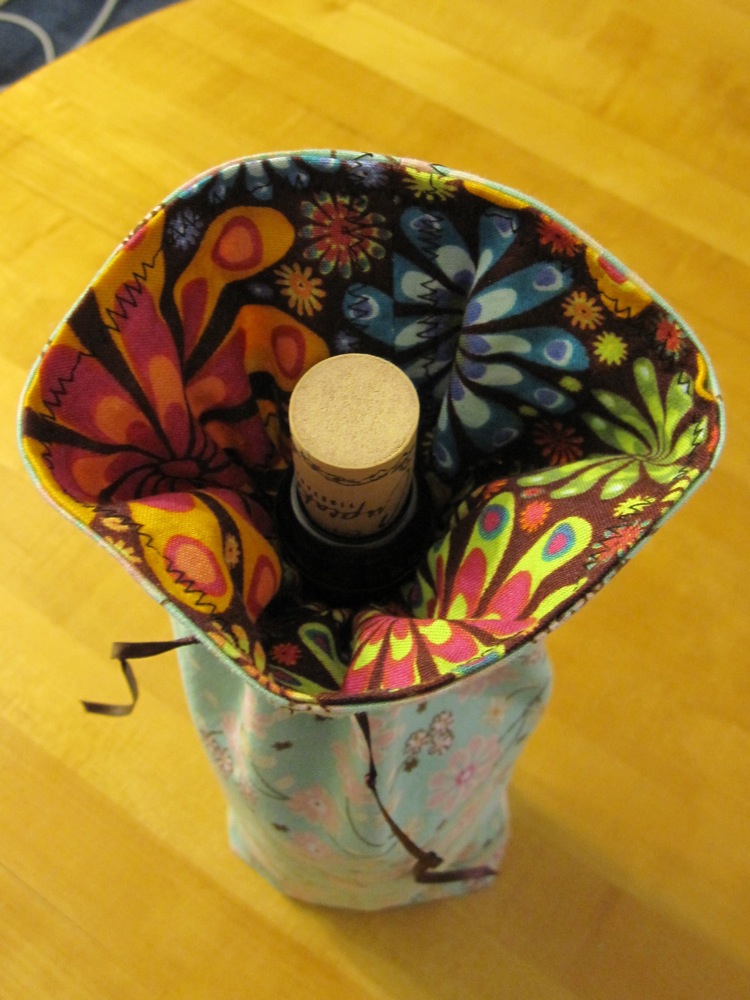
Of course since I was late, the champagne was gone, so I have a regular wine bottle as my model. It still works! I designed the location of the drawstring so it would hit just under the wider part of the top of the champagne bottle neck, and I can’t comment on whether that worked out, but it surely looks nice on the wine bottle.