This was going to be about altering pants. I have pants, they need altering, I was going to do that this weekend and then post about it. However, altering pants? Not the most exciting thing in the world, and after all the embroidery I’ve been doing I was jonesing for some crochet. I started fooling around with yarn and here’s the result.
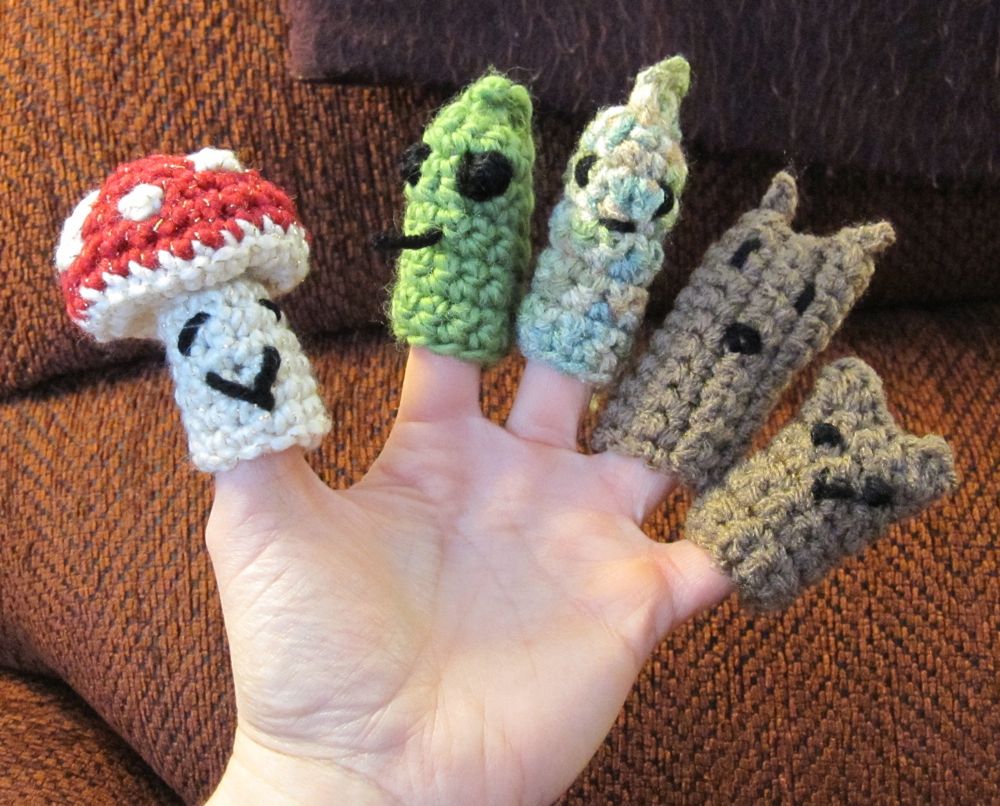
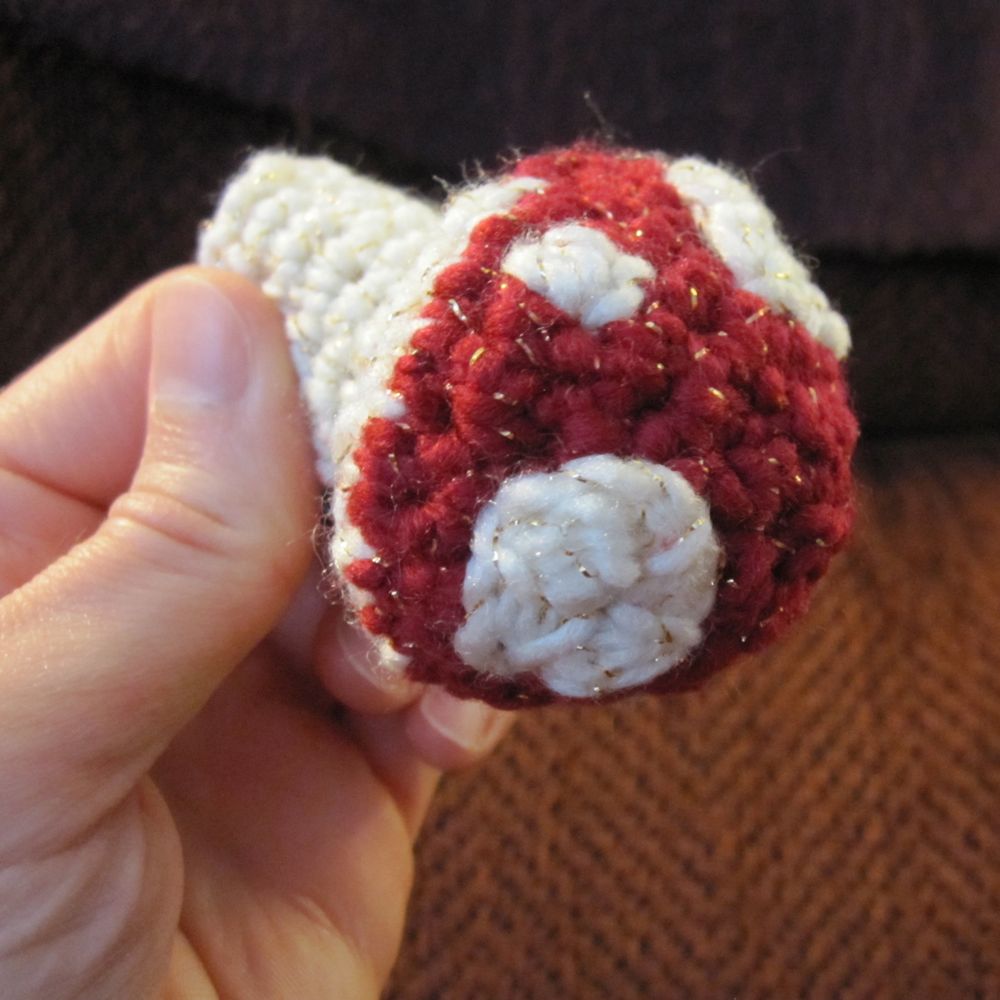
I have made finger puppets before, but the first one in this batch was Melissa Mall’s mushroom pattern. The pattern itself, I am not so sure about; it’s maybe a little over-complicated and it fails to tell you which way to put the top and bottom of the mushroom together. Actually the printed pattern itself doesn’t say it’s a finger puppet; I had to remember/reconstruct that based on the fact that the stem is not stuffed and the two pieces would not need to be made separately if it weren’t a finger puppet. Anyway, it came out okay. And sparkly.
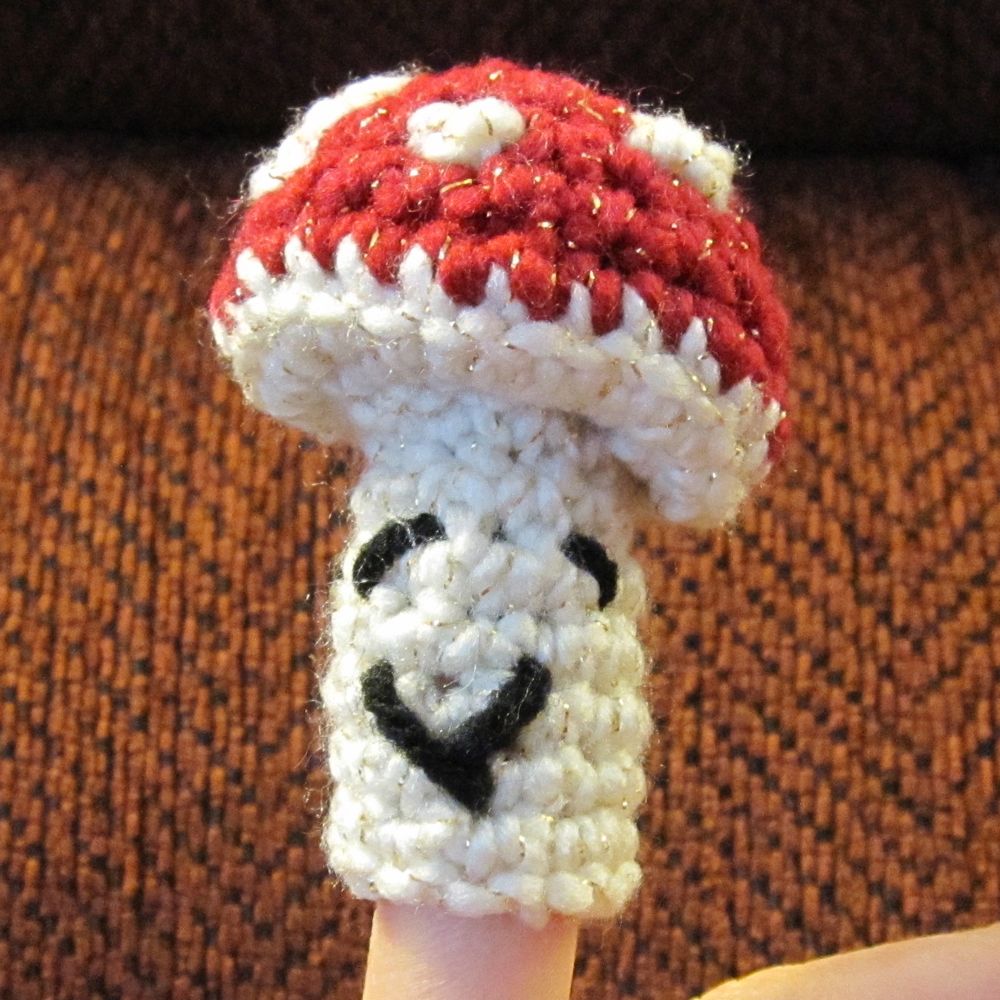
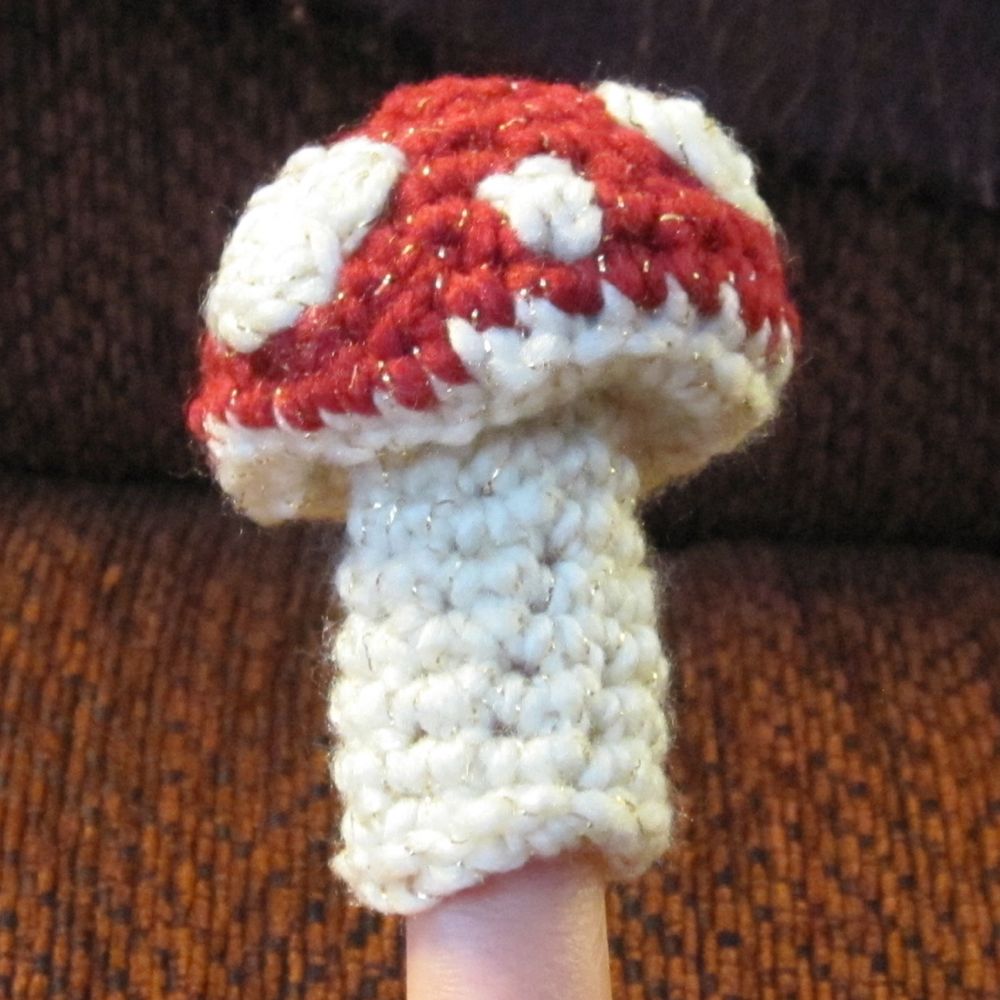
For the face and spots I used embroidery instead of felt. In particular for the large spots I stitched straight spokes out from a center point and then wove yarn around that point under the spokes.
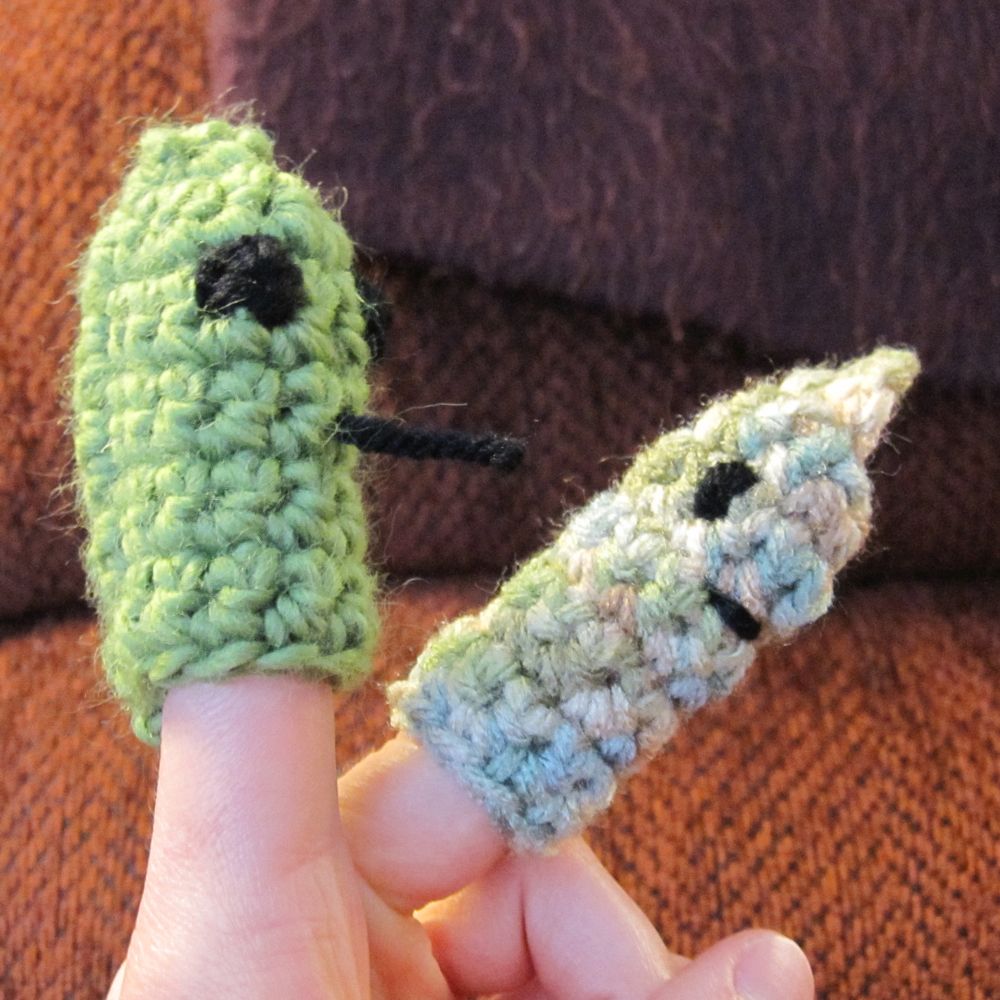
Then I just started freehanding. I started with the ideas in Where the Wild Fingers Are (note she uses UK/Australia terminology) and made the following two little guys.
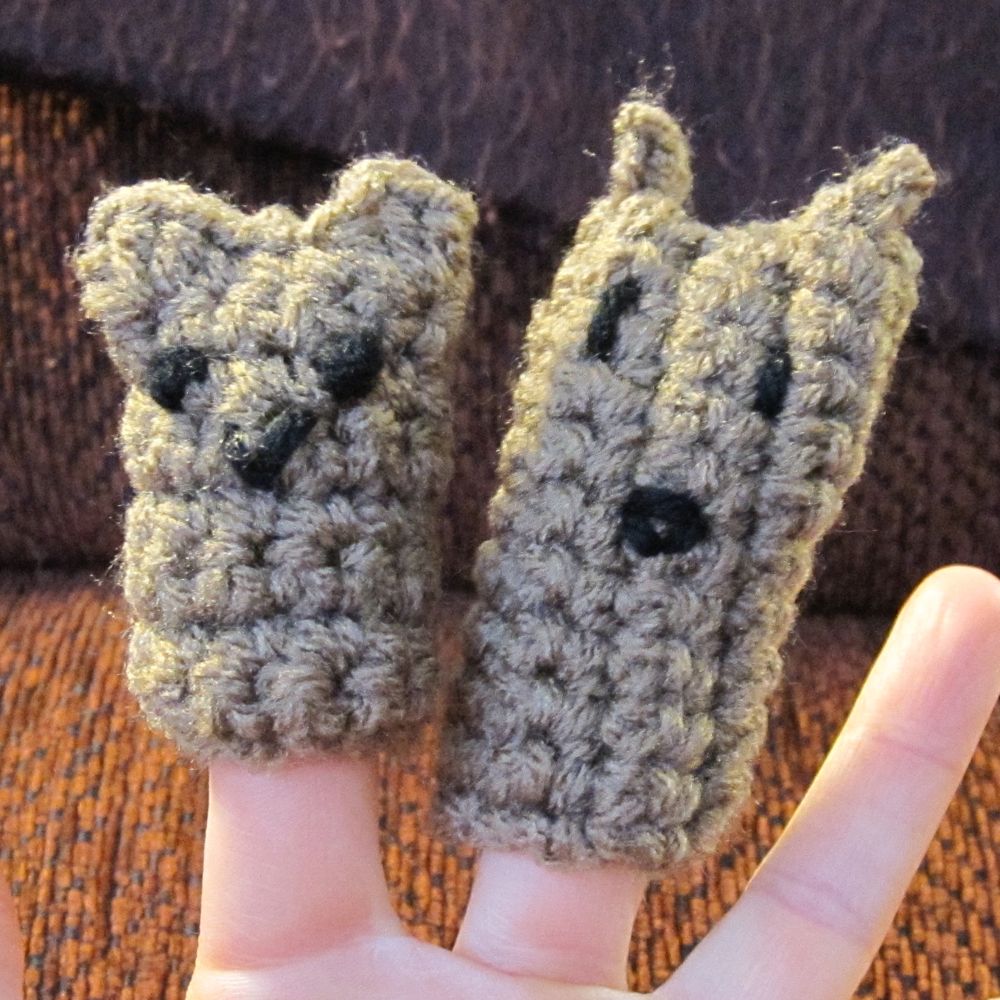
You’ll note on one of them the stitch rows run top to bottom instead of around; I was experimenting with ways to make horns/ears at the top. Unfortunately I managed to sew him up cockeyed; the other was crocheted together.
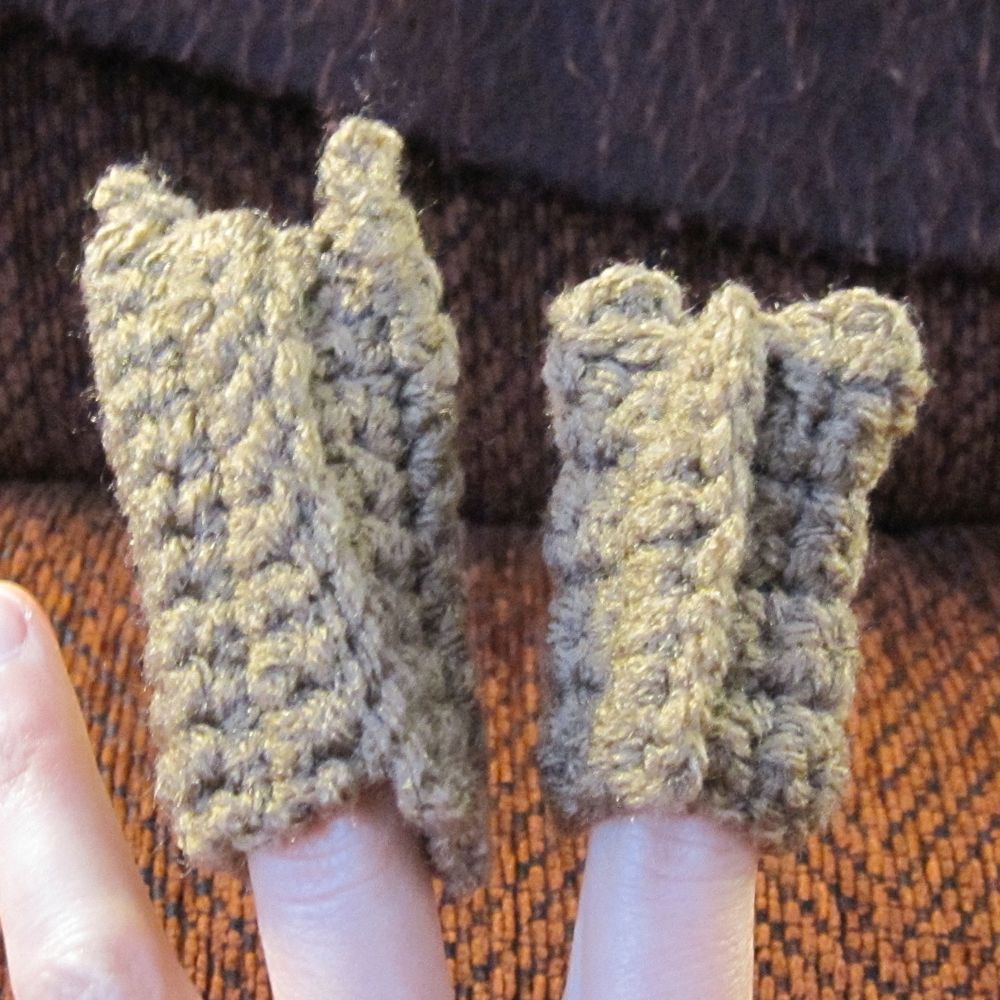
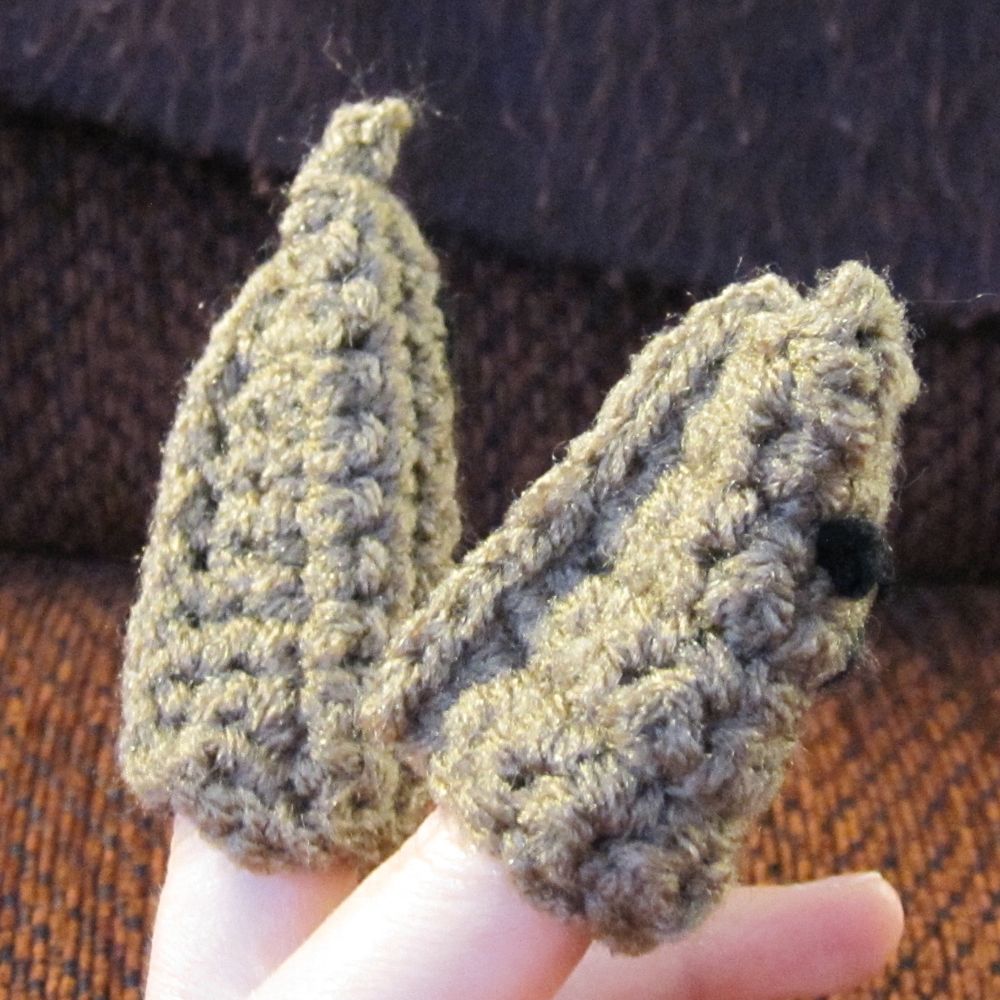
Then I started thinking about other ways to do things, inspired by the big ridge on the back of the smaller brown puppet. I also thought it would be nice to have a puppet that wasn’t flat across the top. Here’s the result:
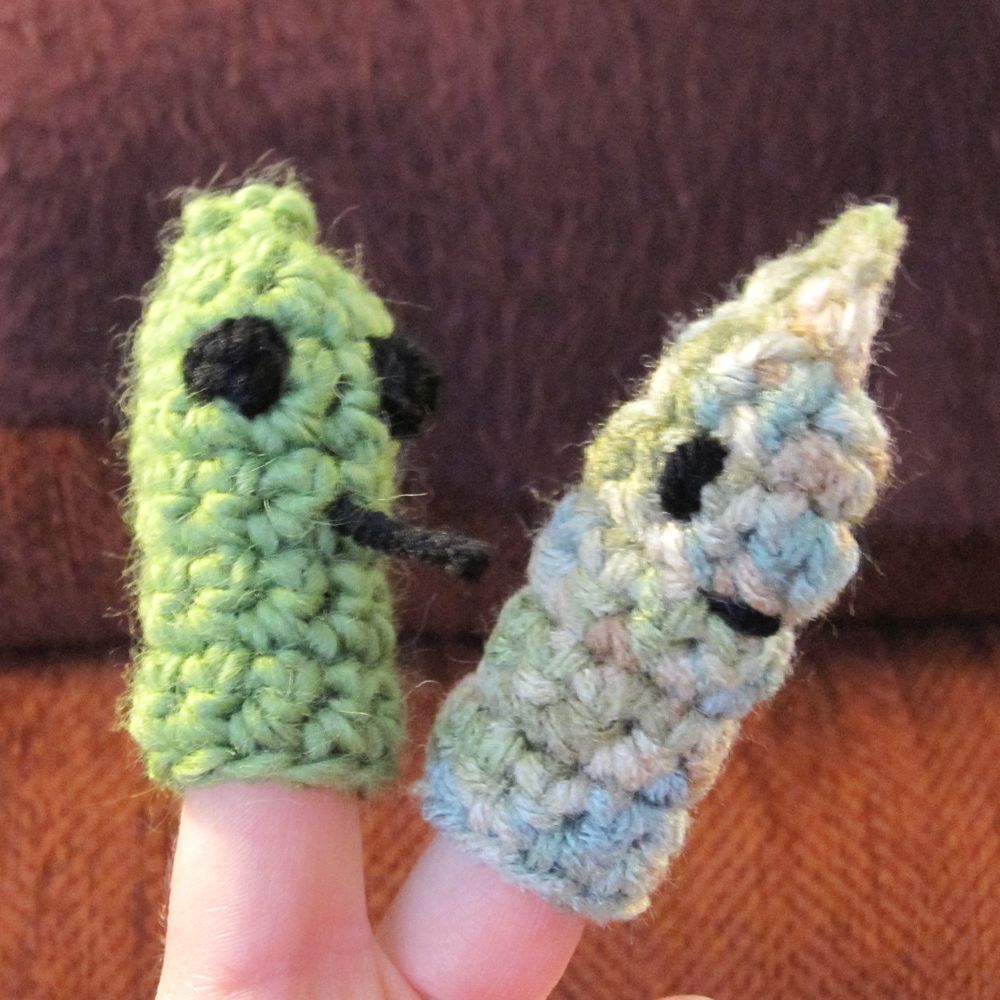

To make little guys like this, start with a magic ring. You won’t work in the round, but start with 6 sc in the magic ring, ch 1 and turn, and increase across for a total of 12 sc. Ch 1, turn, and sc across for a few rows (the head of the puppet), and then have a row of sc 5, dec, sc 5. This is mostly to make the puppet more fitted to your finger; you could also sc 4, dec, dec, sc 4 for children; keep in mind the final sc-ing together will decrease the size a bit as well. Continue with the sc across rows until the puppet is the desired length – mine both turned out to be 11 rows total. Do NOT finish off your yarn.
Tighten the magic ring at the top and finish off that yarn. This is a good time to embroider facial features. To complete the puppet, stitch the edges together from the bottom of the puppet to the top (the magic ring) and maybe even past that. You can just sc, or you can do something fancier. The green guy above has alternating sc and dc stopping at the magic ring, which didn’t turn out very exciting. The variegated guy alternated sc and dc but with ch 2 in between each stitch, extending one row past the magic ring. Experiment with other combinations! Turn around at the top and stitch back down again! Go crazy!