A friend had a half-dozen or so thin fabric coasters lying around his apartment. He had bought them on Etsy and wished for more. They absorb condensation, cannot damage or be damaged by laptops and books laid on them, and aren’t thick enough to make such objects sit at an angle.
I have subsequently made a lot of these coasters, in various styles. They are extremely easy and utterly customizable. Whatever size square you want, add an inch in each direction to allow a half-inch seam allowance: a 5″x5″ fabric square will give you a 4″x4″ coaster, which is about the right size (the “originals” were 11cm square, which is about 4 1/3″).
Per coaster:
two 5″x5″ squares cotton fabric (matching or non-matching)
two 5″x5″ squares lightweight interfacing (fusible if you like)
Attach one piece of interfacing to the wrong side of each piece of cotton, by ironing on or basting with a long stitch and a 3/8″ seam allowance. “Quilt” each side individually if desired, stitching with a standard length stitch in some pattern you like: diagonal stripes, straight stripes, spiral, concentric squares or circles, freehand, cross-hatch. You may also quilt after putting the sides together. Pin the right sides of the cotton together and stitch with a 1/2″ seam allowance, leaving the middle of one edge open (but stitch all corners). Trim the seam allowance at the corners and turn right-side-out, working the corners to a proper point, and iron, with the fabric at the open edge folded inside. If you have an adjustable needle, move it to the right, and topstitch the coaster with the edge of the fabric lined up with the right edge of the presser foot. I usually start at the far end of the open edge and finish at the near end, so it is stitched across twice.
Some examples:
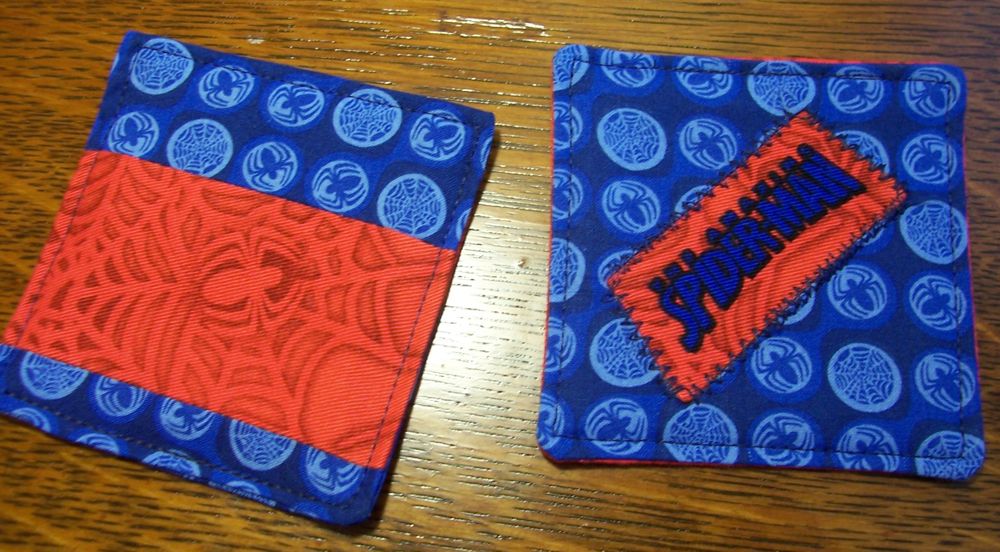
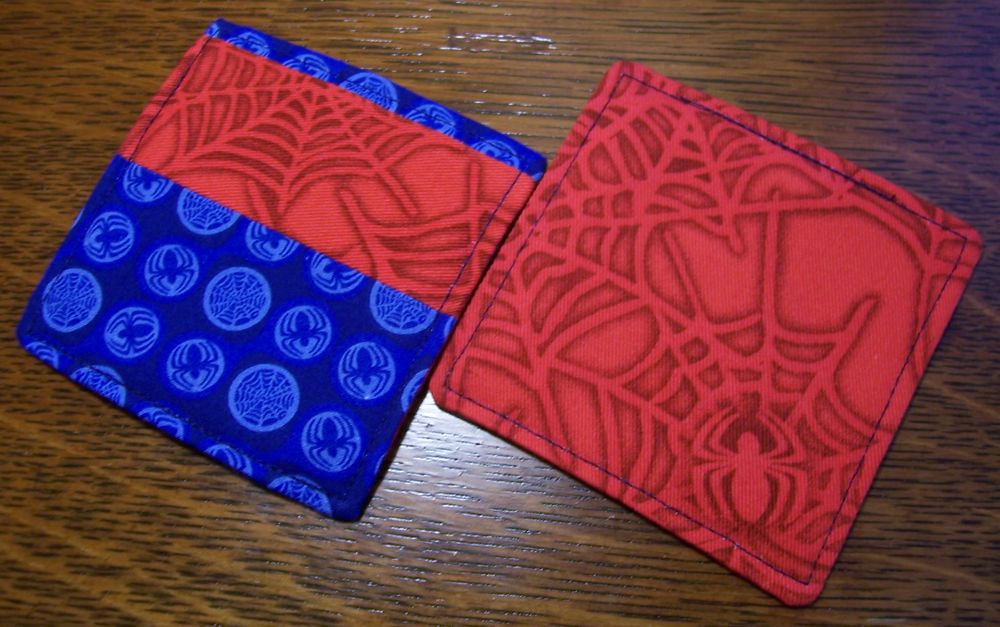
Spiderman coasters, front and back:
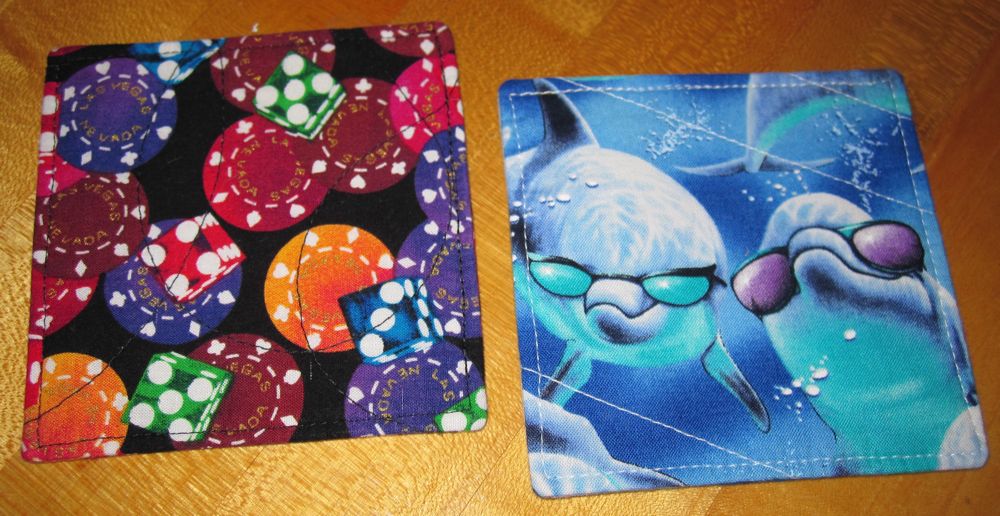
Inexplicable calico coasters, front and back:

I’ve more recently found a blog post on cocktail napkins, which are basically the same as these except without interfacing or quilting, and with rickrack trim. Good ideas get around!
Thanks for this! Where did you get your spiderman fabrics?
You’re welcome! It’s been some years (the coasters were made with leftover fabric from another project) but the Spiderman stuff almost certainly came from Jo-Ann Fabrics. Thanks for visiting!